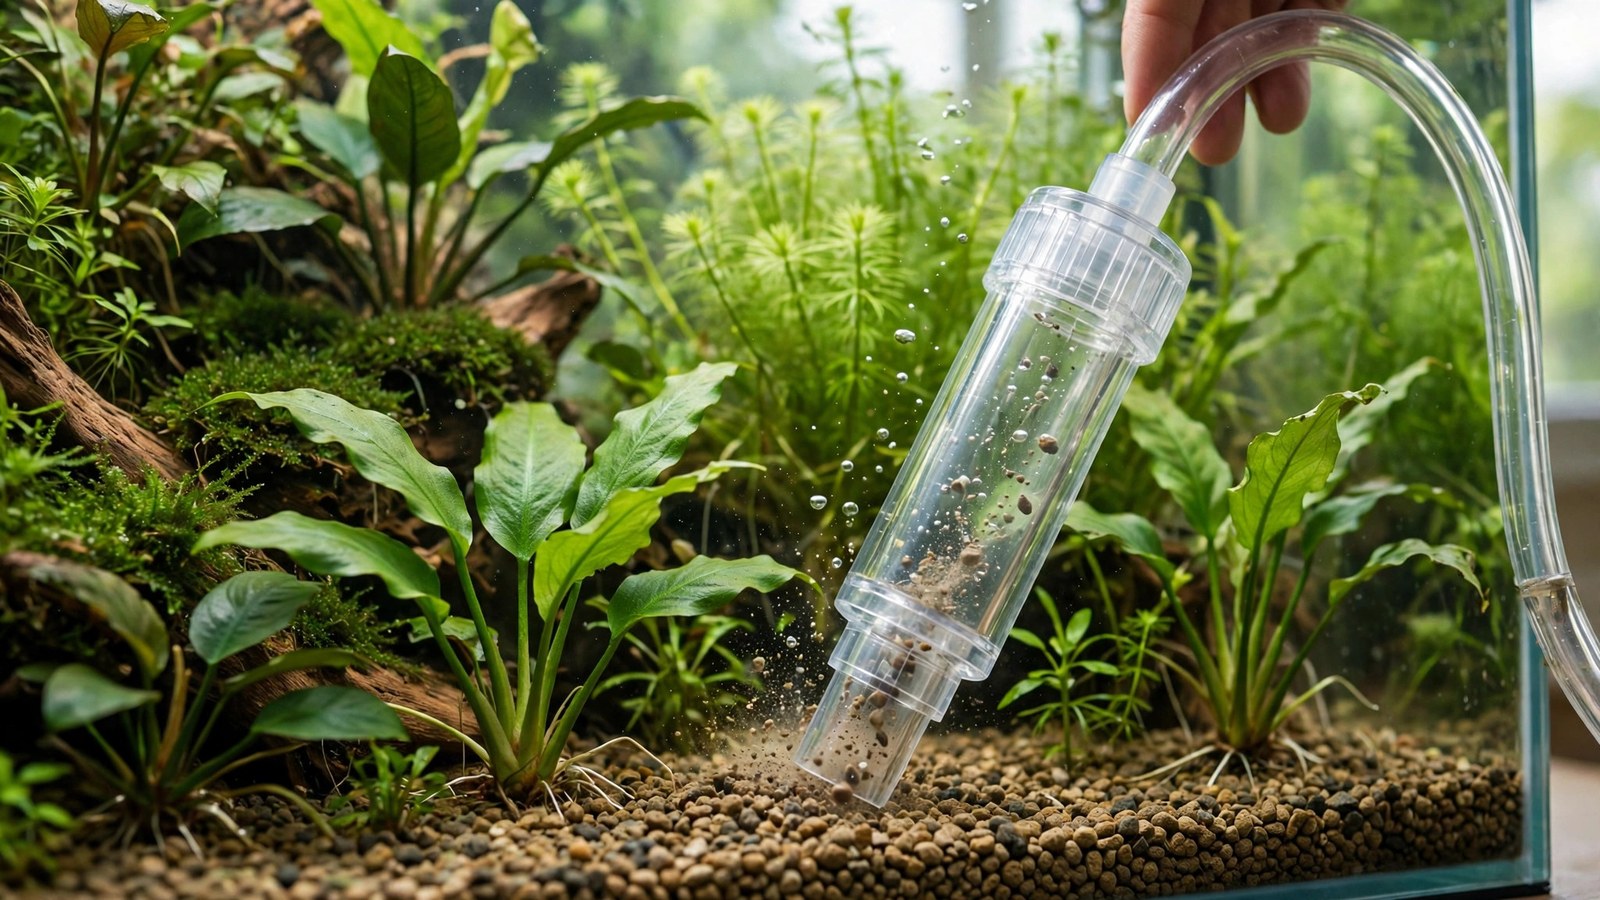
The fastest way to turn a thriving planted tank into a floating salad bar is one careless plunge of a gravel vacuum. Planted tanks need waste removal like any aquarium — but the standard "jam and churn" method rips up roots and scatters aquasoil. Learning how to gravel vacuum a planted tank without uprooting plants means rethinking the tool: you hover, you coax, and you let the water do the digging.
Why Jamming a Vac Into a Planted Tank Backfires
Ram the tube into the substrate in a planted tank and you'll uproot fresh stems, suck up aquasoil granules, and shear the fine feeder roots that keep carpets glued down — break those hairs and the whole mat lifts like a rug. The mulm your vacuum removes is also part of what rooted plants eat, so gentleness protects your nutrient bank too. If you're unsure whether your tank even needs vacuuming this week, our guide to mulm in planted tanks and when to vacuum it covers the what-and-when. This guide is the how — the technique that lifts waste off the substrate while leaving roots, granules, and nutrients in place.
Substrate type sets the rules. Coarse gravel forgives: heavy grains fall back out of the tube. Fine aquasoil and sand do not — one deep plunge sucks substrate up the hose and thins the best substrate for planted tanks layer your plants root through. The method below adapts to all three.
The Right Tools for a Planted Tank
The wide-bore tube in most gravel-vac kits is the wrong tool — too much suction, too blunt a mouth. Build your planted-tank kit from three things:
- A narrow 2.5 cm (1 inch) tube. Less suction, finer control, and it fits between stem bunches and carpet edges.
- A gravity siphon hose. Regulate flow by kinking the hose with your free hand — the finest control of any method.
- A Python-style water changer. For tanks of 100 litres (25 gallons) and up, it removes bucket trips and keeps flow steady. Skim the manufacturer's No Spill Clean & Fill FAQ before your first run.
A turkey baster is the secret fourth tool: gentle puffs blast mulm out of carpet fibers and hardscape crevices into the water column, where the vacuum picks it up without touching the substrate. Hobbyists on UKAPS report the same waft-and-siphon trick on fine soils like Tropica Powder.
How to Gravel Vacuum a Planted Tank
This is the core technique — hover, don't jam:
- Start the siphon, set a gentle flow. Keep the tube mouth well above the substrate with enough pull to lift fluffy mulm, not drag grains. Too weak? Kink the hose less — never push the tube deeper.
- Hover 1–2 cm (½–¾ inch) above the substrate at a shallow angle, drifting about 5 cm (2 inches) per second. Mulm rises into the tube; grains wobble and fall back. If grains climb the tube, back off a centimetre.
- Crimp the hose near roots. Pinch with your free hand to drop suction near stem bases and carpet edges, then release slowly. This one habit prevents most accidental uprooting.
- Work back to front in rows. Start at the back glass where debris collects, move forward in slow overlapping passes. Never circle or scrub — lateral current drags plants sideways.
- Stop at 20–30% water. Vacuum during your water change, ending when a fifth to a third of the volume is out. A light pass each change beats an aggressive deep clean every month.
Vacuum Method by Substrate Zone
Adjust your technique by zone — carpets and root beds get the lightest touch:
| Zone | Method | Hover distance | Frequency |
|---|---|---|---|
| Carpet (HC Cuba, Monte Carlo, hairgrass) | Hover only — never touch the mat. Puff debris loose with a turkey baster first. | 2–3 cm above the carpet | Lightly, monthly |
| Open soil / aquasoil | Slow hover passes; feather-light contact only on bare areas. | 1–2 cm above the substrate | Every water change, light pass |
| Stem beds | Hover between bunches; crimp the hose to near-zero suction at plant bases. | 1–2 cm above the substrate | Brief pass each water change |
Carpets get the lightest treatment: the mat already composts trapped debris, so disturbing it costs more root damage than the cleanup is worth. Open soil between plants is your real cleaning zone: easy to reach and where most mulm collects. In stem beds you're lifting waste off the surface only; the root zone underneath stays untouched, which is exactly where root tab nutrients need to stay.
Working Around Stem Bunches and New Plantings
Slide the narrow tube down between stem bunches vertically rather than sweeping sideways, crimping the whole time. If a stem lifts, replant it and note the cause. Planting stem bunches 2–3 cm apart leaves the tube room to work next time.
New plantings get total immunity. For the first 3–4 weeks roots are still anchoring — even a hover pass can lift stems freed from their rock wool before they've gripped the soil. Vacuum only bare areas during this period.
Section Rotation: A Schedule That Leaves Nutrients Alone
Vacuum about one third of the tank floor per water change and rotate: week one the open foreground, week two the hardscape and open soil, week three the stem-bed aisles. Carpets get a baster-and-hover pass monthly, only where debris visibly collects.
Rotation keeps each root zone undisturbed for weeks and leaves enough mulm to keep feeding the plants — rooted plants draw much of their nutrition from the substrate, so a surgically clean bed causes deficiencies. Pale new growth after an aggressive clean means the substrate was doing more feeding than you thought: check your fertilizing schedule and hold back. New setups follow the same logic — wait until dosing has started, per when to fertilize a new planted tank, and consider automated dosing with a fertilizer pump once the tank matures.
Frequently Asked Questions
Will vacuuming disturb my carpet plants?
Not if you hover. Keep the tube 2–3 cm above the carpet and puff debris loose with a turkey baster first — suction lifts the mulm without touching the mat. One light pass a month is plenty. Keep the tube vertical and clear of the carpet edge.
Can I push the vacuum into aquasoil like regular gravel?
No. Fine granules suck straight up the tube and clog it, and plunging compacts the soil and damages roots. Give aquasoil hover-only passes 1–2 cm up, crimping the hose to soften suction. For flighty powder-type soil, use the baster-waft method from the pro tip instead of the vacuum alone.
How soon after planting can I start vacuuming?
Wait 3–4 weeks so roots can anchor, and vacuum only bare areas well away from new plants during that window. If you do uproot something, inspect it before replanting — a quick potassium permanganate plant dip is sensible for stems that have been floating in mulm-rich water.
Does vacuuming remove my root tabs and fertilizer?
The hover method leaves buried root tabs alone — you never disturb the soil beneath the surface. Some water-column fertilizer exits with the changed water, but that's normal and already in your routine. The real risk is over-vacuuming stripping the mulm that feeds roots — stick to the one-third rotation.
What if a plant floats up while I'm vacuuming?
Stop the siphon, fish it out, and replant immediately — floating plants lose orientation and shed leaves. Plant it at the same depth with the base firm in the soil, then fix the cause: you were too close, moving sideways, or too near a fresh planting. Crimp the hose and add a centimetre of hover distance.
Make Hovering a Habit
Gravel vacuuming a planted tank is less about cleaning power and more about restraint. Hover at 1–2 cm, crimp the hose near roots, rotate one third of the floor each water change, and let the mulm in the root zone keep feeding your plants. Anything that comes loose gets a quick plant dip before replanting — and the standard is simple: nothing floating at the surface when you're done.