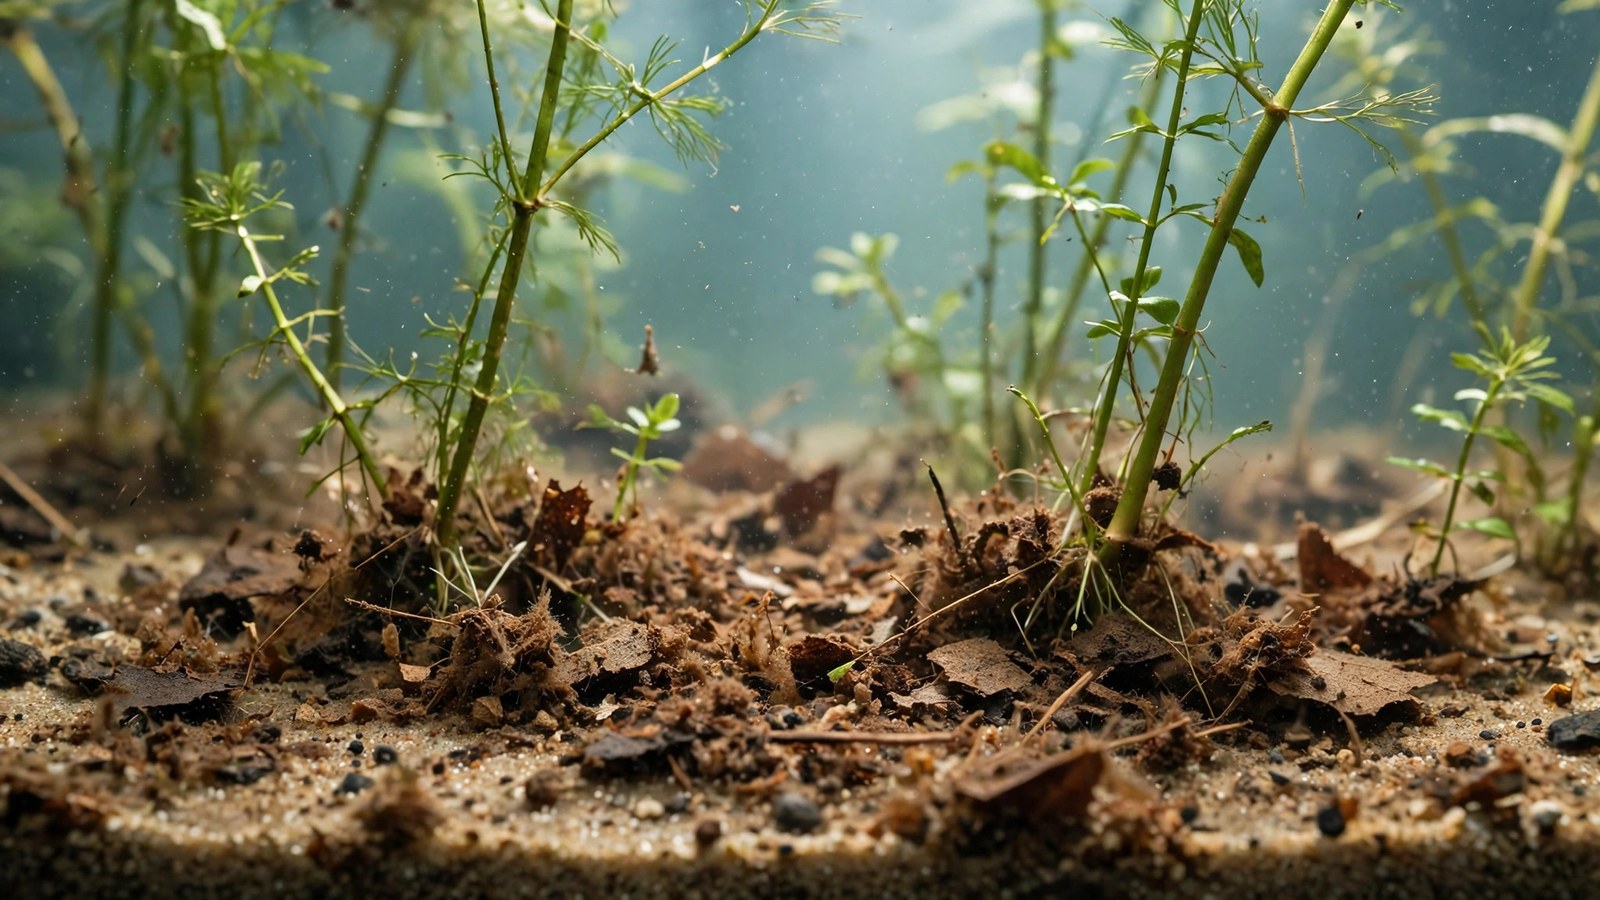
That brown gunk settling on your substrate probably isn't algae — and vacuuming it all away every week might be the most counterproductive thing you do in a planted tank. Reading this mulm aquarium guide changes how you maintain the whole system: leave too much and the substrate chokes into dead, gas-releasing pockets; strip it all and you starve your rooted plants and the shrimplets grazing on it. By the end, you'll know what mulm is, when it's working for you, when it's hurting you, and how to vacuum it correctly.
Mulm Aquarium Basics: What You're Looking At
Mulm is the loose, fluffy, brownish sediment that collects on and just inside the substrate. It's the end product of decomposition: uneaten food, fish waste, fallen leaves, dead roots, and countless microorganisms, all broken down by bacteria into a soft, light layer. In German aquarium literature, where the term originates, "mulm" simply means aged sediment — and old-school aquarists treat a modest amount as the sign of a mature, stable tank.
Three mix-ups lead to the wrong fix, so get these straight:
- Mulm vs. detritus: Detritus is the fresh, recognizable stuff — a visible flake, a fallen leaf. Mulm is what detritus becomes after bacteria work it down into fine sediment. White worms wriggling in it mean a detritus-rich zone — see the guide on detritus worms in planted tanks to judge whether they're harmless or signal overfeeding.
- Mulm vs. algae: Algae grows attached to surfaces — green, fuzzy, or spot-like. Mulm is loose and settles like dust. Brown dust coating glass and leaves in a new setup is usually brown diatom algae in new tanks, not mulm.
- Mulm vs. rotting substrate: Mulm sits on the substrate and stays oxygen-exposed; rotting substrate is anaerobic and smells of sulfur. Mulm is harmless until it gets deep enough to suffocate the layer beneath it.
Why Mulm Accumulates in Planted Tanks
Planted tanks generate mulm faster than bare tanks because they run more biology. Fish excrete, plants shed old leaves, roots die back and regrow, shrimp molt. In a densely planted setup, leaf litter from swords and crypts constantly feeds the layer, and growing roots trap particles that a filter current would otherwise carry off. Low-flow aquascapes — the still, natural aesthetic many planted tanks aim for — let even more settle out.
Overfeeding is the biggest accelerator: a tank fed twice daily builds mulm three to four times faster than one fed once lightly. Heavy stocking multiplies the effect, and aging aquasoil sheds fine mineral particles that look and behave like organic mulm. None of this is a design flaw — a planted tank is a wetland in miniature, and wetlands run on sediment. The question was never "how do I remove all of it" but "how much does this tank want."
When Mulm HELPS Your Tank
Before touching the siphon, know what you'd be throwing away. A thin mulm layer is genuinely useful:
- Slow-release fertilizer for rooted plants. Mulm mineralizes in place, releasing nitrogen, phosphorus, and trace elements right where heavy root feeders — swords, cryptocorynes, tiger lotus — can grab them. If plants look hungry despite a mulm layer, the issue is elsewhere; check the nutrient deficiency guide.
- Biofilm grazing for shrimp and fry. Mulm particles are coated in biofilm — bacteria, protozoa, infusoria. Cherry shrimp colonies and newly hatched shrimplets graze it constantly; breeders deliberately leave mulm pockets because newborn shrimp can't chase powdered food.
- Microbial stability. The bacteria in mulm are part of your biological filtration. Ripping out the entire layer in one big "deep clean" can remove enough biofilm to destabilize the tank — a mini-cycle is the classic aftermath of overzealous vacuuming.
Rule of thumb: if it's a light dusting — substrate grains still visible — and your nitrate trend is stable, leave it.
When Mulm HARMS Your Tank
Mulm turns from ally to liability when it gets deep, compacted, and oxygen-starved:
- Anaerobic pockets and hydrogen sulfide. In gravel deeper than about 5–7 cm, a thick mulm cap can seal off the lower layer. Bacteria then reduce sulfur compounds into hydrogen sulfide — the rotten-egg smell when you poke the substrate. Small amounts vented slowly are harmless; one big bubble from a long-undisturbed bed can stress or kill livestock.
- Nitrate creep. A thick layer is a nutrient reservoir. In a low-tech tank with modest plant mass, it mineralizes faster than plants absorb it, and nitrates climb between water changes — 40–80 ppm "mystery nitrate" cases often trace back here.
- Nighttime oxygen demand. Mulm-digesting bacteria consume oxygen around the clock. In a heavily stocked tank with a thick layer, pre-dawn oxygen dips can push fish to gasp at the surface.
- Smothered carpets and algae leverage. Mulm burying Monte Carlo or dwarf hairgrass blocks light from new growth, and the decaying organics feed the nutrient excess that green spot algae on slow growers like Anubias exploit when plant health dips.
Danger signals, in order: rotten-egg smell when you disturb the substrate (act now), nitrates rising week over week despite regular water changes, mulm so thick it hides the substrate, and mulm visibly burying carpet plants.
How to Judge Your Tank: The Mulm Decision Checklist
Run this two-minute assessment monthly instead of guessing:
- Look. Light dusting with substrate visible → lean toward leaving it. Thick blanket hiding the substrate → plan a vacuum.
- Measure depth. Slide a skewer into the bed. Mulm alone over ~1 cm deep in open areas, or total substrate-plus-mulm over 6–7 cm in gravel, puts you in the caution zone.
- Smell test. Poke the deepest open area and sniff the bubbles. Earthy or neutral → fine. Rotten eggs → anaerobic activity; vacuum in sections and consider thinning the bed.
- Check nitrates. Climbing week over week (e.g., 20 → 40+ ppm) with unchanged feeding and stocking points at the mulm reservoir.
- Watch the livestock. Shrimp grazing happily, no gasping at dawn, plants growing steadily → balanced. Fish hovering at the surface before lights-on is an oxygen warning.
| Sign | Vacuum now | Leave it |
|---|---|---|
| Rotten-egg smell from substrate | Yes — in sections, with water change | — |
| Mulm >1 cm deep in open areas | Yes — spot-vacuum this week | — |
| Nitrates climbing week over week | Yes — plus reassess feeding | — |
| Carpet plants being smothered | Yes — gentle surface pass only | — |
| Light dusting, substrate visible | — | Yes — it's feeding your plants |
| Shrimp colony actively grazing | — | Yes — it's their pantry |
| Stable nitrates, thriving plants | — | Yes — the system is balanced |
How to Vacuum Mulm: Technique Matters More Than Frequency
Spot-vacuuming: the default method
For routine maintenance, lift mulm off the substrate rather than stripping the substrate itself. Hold a standard gravel siphon 1–2 cm above the bed and let suction pull the light, fluffy mulm up while heavier substrate falls back. Cover about one-third of the open substrate per session, rotating zones so every area is cleaned every 2–4 weeks. This keeps a healthy dusting in place while preventing any zone from compacting.
Deep vacuuming: only where it makes sense
Pushing the siphon into the substrate and churning gravel is only appropriate in unplanted gravel areas: the front glass strip, feeding zones, bare corners. Never deep-vacuum under carpets, around established roots, or in aquasoil — you'll uproot plants and collapse the substrate structure. Plants damaged after a substrate disturbance are often misdiagnosed; see why aquarium plants melt to separate vacuum damage from real melting.
Tools that help
| Tool | Best for | Notes |
|---|---|---|
| Standard gravel siphon (2.5–4 cm tube) | General spot-vacuuming | Hold above the bed; let substrate fall back |
| Narrow nano siphon or airline tubing | Carpets and tight aquascapes | Gentle suction lifts mulm without pulling plants |
| Turkey baster | Precision work around hardscape | Blast mulm off rocks and wood, then siphon it up |
| Battery-powered gravel cleaner | Quick weekly touch-ups | Fine for open areas; too strong for carpets |
A practical sequence: baste hardscape and plant leaves to knock settled mulm loose, wait 2–3 minutes for it to resettle, then spot-vacuum the open areas. Leaves come clean without blasting the plants.
Prevention: A Schedule That Keeps Mulm in the Sweet Spot
You can't prevent mulm — and shouldn't try — but you can keep it thin and useful rather than thick and problematic:
- Weekly: During your water change, hover-vacuum the feeding zone and front glass strip — the two fastest collectors. Two minutes.
- Every 2–4 weeks: Spot-vacuum one-third of the open substrate, rotating zones. Shrimp-only tanks can stretch to 4–6 weeks; heavily stocked tanks should stay at 2.
- Monthly: Run the five-point checklist above and adjust. Prune dying leaves before they fall — a 5-minute trim removes tomorrow's mulm at the source.
- Quarterly: In gravel tanks, assess total bed depth. If it's creeping past 6–7 cm, thin it gradually — a cup or two of substrate per week, never all at once.
- Feeding discipline: Feed only what fish eat in 2–3 minutes, once or twice daily. Every uneaten flake becomes mulm — this habit does more than any vacuuming schedule.
Nano tanks under 10 gallons: halve the vacuumed area per session — small systems are less forgiving of disturbance. Tanks over 40 gallons can cover more ground per session since the water volume buffers it.
Mulm, Substrate, and Filtration: The System View
Mulm is the visible part of your tank's waste-processing chain, and substrate and filtration decide how fast it accumulates and how dangerous it gets.
Substrate type changes the rules. Coarse gravel traps mulm deep between grains, where it compacts and goes anaerobic — gravel tanks need the most vacuuming discipline. Sand lets mulm sit on top where it's easy to hover-vacuum, but sand compacts on its own, so keep the bed at 3–4 cm. Aquasoil is the most forgiving: its porous structure hosts the bacteria that digest mulm in place — but never deep-vacuum aquasoil, which crumbles and clouds the tank when churned.
Filtration sets the baseline. Mechanical filtration (a pre-filter sponge rinsed weekly, or filter floss changed every few days) intercepts particles before they settle — many "mulm problems" are really neglected filter maintenance. But don't over-clean biological media: rinse it in old tank water, never under the tap, and never replace it all at once. The bacteria in your filter and the bacteria in your mulm are the same workforce.
Think of it as a triangle: feeding adds waste, the filter intercepts the suspended fraction, the substrate processes the settled fraction. Your job is keeping the workload balanced so the bacteria keep up. For authoritative background, Tropica's substrate guide is worth a read, and the 2Hr Aquarist's breakdown of detritus and mulm covers the biology in more depth.
Frequently Asked Questions
Is mulm bad for aquarium plants?
No — in moderation it's beneficial. A thin layer slowly releases nitrogen, phosphorus, and micronutrients at the root zone, which heavy root feeders like Amazon swords and cryptocorynes love. It only harms plants when thick enough to smother carpets, block light from low leaves, or compact the substrate into root-damaging anaerobic zones. Judge by depth and smell, not by its mere presence.
Should I vacuum mulm in a shrimp tank?
Mostly, leave it. Shrimp — especially newborn shrimplets — graze the biofilm on mulm particles constantly, and it's a critical food source in their first weeks. Vacuum only the open feeding areas lightly every few weeks, and never deep-vacuum a breeding tank. If you smell sulfur when you poke the substrate, remove mulm in small sections with water changes between sessions.
How often should I vacuum mulm in a planted tank?
Spot-vacuum about one-third of the open substrate every 2–4 weeks, plus a quick pass over the feeding zone during each weekly water change. Lightly stocked or shrimp-dominant tanks can go 4–6 weeks between rotations; heavily stocked tanks should stay closer to every 2 weeks. Deep-vacuum only bare gravel areas, never planted zones or aquasoil.
Why does my substrate smell like rotten eggs when I disturb it?
That smell is hydrogen sulfide, produced by anaerobic bacteria in oxygen-starved pockets. It means a mulm cap has sealed off the lower substrate layer. Vent it slowly: poke small sections with a skewer over several days, run an airstone during the process, and do a water change afterward. Never churn the whole bed at once — a large sudden release can harm fish and shrimp.
Can I just leave mulm forever and never vacuum?
In a lightly stocked, heavily planted tank with good filtration, many aquarists effectively do — plants and bacteria process mulm as fast as it forms. This works until something tips the balance: heavier feeding, a plant die-off, or filter neglect. Keep running the monthly checklist so you catch that tipping point early. "Never vacuum" works right up until it doesn't.
Does mulm cause algae?
Not directly, but a thick decaying layer contributes the excess nutrients and organic load that algae exploit — especially when it smothers and weakens plants. Healthy, fast-growing plants in a balanced tank outcompete algae for those same nutrients, which is why mulm rarely causes algae in thriving tanks but often accompanies outbreaks in struggling ones.
The Balanced Takeaway
Mulm is neither dirt to be feared nor fertilizer to be worshipped — it's the working inventory of your tank's decomposition crew, and like any inventory, it needs managing. Keep a thin layer feeding your rooted plants and shrimp, vacuum the excess on a rotating schedule, and let the smell test and your nitrate trend tell you when the balance has tipped. Then the brown sediment on your substrate stops being a problem and becomes what it always was: proof your little wetland is alive.