That fat rubber-banded bunch of stems from the store is not ready for your substrate — and shoving the whole weighted bundle straight into the gravel is the single fastest way to turn a $6 purchase into a rotting brown mess. Learn how to plant aquarium plant bunches the right way and every stem becomes its own rooted plant, spreading into the full, bushy background your scape is missing.
What You're Actually Holding: Anatomy of a Store Bunch
A retail stem bunch is a shipping format, not a planting format. Growers pack 6–15 cuttings together, wrap the bases in a lead strip, rubber band, foam strip, or ceramic ring, and ship them so they survive a bag and a store tank. Those cuttings are usually emersed-grown tops — cut from plants grown with their leaves in humid air — so they will look different for the first few weeks as they grow submerged-form leaves underwater. Keep the bunch damp (floating or bagged with a wet paper towel) while you work: cuttings dry out fast, and every minute of drying adds a day of recovery time.
You didn't buy one plant — you bought a starter kit of cuttings that must be unbundled, prepped individually, and planted as separate stems. Planted the way they arrived, compressed in a ring, the inner stems rot within days from zero flow and no light. Unbundled and spaced correctly, that same $6 bunch can become a full background through replanting cuttings.
Step 1: Unbox and Remove Everything That Isn't Plant
Before a single stem goes near your tank, strip every piece of hardware off the bunch. Different suppliers use different restraints, and each one causes problems if planted:
| What you'll find | What to do with it | Why it must go |
|---|---|---|
| Rubber band | Snip it off with scissors — don't pull it down the stems | Constricts bases, blocks water flow, triggers rot where it bites into tissue |
| Lead strip / lead weight | Unwrap gently, discard | Heavy metals leach slowly; the wrapped section stays dark and airless |
| Foam strip | Peel it away | Traps detritus and suffocates the buried section |
| Ceramic or stone ring | Slide off or set aside for reuse | Harmless material, but the tight bundle inside still rots |
| Plastic sleeve / netting | Cut open and discard | Tears leaves on removal if you try to slide it |
Fan the stems apart in your hand and sort them on the spot — anything mushy, snapped, or crushed from shipping goes straight to the compost pile.
Step 2: Separate and Sort the Stems
Every stem is an independent plant. Separate the bunch completely into individual cuttings, sorting them into three piles as you go:
- Plant now: firm stems, intact growing tips, mostly green leaves. This is 70–90% of a fresh bunch.
- Trim and plant: firm stems with damaged tips or sparse lower leaves. Cut below the damage and these will sprout new side shoots within a week.
- Compost: mushy, brown, translucent, or slimy stems. They won't recover and they'll foul your water. Be ruthless.
New arrivals can carry algae spores, snail eggs, and farm pesticides — especially non-tissue-culture bunches destined for shrimp tanks. If your tank houses shrimp or delicate fish, consider acclimating and quarantining new plants first before planting them into the main display.
Step 3: Strip Lower Leaves and Trim Each Stem
Hold each keeper stem and strip the leaves from the lowest 5 cm (2 inches) — slide your thumb and forefinger down the stem and the leaves pop right off. Any leaf buried in substrate rots instead of photosynthesizing, and rotting tissue invites the base rot that kills so many new plantings. (Per Tropica's guide to planting aquarium plants: remove the ring and bottom leaves, then plant stems one by one.)
Then, with sharp scissors (not a pinch with fingernails — crushed tissue is an infection site):
- Cut any ragged or brown stem ends back to clean, firm tissue at a slight diagonal.
- If roots are dangling from nodes, leave them — they're a head start.
- Trim damaged tips off, because a mangled tip won't sprout; the stem will redirect energy into side shoots instead.
Cuttings from stores were often grown emersed, so don't panic if the older leaves melt during the first two weeks — the plant is trading farm-grown foliage for aquarium-grown foliage. New growth from the tip is the only scoreboard that matters.
Step 4: How to Plant Aquarium Plant Bunches
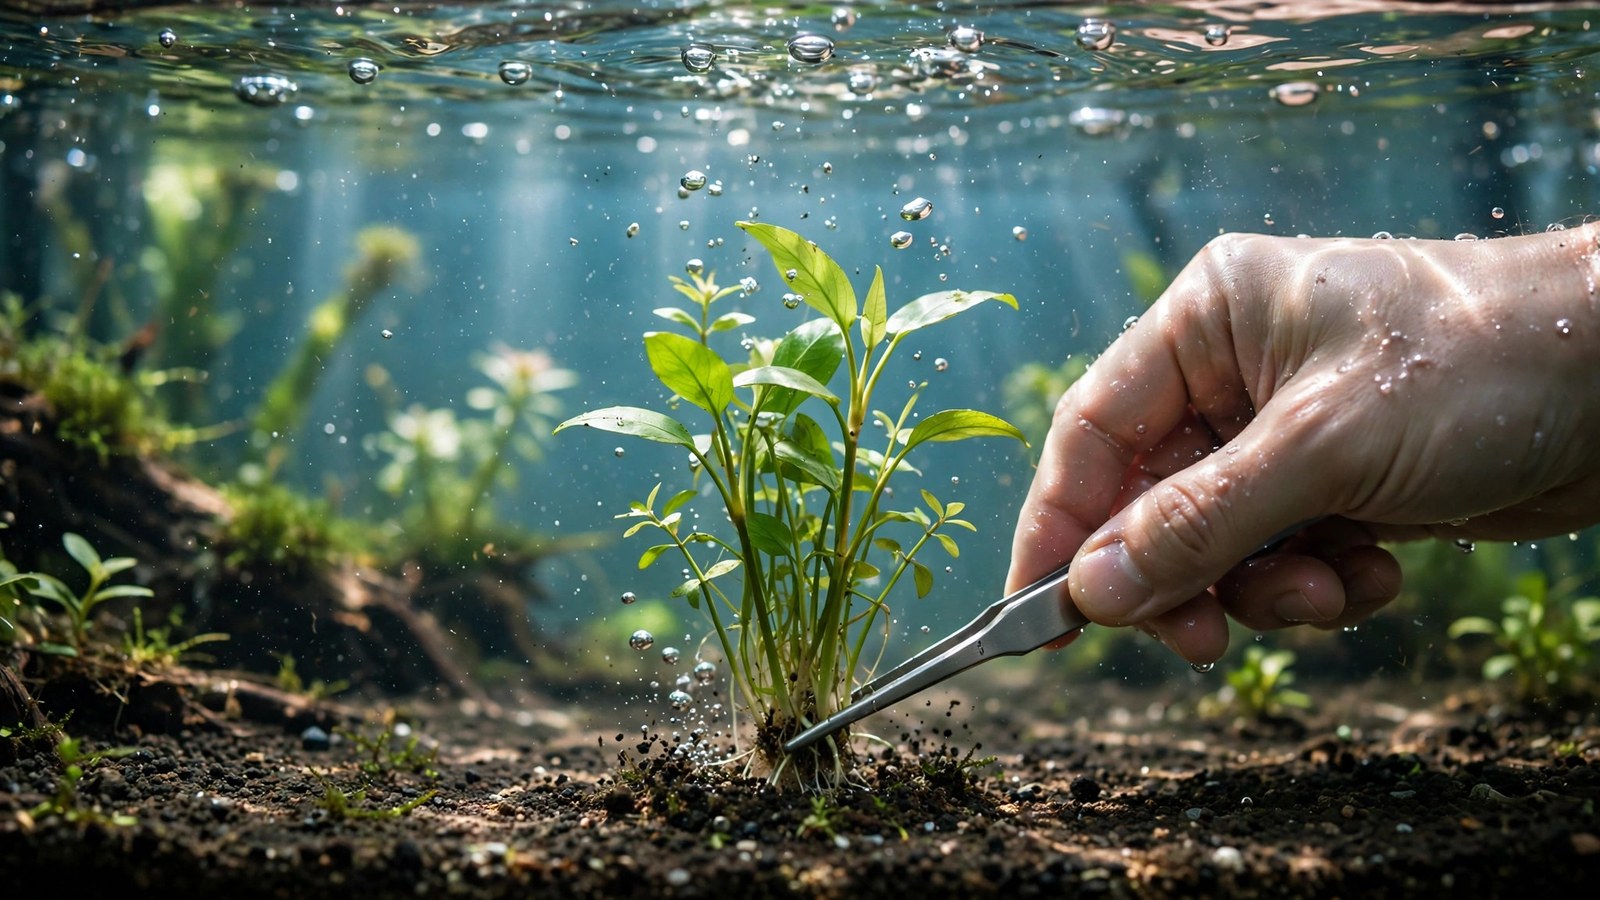
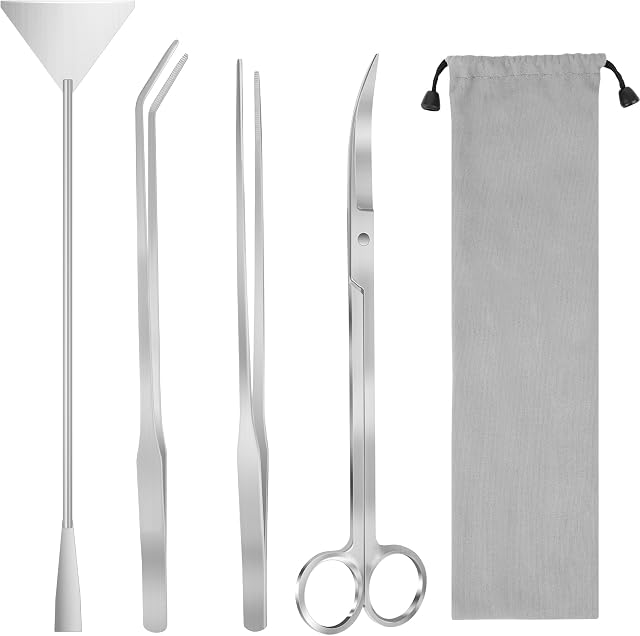
Fingers are too thick for this job. Long aquascaping tweezers (25–30 cm) let you push each stem deep enough without uprooting its neighbors — the most important tool in the entire process.
| Tool | Why you need it | Cheap alternative |
|---|---|---|
| Long straight tweezers (25–30 cm) | Push stems 3–5 cm deep without disturbing substrate around them | Wooden chopsticks, one split — workable but clumsy |
| Curved aquascaping scissors | Trimming without crushing; curved blades stay out of the water | Any sharp small scissors, rinsed |
| Spray bottle of tank water | Keep stems wet while you work outside the tank | Cupped handfuls — drippy but fine |
Planting technique, stem by stem:
- Grip the stem low, at the bare base — never by the leafy section or the tip. Tweezers on soft tissue bruise it.
- Push the base into the substrate at a slight angle, deep enough that the lowest node sits just under the surface — typically 3–5 cm of stem buried.
- Open the tweezers and wiggle slightly as you withdraw, so the substrate collapses back around the stem. Pulling straight out drags the stem right back up — the classic beginner error.
- Work in rhythm: grip, push, wiggle, release. Ten stems takes about five minutes once you're in the groove.
Shallow water means steadier hands — plant during a water change or draw the level down first.
 ★4.7
Liveek 4-in-1 Aquascaping Tool Kit
Check Price on Amazon ★4.7Step 5: Spacing — Resist the Urge to Cram
The number-one reason store bunches fail is spacing: they arrived packed, so beginners plant them packed. Stems touching each other shade each other's bases and rot from the bottom up — the exact failure you just unbundled to avoid. Give every stem room:
| Stem type | Examples | Spacing between stems |
|---|---|---|
| Fine-leaved | Rotala rotundifolia, Myriophyllum | 2–3 cm |
| Medium-leaved | Ludwigia repens, Bacopa caroliniana | 3–4 cm |
| Thick / broad-leaved | Hygrophila corymbosa, Ammannia gracilis | 4–5 cm |
Plant in a loose triangle or staggered grid rather than a straight row — it reads as a natural thicket from the front and lets current reach every stem. What looks sparse on day one looks perfect on day thirty, because stem plants double in density every couple of weeks under decent light.
Planting Depths for Different Substrates
How deep you can plant depends on what your substrate is made of. The goal is always the same — buried lowest node, bare base in the dark — but the mechanics differ:
| Substrate | Depth to plant | Notes |
|---|---|---|
| Aquasoil (soft pellets) | 3–5 cm | Ideal: pellets collapse around stems and hold them. Best medium for rooting. |
| Fine gravel / sand cap over soil | 3–4 cm | Push through the cap into the soil layer; stems anchor in the denser layer below. |
| Coarse gravel | 4–5 cm | Gravel shifts easily — plant deeper and consider an anchor ring for the first week. |
| Plain sand | 2–3 cm | Sand compacts and suffocates; plant shallower and add root tabs since sand holds no nutrients. |
On sand especially, stems float at the slightest current — that's a substrate problem, not a technique problem, and the general floating-up fixes apply here too.
Rooting Care: The First Two Weeks
Planted stems run on stored energy for 10–14 days while white root hairs grow from the buried nodes. Treat them gently during recovery:
- Don't touch them. Every pull-up and re-plant resets the rooting clock to zero. Stems that float up get re-planted once, gently — then hands off.
- Keep flow gentle. Point your filter outlet at the glass or turn it down for the first week.
- Light stays consistent — 6–8 hours daily. More light won't speed rooting; it will speed algae on stressed leaves.
- Feed the roots. A root tab pushed 3–4 cm deep near the planting zone gives new roots something to find. Liquid fertilizer can wait until you see new growth.
- Don't deep-vacuum the planting zone — proper planted-tank water change technique keeps gravel clean without excavating stems.
Milestones: day 3–5, stems stop wobbling; day 7–10, white roots appear at buried nodes; day 14, gentle tugs meet real resistance — your signal that the planting worked.
Troubleshooting: The Three Classic Failures
Melting
Old leaves turning translucent and dissolving within the first week is usually transition melt — the farm grew those leaves in humid air and the plant is shedding them for submerged-form leaves. It's normal if the growing tip is still firm and green. Trim the melted foliage off so it doesn't foul the water. If the new growth melts too, check lighting and whether the stems dried out during planting.
Stems floating back up
Some float-back is mechanical — tweezers dragged the stem up, a fish nudged it, current excavated it. Re-plant once, deeper, at the slight angle. If the same stem floats three times, stop fighting and wrap the base loosely with a plant anchor ring or ceramic weight for a week, removing it once roots hold. The detailed playbook is in how to anchor new plantings.
Base rot — the mushy bottom
The bottom 1–2 cm turns brown, slimy, and pinched while the healthy top detaches. This is the packed-planting failure: the base never got light or flow and the tissue died. Fix it by cutting above the rot into clean firm tissue, stripping lower leaves again, and re-planting the top — healthy tops root fast. Then re-check spacing, because every stem needs its 2–5 cm of personal space. Never plant a bunch intact.
From One Bunch to a Bush: The Replanting Payoff
Here's where stem bunches become the best value in the hobby. After 3–4 weeks, tops will be 15–25 cm tall. Cut the top 10–15 cm off each stem and plant those cuttings next to their parents — that's the pinch, cut, and replant method — and the original stems bush out with side shoots. Repeat monthly and one bunch becomes a background hedge in two to three months.
Surplus trimmings are worth something: give them to friends, trade them locally, or start a second scape. The guide to what to do with plant trimmings covers storage so cuttings never go to waste. And if you ever try the lab-grown end of the spectrum, planting tissue culture cups applies the same individual-stem philosophy to a 1-2-Grow cup.
Frequently Asked Questions
Should I plant the whole bunch together with the rubber band on?
No — never. The rubber band crushes stems together, blocks water flow and light from reaching the bases, and the inner stems rot within days. Always snip the band off, separate every stem, strip the lowest 5 cm of leaves, and plant stems individually 2–4 cm apart. The "bunch" is a shipping format from the farm, not a planting format for your tank.
How deep should I plant aquarium stem bunches?
Bury 3–5 cm of bare stem so the lowest node sits just under the substrate surface — aquasoil and fine gravel hold stems well at this depth, while coarse gravel may need 4–5 cm plus a temporary anchor ring. Planting shallower than 3 cm is the main reason stems float back up; deeper than 5 cm risks burying leafy sections that will rot. Push stems in at a slight angle with tweezers so they sit firmly.
Are lead weights safe for aquarium plants?
The lead strips bundled plants ship with are not ideal: they crush stems, keep bases dark and airless, and can leach heavy metals that are especially risky for shrimp. Remove and discard them before planting. If you need ballast for the first week while roots form, use a purpose-made ceramic plant ring or anchor, then remove it once a gentle tug meets real root resistance.
Why are my new stem plants melting after planting?
Mostly transition melt: store bunches are typically grown emersed (leaves in humid air), and the plant sheds those old leaves while growing submerged-form foliage. It's normal as long as the growing tip stays firm and pushes new leaves — trim off the dissolved foliage and wait. If new growth melts too, suspect stems dried out during planting, too little light, or stems that were mushy at purchase.
How long until stem cuttings root and stay put?
Expect 10–14 days for white roots to grow from buried nodes and grip the substrate — you'll feel real resistance on a gentle tug. Keep water calm, don't move stems during this window, and feed roots with a root tab near the planting zone. If a stem floats up, re-plant it once, gently; repeated re-planting resets the rooting clock every time.
Can I replant the tops after trimming?
Absolutely — that's the whole economic magic of stem bunches. Once stems reach 15–25 cm, cut the top 10–15 cm and plant the cuttings beside their parents; the original stems respond by pushing out side shoots and bushing up. Repeat every few weeks and one $6 bunch can fill an entire background in two to three months. This is the standard cut-and-replant cycle every planted tank runs on.
The Bunch Is Just the Beginning
Five minutes of unbundling, leaf-stripping, and careful tweezer work is the difference between a bunch that melts into brown soup and a bunch that becomes the backbone of your scape. Separate every stem, give each one space and depth, then keep your hands out of the tank for two weeks while roots do their work. Master this one workflow and store bunches go from a weekly expense to a one-time investment.