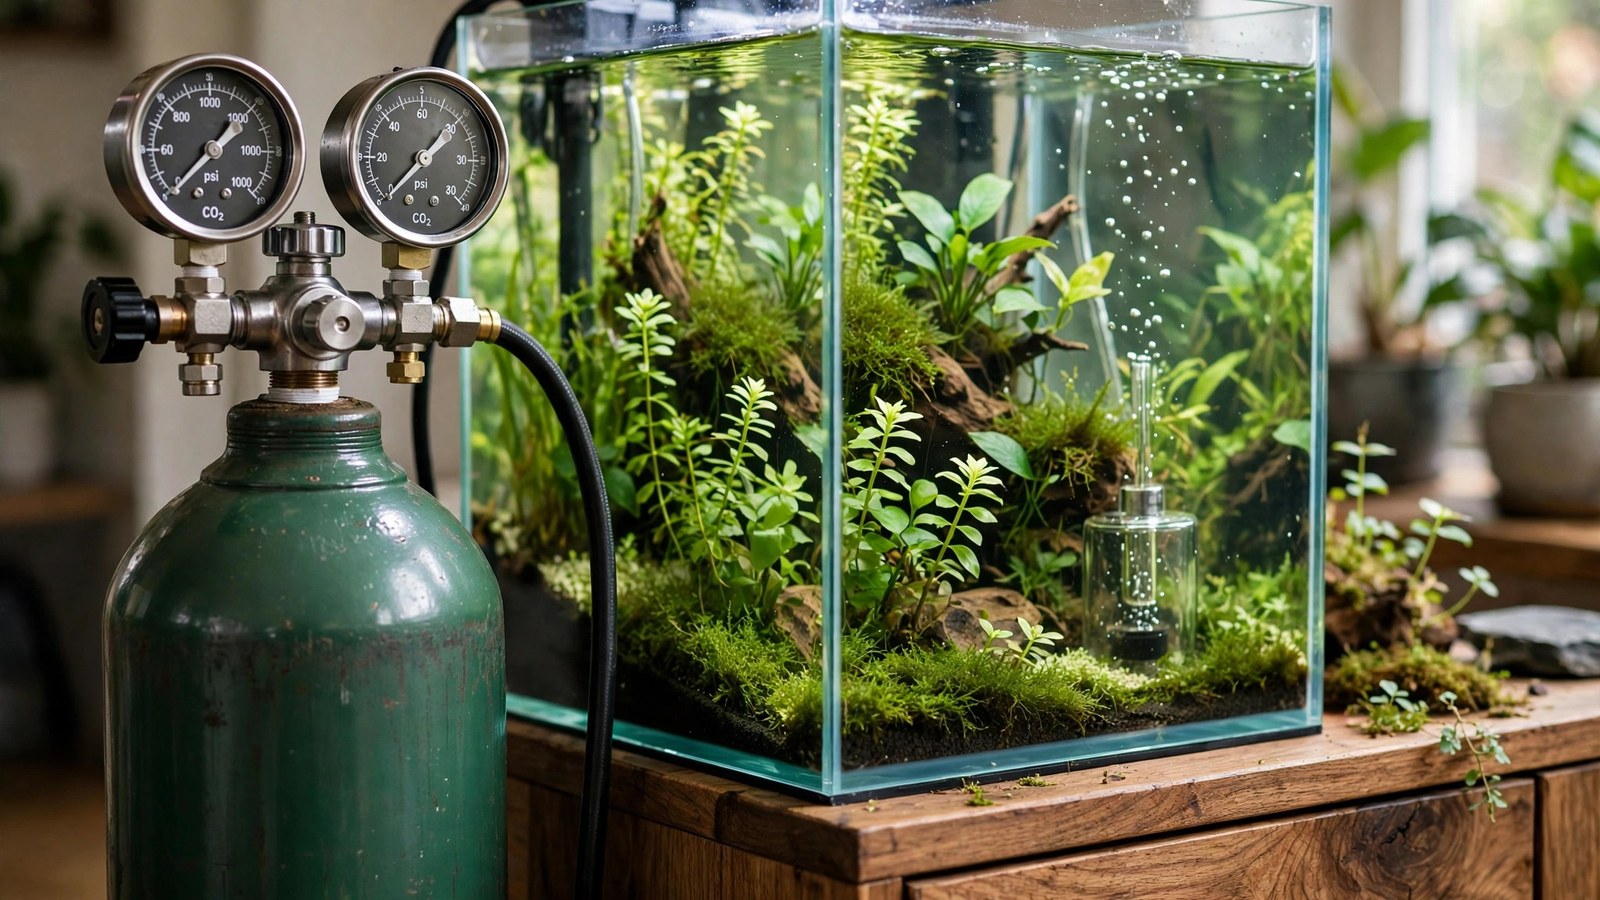
Most planted tank owners dial their bubble count up and down for weeks without touching the one setting that controls it: the co2 working pressure planted tank regulators show on their low-pressure gauge. Set it right and a single quarter-turn of the needle valve changes your bubble rate by one bubble every two seconds. Set it wrong and the same valve either does nothing or dumps a dangerous CO2 surge into the tank overnight. This guide shows you what working pressure your regulator should read, how to set it, and how to fix it when it misbehaves.
What Is CO2 Working Pressure in a Planted Tank?
A CO2 regulator has two stages of pressure reduction, and most hobbyists only ever look at one. The first gauge — the one screwed into the cylinder — reads the tank pressure, which sits around 55–60 bar in a full CO2 bottle and barely moves until the bottle is nearly empty. The second gauge, the low-pressure gauge, reads the working pressure: the pressure at which gas is delivered to your needle valve, bubble counter, and diffuser.
Think of it like the water pressure in your house. The municipal main might carry enormous pressure underground, but the pressure at your tap is reduced to something your fixtures can handle. Your regulator's working pressure is the "pressure at the tap" for your CO2 system. Everything downstream — the needle valve's precision, the bubble counter's consistency, the diffuser's mist quality — is governed by this one number.
This is why two aquarists with identical bubble counts can have wildly different results. If you've ever bought a "high precision" needle valve and found it maddeningly touchy or unresponsive, the valve was probably innocent — your working pressure was the real culprit. Understanding the difference between dual-stage and single-stage CO2 regulators helps too, because the two designs handle pressure stability very differently.
The Ideal Working Pressure Range: 1–3 Bar
For the vast majority of aquarium CO2 equipment, the correct working pressure sits between 1 and 3 bar (roughly 15 to 45 PSI). The big aquarium regulator brands — CO2Art, Tropica's system, JBL — design their gear around this band, and the most common factory preset you'll see is about 2 bar / 30 PSI.
But "1–3 bar" is a range, not a setting. Where you land depends on your diffusion method:
| Equipment | Recommended working pressure | Why |
|---|---|---|
| Standard ceramic/glass in-tank diffuser | 1–2 bar (15–30 PSI) | Ceramic discs crack with 1.5–2 µm pores that gas passes through at low pressure |
| In-tank atomizer | 2–3 bar (30–45 PSI) | Ultra-fine ceramic pores need higher driving pressure to produce micro-mist |
| Inline diffuser (on filter output) | 2–3 bar (30–45 PSI) | Must overcome canister filter line pressure plus ceramic resistance |
| CO2 reactor | 1–2 bar (15–30 PSI) | Gas dissolves in the chamber; pressure mainly needs to reach the reactor |
| Bazooka atomizer (in-line) | 2.5–3.5 bar (35–50 PSI) | Highest resistance of all; check your model's rated maximum |
Notice the pattern: the finer the ceramic and the more plumbing the gas fights through, the more pressure it needs. If your diffuser is silent, check whether your working pressure is simply too low to push gas through it before blaming a clogged ceramic. An atomizer at 1 bar often produces nothing; the same atomizer at 2.5 bar mists beautifully.
How Working Pressure Controls Needle-Valve Stability
Here's the physics that matters: a needle valve meters gas by squeezing it through a tiny variable opening. The pressure upstream of that opening determines how much a given turn of the knob changes the flow. High working pressure means every millimeter of needle movement changes the flow a lot — the valve is touchy. Low working pressure means you can crank the knob several turns with barely any change — the valve is coarse.
This gives you a tuning strategy most guides never mention:
- Bubble rate drifting or creeping over hours? Your working pressure is probably too low, forcing the needle valve to sit nearly closed. Near the fully-closed position, tiny thermal expansion and vibration translate into big proportional changes. Raising working pressure to 2–2.5 bar lets you open the needle valve further into its stable mid-range.
- Can't fine-tune — one click jumps from 1 to 5 bubbles per second? Working pressure is too high for your valve. Lower it toward 1.5 bar and the same knob travel will span a gentler range.
- Bubble rate changes between morning and afternoon? Single-stage regulators let working pressure rise slightly as cylinder pressure falls (the end-of-tank dump phenomenon), and some budget regulators also drift with room temperature. Keep an eye on the low-pressure gauge, not just the bubble counter.
Aim for a setup where your target bubble rate lands with the needle valve between one-quarter and three-quarters open — the valve's linear, predictable zone. If your target needs the valve barely cracked or nearly maxed, adjust the working pressure until it sits in the middle. For more on dialing in the actual dose, see the guide on how many bubbles per second your planted tank needs.
Setting Working Pressure on Single-Stage Regulators
Most entry-level aquarium regulators are single-stage: one adjustment knob controls the working pressure. The procedure is the same across brands:
- Close the needle valve, then back it off about one full turn so gas flows to the bubble counter — with the solenoid closed, the gauge reads trapped pressure and adjusting the knob does nothing real.
- Turn the working-pressure knob slowly. Clockwise raises pressure on most regulators; counterclockwise lowers it. Move in small increments and pause — the gauge needle takes a few seconds to settle.
- Set to your target (1.5–2 bar is the universal starting point; raise to 2.5–3 bar if you run an atomizer).
- Now set your bubble rate with the needle valve, and re-check the working-pressure gauge — on single-stage regulators, large needle-valve changes can nudge the pressure reading slightly.
The critical detail: never set working pressure with the needle valve completely closed and the solenoid on. With nowhere for gas to go, pressure builds against the closed valve and the gauge reads artificially high. Always set pressure with gas flowing.
Setting Working Pressure on Dual-Stage Regulators
Dual-stage regulators add a second reduction chamber, and their whole selling point is that working pressure stays rock-steady as the cylinder empties. Setup differs in two ways:
- Most dual-stage units ship with a fixed working pressure (commonly 2 bar) and no pressure knob — you simply don't touch it.
- All tuning happens at the needle valve. The stable, consistent upstream pressure is exactly what makes these valves behave so predictably.
The payoff is real: while a single-stage regulator's working pressure can creep up in the last weeks of a cylinder's life, a dual-stage holds its setpoint until the bottle is truly empty. That's the mechanism that prevents the infamous CO2 end-of-tank dump that gasses fish overnight. If you're choosing between designs, the comparison of dual-stage vs single-stage CO2 regulators breaks down when each is worth the money.
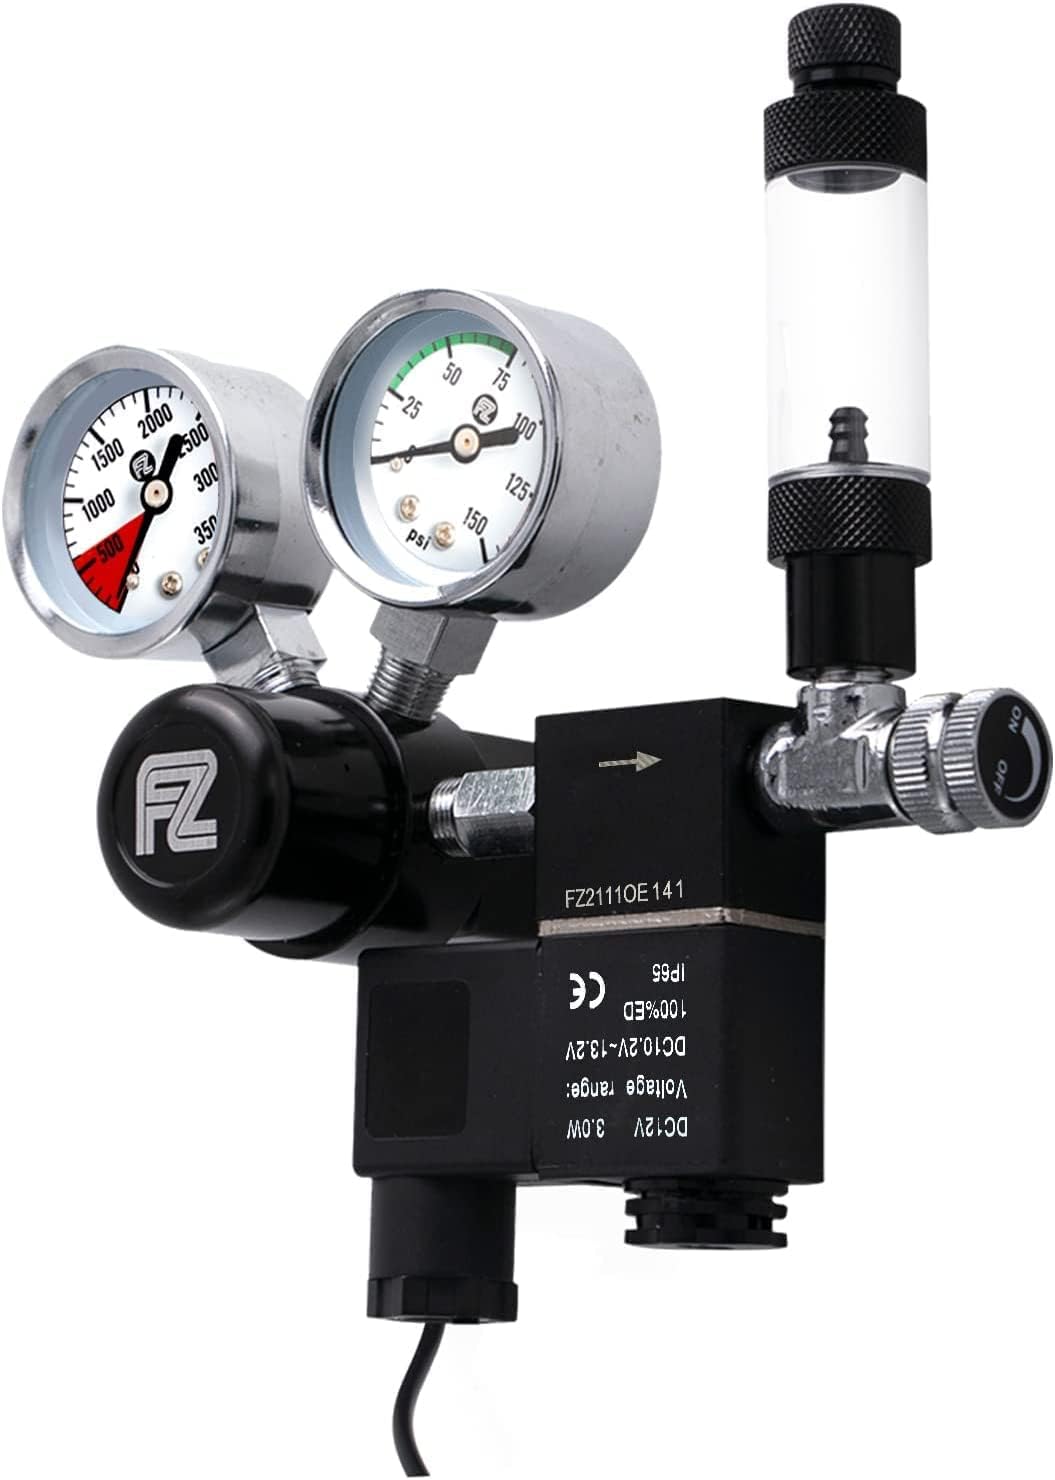 ★4.2
Fzone Pro Series Dual Stage CO2 Regulator
Check Price on Amazon ★4.2Working Pressure and Diffusion Gear: Matching Them Up
Working pressure and your choice of diffusion method are a matched pair. Mismatches cause most "my CO2 gear doesn't work" complaints:
- Atomizer + low pressure: produces nothing, or a few fat bubbles from the edge of the disc. Raise to 2.5–3 bar before declaring it defective.
- Standard diffuser + high pressure: bubbles blast out in a stream instead of fine mist, CO2 dissolves poorly, and the ceramic clogs faster from the pressure hammering debris into the pores. Drop toward 1.5 bar.
- Inline diffuser on a canister filter + low pressure: gas stalls in the tubing and burps out in pulses. Inline units need 2–3 bar to push through the filter line's back-pressure, especially on larger canisters.
- Reactor + any reasonable pressure: the most forgiving option — reactors dissolve gas in a chamber, so pressure just needs to deliver gas to the chamber, not force it through ceramic.
Also check the CO2 tubing and check valves in your chain when raising pressure. Standard CO2-proof polyurethane tubing handles 3 bar fine, but cheap silicone airline tubing softens and balloons — if you upgrade to an atomizer at 3 bar, upgrade the tubing in the same session.
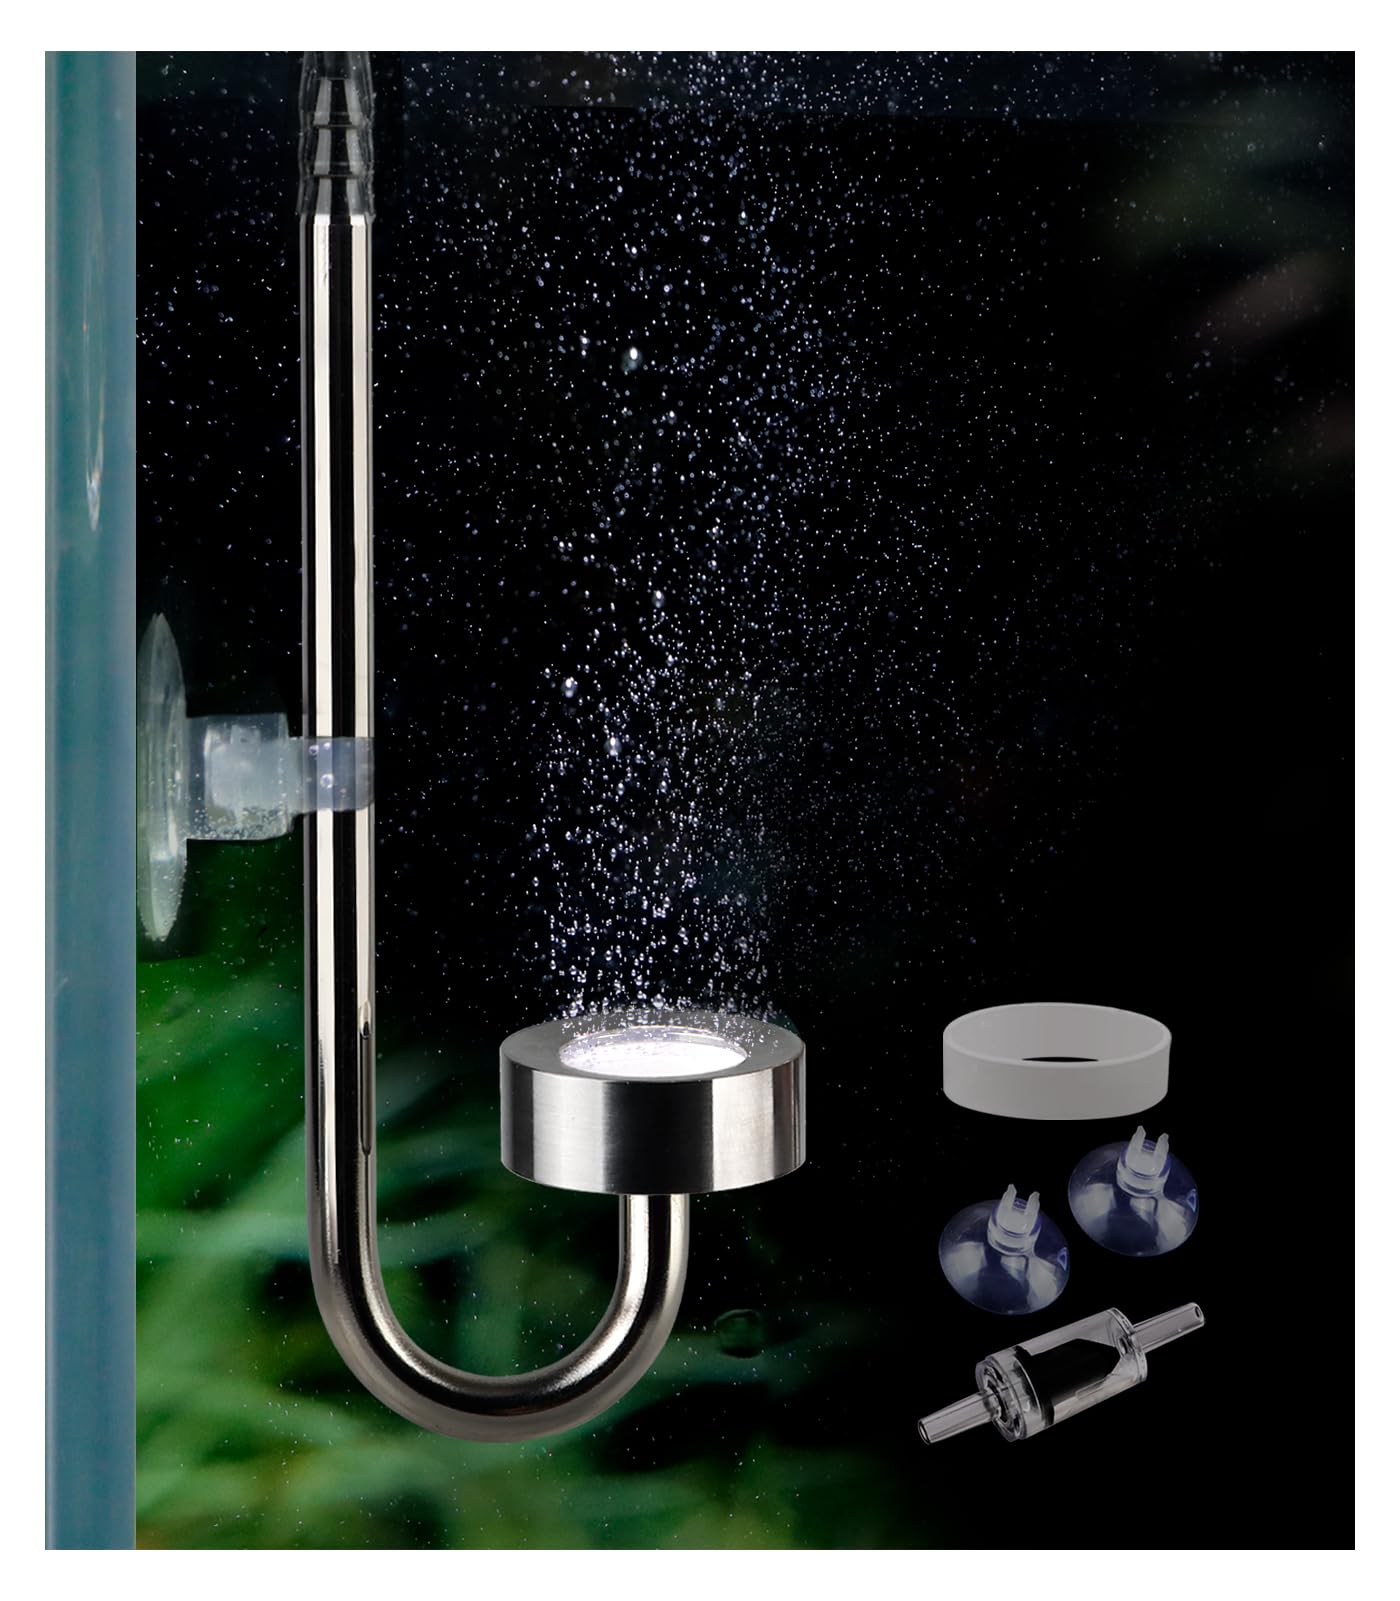 ★4.3
Clscea Stainless Steel CO2 Diffuser Atomizer DC300-20
Check Price on Amazon ★4.3Troubleshooting: When the Gauge Misbehaves
Pressure creeps up over days
On a single-stage regulator, slow creep as the cylinder drains is normal — the first stage has less cylinder pressure to push against, so it passes more through. If the gauge climbs 0.2 bar or more above your setpoint in the cylinder's final month, dial it back and plan a refill. Creep on a full cylinder means a worn first-stage seat — the regulator needs servicing.
Bubble rate drops to zero overnight, gauge unchanged
The pressure is fine; the gas path is blocked. Check the check valve first (mineral buildup seizes them shut), then the diffuser ceramic. Soak the ceramic in a 1:3 bleach solution for 2 hours, rinse thoroughly, and it usually roars back to life.
Gauge reads pressure but no bubbles flow
The gas path is blocked or disconnected. Work backward: diffuser → check valve → bubble counter → needle valve. Bubbles in the counter but none at the diffuser means a blockage between them.
Working pressure drops when the solenoid clicks on
A small dip (0.1–0.2 bar) as flow starts is normal. A large crash means the cylinder is nearly empty or the bottle valve isn't fully open — the cylinder valve is an on/off device, so open it all the way. For the full empty-bottle protocol, see the guide on how long each CO2 cylinder size lasts.
Suspected leak anywhere in the chain
Pressure problems and leaks are cousins — a leak downstream of the regulator can masquerade as pressure instability. Run the soapy water leak test on every fitting whenever you touch the regulator.
Safe Adjustment Procedure: The Step-by-Step
Adjusting working pressure is a two-minute job, but doing it in the wrong order causes the two classic disasters: a pressure spike that blows tubing off, or a setting made against a closed valve that isn't real. Follow this order every time:
- Note your current bubble rate so you can restore it afterward.
- Open the cylinder valve fully (all the way, then a quarter-turn back).
- Power the solenoid on. If you use a timer, do this during the CO2-on window, or temporarily override it.
- Open the needle valve to roughly your normal position — gas must be flowing.
- Adjust the working-pressure knob in small turns, waiting 10–15 seconds between each for the gauge to settle. Target your number (start at 2 bar if unsure).
- Re-set your bubble rate with the needle valve — changing pressure changes flow, so this step is mandatory.
- Watch the bubble counter for 5 minutes, then check again in an hour.
One safety rule overrides everything: never adjust the pressure knob with the solenoid energized but the needle valve fully closed. Trapped pressure gives a false high reading, and when the valve opens the real pressure crashes — or worse, a mis-set knob delivers a surge that blows a line off. Gas flowing, small steps, patience between turns.
Frequently Asked Questions
What is the best working pressure for a planted tank?
Start at 2 bar (30 PSI) — it suits most standard diffusers and needle valves. Drop to 1–1.5 bar if your needle valve is too touchy, or raise to 2.5–3 bar for atomizers and inline diffusers that need more driving pressure. The "best" setting is the one that puts your needle valve in its stable mid-range at your target bubble rate.
Is working pressure the same as bubble rate?
No. Working pressure is the force pushing gas through the system (read on the low-pressure gauge); bubble rate is the volume you allow through (read on the bubble counter). Pressure sets the conditions; the needle valve sets the flow. If your bubble rate is unstable, fix the pressure first — endless valve tweaking won't help.
Why does my working pressure keep rising?
On single-stage regulators, this is the classic prelude to end-of-tank dump: as cylinder pressure falls, the first stage passes more gas and working pressure creeps up. Dial it back to your setpoint and plan a refill soon. Creep on a full cylinder means a worn regulator seat — get it serviced.
Can high working pressure damage my CO2 equipment?
Yes, above about 4 bar (60 PSI). Aquarium tubing, plastic bubble counters, and cheap check valves can fail at high pressure — popped lines, cracked counters, flooded check valves. Stay within 1–3 bar and match the pressure to your diffusion gear's requirements, and everything stays in its design envelope.
Do I need to change working pressure when switching diffusers?
Almost always. Moving from a glass diffuser (happy at 1.5 bar) to an atomizer (needs 2.5–3 bar) without raising pressure is the most common reason a new atomizer "doesn't work." Set the pressure for the new gear first, then re-tune the bubble rate.
Should I turn off the cylinder when adjusting working pressure?
No — the cylinder valve must be open and the solenoid powered so gas is actually flowing while you set pressure. Adjusting against a closed system gives false gauge readings. Keep the adjustments small and wait between turns.
Set It Once, Check It Monthly
Working pressure is a set-and-forget parameter with one maintenance habit: glance at the low-pressure gauge once a month. If it still reads what you set, everything downstream — needle valve, bubble rate, diffusion — rests on a stable foundation. If it has crept, you now know exactly what to do: gas flowing, small steps, re-tune the bubble rate, and verify with the drop checker that your plants are still getting the CO2 they need.