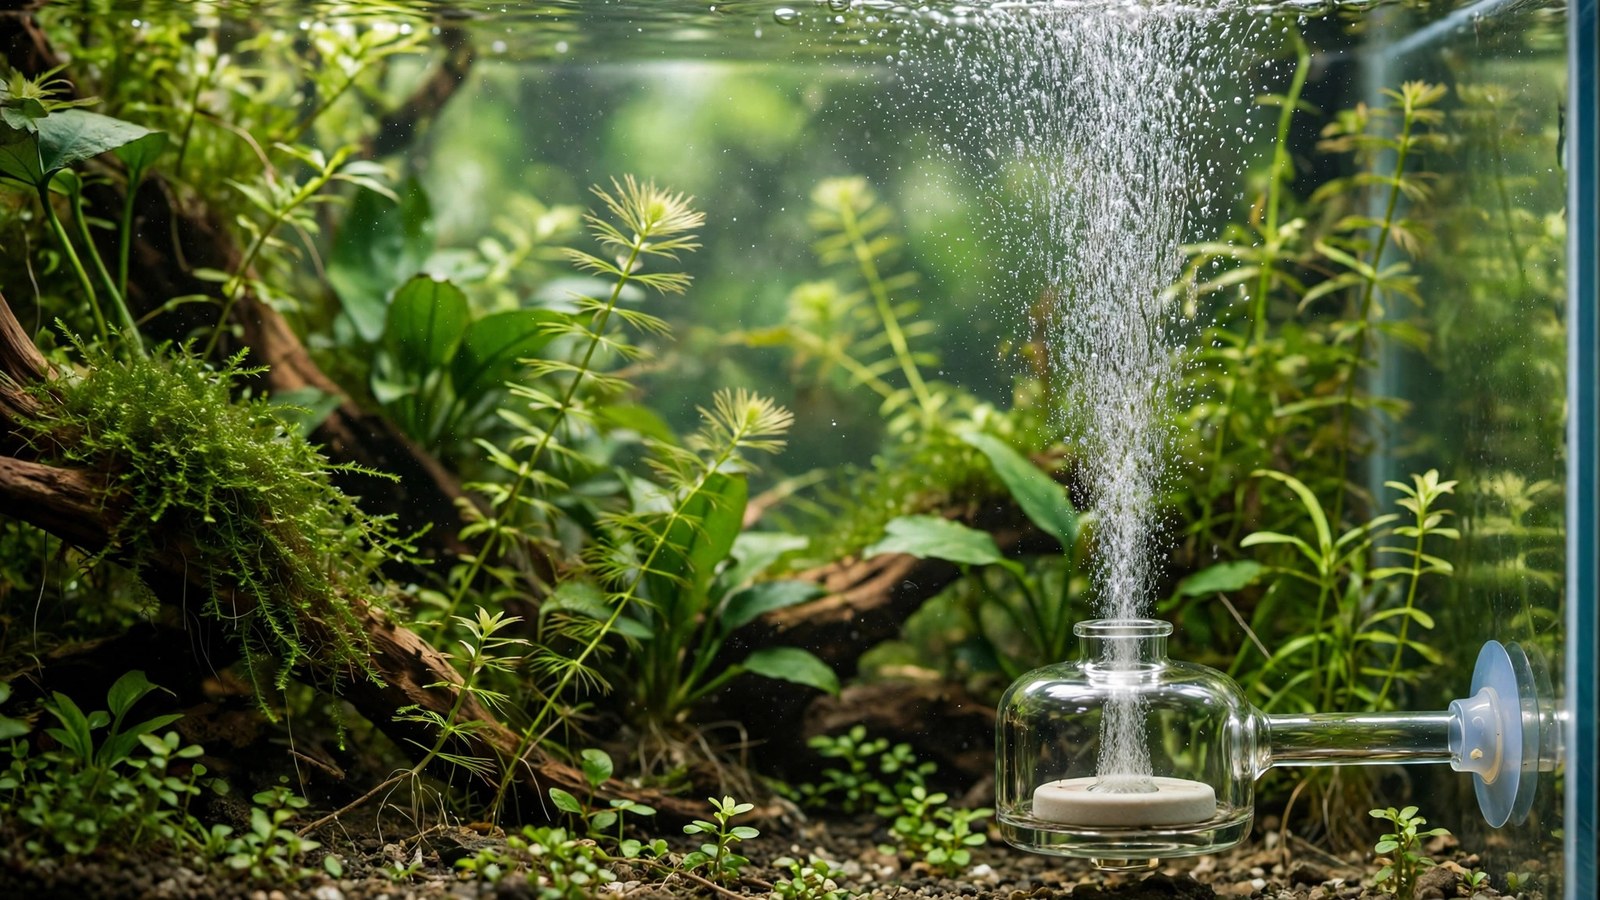
Getting the CO2 bubble rate in a planted tank right is one of those details that separates a tank that merely survives from one that genuinely thrives. Every planted-tank keeper has heard the rule of thumb — one bubble per second for every 10 gallons of water — but few guides explain what that number actually means, why it is only a starting point, or how to confirm your rate is correct instead of just hoping it is. This guide unpacks the bubble-rate rule properly: what a bubble really measures, how to scale the rate to your tank size, how to verify it with a drop checker, and how to balance CO2 against your lighting so your plants get everything they need without putting livestock at risk.
What a CO2 Bubble Rate in a Planted Tank Actually Measures
A bubble count is not a measurement of dissolved CO2. It is a measurement of gas flow — the rate at which CO2 leaves your cylinder and enters the bubble counter. What happens between that moment and your plants' leaves determines everything: the diffusion method, the size of the bubbles, surface agitation, water temperature, and even where the diffuser sits in the tank all change how much of that gas actually dissolves and stays dissolved. Two tanks running an identical 2 bubbles per second can have wildly different CO2 levels if one uses an inline atomizer under a canister filter and the other runs a basic ceramic disc in a corner with a strong surface ripple.
Bubbles themselves are also not a standard unit. A bubble from a glass U-shaped counter with a wide chamber is physically larger than one from an inline counter with a narrow tube, so 3 bubbles per second on your counter might equal 5 on someone else's. That is why bubble rate is a relative tool — perfect for adjusting your own tank up or down — but a poor absolute measure of CO2 concentration. For absolute verification you need a separate instrument reading the water itself, which is where the drop checker comes in (covered in detail below). If you have not yet chosen or installed the counter hardware itself, our companion guide on choosing and placing a CO2 bubble counter covers types, placement, and filling.
The 1-Bubble-Per-10-Gallons Rule, Explained Properly
The familiar rule — about 1 bubble per second for every 10 gallons (roughly 38 liters) of tank volume — is a sane starting point for a medium-light tank with reasonably efficient diffusion. It assumes a middle-of-the-road setup: a ceramic disc or in-tank atomizer, moderate surface movement, a standard pH/KH relationship, and typical tap water. It is not a prescription, and it is not the finish line. It is the opening bid you adjust from.
Here is how the rule translates into starting rates for common tank sizes, with the realistic working range you will end up in after tuning:
| Tank size (gallons) | Starting rate (bps) | Typical tuned range (bps) |
|---|---|---|
| 10 | 1 | 0.5 – 2 |
| 20 | 2 | 1 – 3 |
| 29 | 3 | 1.5 – 4 |
| 40 | 4 | 2 – 6 |
| 55 | 5 – 6 | 3 – 8 |
| 75 | 7 – 8 | 4 – 10+ |
Notice the ranges widen as tanks get larger — that is because volume is only one variable among many. A densely planted 75-gallon tank under strong lighting with an inline reactor may need far more than the rule suggests, while a lightly stocked 20-gallon with a good atomizer and calm surface may settle well below it. The rule gets you onto the playing field; observation and testing get you to your seat.
One more caveat for small tanks: nano setups under 10 gallons behave differently. CO2 accumulates and depletes faster in small water volumes, and livestock tolerance margins are thinner, so start at half the rule (around one bubble every two seconds) and tune upward slowly. A budget CO2 system on a nano tank can absolutely work, but the needle valve needs to be fine enough for genuinely small adjustments.
Why Bubble Rate Is Only Half the Equation
Think of bubble rate as the supply side and dissolution/distribution as the delivery side. Five factors decide how much of your bubble count actually reaches plant leaves as dissolved CO2:
- Diffusion efficiency. An inline atomizer producing a fine mist dissolves a far higher fraction of gas than a coarse ceramic disc bubbling big globes to the surface. Comparing CO2 diffusion methods side by side shows efficiency differences large enough to change your required bubble rate by multiples.
- Surface agitation. CO2 escapes at the water surface, so a strong ripple or spray bar pointed upward wastes gas. Gentle surface movement is the goal: enough for oxygen exchange, not so much that you are venting your CO2 budget.
- Lighting intensity. Light is the accelerator pedal. Under high light, plants photosynthesize faster and consume CO2 faster, so the same bubble rate yields a lower steady-state concentration than under moderate light.
- Plant mass and species. A tank packed with fast-growing stem plants is a CO2 furnace compared to a sparse scape of slow-growing anubias. Heavily planted tanks typically tune toward the top of their range.
- Water chemistry (KH/pH). Carbonate hardness buffers pH, and the pH/KH/CO2 relationship means the same injection rate lands at different dissolved-CO2 levels in soft versus hard water. Very soft water can swing pH quickly, which is another reason to tune slowly.
Because of all this, treat your bubble count as your tank's personal dial — a number that is meaningful only in the context of your setup — and resist the urge to copy someone else's exact setting from a forum signature.
Pairing Your Rate With a Drop Checker
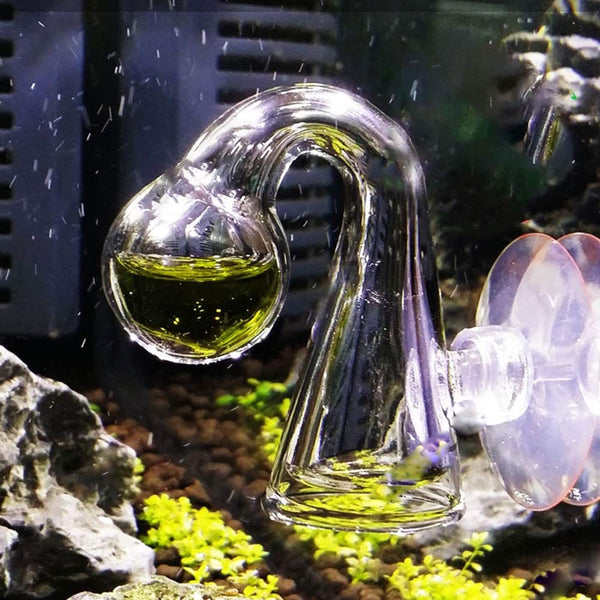
The drop checker is the instrument that turns bubble counting from guesswork into a feedback loop. It is a small glass vessel holding a 4 dKH reference solution and a pH indicator (bromothymol blue); CO2 diffusing from the tank water into the solution's air pocket shifts the indicator color: blue means too little CO2, green means you are in the target zone (roughly 25–35 ppm), yellow means too much.
The workflow is simple and non-negotiable for anyone serious about CO2:
- Set your initial bubble rate from the table above, start CO2 about 1–2 hours before lights-on (timing matters — see our guide on whether to run CO2 at night for the full schedule logic).
- Wait at least 2 hours — a drop checker lags behind the water by roughly this long, so do not chase it minute by minute.
- Read the color. Still blue after several hours at lights-on? Increase the rate by about 25% and wait again.
- Lime-green is your target for most community tanks. Bright yellow is a warning: back off immediately and watch livestock.
- Once the checker holds steady green across the photoperiod, record your bubble rate — that number is now your tank's calibrated setting.
A drop checker is slow but honest. It cannot tell you about distribution dead spots (a green checker near the diffuser can coexist with a CO2-starved corner), so place it opposite the diffuser and low in the tank where flow is weakest. If your checker never turns green no matter how high you crank the rate, the problem is almost always dissolution or distribution, not supply — check diffusion method and surface agitation before touching the needle valve again.
A reliable pick here is Fzone CO2 drop checker.
 ★4.6
FZONE Glass CO2 Drop Checker Kit
Check Price on Amazon ★4.6Step by Step: Dialing In Your Rate Safely
Rushing CO2 adjustments is how livestock gets gassed. The safe method is boring and it works:
- Start low. Begin at or below the table's starting rate for your tank size.
- Change one thing at a time. Adjust rate by 20–30%, then leave everything else untouched for a full day.
- Watch livestock, not just the checker. Fish hanging at the surface, rapid gill movement, or shrimp going still are gasping signs — reduce CO2 immediately, regardless of what the checker says.
- Give plants time to respond. Pearling and growth-rate changes take days, not hours. Judge a setting after a week, not an afternoon.
- Lock it in. Once the drop checker is green, plants are growing steadily, and livestock is calm, note the rate and the cylinder pressure. Check it monthly — as the cylinder empties, output can drift on cheaper regulators.
End-of-tank dump — a sudden CO2 surge as a nearly empty cylinder loses regulator control — is the classic way a perfectly dialed rate turns lethal overnight. Keeping an eye on your cylinder size and refill schedule is part of rate management, not a separate chore.
Balancing Rate Against Lighting
CO2 and light are a seesaw: raise one and the other must follow, or algae fills the gap. This is the single most misunderstood part of CO2 tuning. The relationship works in three tiers:
- Low light (no CO2 needed): Under gentle lighting, plant growth is slow enough that dissolved CO2 from the atmosphere and livestock respiration suffices. Adding injected CO2 here is mostly wasted gas.
- Medium light (the sweet spot for most hobbyists): This is where the 1-bubble-per-10-gallons rule was born. Moderate CO2 reliably boosts growth and color without demanding a reactor or constant fiddling.
- High light (CO2 mandatory): Strong lighting without matching CO2 is an algae farm. High-light tanks routinely run 1.5–2× the rule-of-thumb rate, and diffusion efficiency becomes critical — this is where inline atomizers and reactors earn their keep.
A common trap is "pearling chasing" — cranking CO2 until plants pearl (release visible oxygen bubbles) and calling that the correct rate. Pearling indicates photosynthesis is running hard, but it is influenced by light intensity and water oxygen saturation too. A tank can pearl at a CO2 level that is unnecessarily high for your livestock, so let the drop checker and your animals have the final vote. If you are fighting persistent algae despite tuned CO2, the imbalance may be lighting-driven — our piece on the real relationship between CO2 and algae digs into that connection.
Common Bubble-Rate Mistakes
- Copying someone's exact number. Their counter, diffuser, lighting, and water differ from yours. Use their number as a starting guess, then calibrate to your own tank.
- Cranking too fast. Big jumps in rate stress livestock and overshoot the target. Small steps, full-day waits.
- Counting different-sized bubbles. If you swap counters, recalibrate — the "same" 3 bps on a new counter is a different gas flow.
- Ignoring surface agitation. A newly added powerhead pointed at the surface can silently vent half your CO2, making you chase a rate that can never satisfy the drop checker.
- Tuning only at lights-on. CO2 should reach target concentration before the photoperiod starts and shut off with or before lights-out. A rate that is perfect at noon but yellow at 8 a.m. (from overnight accumulation with poor off-gassing) is not actually dialed in.
- Forgetting plant mass changes. After a heavy trim, CO2 demand drops. After plants fill in, it rises. Recheck your checker monthly and after major rescapes.
Frequently Asked Questions
How many bubbles per second for a 20-gallon planted tank?
Start at 2 bubbles per second as a baseline from the 1-per-10-gallons rule, then tune with a drop checker. Most 20-gallon setups with moderate light settle between 1 and 3 bps depending on diffusion method and plant density. Always begin at the low end and increase in 25% steps with a full day between changes, watching livestock behavior closely for any signs of distress.
Is more bubbles per second always better for plant growth?
No. Once dissolved CO2 reaches roughly 25–35 ppm (a green drop checker), additional gas gives diminishing returns for plants while steadily increasing risk to fish and shrimp. Excess CO2 does not speed growth past the point where light or nutrients become limiting, and it can push pH down far enough to stress livestock. Target the green zone, not the maximum your regulator allows.
Why won't my drop checker turn green no matter how high I set the rate?
This almost always signals a delivery problem, not a supply problem. Check your diffusion method's efficiency, reduce surface agitation that vents gas, confirm the diffuser is under good flow, and place the checker opposite the diffuser. Also verify the checker holds fresh 4 dKH solution — old or contaminated fluid reads wrong. Raising the bubble rate further usually just wastes gas and endangers livestock.
Should bubble rate change when I upgrade my lighting?
Yes. Stronger light accelerates photosynthesis, so the same bubble rate yields a lower steady-state CO2 level. After any lighting upgrade, re-run the tuning process from your current rate: verify with the drop checker across a full photoperiod and raise the rate in small steps until it holds green. Simultaneously watch for algae, which is the classic symptom of light outpacing CO2.
Can I run the same bubble rate 24/7?
You can, but most experienced keepers do not. Plants only consume CO2 during the photoperiod, so running gas overnight wastes it and risks low-oxygen stress on livestock when plants switch to respiration. The standard practice is CO2 on 1–2 hours before lights-on and off at or before lights-out, controlled by a solenoid timer. Our guide on CO2 timing and night shutoff explains the schedule in full.
Your Rate Is a Dial, Not a Destination
The 1-bubble-per-10-gallons rule gets you started, the drop checker tells you when you have arrived, and your livestock and plants confirm you should stay. Treat your bubble count as your tank's personal calibration — written down, rechecked monthly, and re-tuned whenever lighting, plant mass, or diffusion changes. Do that, and CO2 stops being the most intimidating knob on your aquarium and becomes the most rewarding one: a dial you set once, verify honestly, and then mostly forget while your plants do the talking.
For the hardware side of the equation — choosing a counter, placing it correctly, and keeping it filled — see our companion article on CO2 bubble counters. Together, the two give you the complete picture: the device that shows the gas, and the knowledge to set it right.
Further reading on planted-tank CO2 fundamentals: Tropica's CO2 plant-care guide and the 2Hr Aquarist CO2 system primer.