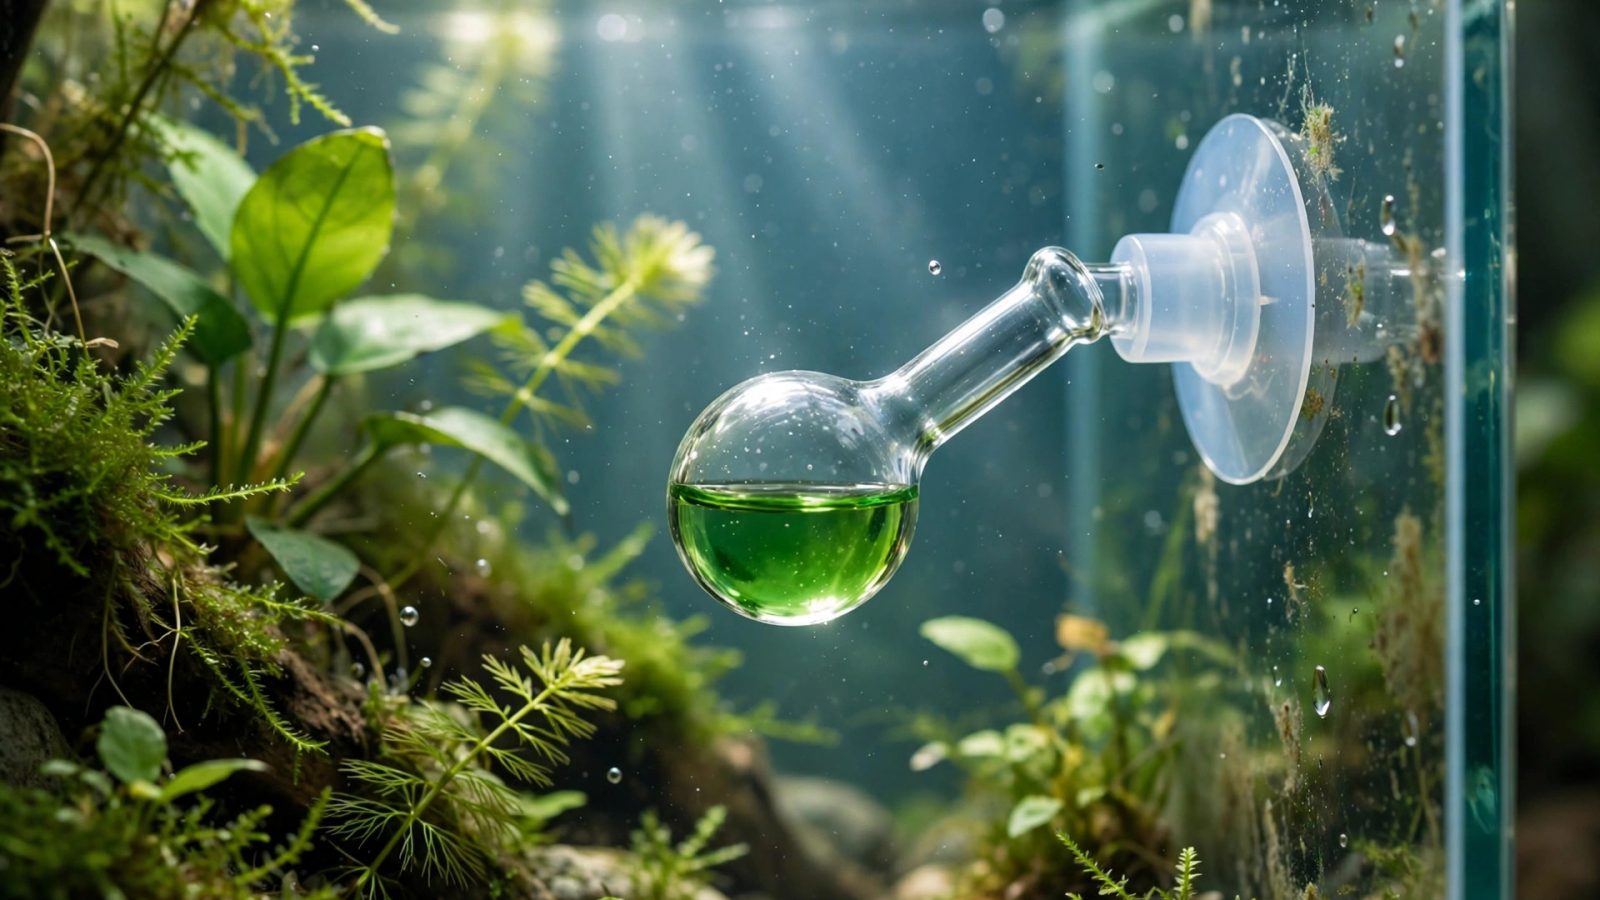
The drop checker is the most important $15 in CO2 injection — a tiny glass vessel that tells you, at a glance, whether your CO2 levels are safe and effective. Yet most beginners install it wrong, fill it wrong, or misread it. This guide covers exactly how drop checkers work, how to set one up, where to place it, and how to read the colors with confidence.
How a Drop Checker Works
A drop checker holds a small volume of pH indicator solution (bromothymol blue in 4 dKH reference water), separated from tank water by an air gap. CO2 in the tank water off-gasses into that air gap, then dissolves into the indicator solution, lowering its pH and changing its color:
- Blue = low CO2 (under ~20 ppm) — safe but ineffective for demanding plants
- Green = target zone (~25–35 ppm) — where you want to be
- Yellow-green = upper end (~35–40 ppm) — acceptable for fish-free plant grow-out, watch livestock
- Yellow = too much (40+ ppm) — reduce injection, increase surface agitation
The critical detail: the checker responds to CO2 only because the reference solution has a known carbonate hardness (4 dKH). Tank water pH is affected by tannins, aquasoil, and buffers — the reference solution isn’t, which is why the checker is more trustworthy than pH/KH charts.
Setup: The 4 dKH Solution
This is where most people go wrong. The indicator must go in 4 dKH reference solution, not tank water. Tank water in a drop checker gives meaningless readings.
Options:
- Premade 4 dKH solution: sold by aquarium suppliers, often bundled with indicator. The foolproof choice — buy this if DIY chemistry isn’t your thing.
- DIY: dissolve 6g baking soda in 5L distilled water (makes ~40 dKH stock), then dilute 10:1 with distilled water for 4 dKH. Use distilled, not tap — tap water’s unknown KH ruins the calibration.
Fill the checker bulb halfway with 4 dKH solution, add 2–3 drops of bromothymol blue indicator (it should look distinctly blue), and mount it. Replace the solution monthly — it degrades and drifts.
Placement: Where It Goes Matters
- Opposite the diffuser, mid-tank height. You want to measure the lowest-CO2 zone, not the bubble stream. Next to the diffuser reads artificially high.
- Below the waterline, obviously — but keep the opening submerged with the air gap intact. Tilt-mount checkers use surface tension to hold the solution.
- Visible from your usual viewing spot. A checker hidden behind hardscape never gets checked. Front corner, opposite the diffuser, is ideal.
- Away from filter outflow blasting directly on it — extreme local flow skews readings.
Large tanks (55+ gallons) benefit from two checkers at opposite ends — CO2 distribution is the challenge at scale, and one reading can’t represent the whole tank.
Reading the Checker: Timing and Technique
The 2-hour lag. The checker equilibrates slowly — its color reflects CO2 levels from 1–2 hours ago, not right now. Use it as a trend instrument:
- Check at the same time daily (e.g., mid-photoperiod) for comparable readings.
- After adjusting the needle valve, wait 24 hours before judging the result. Same-day readings lie.
- A checker that’s green at lights-on and yellow by evening suggests the rate creeps — common with single-stage regulators warming up.
Reading technique: view against a white background (hold white paper behind it) in daylight or neutral room light. Tank lighting — especially RGB fixtures — distorts color perception badly. When in doubt between green and yellow-green, it’s greener than you think under blue-heavy light.
Calibrating Your Bubble Rate With the Checker
The standard tuning procedure:
- Day 1: set ~1 bubble per second. Note checker color at mid-photoperiod (likely blue).
- Day 2–3: increase slightly. Wait a full day between adjustments.
- Continue until the checker holds steady green at mid-photoperiod for 3 consecutive days.
- Watch livestock throughout — gasping or lethargy overrides the checker. Fish behavior is the ultimate safety signal.
- Lock it in: mark your needle valve position (a paint dot works) so you can return to it after cylinder swaps.
Never chase the checker intraday. Set it, wait, observe. Patience is the entire skill.
Troubleshooting
- Checker never changes from blue: solution is old/contaminated, or it’s actually correct and CO2 is too low. Replace solution first, then investigate injection (leaks, clogged diffuser — see the CO2 guide’s troubleshooting).
- Checker turns yellow but fish are fine: trust the fish over the color — but verify the solution is fresh and it’s 4 dKH, not tank water. Some indicators read yellow-green at perfectly safe 30 ppm.
- Checker dries out: evaporation through the air gap over weeks. Top off with fresh 4 dKH + indicator, not tank water.
- Algae grows inside the checker: normal in bright tanks. Clean during monthly solution changes; it doesn’t affect accuracy much, but it obscures reading.
- Solution leaks into the tank: harmless at these volumes (bromothymol blue is non-toxic to fish at drop-checker quantities), but remount more carefully.
Checker Types
- Classic glass bulb/tube: cheap, effective, slightly fiddly to fill. The default.
- Nano/mini checkers: smaller profile for small tanks. Same principle, less visual intrusion.
- Hang-on designs: clip over the rim — easier to fill and read, slightly more visible equipment.
They all work identically. Pick based on aesthetics and tank size, not claimed accuracy differences.
The Bottom Line
A drop checker doesn’t control your CO2 — you do, via the needle valve, guided by the checker and your fishes’ behavior. Fresh 4 dKH solution, placement opposite the diffuser, readings taken at the same time daily against white: that’s the whole discipline. Fifteen dollars, five minutes a month, and it’s the difference between confident CO2 injection and expensive guessing. Pair it with a sensible light schedule and the balanced CO2 approach, and your levels stay exactly where your plants need them.
DIY 4 dKH Solution: Exact Recipe
For those who want precision without buying premade:
- Start with distilled water only — tap water’s unknown minerals invalidate everything.
- Dissolve 6.0g sodium bicarbonate (baking soda) in 5 liters distilled water. This yields ~40 dKH stock. A kitchen scale accurate to 0.1g matters here.
- Take 100ml of stock, add 900ml distilled water. Result: 4 dKH reference solution.
- Store stock in a sealed bottle, labeled, away from light. It keeps for a year.
- When filling the checker, use the diluted 4 dKH — never the stock.
Common error: using “purified drinking water” instead of distilled. Drinking water often has minerals added for taste — only distilled (or deionized) is reliably mineral-free.
Alternatives to the Drop Checker
The drop checker is the standard, but not the only CO2 measurement approach:
- pH controller: a probe + controller that toggles the solenoid to hold a pH setpoint. Precise and automated — but expensive ($150+), probes need monthly calibration, and pH isn’t CO2 (tannins and buffers confound it). Best for large or valuable setups where automation justifies the fuss.
- pH/KH chart: measure pH and KH, look up CO2 on the chart. Free — and unreliable in aquasoil tanks, tannin-stained water, or with phosphate buffers. Only trustworthy in inert-substrate, crystal-clear water. The drop checker’s reference solution exists precisely because tank water lies.
- Fish behavior: the ultimate ground truth, but a lagging indicator — by the time fish gasp, you’re already overdosed. Use behavior as the safety override, not the primary gauge.
- Plant growth observation: informative over weeks, useless for daily tuning.
For 95% of hobbyists: drop checker + fish observation. Simple, cheap, effective.
Checker Maintenance Calendar
- Monthly: dump, rinse, and refill with fresh 4 dKH + indicator. Mark it on the same day as filter maintenance so it becomes routine.
- Quarterly: deep-clean the glass (vinegar soak for mineral deposits), check the mounting suction cup.
- After any CO2 system change (new cylinder, new diffuser, moved equipment): fresh solution and a re-tuning week. Don’t trust old readings after hardware changes.
- When readings seem “stuck”: solution is exhausted. Refill before suspecting the CO2 system.
Checker Placement Experiments Worth Running
Once comfortable with the basics, two experiments teach you more than any guide:
- The 24-hour color log: note the checker color every 2 hours for one full day (including 2 hours after lights-off). You’ll see the lag in action — color keeps shifting after CO2 turns off — and learn your tank’s true daily curve.
- The two-checker distribution test: place checkers at opposite ends for a week. If one reads green and the other blue, your diffusion/distribution needs work (move the diffuser, improve flow) — not more bubbles.
When the Checker Disagrees With Everything Else
Checker says green, but plants show CO2-deficiency signs and algae thrives? Possibilities: old solution (replace monthly — really), checker placed in a high-flow sweet spot that doesn’t represent the tank, or the far more common scenario — CO2 is fine and the actual problem is light or nutrients. The checker measures one variable; don’t let it overrule the full diagnostic picture in our CO2 troubleshooting guide.
Checker says blue, but fish gasp? Trust the fish immediately — increase surface agitation, do a water change. Then investigate: contaminated reference solution (tap water instead of distilled gives false blues), or CO2 entering through an unmeasured path (a leak bubbling directly into the tank bypasses the diffuser and the checker’s air-gap equilibrium).