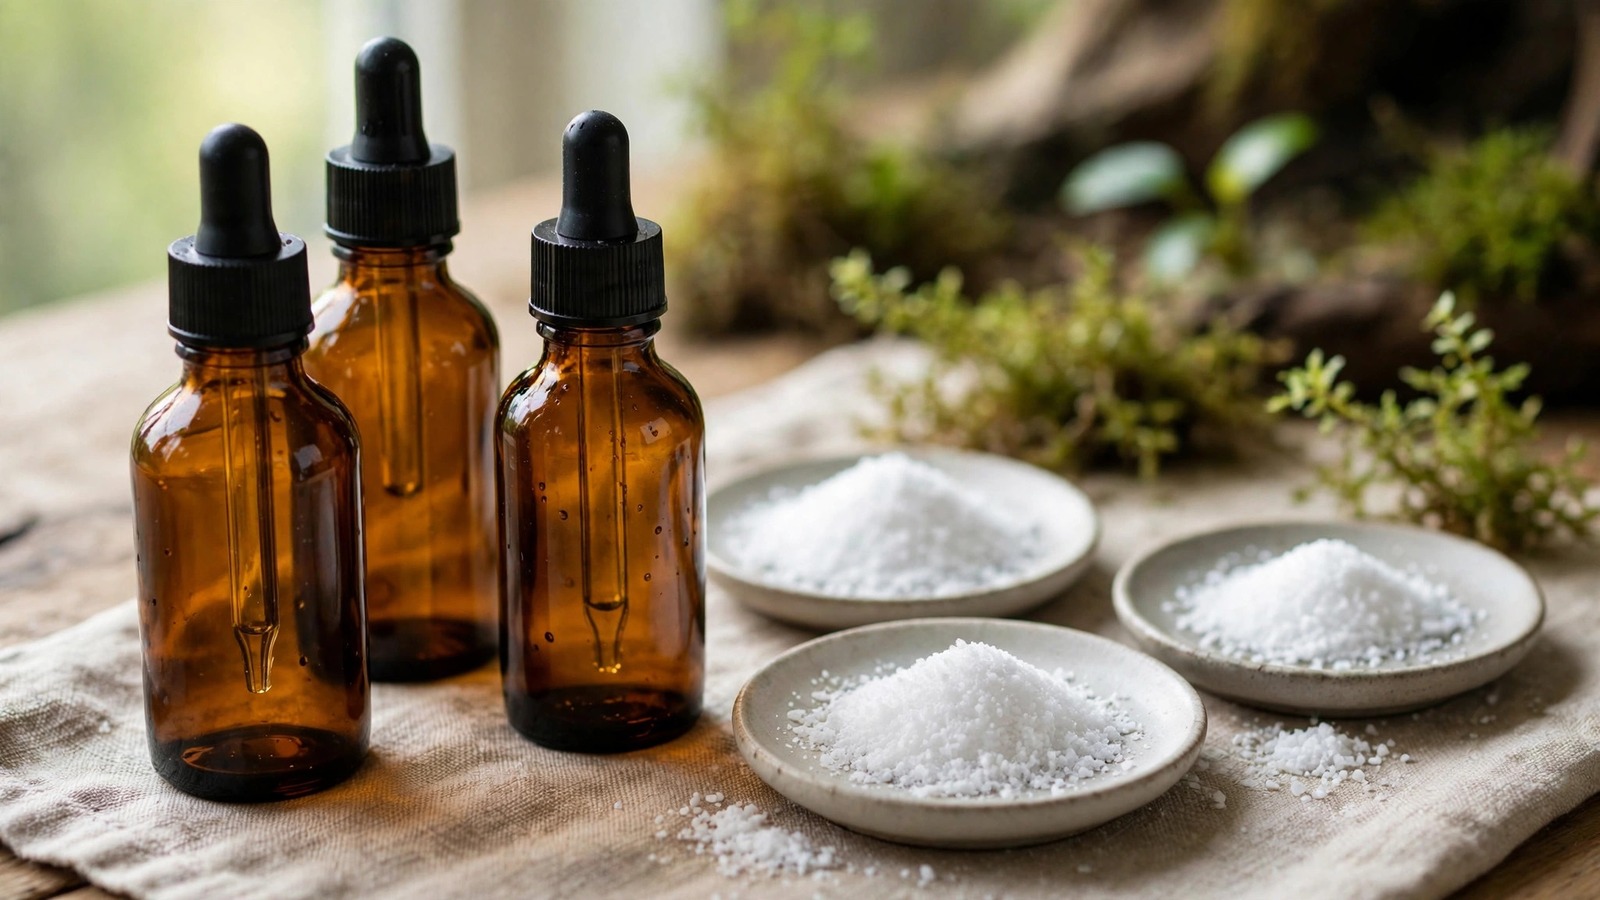
If you have been learning how to mix dry aquarium fertilizer, you have probably noticed something odd: every planted-tank forum happily publishes dosing schedules — 5 mL of this three times a week, a water change on Sunday — but almost nobody shows you the actual mixing step. Where do the powders come from? How much goes in the bottle? Why are there two bottles instead of one? This guide closes that gap. We will walk through the dry salts the Estimative Index (EI) method uses, how to weigh them without a jeweler's scale, how to turn them into stable stock solutions, and how to dose them safely around your fish and shrimp.
Why Dry Fertilizers Beat Bottled Products
Bottled liquid fertilizers from aquarium brands are convenient, but they are mostly water. A single 500 mL bottle of a popular all-in-one can cost more than a year's supply of dry salts, and it locks you into the manufacturer's fixed ratios. Dry salts — potassium nitrate, monopotassium phosphate, potassium sulfate, and a chelated trace mix — are the same chemicals inside those bottles, bought in bulk for a few dollars each.
The other advantage is control. The early weeks of a new planted aquarium often need leaner dosing while plants settle in, then heavier feeding once growth explodes. With dry salts you can cut your macro dose in half, skip a compound entirely, or run leaner phosphates — try doing that with a pre-mixed bottle. And because you mix your own stock solutions, you always know exactly what is going into the tank.
What You Need Before You Start
Gather your equipment and ingredients first. The whole setup costs less than most branded fertilizer lines and lasts a year or more for a single medium tank.
Equipment
- Two opaque 500 mL dosing bottles (amber PET or HDPE) — one for macros, one for micros
- Measuring spoon set — 1 tsp, 1 tbsp, plus a ¼ tsp for trace amounts
- Funnel that fits your bottle necks
- Distilled or RO water — avoid tap water for stock solutions
- A 10–20 mL dosing syringe or medicine cup for daily dosing
- Labels and a marker — date every bottle
Ingredients (the dry salts)
- KNO3 — potassium nitrate: your main nitrogen source. Provides both nitrate (NO3) and potassium (K).
- KH2PO4 — monopotassium phosphate: phosphate (PO4) and a small potassium top-up.
- K2SO4 — potassium sulfate: extra potassium without touching nitrogen or phosphate levels.
- CSM+B or similar chelated trace mix: iron, manganese, boron, zinc, copper, and molybdenum in EDTA/DTPA chelated form, so they stay available in water.
Buy fertilizer-grade salts from aquarium suppliers — food-lab or reagent grades are fine too. Avoid garden products that contain fillers, and never use anything labeled as a weed killer or containing added herbicides.
Weighing Without a Scale
A digital milligram scale costs little and is the gold standard, but you can start today with measuring spoons. Use level spoons (scrape the top flat with a knife) and treat the conversions below as approximate — the EI method deliberately overshoots plant needs and corrects with weekly water changes, so small weighing errors are harmless.
| Salt | Weight target (per 500 mL bottle) | Level-spoon equivalent |
|---|---|---|
| KNO3 (potassium nitrate) | 40 g | 7 tsp |
| KH2PO4 (monopotassium phosphate) | 6 g | 2 tsp |
| K2SO4 (potassium sulfate) | 30 g | 5½ tsp |
| CSM+B trace mix | 15 g | 1 tbsp |
These spoon figures are approximations averaged from hobby measurements — roughly 5.5 g per tsp for KNO3, 3–4 g per tsp for KH2PO4, 5.5 g per tsp for K2SO4, and 13 g per tbsp for CSM+B. If your spoons run heavy, your plants will not care; EI is designed around a safety margin. If you want tighter control, a small digital scale removes all guesswork and is worth the investment.
How to Mix Dry Aquarium Fertilizer: Stock Solutions Step by Step
You will make two separate bottles. This is not optional — mixing macros and micros together is the single most common beginner mistake, explained below.
- Label both bottles first. Write "MACROS — EI stock" with the mixing date on one bottle, "MICROS — EI stock" with the date on the other. Labeling before you add anything prevents mix-ups.
- Fill each bottle about two-thirds full with distilled or RO water. Warm water (not hot) dissolves the salts faster. Leave room for the salts plus the remaining water.
- Add the macro salts to the macro bottle: 40 g (7 tsp) KNO3, 6 g (2 tsp) KH2PO4, and 30 g (5½ tsp) K2SO4. Use the funnel; pour slowly.
- Add the micro mix to the micro bottle: 15 g (1 tbsp) CSM+B. The powder is dark and stains — rinse your hands and the funnel promptly.
- Top up both bottles to 500 mL with distilled or RO water, leaving about 2 cm of headspace so you can shake them.
- Cap and shake vigorously for 30–60 seconds. All four salts dissolve readily at these concentrations; K2SO4 is the slowest, so give the macro bottle extra shaking and a few minutes' rest if crystals remain at the bottom.
- Store both bottles in a dark cupboard at room temperature. Light degrades chelated iron and encourages algae or bacterial growth inside the bottles. Shake each bottle before every use.
The bottles are usable within a few hours of mixing. Expect a macro stock solution to stay good for roughly six months and a micro solution for about three — if a solution smells foul, grows slime, or changes color sharply, discard it and mix fresh.
Why Macros and Micros Get Separate Bottles
When phosphate (from KH2PO4) meets iron and other trace metals in concentrated form, they react into iron phosphate precipitate — a cloudy, brownish solid that your plants cannot absorb. In the diluted environment of your aquarium, a macro dose and a micro dose added an hour apart will not cause problems. But inside a single concentrated bottle, they precipitate within days, and the resulting sludge clogs dosing pumps and starves your plants of both phosphate and iron.
This is also why the classic EI schedule — the Estimative Index method developed by aquatic-plant biologist Tom Barr — alternates days: macros on Monday, Wednesday, and Friday; micros on Tuesday, Thursday, and Saturday; and a 50% water change on Sunday. The separation in the bottle mirrors the separation in the tank. If you ever buy a commercial "all-in-one," know that it uses stabilizers and acidified formulas to prevent this reaction — that chemistry is exactly what you are paying a premium for.
Dosing Your Tank: Conservative Starting Points
The stock solutions above are calibrated so that 5 mL per 75 liters (20 gallons) of water delivers a standard EI-level dose: approximately 3.3 ppm nitrate, 0.6 ppm phosphate, 4 ppm potassium per macro dose, and about 0.13 ppm iron per micro dose. Scale the volume to your tank size — the ratios stay the same.
| Tank size | Macro dose (5 mL stock / 75 L) | Micro dose (5 mL stock / 75 L) | Schedule |
|---|---|---|---|
| ~40 L (10 gal) | 2.5 mL | 2.5 mL | Alternating days, 3× per week each |
| ~75 L (20 gal) | 5 mL | 5 mL | Alternating days, 3× per week each |
| ~150 L (40 gal) | 10 mL | 10 mL | Alternating days, 3× per week each |
| ~220 L (60 gal) | 15 mL | 15 mL | Alternating days, 3× per week each |
Start at half the listed dose for the first two weeks, then observe. If plants show new growth with good color and algae stays quiet, step up gradually toward the full EI amounts. If you keep sensitive shrimp or recently stocked fish, hold at half dose longer — start low, observe livestock, and only increase when plant response demands it. The weekly 50% water change resets anything you overshoot, which is the entire safety philosophy of EI. Newly planted tanks sometimes benefit from waiting a few days before the first full macro dose, so check our guide on when to add plants to a new aquarium for timing.
Pair your dosing with solid plant husbandry: regular trimming of fast-growing stem plants removes the nutrients they absorbed and keeps the system balanced. If growth stalls or older leaves melt despite dosing, review our guide to reviving struggling aquarium plants before simply adding more fertilizer — melting often has other causes.
Storage, Shelf Life, and Handling Safety
Dry salts are far more concentrated than anything in a retail bottle, so handle them with basic respect:
- Store dry salts in sealed, labeled containers in a dry cupboard, clearly marked "fertilizer — not food." Keep them out of reach of children and pets; KNO3 in particular is an oxidizer. For a thorough reference, the Texas A&M AgriLife Extension guidance on fertilizer storage and handling covers the same principles — separation, labeling, and spill cleanup — that apply at any scale.
- Do not inhale the powders. Pour gently, avoid breathing dust, and wash hands after handling. A simple dust mask is plenty.
- Keep macro and micro stock bottles separate (as described above) and shake before each use.
- Never dose dry salts directly into the aquarium. Always dissolve them in a stock solution first — dumping concentrated powder on fish, shrimp, or plant leaves can cause chemical burns.
- Do not use tap water for stock solutions; chlorine, chloramines, and minerals can react with trace chelates and shorten shelf life. If you use rainwater for your planted aquarium, treat it for stock solutions the same as RO water — distilled is still safest.
When a macro bottle is finished, it is safe to re-mix in the same bottle after a quick rinse. Replace micro bottles' contents every three months even if unused, since chelated iron slowly breaks down in solution.
Troubleshooting Common Mixing Problems
White crust around the bottle cap
This is just dried salt from minor drips — wipe it off and make sure the cap seals. It does not affect the solution.
K2SO4 crystals sitting at the bottom
Potassium sulfate dissolves slowly. Warm the water slightly, shake again, and give it an hour. The concentrations in this recipe are well below saturation, so persistent crystals mean cold water or insufficient shaking, not an error in the recipe.
Micro solution smells swampy or grows slime
Bacterial contamination, almost always from tap water or a bottle left in the light. Discard it, sterilize the bottle with hot water, and re-mix with distilled water. Storing micros in the dark is the best prevention.
Plants pale despite correct dosing
Check CO2 and light first — no fertilizer fixes a carbon or light bottleneck. If those are adequate, confirm your trace bottle has not precipitated or expired; iron deficiency shows as yellowing new leaves with green veins. Also note that newly planted tissue-culture stock often melts back before adapting — see how to plant tissue culture cups for what is normal.
Frequently Asked Questions
Can I mix macros and micros in one bottle to save time?
We strongly advise against it. Concentrated phosphate and iron react to form insoluble iron phosphate precipitate, which removes both nutrients from solution and turns the bottle cloudy within days. The two-bottle system costs almost nothing extra and is the standard for the EI method. If you must have one bottle, buy a stabilized commercial all-in-one instead of improvising.
Do I really need a scale, or are spoons accurate enough?
Spoons are accurate enough for EI, because the method doses to excess and resets weekly with a 50% water change — small errors wash out. A $10 digital milligram scale is still worth it for consistency and for measuring tiny corrective doses, but thousands of hobbyists dose successfully with spoons alone. Use level spoons and consistent brands, and you will be fine.
How long do mixed stock solutions last?
Macro solutions (KNO3, KH2PO4, K2SO4) typically stay good for about six months in a dark bottle. Micro solutions (CSM+B) last roughly three months before chelated iron degrades noticeably. Distilled water, dark storage, and shaking before use all extend life. If a bottle smells bad, grows visible slime, or changes color sharply, discard and re-mix.
Can I use this method in a shrimp-only tank?
Yes, but start very conservatively — about one-quarter to one-third of full EI dosing — and watch your shrimp for a week before increasing. Copper-sensitive shrimp species can react to heavy trace dosing, which is why our schedule keeps micros modest and separate. Start low, observe livestock, and increase only when plants clearly need more.
Why use distilled water instead of tap water for the stock solutions?
Tap water contains chlorine or chloramines that attack chelated trace metals, plus minerals that can trigger precipitation and feed bacterial growth inside the bottle. Distilled or RO water keeps the solution chemically stable for months. It is an inexpensive step — one jug lasts for many batches of stock solution.
Is it safe to handle these chemicals around the house?
With basic precautions, yes. These are plant nutrients, not industrial poisons, but the dry powders are concentrated: keep containers sealed, labeled, and out of reach of children and pets, avoid inhaling dust, and wash your hands after mixing. Never dose dry powder directly into the aquarium — always mix a stock solution first. Moving an established tank is another scenario where careful handling matters; see our guide on moving a planted tank safely for related logistics.
Start Mixing Today
Mixing your own dry fertilizers is a one-time setup of about thirty minutes that pays off for a year. Two bottles, four cheap salts, distilled water, and a conservative dosing schedule give you the same nutrients — at the same ratios — as the premium bottled products, with full control over every parameter. Start at half dose, watch your plants and livestock for two weeks, then adjust. Once you have dialed in dosing, you can extend the philosophy to other inputs — for example, replanting your trimmings and even using aquarium water for your houseplants to close the nutrient loop entirely.
Tissue-culture plants are the exception — they’re grown in sterile gel and adapt with minimal melting, which is part of what you’re paying for. Plants bought submersed from another hobbyist’s tank also transition with little melt, since they’re already in the right form.
Which Plants Melt Most (and Least)
Heavy melters (expect significant leaf loss)
- Cryptocorynes — infamous for “crypt melt,” sometimes dropping every leaf after any disturbance. They almost always recover from the roots within weeks.
- Stem plants grown emersed — rotala, ludwigia, and hygrophila often shed lower emersed leaves while the growing tips transition.
- Amazon swords — emersed-grown swords typically lose their broad oval aerial leaves and replace them with longer submersed ribbon leaves.
Light melters
- Anubias, java fern, bucephalandra — slow-growing rhizome plants transition gradually; occasional old-leaf melt but rarely dramatic.
- Vallisneria — usually transitions well, though it dislikes the move itself and may sulk for a week.
- Floating plants — minimal melt since their leaves were already at the air-water interface.
The Acclimation Protocol
Step 1: Quarantine or dip first
Before acclimating to your tank’s conditions, make sure you’re not acclimating pests along with the plant. Run new arrivals through our quarantine and dip protocol — it adds days upfront but prevents months of regret.
Step 2: Float to temperature-match (30 minutes)
Float the bag or container in your tank for 20–30 minutes to equalize temperature. Plants are less temperature-sensitive than fish, but a 10°F shock on top of transplant stress is an avoidable insult.
Step 3: Trim before planting
Remove any leaves that are already damaged, yellowing, or heavily algae-covered — they won’t recover and they’ll rot in your tank, feeding algae. For stem plants, trim off the bottom inch and any emersed leaves that look unlikely to adapt; the plant wastes energy maintaining leaves it’s going to shed anyway. Keep the healthy growing tips — that’s where recovery starts.
Step 4: Plant correctly the first time
Follow our planting guide — right depth, crown exposed on rosettes, rhizomes unburied on epiphytes. Every uprooting and replanting restarts the acclimation clock, so get placement right on the first attempt. Decide where each plant goes before it goes in the water.
Step 5: Run a gentle first week
For the first 7 days after planting:
- Moderate light — run your normal photoperiod but consider dropping intensity 20–30% if your light is dimmable. Blast-level light on a melting plant grows algae on the dying leaves, not recovery.
- Stable CO2 — if you inject CO2, keep it consistent. Fluctuating CO2 during acclimation is a melt accelerator. If you’re low-tech, this doesn’t apply — see growing without CO2.
- Half-strength fertilizer — new plants with damaged leaves can’t use full dosing, and the excess feeds algae. Ramp to full strength over 2–3 weeks per our fertilizer schedule.
- No disturbance — don’t move, trim, or “check on” new plants for at least two weeks. Every touch resets root establishment. This is especially critical for crypts.
Step 6: Remove melt, keep the base
As emersed leaves melt, remove the mushy material promptly — decaying leaves release ammonia and grow fungus that can spread to healthy tissue. But never discard the plant while the crown, rhizome, or roots are firm and alive. A crypt that’s lost every leaf but has firm roots is a plant that’s about to recover, not a dead plant. Give it 3–4 weeks before judging.
Telling Normal Melt From Real Problems
Normal transition melt:
- Affects oldest/emersed leaves first, newest growth last
- New submersed leaves emerge even as old ones dissolve
- Roots and crown stay firm and white/green
- Timeline: 1–4 weeks, then obvious new growth
Concerning melt (see our full melting diagnosis guide):
- New growth also melts or emerges deformed
- Rhizome or crown turns mushy and brown — this is rot, not transition
- Entire plant dissolves within days with no new growth after 4+ weeks
- Melting spreads to established plants that weren’t recently moved
Buying Tips to Minimize Melt
- Buy submersed-grown when available — hobbyist-grown cuttings transition with almost no melt.
- Choose tissue culture for sensitive species — crypts and delicate stems establish far more reliably from sterile cups.
- Avoid plants already melting in the store tank — some melt is normal, but a plant that’s mostly mush at purchase has less energy for recovery.
- Transport carefully — keep plants damp and out of direct sun/heat. A plant that dries out or cooks in a hot car melts far worse than one transported properly.
The First-Month Timeline: What to Expect Week by Week
Knowing what’s normal when removes most acclimation anxiety. Here’s the typical timeline for a healthy plant adapting to a new tank:
Week 1: The quiet week
Almost nothing visible happens. The plant is growing roots you can’t see and assessing its new environment. Some species (vallisneria, stem plants) may start shedding their lowest leaves. This is normal. Resist the urge to “help” — no moving, no extra fertilizer, no light changes. The most common beginner mistake is intervening during a week when the correct action is nothing.
Week 2: Melt peaks
This is when emersed leaves give up in earnest. Crypts may drop everything; swords shed their broad aerial leaves; stem plants lose lower foliage. It looks catastrophic and it’s usually fine. Keep removing mushy material, keep conditions stable, and watch the crown and growing tips — if those are firm and green, recovery is already underway.
Week 3: The turn
New submersed-adapted leaves emerge — smaller, thinner, often a slightly different shade of green than the emersed foliage. Stem plant tips start growing visibly; crypts push tiny curled leaves from the crown; swords unfurl narrow ribbon leaves. This is the moment most beginners exhale for the first time.
Week 4+: Established
New growth outpaces melt, and the plant is functionally yours. You can resume full-strength fertilizer, normal trimming, and stop treating it as fragile. Some slow growers (anubias, bucephalandra) take 6–8 weeks to show obvious progress — that’s their normal speed, not a problem.
Acclimating Different Plant Formats
Tissue-culture cups
Sterile, pest-free, and already adapted to high-humidity (not emersed) growth — tissue cultures melt the least of any format. Rinse the agar gel off gently (leftover gel rots and feeds fungus), split the portion into small plantlets, and plant per our planting guide. They establish slowly for the first two weeks, then accelerate. No dip needed, minimal acclimation stress — this is the premium experience you’re paying for.
Potted plants
Remove the pot and strip away the rockwool completely — leftover rockwool traps debris and rots. Tease the root mass apart gently; if it’s a dense mat, splitting it into 2–3 smaller portions actually establishes faster than planting one big clump (more growing points, better water flow around roots). Potted plants are usually emersed-grown, so expect the standard 2–4 week melt cycle.
Bare-root / bunched stems
Typically sold as weighted bunches. Remove any bands, foam, or weights, strip the lower leaves, and plant stems individually or in small groups. Bunched stems from the store are often already transitioning — check for new submersed growth at the tips, which tells you the plant is mid-adaptation and will settle quickly.
Hobbyist cuttings
Already submersed-grown and the fastest to establish — often showing new growth within days. The main acclimation factor is water-parameter difference between the two tanks. Float to temperature-match, plant promptly, and they’ll usually take off with minimal melt. This is why experienced hobbyists prefer trading cuttings over buying potted plants.
Frequently Asked Questions
Should I use a “plant starter” or transplant fertilizer?
Products marketed for transplant shock are mostly B-vitamins and mild hormones. They don’t hurt, but there’s no strong evidence they help aquarium plants specifically. Stable conditions and patience outperform any bottle. Save the money for more plants.
My new plant melted completely — bare crown, no leaves. Is it dead?
Probably not, if the crown or rhizome is firm. Crypts and swords routinely lose 100% of their leaves and regrow from the base within a month. The test is firmness: firm and pale/green means alive; mushy and brown/black means rot. Give firm-but-leafless plants a full 4 weeks before declaring them dead.
Can I speed up acclimation with extra light or CO2?
No — and trying usually backfires. A melting plant can’t use extra light; the excess just grows algae on its dying leaves. Keep light moderate and CO2 stable (not boosted) during acclimation. Growth speed comes from the plant’s own adaptation timeline, which you can’t rush, only avoid delaying.
Should new plants go straight into my main display tank?
After quarantine/dipping, yes — there’s no benefit to a separate “growing-in” tank for most plants. They acclimate to your water fastest in the tank they’ll live in. The exception is very delicate species going into a tank with boisterous fish; give those a few weeks in a calm corner or breeder box first.
The Patience Rule
The single most important acclimation skill is restraint: plant it right, set gentle conditions, remove decay, and then leave it alone for a month. The hobbyists with the best plant growth aren’t doing something clever in week one — they’re simply not interfering in weeks two through four while the plants do what they’ve evolved to do. Melt looks like failure and feels like failure, but in most cases it’s the visible part of a plant successfully becoming yours.