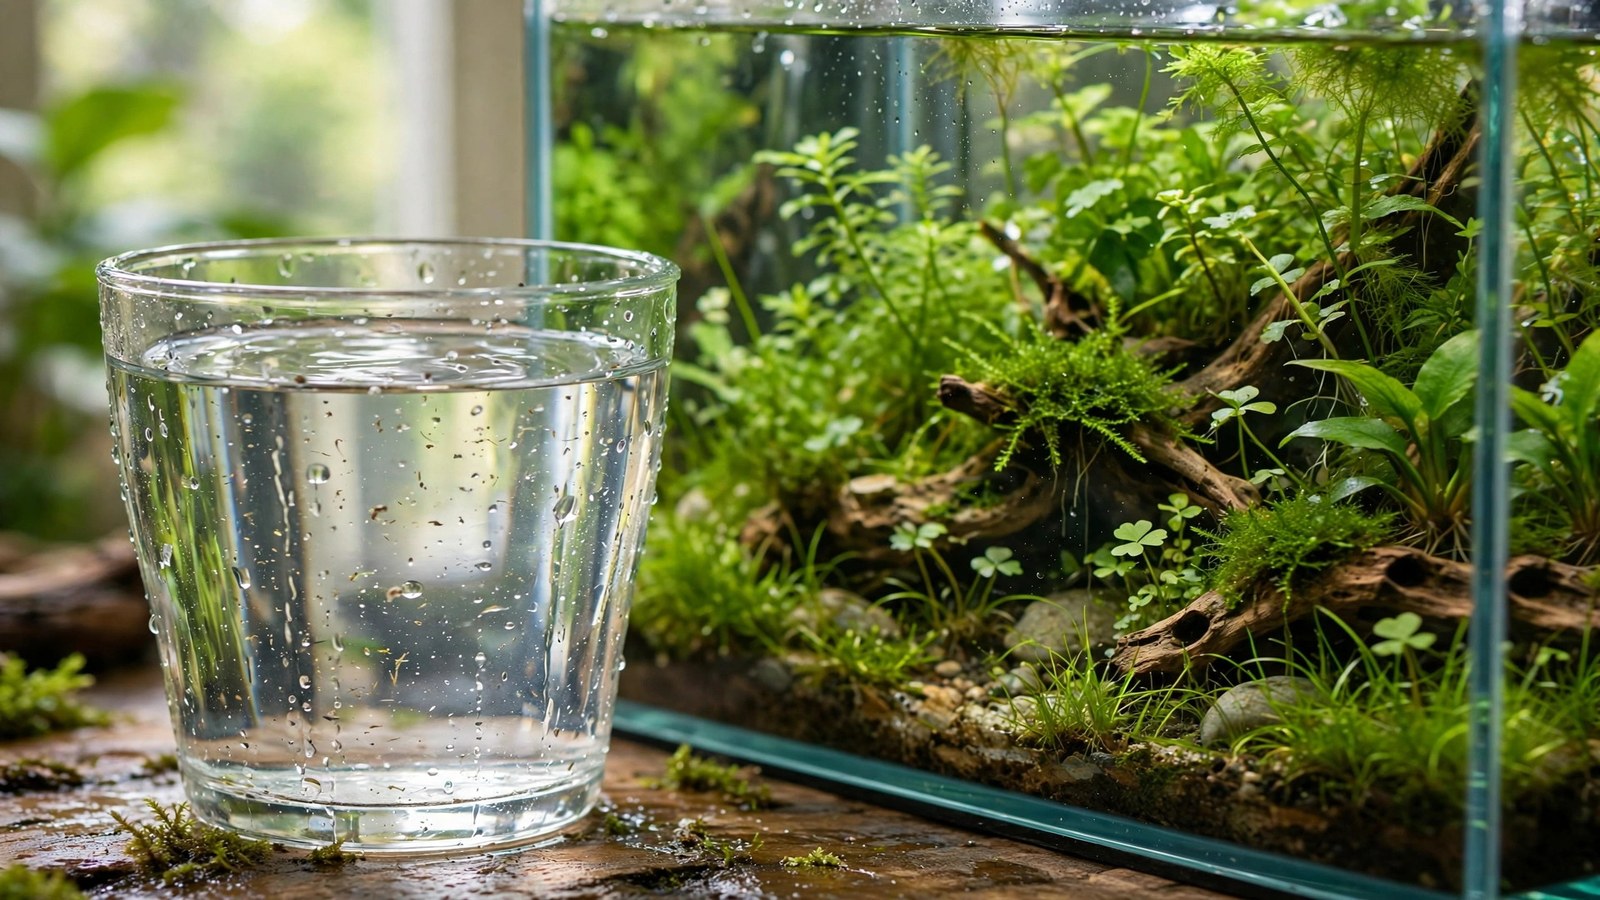
Rainwater for planted aquarium use has quietly become one of the hobby's favorite open secrets. Tap water can be hard, alkaline, and loaded with chlorine, while an RO unit costs real money — and then nature drops free, soft, mineral-free water on your roof every rainy season. Before you drag out a bucket, though, it helps to understand exactly what rainwater is, what it isn't, and how to use it without harming the plants you're trying to help.
What Rainwater Actually Is
Rainwater is nature's version of distilled water. As water evaporates and condenses, it leaves almost all dissolved minerals behind, so freshly collected rainwater typically measures near-zero general hardness (GH) and carbonate hardness (KH). Its pH usually lands between 5.5 and 7.0, slightly acidic because atmospheric carbon dioxide dissolves into it as it falls — the same CO2 dynamics that shape pH in a planted tank.
That chemistry is what makes rainwater so attractive for aquascaping. Many of the plants we treasure in planted tanks — including species from the blackwater rivers of South America, West Africa, and Southeast Asia — evolved in soft, acidic water that behaves much like rainwater. A soft-water fern like Bolbitis heudelotii, for instance, grows at its best in exactly these conditions. When your change water matches the water your plants evolved for, many of the stubborn deficiencies and algae pressures of hard tap water simply fade away.
One caution up front: rainwater is not sterile. Anything on your roof, in your gutters, or floating in the local air ends up in the barrel. The softness is a gift, but it comes wrapped in a container you must inspect — which is exactly what the rest of this guide covers.
Why Planted-Tank Keepers Collect Rainwater
Three practical reasons explain why so many hobbyists start collecting rainwater, and all of them are worth weighing honestly.
It's the cheapest soft water you can get
An RO/DI unit is the gold standard for producing mineral-free water, but it costs money to buy, run, and maintain — and it wastes two to three liters of tap water for every liter of pure water produced. Rainwater arrives free, with no wastewater and no filter cartridges to replace. For hobbyists running multiple tanks or doing the frequent water changes a dense aquascape demands, the savings add up fast.
It mimics the tropical wet season
In the wild, many aquarium plants experience a yearly rhythm: dry-season water is low, warm, and relatively mineral-rich, then the monsoon arrives and everything is diluted into soft, cool, acidic water. Some hobbyists report that switching to soft rainwater during the wet season — paired with seasonal adjustments to the whole tank — triggers renewed growth and even flowering in species that stall under permanently hard water. Think of it as matching the habitat's natural calendar rather than forcing one unchanging chemistry all year.
It's free of chlorine and chloramine
Municipal tap water arrives disinfected, which is good for people and rough on bacteria — including the beneficial bacteria that make a planted tank stable. Rainwater contains no chlorine, chloramine, or fluoride. That doesn't make it automatically safe (see the risks below), but it does remove one variable: you never have to dechlorinate, and water changes never shock your filter's biofilm with disinfectant.
The Real Risks of Rainwater
Rainwater's risks are real but manageable, and they come from the collection surface and the surrounding environment rather than the rain itself. Being honest about them is what separates successful rainwater users from cautionary tales.
- Roof runoff pollutants: Roofs collect dust, soot, and exhaust residue between storms. Asphalt shingles can shed fine particles and hydrocarbons; older roofs may leach zinc, lead, or copper from flashing, gutters, and roofing materials. Research summarized by Rutgers Cooperative Extension on harvested rainwater quality notes that runoff carries heavy metals, polycyclic aromatic hydrocarbons, pesticides, and animal droppings — all categories that matter in an aquarium.
- Bird droppings and organic debris: A roof is a landing pad. Bird droppings add ammonia and phosphate to the barrel — nutrients that can feed algae blooms in a tank, especially if the rainwater sits long enough to start cycling.
- Pesticides and herbicides: If you or your neighbors spray the garden, drift can settle on the roof and wash into your barrel with the next storm. This is one of the hardest risks to detect because you can't see or smell it.
- Acid rain in industrial areas: Rain falling through heavy traffic corridors or industrial regions picks up sulfur and nitrogen oxides, pushing pH lower and adding compounds you don't want. Near zero-buffered water with very low KH can't absorb that acid the way harder water can, so the swings are bigger.
- Zero minerals is a double edge: The same softness that plants love means there is no calcium, magnesium, or carbonate in the water. Used straight from the barrel, pure rainwater gives plants no mineral building blocks and gives you no pH buffer against the acids a planted tank naturally produces.
None of this means rainwater is unusable. It means you collect it intelligently, test it, and treat it like a raw ingredient rather than finished aquarium water.
How to Collect Rainwater Cleanly
Clean rainwater starts on the roof. Small setup choices here matter more than any later treatment.
Use a first-flush diverter
The first few millimeters of any storm do the dirtiest work, washing accumulated dust, droppings, and debris off the roof and out of the gutters. A first-flush diverter is a simple device that captures and discards that initial flush, only sending the cleaner middle of the storm into your storage. Most hobbyists find that diverting the first 1–2 gallons per 100 square feet of roof makes a noticeable difference in barrel clarity. It's the single highest-value upgrade in a rainwater setup.
Choose food-grade, dark, covered containers
- Food-grade plastic only: Use HDPE barrels or IBC totes rated food-grade. Never use containers that held chemicals, oils, or detergents — plastic remembers what it carried.
- Dark and covered: Light grows algae; an open barrel grows mosquitoes. Opaque, sealed containers with a screened vent keep the water dark, clean, and insect-free.
- Clean gutters and roof: Keep gutters clear of leaves and debris, and avoid collecting from roofs with moss treatments, recent pesticide applications, or deteriorating asphalt.
- A fine mesh pre-filter: A simple mesh screen where the downspout meets the barrel stops leaves, twigs, and most coarse debris before they reach storage.
Store it cool and use it reasonably fresh
Stored rainwater doesn't go bad like food, but it isn't inert either. Organic matter in the barrel slowly breaks down, and anaerobic conditions can produce odors and unwanted compounds. Most hobbyists find that water used within 2–4 weeks of collection behaves best; beyond a month or two, test before using and consider aerating it with a simple air stone for a day or two first.
Do You Need to Remineralize Rainwater?
Usually, yes — and this is the step beginners skip most often. Aquarium plants need calcium and magnesium for cell walls and chlorophyll, and your tank's ecosystem needs some carbonate hardness (KH) to keep pH stable against the acids produced by fish, bacteria, and substrate. Pure rainwater provides none of these.
The good news is that rainwater is an ideal blank slate: because it starts at zero, you can build exactly the water your setup needs, the same way remineralizing RO water works. Conservative starting targets for most planted tanks are:
| Parameter | Conservative target | Why it matters |
|---|---|---|
| GH (general hardness) | 3–6 dGH | Supplies calcium and magnesium plants need for cell structure and chlorophyll |
| KH (carbonate hardness) | 1–4 dKH | Buffers pH against the organic acids a planted tank constantly produces |
| pH | 6.2–7.2 | Sits in the comfort zone for most tropical plants and community livestock |
| TDS | 100–200 ppm | A practical proxy for overall mineral content when testing with a handheld meter |
Commercial GH/KH remineralizers sold for RO water work exactly the same way on rainwater — the products don't care where the pure water came from. Add minerals to your storage barrel a day before water change day, test with liquid kits or a TDS meter, and write down your doses so each batch comes out identical. Plants respond to consistency far more than to any single magic number, and a repeatable recipe is how you build a water change routine that your tank can rely on.
Fertilizers still apply normally. Rainwater gives you a clean base, but nitrogen, potassium, phosphate, and trace elements must still come from your dosing routine — your fertilizer schedule or all-in-one dosing continues unchanged, and many keepers find their dosing becomes more predictable because they're no longer fighting mystery minerals from the tap.
A Simple Testing and Storage Routine
You don't need a laboratory, but you do need a baseline habit. Before the first time you use a new barrel — and again any time something changes, like a heavy storm after a long dry spell or neighborhood spraying — test the stored water. A liquid test kit for pH, GH, and KH plus an inexpensive TDS meter covers nearly everything that matters.
- Test each new barrel for pH, GH, KH, and TDS before it ever touches a tank.
- Watch for drift: test stored water monthly; rising TDS or falling pH can signal organic buildup or contamination.
- Smell it: clean rainwater smells like nothing. A rotten or earthy odor means the barrel needs cleaning and the water shouldn't be used.
- Keep containers sealed and dark to suppress algae and mosquitoes.
- Remineralize 24 hours before use so minerals fully dissolve and parameters stabilize before the water enters the tank.
Once you've run this routine through a few storms, you'll know your roof, your gutters, and your water's personality. Most hobbyists who stick with rainwater report that it becomes second nature — test, remineralize, change water, repeat.
When Not to Use Rainwater
Rainwater is a tool, not a religion. Skip it — or at least blend it heavily with treated tap or RO water — in these situations:
- You live downwind of heavy industry or highways: acid rain and deposited pollutants can make the risk profile not worth it.
- Your roof was recently treated with moss killers, sealants, or pesticides, or you're unsure of the roofing material's age and composition.
- Neighbors spray frequently and your collection roof catches the drift.
- You keep species that need hard, alkaline water: hardwater plants and certain invertebrates genuinely do better in mineral-rich water — starting from rainwater just adds work.
- Your storage can't stay clean: if barrels sit open in full sun for months, you're collecting an algae soup, not soft water.
- You want zero-maintenance water changes: if testing and remineralizing feels like a chore, conditioned tap water is honestly the better choice. There's no shame in it — regular water changes matter more than the water's pedigree.
Rainwater also behaves like a seasonal resource even in rainy climates — dry spells happen, and a barrel empties fast when you're changing water in several tanks. Always keep a backup plan: conditioned tap water or an RO unit for the weeks the sky doesn't cooperate.
Frequently Asked Questions
Is rainwater safe for planted aquariums straight from the barrel?
Usually not right away. Straight rainwater is nearly mineral-free and unbuffered, so it provides no calcium, magnesium, or KH for plants and livestock, and its chemistry can swing after collection. Most hobbyists test it first, filter out debris, and remineralize to gentle targets before it ever touches a tank.
Does rainwater need to be dechlorinated?
No — rainwater contains no chlorine or chloramine, so dechlorinator is unnecessary. That said, the absence of disinfectant is exactly why collection hygiene matters: nothing in the barrel is killing bacteria or neutralizing pollutants, so clean gutters, covered dark storage, and periodic testing do the job that treatment chemicals would.
How long can I store rainwater before using it?
Most hobbyists use stored rainwater within two to four weeks of collection, kept in sealed, dark, food-grade containers. Longer storage is possible, but organic matter slowly breaks down and parameters can drift. If water has sat for months, test pH, GH, KH, and TDS, aerate it for a day or two, and reject anything with an off smell.
Can rainwater trigger algae in my tank?
It can, but not because of the rainwater itself — the trigger is usually phosphate and organic matter from bird droppings or debris that washed into the barrel. A first-flush diverter, a mesh pre-filter, and regular testing keep these nutrients out. Properly collected rainwater is actually low in algae-feeding nutrients.
Will rainwater lower the pH of my aquarium?
Yes, typically — and that's often the point. Rainwater's near-zero KH means it can't hold pH up the way hard tap water does, so switching your water changes over will gradually soften the tank toward slightly acidic. Remineralizing to a modest KH of 1–4 dKH keeps the softening gentle and prevents the pH from crashing.
Is rainwater better than RO water for planted tanks?
Chemically, clean rainwater and RO water are close cousins — both are soft, mineral-free starting points you remineralize yourself. The practical difference is cost and consistency: rainwater is free but varies with storms, roofs, and seasons, while RO water is identical every time. Many keepers use both, leaning on rainwater when it's clean and abundant.
The Bottom Line on Rainwater
Rainwater for planted aquarium use is one of the best bargains in the hobby: free, naturally soft, chlorine-free water that closely matches the habitats our plants evolved in. The catch is that it's a raw ingredient, not a finished product — clean collection, periodic testing, and consistent remineralizing are what turn it from a gamble into an advantage. Get those three habits right and you'll have soft-water plants thriving on water that fell from the sky, including demanding species that reward stable, gentle chemistry with deeper color — the kind of red tones that make an aquascape glow, and the kind of vigorous carpeting that spreads across even humble sand substrates when the water finally matches what the plants were built for.
Tissue-culture plants are the exception — they’re grown in sterile gel and adapt with minimal melting, which is part of what you’re paying for. Plants bought submersed from another hobbyist’s tank also transition with little melt, since they’re already in the right form.
Which Plants Melt Most (and Least)
Heavy melters (expect significant leaf loss)
- Cryptocorynes — infamous for “crypt melt,” sometimes dropping every leaf after any disturbance. They almost always recover from the roots within weeks.
- Stem plants grown emersed — rotala, ludwigia, and hygrophila often shed lower emersed leaves while the growing tips transition.
- Amazon swords — emersed-grown swords typically lose their broad oval aerial leaves and replace them with longer submersed ribbon leaves.
Light melters
- Anubias, java fern, bucephalandra — slow-growing rhizome plants transition gradually; occasional old-leaf melt but rarely dramatic.
- Vallisneria — usually transitions well, though it dislikes the move itself and may sulk for a week.
- Floating plants — minimal melt since their leaves were already at the air-water interface.
The Acclimation Protocol
Step 1: Quarantine or dip first
Before acclimating to your tank’s conditions, make sure you’re not acclimating pests along with the plant. Run new arrivals through our quarantine and dip protocol — it adds days upfront but prevents months of regret.
Step 2: Float to temperature-match (30 minutes)
Float the bag or container in your tank for 20–30 minutes to equalize temperature. Plants are less temperature-sensitive than fish, but a 10°F shock on top of transplant stress is an avoidable insult.
Step 3: Trim before planting
Remove any leaves that are already damaged, yellowing, or heavily algae-covered — they won’t recover and they’ll rot in your tank, feeding algae. For stem plants, trim off the bottom inch and any emersed leaves that look unlikely to adapt; the plant wastes energy maintaining leaves it’s going to shed anyway. Keep the healthy growing tips — that’s where recovery starts.
Step 4: Plant correctly the first time
Follow our planting guide — right depth, crown exposed on rosettes, rhizomes unburied on epiphytes. Every uprooting and replanting restarts the acclimation clock, so get placement right on the first attempt. Decide where each plant goes before it goes in the water.
Step 5: Run a gentle first week
For the first 7 days after planting:
- Moderate light — run your normal photoperiod but consider dropping intensity 20–30% if your light is dimmable. Blast-level light on a melting plant grows algae on the dying leaves, not recovery.
- Stable CO2 — if you inject CO2, keep it consistent. Fluctuating CO2 during acclimation is a melt accelerator. If you’re low-tech, this doesn’t apply — see growing without CO2.
- Half-strength fertilizer — new plants with damaged leaves can’t use full dosing, and the excess feeds algae. Ramp to full strength over 2–3 weeks per our fertilizer schedule.
- No disturbance — don’t move, trim, or “check on” new plants for at least two weeks. Every touch resets root establishment. This is especially critical for crypts.
Step 6: Remove melt, keep the base
As emersed leaves melt, remove the mushy material promptly — decaying leaves release ammonia and grow fungus that can spread to healthy tissue. But never discard the plant while the crown, rhizome, or roots are firm and alive. A crypt that’s lost every leaf but has firm roots is a plant that’s about to recover, not a dead plant. Give it 3–4 weeks before judging.
Telling Normal Melt From Real Problems
Normal transition melt:
- Affects oldest/emersed leaves first, newest growth last
- New submersed leaves emerge even as old ones dissolve
- Roots and crown stay firm and white/green
- Timeline: 1–4 weeks, then obvious new growth
Concerning melt (see our full melting diagnosis guide):
- New growth also melts or emerges deformed
- Rhizome or crown turns mushy and brown — this is rot, not transition
- Entire plant dissolves within days with no new growth after 4+ weeks
- Melting spreads to established plants that weren’t recently moved
Buying Tips to Minimize Melt
- Buy submersed-grown when available — hobbyist-grown cuttings transition with almost no melt.
- Choose tissue culture for sensitive species — crypts and delicate stems establish far more reliably from sterile cups.
- Avoid plants already melting in the store tank — some melt is normal, but a plant that’s mostly mush at purchase has less energy for recovery.
- Transport carefully — keep plants damp and out of direct sun/heat. A plant that dries out or cooks in a hot car melts far worse than one transported properly.
The First-Month Timeline: What to Expect Week by Week
Knowing what’s normal when removes most acclimation anxiety. Here’s the typical timeline for a healthy plant adapting to a new tank:
Week 1: The quiet week
Almost nothing visible happens. The plant is growing roots you can’t see and assessing its new environment. Some species (vallisneria, stem plants) may start shedding their lowest leaves. This is normal. Resist the urge to “help” — no moving, no extra fertilizer, no light changes. The most common beginner mistake is intervening during a week when the correct action is nothing.
Week 2: Melt peaks
This is when emersed leaves give up in earnest. Crypts may drop everything; swords shed their broad aerial leaves; stem plants lose lower foliage. It looks catastrophic and it’s usually fine. Keep removing mushy material, keep conditions stable, and watch the crown and growing tips — if those are firm and green, recovery is already underway.
Week 3: The turn
New submersed-adapted leaves emerge — smaller, thinner, often a slightly different shade of green than the emersed foliage. Stem plant tips start growing visibly; crypts push tiny curled leaves from the crown; swords unfurl narrow ribbon leaves. This is the moment most beginners exhale for the first time.
Week 4+: Established
New growth outpaces melt, and the plant is functionally yours. You can resume full-strength fertilizer, normal trimming, and stop treating it as fragile. Some slow growers (anubias, bucephalandra) take 6–8 weeks to show obvious progress — that’s their normal speed, not a problem.
Acclimating Different Plant Formats
Tissue-culture cups
Sterile, pest-free, and already adapted to high-humidity (not emersed) growth — tissue cultures melt the least of any format. Rinse the agar gel off gently (leftover gel rots and feeds fungus), split the portion into small plantlets, and plant per our planting guide. They establish slowly for the first two weeks, then accelerate. No dip needed, minimal acclimation stress — this is the premium experience you’re paying for.
Potted plants
Remove the pot and strip away the rockwool completely — leftover rockwool traps debris and rots. Tease the root mass apart gently; if it’s a dense mat, splitting it into 2–3 smaller portions actually establishes faster than planting one big clump (more growing points, better water flow around roots). Potted plants are usually emersed-grown, so expect the standard 2–4 week melt cycle.
Bare-root / bunched stems
Typically sold as weighted bunches. Remove any bands, foam, or weights, strip the lower leaves, and plant stems individually or in small groups. Bunched stems from the store are often already transitioning — check for new submersed growth at the tips, which tells you the plant is mid-adaptation and will settle quickly.
Hobbyist cuttings
Already submersed-grown and the fastest to establish — often showing new growth within days. The main acclimation factor is water-parameter difference between the two tanks. Float to temperature-match, plant promptly, and they’ll usually take off with minimal melt. This is why experienced hobbyists prefer trading cuttings over buying potted plants.
Frequently Asked Questions
Should I use a “plant starter” or transplant fertilizer?
Products marketed for transplant shock are mostly B-vitamins and mild hormones. They don’t hurt, but there’s no strong evidence they help aquarium plants specifically. Stable conditions and patience outperform any bottle. Save the money for more plants.
My new plant melted completely — bare crown, no leaves. Is it dead?
Probably not, if the crown or rhizome is firm. Crypts and swords routinely lose 100% of their leaves and regrow from the base within a month. The test is firmness: firm and pale/green means alive; mushy and brown/black means rot. Give firm-but-leafless plants a full 4 weeks before declaring them dead.
Can I speed up acclimation with extra light or CO2?
No — and trying usually backfires. A melting plant can’t use extra light; the excess just grows algae on its dying leaves. Keep light moderate and CO2 stable (not boosted) during acclimation. Growth speed comes from the plant’s own adaptation timeline, which you can’t rush, only avoid delaying.
Should new plants go straight into my main display tank?
After quarantine/dipping, yes — there’s no benefit to a separate “growing-in” tank for most plants. They acclimate to your water fastest in the tank they’ll live in. The exception is very delicate species going into a tank with boisterous fish; give those a few weeks in a calm corner or breeder box first.
The Patience Rule
The single most important acclimation skill is restraint: plant it right, set gentle conditions, remove decay, and then leave it alone for a month. The hobbyists with the best plant growth aren’t doing something clever in week one — they’re simply not interfering in weeks two through four while the plants do what they’ve evolved to do. Melt looks like failure and feels like failure, but in most cases it’s the visible part of a plant successfully becoming yours.