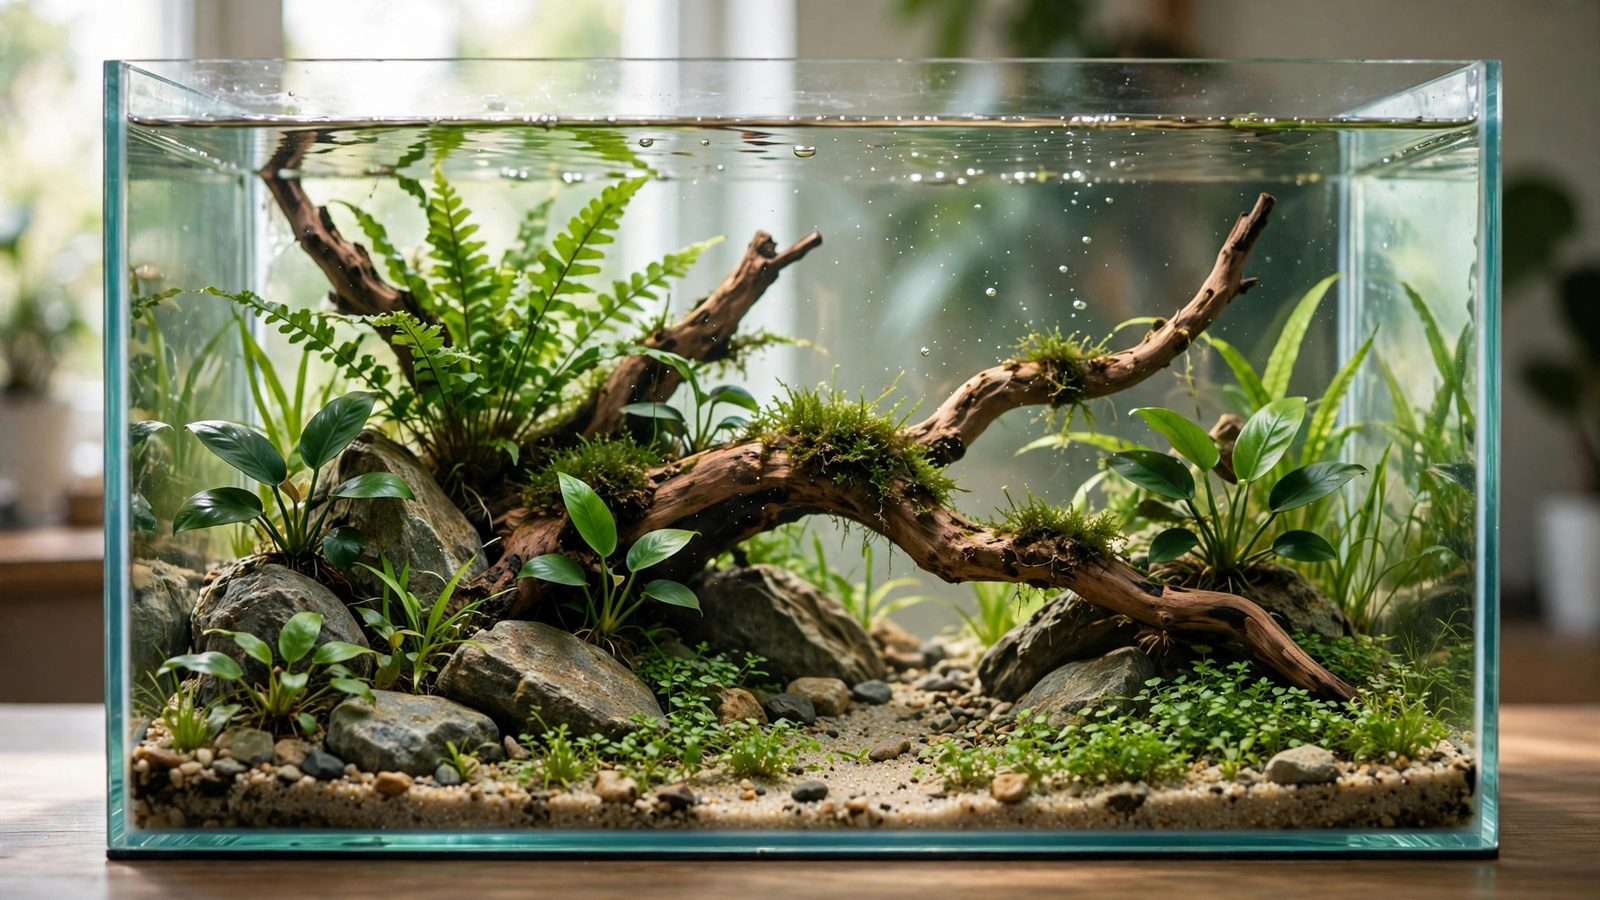
Most first aquascapes fail before a single plant goes into the tank. The builder stands in a shop, fills a cart with whatever rocks and plants look pretty together, dumps it all in over one afternoon, and ends up with a jumbled gravel box instead of the living painting they saw on YouTube. This first aquascape beginner guide exists to break that pattern. By the end, you will know how to choose a style, lay out a composition with real design rules, build hardscape before planting, and finish a full scape over a single weekend — on purpose, not by luck.
Step 1: Pick One Style for Your First Aquascape Before Anything Else
Every great aquascape follows a visual language, and the five classic styles below are those languages. Your job on day one is to choose a language and stick to it. Beginners who skip this step end up with an iwagumi rock pile next to a jungle tangle next to a dutch street, all in the same 60-liter box. Pick one column from this table and design everything toward it.
| Style | Signature look | Hardscape | Plant count | Beginner verdict |
|---|---|---|---|---|
| Nature | Wild mountainscape or forest; asymmetric | Seiryu or dragon stone + driftwood | 6–10 species, mixed | Best first choice — forgiving of imperfections |
| Iwagumi | Minimalist Japanese rock arrangement in open sand or carpet | 3–7 stones, one dominant | 1–3 species (often one carpet) | Deceptively hard — minimalism exposes every flaw |
| Dutch | Colorful terraced "flower bed" of plant streets, no hardscape | None (plants only) | 12+ species in defined rows | Advanced — needs high light, CO2, and heavy trimming |
| Jungle | Lush, dense, overgrown; fish-focused | Minimal wood | 5–8 species, fast growers | Easy and rewarding — plants do the work |
| Biotope | A replica of one real habitat (riverbank, rice paddy) | Local-type stone, leaf litter | Species native to that habitat only | Moderate — research matters more than design skill |
If this is truly your first attempt, choose nature or jungle. Nature gives you the classic mountain-valley look (see this valley-style aquascape layout guide) and hides beginner mistakes behind rocks and moss; jungle lets fast growers forgive every placement error. If a rice-paddy look pulls you, study this rice paddy biotope aquascape guide first so your choices stay honest to one habitat.
Step 2: Learn the Two Composition Rules Pros Never Skip
Aquascaping borrows its composition math from landscape painting, and you need two rules. First, the rule of thirds: imagine your tank divided into thirds both ways, and put your most dramatic feature — the biggest rock, the tallest branch — where the lines cross. Dead center is the most boring address in a glass box. Second, the golden ratio (1:1.618) tells you exactly where that point should sit: divide your tank's length by 1.618 and measure from one end. In a 60 cm tank, that's ~37 cm from the left glass — where the eye naturally rests.
Stones follow their own arithmetic: always arrange them in odd numbers — 3, 5, or 7. Even groups read as a fence; odd groups read as a natural rockfall. The iwagumi masters named the roles: the Oyaishi (main stone, about two-thirds the tank height), the Fukuishi (companion leaning toward it), and smaller stones that point toward the leader. For dramatic stone inspiration, see this iwagumi aquascape layout guide.
Step 3: Sketch Your Layout on Paper First
This is the step that separates a design from a shopping spree, and it costs exactly one sheet of paper. Draw a rectangle in the proportions of your tank — 60×30 cm if that's what you're buying. Mark the rule-of-thirds grid. Draw your Oyaishi at the golden-ratio point. Shade where the substrate will be deep and where it will be shallow. Now fill in the plant tiers (see Step 5): scribble carpet in front, mid-height bushes in the middle, tall stems in back.
Two sketches matter: a front view and a top view. The front view checks composition; the top view exposes the classic beginner gap — a planted front half and bare back corners. Shade at least 70% of the top view in plants. If you're nervous, aquascaping for beginners: first layout shows a beginner sketch evolving into a finished tank.
Step 4: Build the Hardscape First, Always
Here is the order the pros use on every tank: substrate → hardscape → plants → water → livestock. Hardscape goes in before plants because rocks and wood define where plants can go. A stem planted first gets uprooted the moment you wedge a rock beside it; a rock placed first becomes the anchor a carpet tuft nestles against.
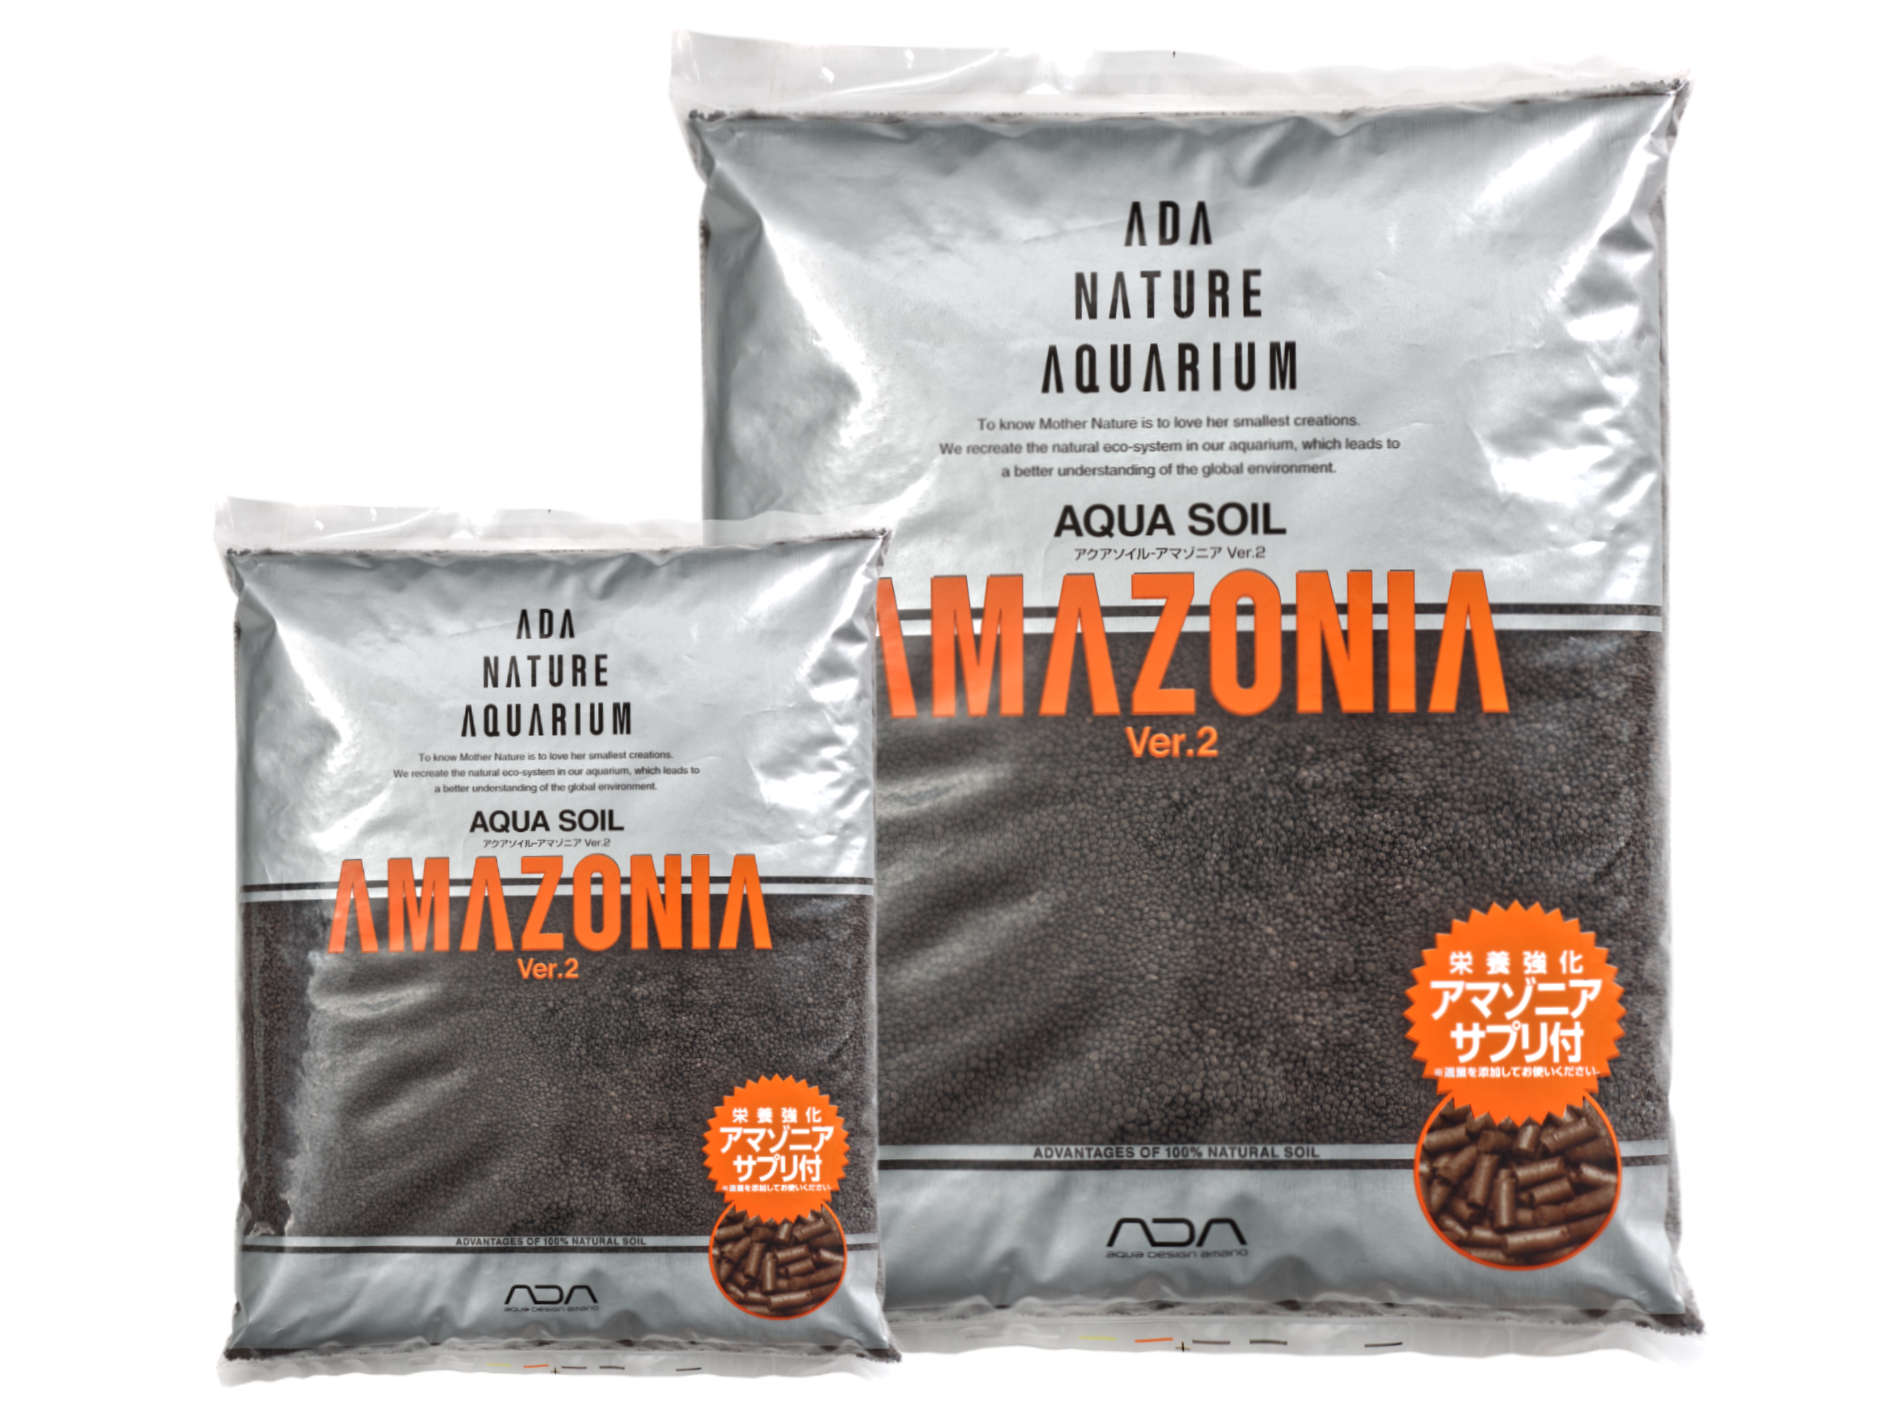
Spread 2 cm of substrate at the front glass, rising to 10–12 cm at the back wall — your cheapest depth trick. A 60-liter tank needs roughly 9 liters of aquasoil (one 9L bag of ADA Aqua Soil Amazonia, ~$45) to build this wedge. Deep substrate in back also gives background stems better rooting.
 ★4.7
ADA Aqua Soil Amazonia Ver 2
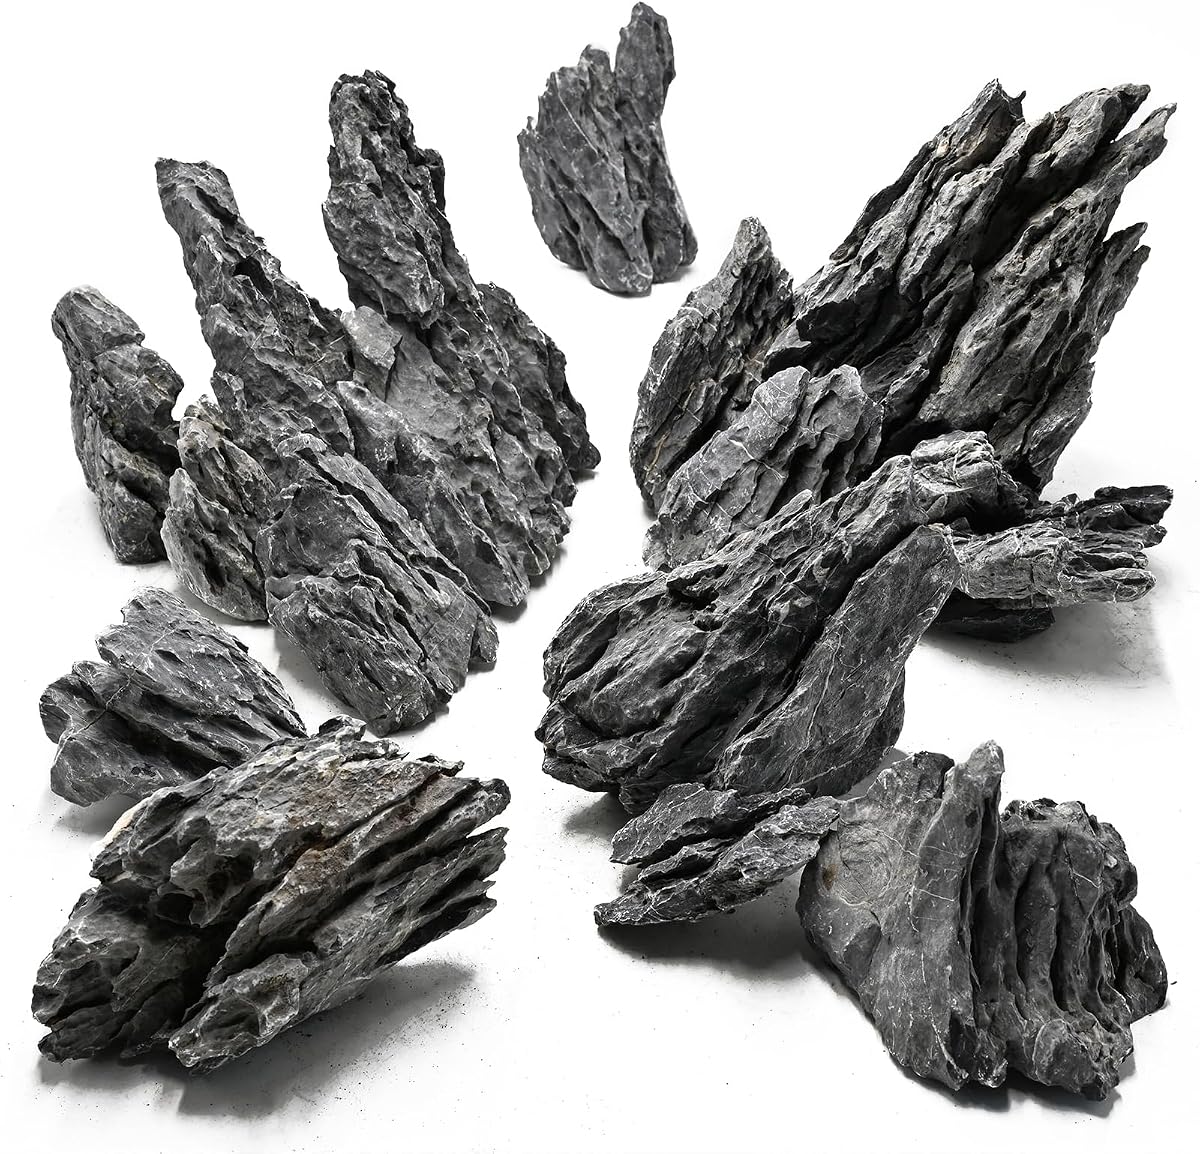
Check Price on Amazon ★4.7Then place your stones and wood dry, following your sketch and the odd-number rule. Wobble-test every structure — a rock that shifts dry will shift wet, and a falling rock cracks glass. Bury each stone one-third of its height so it looks grown from the earth rather than dropped on top. Soak manzanita or spider wood for 5–7 days first, weighed down, so it sinks on build day instead of floating and smashing your slope.
 ★4.5
Eorbow Natural Seiryu Stone Rocks
Check Price on Amazon ★4.5Step 5: Place Plants by Height Tier
This planting map keeps a beginner scape from looking like a tossed salad. Every species belongs to one of three tiers, and mixing tiers is what reads as "messy." Plant the foreground, midground, and background as separate jobs — don't let background plants creep forward.
| Tier | Job it does | Beginner plants (pick 1–2 per tier) | Spacing rule |
|---|---|---|---|
| Foreground | Carpets the front, sells the sense of scale | Staurogyne repens, Marsilea hirsuta, dwarf hairgrass (Eleocharis parvula) | Plant in a 2 cm grid; 1 pot covers ~15 cm² |
| Midground | Bushes and accents around the hardscape | Anubias nana, Java fern (Microsorum pterotidis), Bucephalandra 'Wavy Green', Cryptocoryne wendtii | Attach epiphytes to wood/rock with thread or glue; crypts 5 cm apart |
| Background | Creates the green wall, hides equipment | Vallisneria spiralis, Ludwigia repens, Rotala rotundifolia, Amazon sword (Echinodorus amazonicus) | Stems 3 cm apart in staggered rows; swords 20 cm apart (they get big) |
Every plant on that table survives low-to-medium light — confirm any unfamiliar one in Tropica's plant database before buying, since shop labels lie cheerfully about light needs. Plant densely from day one: cover 70–80% of the substrate. Sparse planting is the number-one reason first tanks become algae farms — empty substrate invites algae to colonize before your plants can claim it. Budget 8–12 pots for a 60-liter tank, roughly $60–$100 total.
 ★4.7
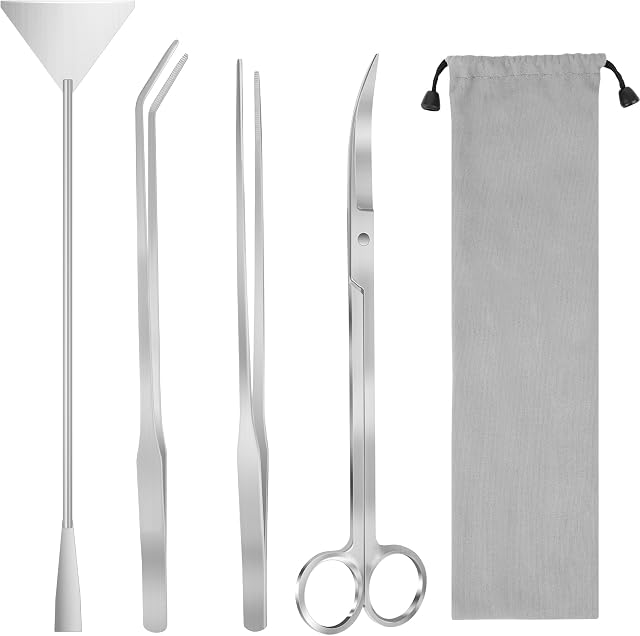
Liveek 4-in-1 Aquascaping Tool Kit
Check Price on Amazon ★4.7Step 6: What NOT to Buy as a Beginner
Shops love first-time scapers because they buy expensive gear that solves problems they don't have yet. Save your money for plants and good hardscape instead.
- Pressurized CO2 system ($150–$250). Every plant in the tier table above grows without it. Start with a liquid carbon like Seachem Flourish Excel dosed daily, and upgrade to gas on your second scape if the hobby sticks.
- High-output "pro" lighting ($120+). High light without CO2 and fertilization discipline grows algae, not plants. A basic full-spectrum LED like the NICREW ClassicLED (~$40 for 60 cm) delivers 20–35 PAR at substrate — perfect for low-tech.
- Rare tissue-culture species. Bucephalandra 'Kedagang' at $18 a rhizome is a heartbreak waiting to happen. Master the $6 Anubias nana first; the rare stuff keeps for scape three.
- pH controllers, auto-dosers, UV sterilizers. Automation for a tank you're still learning to read is like cruise control for a student driver. Test kits and a notebook beat gadgets in year one.
- 12-piece "aquascaping tool sets." You need exactly three tools: long tweezers, curved scissors, a spray bottle. Buy them individually for ~$20 total.
Spend instead on: one bag of real aquasoil, your stones and wood ($40–$70 — the skeleton of the whole design), 8–12 plant pots, root tabs (Seachem Flourish Tabs, one every 10 cm), and a liquid fertilizer like Tropica Premium Nutrition dosed weekly at the low-tech rate.
Step 7: Your Weekend Build Timeline
Here is the full build, compressed into one weekend. Resist the urge to do it all in one afternoon — the pauses are load-bearing.
| Day | Session | Tasks | Time |
|---|---|---|---|
| Saturday — Hardscape Day | Morning | Rinse substrate, lay the 2→10 cm slope. Position stones/wood per your sketch. Wobble-test everything. | 2 hrs |
| Afternoon | Photograph the dry hardscape at eye level. Adjust. Mist it with the spray bottle and cover with cling film — walk away overnight. Fresh eyes catch bad composition. | 1 hr | |
| Sunday — Planting & Fill Day | Morning | Mist plants as you unpot them. Plant foreground in a 2 cm grid, midground around hardscape, background stems in staggered rows. Push root tabs under heavy feeders. | 3 hrs |
| Afternoon | Fill slowly over a plate so the slope survives. Add dechlorinated water, start filter, light at 6 hours/day for week one. | 1 hr | |
| Evening | Dose liquid fertilizer at half strength. Take your "day one" photo. No fish yet — cycle 2–4 weeks first. | 30 min |
When cycling completes, choose fish that flatter the design: a school of 12–15 neon tetras suits a nature scape far better than a random mix. See best fish for aquascaped tanks for style-matched pairings.
Contest Season: Use Your First Scape as Practice
If you're building this in autumn 2026, the timing is almost suspiciously good. TGIAC 2026 (The Great Indian Aquascaping Contest) is running its submission window this autumn — check the official TGIAC site for this year's exact dates. You are not going to win a contest with your first scape — and that is exactly the point.
Enter it anyway. Contest entries force a discipline casual builds never teach: photographing under consistent light, judging against real criteria (composition, plant health, originality, overall impression), and getting written feedback from judges who have seen thousands of tanks. Treat your first scape as a practice entry: build it this weekend, let it mature 6–8 weeks (most scapes photograph best at 2–3 months, when the carpet fills in), shoot it before the submission deadline, and submit. The feedback will make scape number two dramatically better. Thinking bigger later — a vertical aquascape or floating island aquascape? Those are perfect second-scape projects; master the fundamentals first, then get weird.
Frequently Asked Questions
How big should my first aquascaping tank be?
Aim for 40–75 liters (10–20 gallons), with 60 liters the sweet spot. Smaller tanks are cheaper but punish every mistake — water parameters swing fast. Larger tanks cost more in substrate and plants. A standard 60 cm (60×30×36 cm) tank holds about 60 liters, needs one 9L bag of aquasoil, and fits every composition rule comfortably. Avoid nano tanks under 20 liters for your first design attempt.
Do I need CO2 for my first aquascape?
No. Every plant recommended in this guide grows in low-tech conditions with a decent LED and weekly liquid fertilizer. CO2 speeds growth and unlocks demanding carpets like HC Cuba, but it adds cost, complexity, and new ways to gas your fish. Build your first scape without it, learn to read plant health and algae signals, then add pressurized CO2 on your second tank when faster growth actually matters to you.
How many plants should I buy for a first scape?
For a 60-liter tank, 8–12 pots or tissue-culture cups, planted to cover 70–80% of the substrate on day one. That sounds like a lot — it is, and it's deliberate. Dense day-one planting is the single best algae prevention available to beginners because plants outcompete algae for nutrients immediately. Budget roughly $60–$100 for plants, and resist buying one pot of many species — buy 3–5 species in bold groups.
Can I use regular gravel instead of aquasoil?
You can, but root-feeding plants will struggle. Aquasoil (like ADA Aqua Soil Amazonia) releases ammonia-free nutrients for months and buffers pH slightly acidic, which most beginner plants prefer. If gravel is what you have, compensate with root tabs every 10 cm under heavy feeders (swords, crypts) and weekly liquid fertilizer. For a first scape built for success, one 9L bag of aquasoil (~$45) is the best money you'll spend.
When can I add fish to my new aquascape?
After the tank cycles — typically 2–4 weeks with the filter running and an ammonia source. Plants alone don't cycle a tank. Test until ammonia and nitrite read zero for three consecutive days, then stock slowly: a small schooling group first, more a week later. Shrimp and snails can usually go in once plants show new growth, but fish wait for a finished cycle. Never add livestock on planting day.
Your First Scape Is a Sketch, Not a Masterpiece
Your first aquascape will have flaws you'll see in every photo — a stone you wish you'd tilted, a carpet gap you planted too thin. That's not failure; that's the curriculum. Follow the design rules, build hardscape before plants, plant densely by tiers, and skip the expensive gear. Photograph it monthly and start sketching scape number two. If you want a low-pressure way to practice composition first, try a wabikusa aquascape — a planted ball in a bowl that teaches the same tiers and focal-point rules at a fraction of the cost.