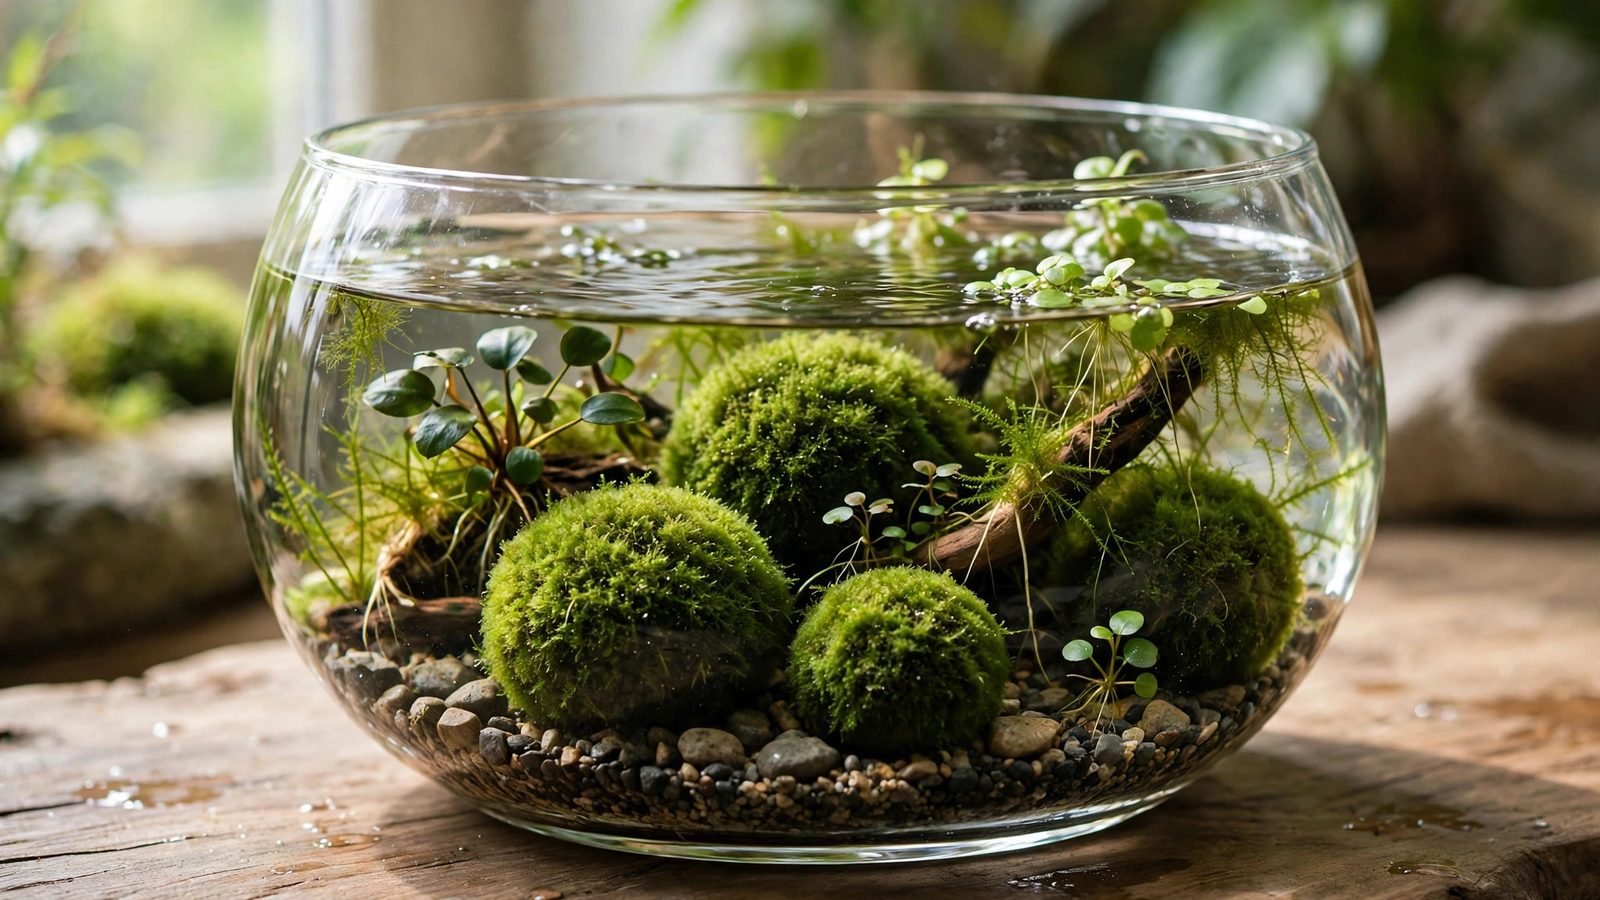
A wabikusa is a ball of aquatic substrate wrapped in moss, packed with plants, and set in a shallow dish of water — a miniature floating garden you can build in an afternoon. Popularized by Japan's Aqua Design Amano (ADA), the technique strips aquascaping down to its essentials: no tank, no filter, no CO2 system, just a living ball of greenery that grows emersed, submerged, or half-and-half. Whether you keep it on your desk in a glass bowl or drop it into a nano tank as an instant centerpiece, this guide walks you through everything from mixing the ball to choosing plants that thrive.
What Is a Wabikusa?
The name comes from "wabi" (quiet simplicity) and "kusa" (grass), and it borrows from the Japanese wabi-sabi aesthetic — beauty in the imperfect and natural. A wabikusa starts as a fist-sized ball of nutrient-rich substrate, traditionally ADA's Aqua Soil mixed with additives like peat or mineral powder. The ball is wrapped in aquatic moss or coconut fiber to hold it together, studded with plant cuttings, and placed in a shallow vessel with a little water. ADA sells ready-made wabi-kusa balls, but hobbyists have long made their own, and the DIY version is both cheaper and endlessly customizable.
What makes the technique special is that most aquatic plants are amphibious: in the wild they grow along shorelines, flooded in the wet season and exposed in the dry. A wabikusa sits right on that shoreline line. Grow it emersed (leaves in the air, roots in the wet ball) and you get a lush dome of foliage. Submerge it in a tank and the same ball becomes an instant planted island, already colonized by rooted plants and beneficial bacteria. Some aquascapers even split the difference, setting the ball in a shallow bowl so the lower half is underwater and the top half blooms into the open air.
What You'll Need
The build is forgiving, but gathering everything before you start keeps the process smooth. Here's the full kit:
- Aquatic substrate — a nutrient-rich aqua soil (ADA Amazonia is the classic) forms the core. Avoid inert gravel here; the plants draw most of their nutrition from the ball itself.
- Soil additives (optional) — peat, iron-rich mineral powder, or bacterial starters, kneaded into the core for a nutrient boost.
- Aquatic moss — Taxiphyllum species such as Java moss or Christmas moss to wrap the ball and lock the shape.
- Coconut fiber, cheesecloth, or fine mesh — an inner wrapping layer that keeps the substrate ball intact while roots take hold.
- Plant cuttings — 8–12 portions of stem plants, carpeting plants, or epiphytes (details below).
- Shallow display vessel — a glass bowl, ceramic dish, or low tank at least twice the ball's diameter.
- Spray bottle and dechlorinated water — for misting and filling.
- Cling film or a clear plastic dome — to create a humid tent over the ball during the first two weeks.
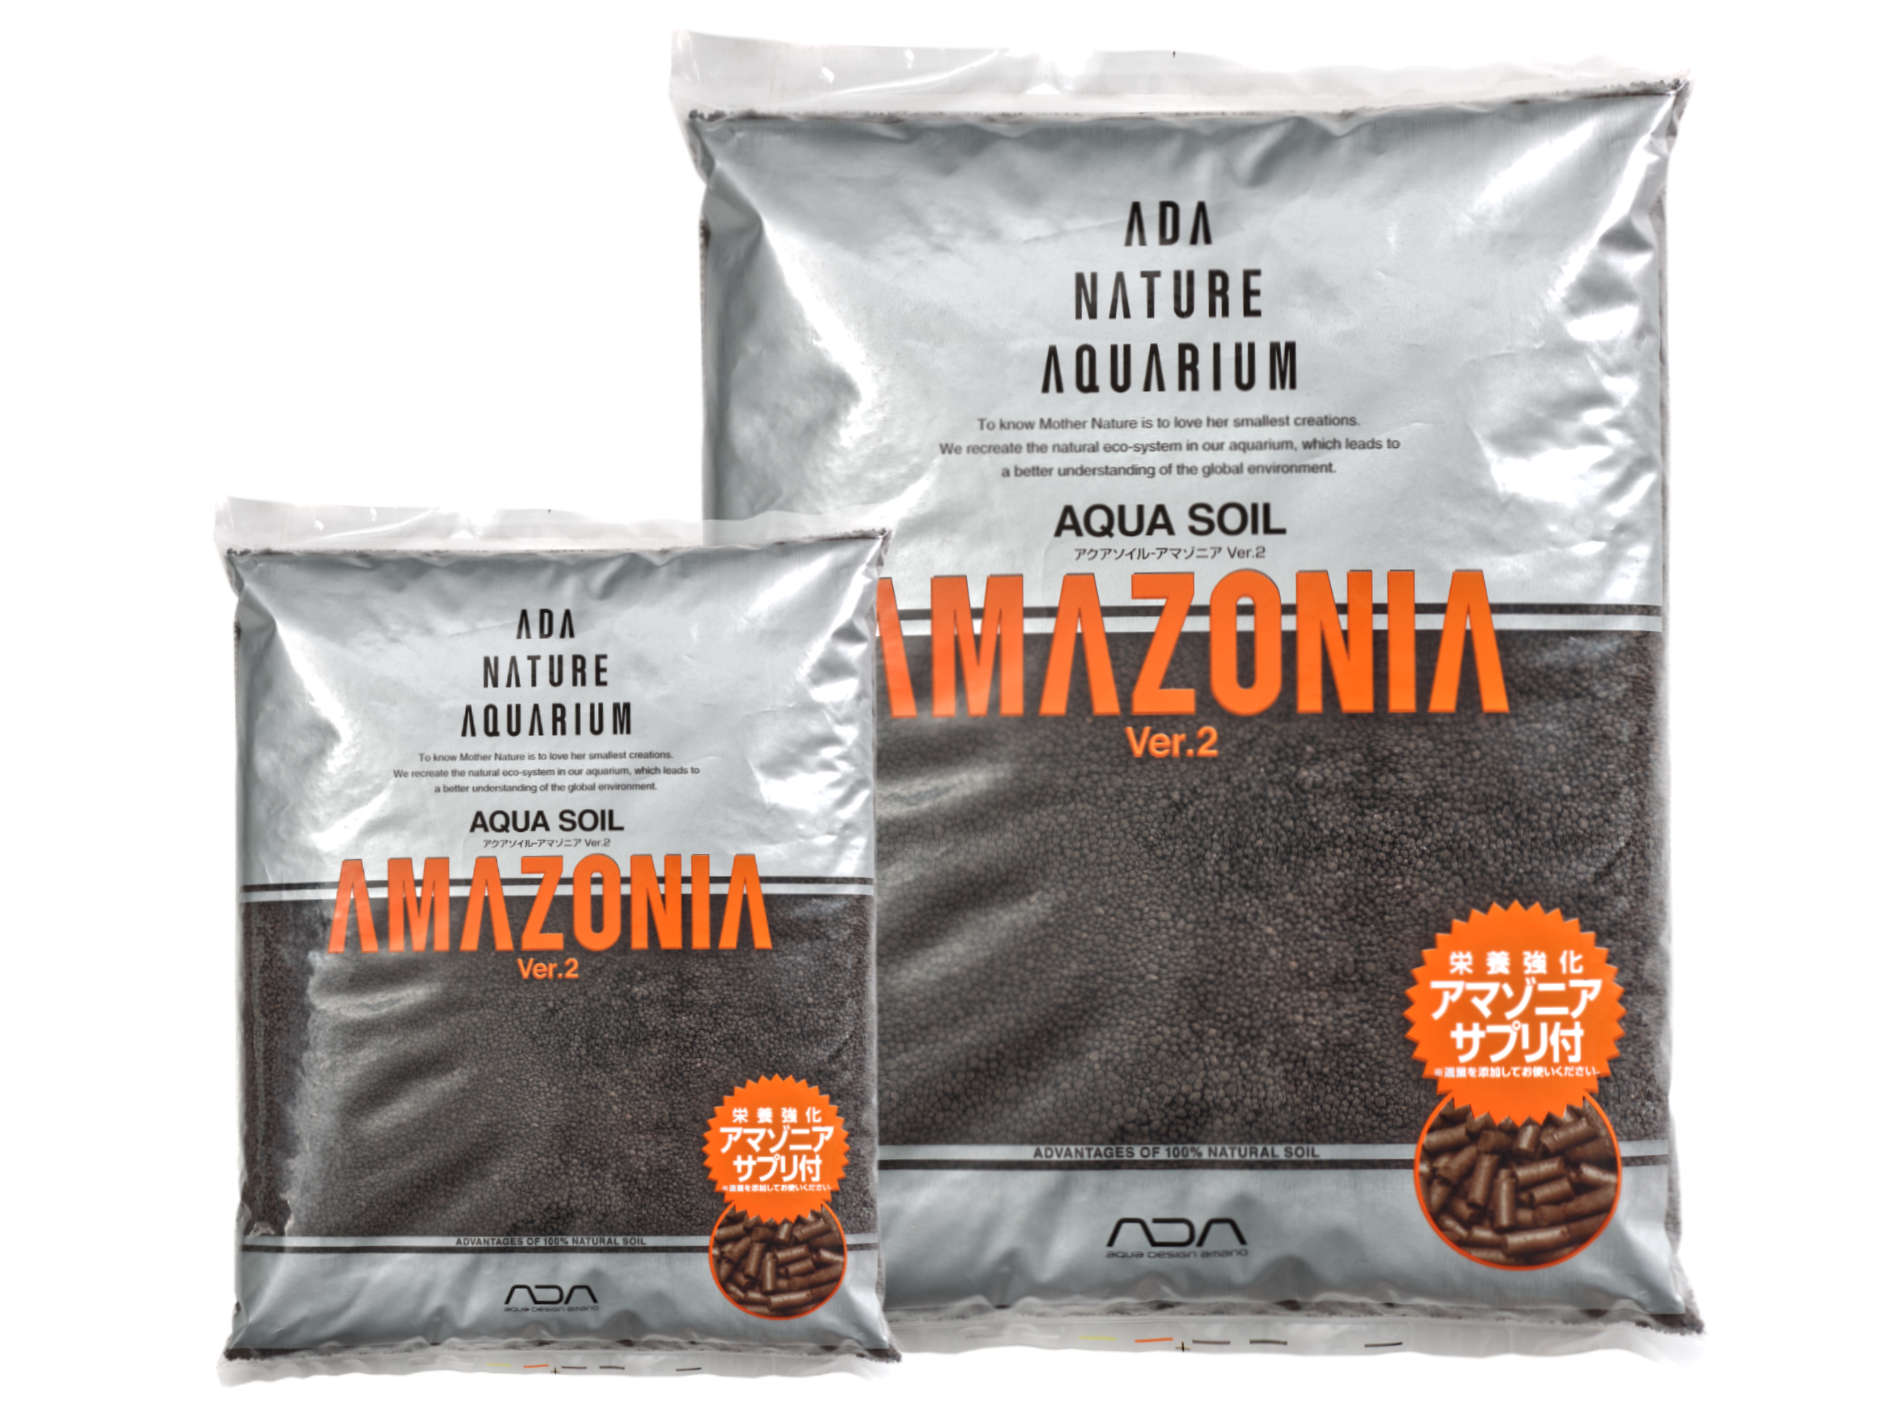
The classic wabikusa core is aquasoil-based: ADA Aqua Soil Amazonia.
 ★4.7
ADA Aqua Soil Amazonia Ver 2
Check Price on Amazon ★4.7Choosing the Right Plants for Your Wabikusa
Plant selection decides the look and determines whether your ball thrives or melts. Prioritize species known for strong emersed growth, because nearly every wabikusa spends at least some of its life with leaves in the air.
Reliable emersed growers
- Hygrophila difformis and Hygrophila polysperma — fast, forgiving stem plants that adapt to air within days and fill out quickly. Responsibility note: H. polysperma is listed as a U.S. Federal Noxious Weed by USDA APHIS and is regulated in many states, so check your local regulations before buying. Never release it (or its water) into waterways or drains, and dispose of trimmings sealed in the trash.
- Ludwigia repens — takes on reddish emersed foliage under good light, adding a warm accent color.
- Bacopa monnieri — thick, waxy leaves that resist drying; excellent beginner choice.
- Anubias nana 'Petite' — slow but nearly indestructible; press rhizomes into moss on the shaded side of the ball.
- Cryptocoryne species — crypts like C. wendtii grow emersed readily once established; expect a brief "crypt melt" transition period.
Carpeting and texture plants
- Hemianthus callitrichoides (HC Cuba) — the classic emersed carpet; spreads rapidly in humidity and looks superb spilling down the ball.
- Glossostigma elatinoides — another fast emersed creeper that drapes beautifully over the substrate surface.
- Utricularia graminifolia — adds a fine grassy texture; keep the surface consistently moist.
For more ideas suited to small-scale planting, our roundup of aquascaping plants for nano tanks covers several of these species in greater depth, including light and trimming notes that apply equally to a wabikusa.
How to Build a Wabikusa: Step by Step
Set aside an hour. Work over a tray — this gets muddy.
- Mix and form the ball. Dampen the aqua soil with dechlorinated water until it holds together like modeling clay (not dripping). Knead in any additives, then roll a ball roughly 8–10 cm across — about the size of a grapefruit. Pack it firmly; a loose ball disintegrates.
- Wrap the core. Lay out coconut fiber or cheesecloth and set the ball in the center. Gather the wrap around it and secure with cotton thread or a thin rubber band. Trim the excess. This inner skin keeps the shape intact during the first month.
- Add the moss coat. Press handfuls of damp moss onto the wrapped ball, rotating as you go, until the whole surface is covered about 1 cm thick. Moss on the outside becomes the planting bed; it also wicks moisture upward to the plants.
- Insert the plants. Poke small holes in the moss coat with tweezers and press in plant portions, spacing them 2–3 cm apart. Plant taller stems in the center top, carpeting species around the lower sides so they cascade downward as they grow. Push each portion deep enough that the roots (or stem bases) touch the substrate beneath the wrap.
- Set the ball in its vessel. Pour 1–2 cm of dechlorinated water into your bowl and nestle the ball in. The ball should wick moisture but not sit fully drowned.
- Tent it. Cover the whole setup with cling film or a clear dome for the first 10–14 days, misting daily. High humidity is the secret: it prevents leaf desiccation while plants grow air-adapted foliage.
- Acclimate gradually. After two weeks, crack the tent open a little more each day over a week until it's fully removed. By then the emersed leaves have hardened off and the root network has gripped the ball.
The same deliberate, structure-first thinking that shapes great tank layouts applies here: building the form before committing plants is the core of the hardscape-first method, and it works just as well at moss-ball scale.
Emersed vs. Submerged: Two Ways to Grow
Most wabikusa live emersed on a desk or shelf, but the ball format makes it trivial to go underwater. Each approach has tradeoffs worth understanding.
Emersed (the classic desk display): Growth is faster — plants get unlimited atmospheric CO2 — and many species flower above water. Maintenance is just topping up the water and misting. The risk is humidity: without the initial tent phase or in very dry air-conditioned rooms, delicate plants crisp at the leaf edges.
Submerged (the instant nano scape): Place the ball in a filled tank or deep bowl and it functions as a pre-planted island. Plants transition back to their submerged leaf forms over two to three weeks; some melt first, then regrow. This is a shortcut to a planted look with zero planting labor, and it's a natural fit if you're already planning small nano tank setups. The catch: algae can colonize the moss coat in bright light, and you'll want gentle flow around the ball to keep it clean.
Many hobbyists run both: they grow balls emersed for a month or two, then rotate mature ones into tanks as instant hardscape while starting fresh balls on the desk. The moss coat doubles as a bacterial colony, so a mature ball seeds a new tank with beneficial microbes from day one.
Wabikusa Display Styles Compared
How you present the ball changes the whole character of the piece. These are the three standard approaches:
| Style | Setup | Best for | Maintenance |
|---|---|---|---|
| Open bowl | One ball in a shallow glass or ceramic bowl, water 1–2 cm deep, leaves in open air | Desktops and shelves; the classic ADA desk garden | Top up water every few days; mist in dry rooms; trim monthly |
| Paludarium | One or more balls in a glass tank with a water section and open-top land zone, often with hardscape | Showpiece displays; combining wabikusa with single driftwood layouts or stone | Water changes for the aquatic zone; occasional misting; light pruning |
| Submerged tank | Ball fully underwater in a nano or low-tech tank as a planted island | Instant aquascapes; fish tanks that need a planted focal point fast | Standard tank care; brush algae off the moss coat; trim stems |
If you go the paludarium route, the balls sit naturally among other hardscape. A single striking stone — the one-rock layout — or a minimalist arrangement like an Iwagumi-style stone trio can anchor the composition so the moss ball reads as a living hill rather than a random lump. In an open bowl, a concave backdrop arrangement around the ball gives the eye depth, much like the concave aquascape layout does in full tanks.
Caring for Your Wabikusa
Long-term care is simple but not zero. Keep the water level constant — the ball wicks moisture upward, and if the base dries out the roots follow. Replace the bowl water weekly to prevent stagnation; stagnant water in the dish is the most common cause of smell and algae films. Mist the foliage daily in dry climates or air-conditioned rooms.
Feed lightly. The aqua soil core carries the plants for the first two to three months. After that, add a drop or two of liquid all-in-one fertilizer to the bowl water every week or two — far less than a tank dose. Overfeeding turns the moss coat into an algae mat. Trimming works exactly like trimming a planted tank: pinch stem tips to encourage bushier growth, thin carpets before they smother the moss, and remove any yellowing leaves promptly so they don't foul the water. Emersed balls generally need a haircut every four to six weeks; submerged balls follow your tank's normal pruning rhythm.
Watch for pests. Emersed foliage occasionally attracts fungus gnats — let the surface dry slightly between mistings and they disappear. If the ball ever collapses or the moss coat slides off (rare after the first month), simply rewrap it in fresh moss; the root mass inside usually holds the substrate together by then.
For reference on species-specific care, Tropica's plant database lists emersed and submerged growth data for most common aquarium plants, and ADA's official site documents the original wabi-kusa product line that started it all.
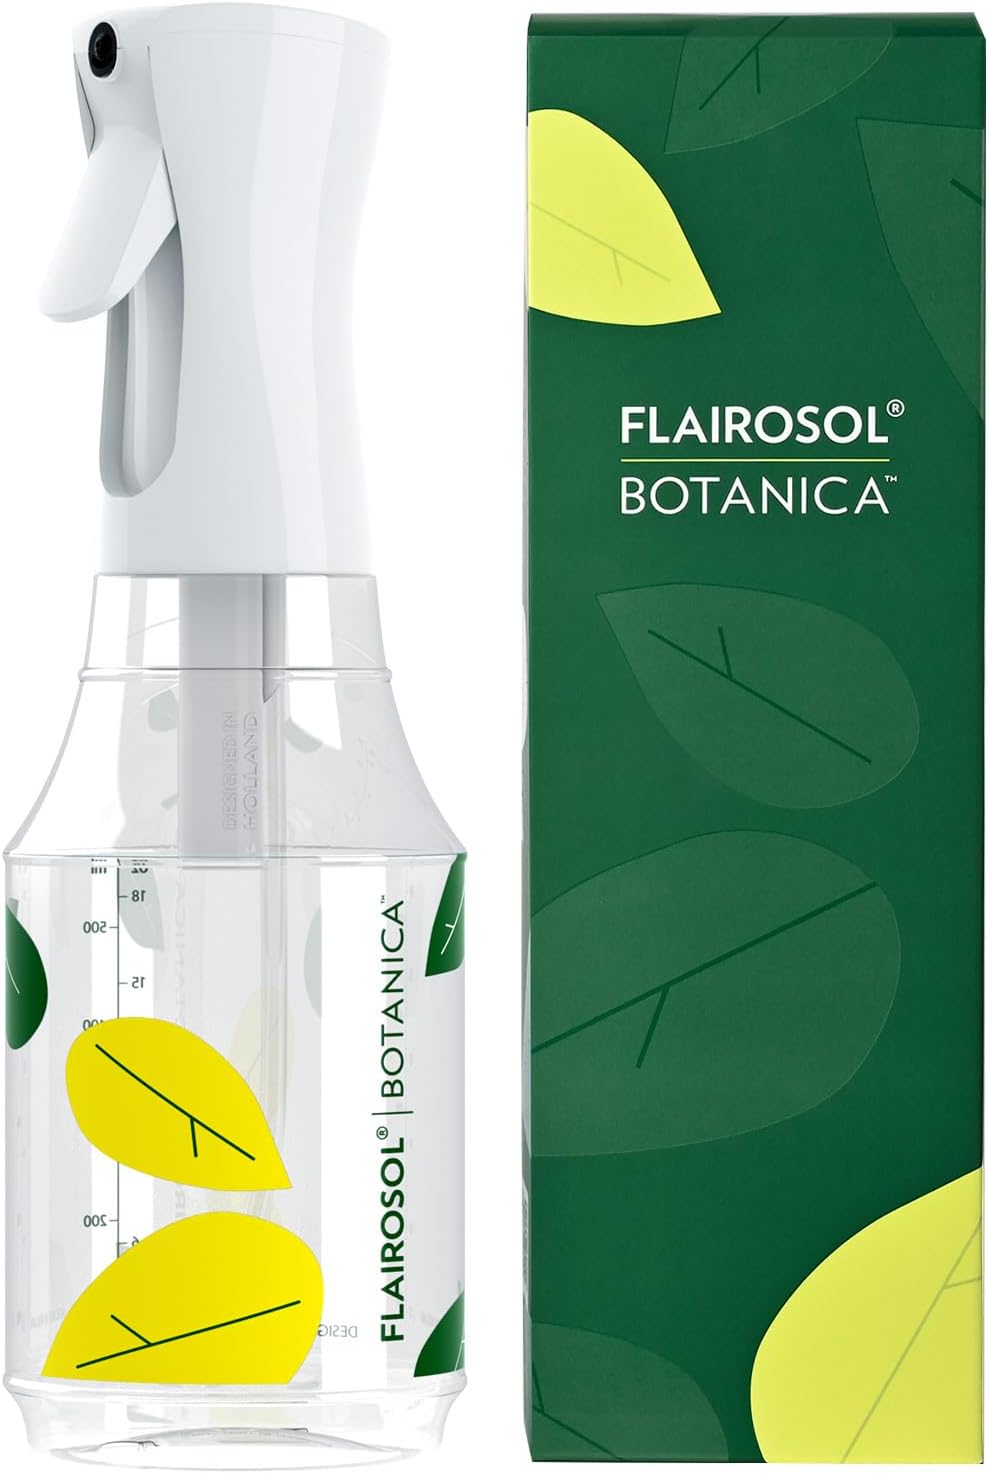
Daily misting keeps the emersed growth hydrated: a fine-mist sprayer like FLAIROSOL.
 ★4.4
FLAIROSOL Botanica Plant Mister
Check Price on Amazon ★4.4Frequently Asked Questions
How long does a wabikusa last?
A well-built ball lasts one to two years before the substrate core is exhausted and begins breaking down. The aqua soil gradually loses structure and nutrients, and the moss coat can become matted. Many hobbyists simply rebuild the ball annually, reusing the healthiest plant cuttings and fresh soil — the whole process takes an hour, and plants usually recover within two weeks.
Can I put a wabikusa in a tank with fish?
Yes — drop a mature ball (at least a month old, roots well established) into any freshwater tank and it functions as a planted island. Shrimp and small fish love grazing on the moss coat. Just keep the ball clear of strong filter outflow so it doesn't erode, and avoid species that dig aggressively. Let an emersed-grown ball transition gradually by keeping tank light moderate for the first two weeks.
Do wabikusa need CO2 or fertilizer?
Emersed wabikusa need neither CO2 nor much fertilizer — they draw CO2 from the air and nutrition from the substrate ball for months. Submerged balls benefit from a light liquid fertilizer dose once the soil depletes, typically after two to three months. CO2 injection isn't necessary but speeds up the emersed-to-submerged transition if you move the ball underwater.
Why are my plants melting?
Melting is the normal transition as plants swap submerged leaves for emersed ones (or vice versa) — old foliage dies back while new growth adapts. Don't panic; trim away mushy leaves and keep conditions stable. If melting continues past three weeks, suspect drying air (mist more and re-tent), a loose ball exposing roots, or exhausted substrate in an old ball. Cryptocorynes and carpeting plants are the most dramatic melters and usually bounce back.
Can I make a wabikusa without ADA products?
Absolutely. Any nutrient-rich aqua soil works as the core — several brands sell equivalents — and some hobbyists use organic potting soil capped in the wrap, though that risks ammonia spikes if the ball later goes submerged. Sphagnum or coconut fiber substitutes for the wrap layer, and any aquatic moss will do for the coat. The technique is ADA-popularized, not ADA-exclusive; homemade balls are the norm in the hobby.
What's the difference between wabikusa and a kokedama?
Kokedama is the older Japanese craft of wrapping a soil ball in moss for terrestrial houseplants. Wabikusa adapts that idea for aquatic and amphibious plants, using aquarium substrate instead of potting soil and sitting the ball in water instead of hanging it. Think of wabikusa as kokedama's aquarium cousin — same moss-ball form, built for plants that want their roots wet.
Bringing It All Together
A wabikusa is one of the lowest-barrier entries into aquascaping: an hour of muddy fun, a few dollars of soil and moss, and a living sculpture that keeps evolving on your desk for a year or more. Build your first ball with forgiving stem plants, tent it patiently through the first two weeks, and you'll have a miniature Japanese garden before the month is out — and a pre-grown planting island ready for your next tank whenever inspiration strikes.