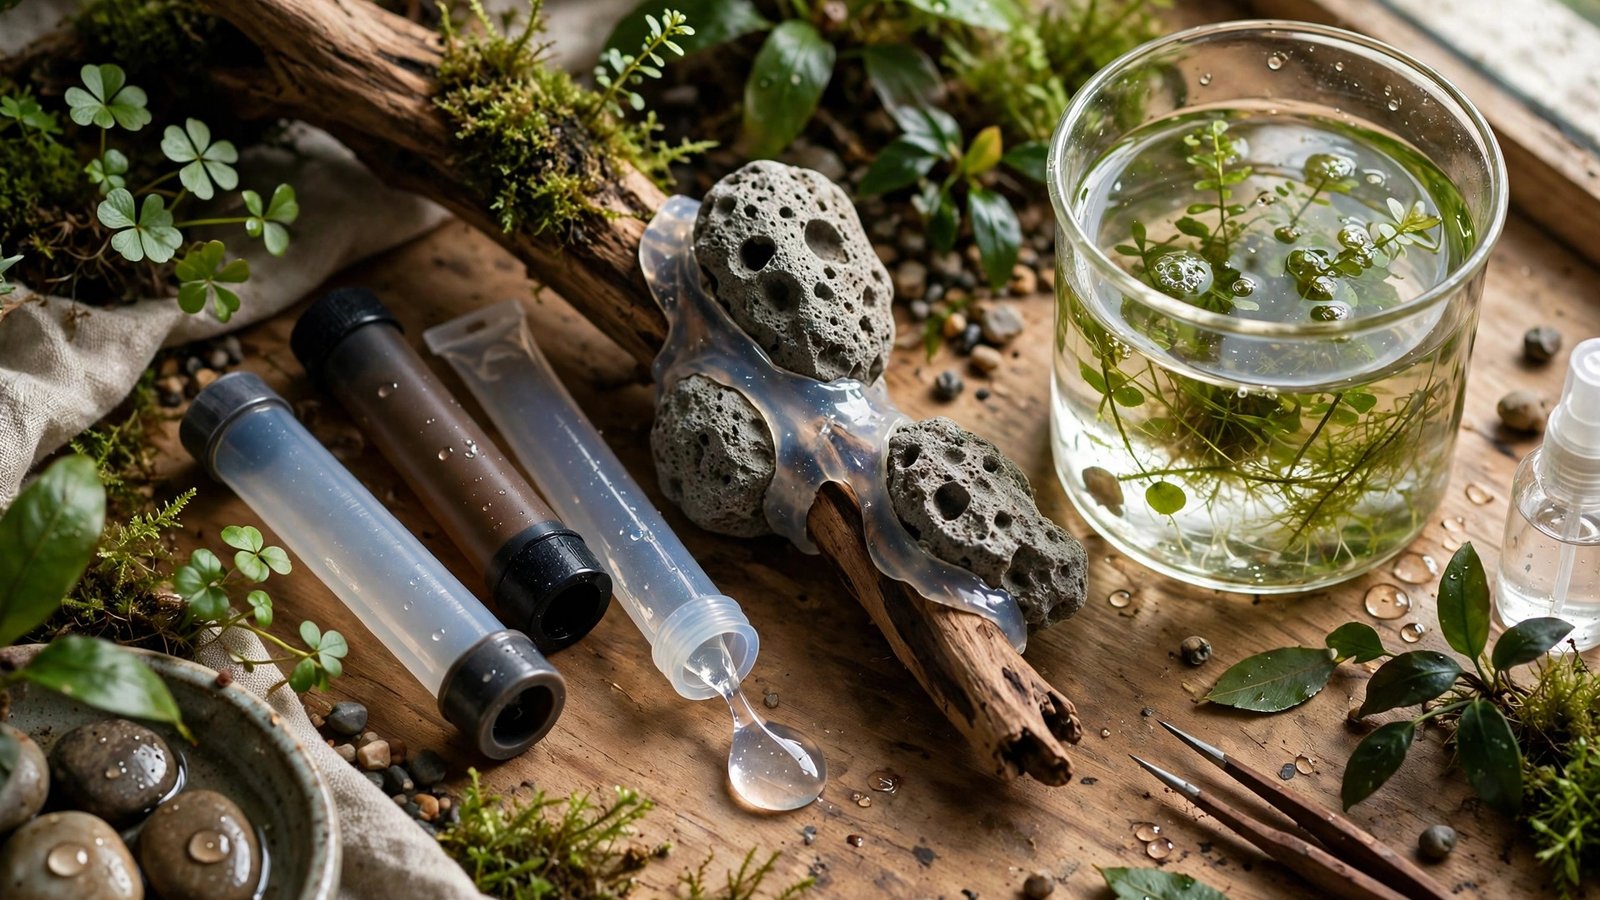
Grab the wrong tube of silicone and your hardscape build can wipe out a tank. The culprit is usually the bathroom-aisle tube: kitchen-and-bath silicones contain mold inhibitors that leach into water and poison livestock. The good news is that aquarium safe silicone is easy to identify once you know the label rules, it cures on a predictable schedule, and it bonds rock and driftwood into structures that hold for years. This guide shows you how to pick the right tube and cure it safely.
Why the Wrong Silicone Kills Fish
Silicone hardens by curing, not drying. Most suitable tubes are acetoxy silicones, which release acetic acid as they cure — that sharp vinegar smell. Once fully cured, the sealant becomes inert rubber. The danger is what some manufacturers add to it: kitchen-and-bath formulas contain biocides that stop mold in a shower, and in a closed aquarium those biocides leach into the water. Hobbyists have traced fish and coral losses back to a single "mold-free" tube.
Here is the trap: "100% silicone" refers to the sealant base, not to colorants or mold inhibitors — a tube can make the claim and still carry additives. GE's packaging disclaims aquarium use, partly liability, partly because formulations shift. Never trust an old forum post over the current label.
Before you buy a tube, finish your hardscape planning — knowing which stones and wood will touch tells you how much sealant you need. Pair the plan with the right substrate for a planted tank, since bonded hardscape sits in the substrate bed. If this is your first scaped tank, our low-tech planted tank setup puts the silicone work at the right stage.
Which Aquarium Safe Silicone Should You Buy?
You have two reliable paths: a sealant explicitly labeled for aquariums, or a hardware-store 100% silicone whose label you have verified additive-free. The first is simpler and what we recommend for beginners.
| Product | Why people use it | Watch out for |
|---|---|---|
| Aqueon Silicone Sealant | Explicitly non-toxic for fresh and saltwater; clear and black; 1, 3, and 10 oz tubes | Small tubes get expensive on big builds |
| GE Silicone 1 Door & Window | Cheap, strong, the classic hobbyist pick; excellent glass adhesion | Newer "mold-free" variants contain biocides — avoid them |
| DAP 100% Silicone (non-Plus) | Comparable to GE Silicone 1 when the plain line is used | Avoid "Plus" lines, which behave like mildew-resistant formulas |
| Loctite Clear Silicone | Widely available; good general strength | Verify no mildew or mold additives on the label |
Clear disappears against glass and pale stone, while black hides seams against dark dragon stone and shadowed crevices. Buy more than you think you need — a half-used tube skins over within days of opening.
Buying section names aquarium-specific 100% silicone sealants; Aqueon is the canonical safe pick: Aqueon aquarium silicone sealant ★4.5.
Cure Times: The 7-Day Rule and Why Bead Thickness Matters
Silicone cures from the outside in, using moisture from the air. A thin skin forms in minutes, which fools people into thinking the joint is done — underneath, a thick bead can stay soft and chemically active for days. The vinegar smell is your honest indicator: if you can still smell it, the silicone is not ready.
| Bead / joint size | Conservative aquarium cure |
|---|---|
| Thin bead, up to 3 mm | 3–5 days |
| Standard joint, 3–6 mm | 7 days |
| Thick bead or deep gap fill, over 6 mm | 7–10 days |
| Structural bonds holding heavy rock | 7 days minimum, then a water test |
The 7-day rule is conservative on purpose: it covers the label's cure time plus a margin for thick spots, cool rooms, and dry air. Cure in a ventilated space at room temperature. When the smell is fully gone and the bead feels uniformly firm — no soft center under a fingernail — it is ready. For load-bearing joints, fill the tank and let it sit 24–48 hours before adding substrate, plants, or animals.
How to Bond Rock and Driftwood Into One Structure
Silicone fills gaps, making it ideal for irregular stone-to-wood contact points. Work in this order:
- Dry-fit first. Assemble outside the tank, photograph it, and mark contact points with chalk — you get one calm attempt once the tube is open.
- Prep and dry the wood. Scrub off loose bark and let it dry fully; silicone will not bond to a wet surface. See our guide to prepare driftwood for aquariums.
- Clean the stone. Brush off dust, wipe with a damp cloth, then dry completely. No soap — residues weaken adhesion and can harm livestock later.
- Apply a generous bead. Use more than looks necessary; bond strength comes from surface area.
- Press and twist. Push pieces together with a slight twist to spread the bead and squeeze out air pockets, then prop them in position.
- Support while curing. Wedge, tape, or clamp everything so nothing shifts.
- Cure, then water-test. After the full 7 days, gently rock the structure to confirm stability.
The same technique builds stacked stone retaining walls (see our building terraces in an aquascape guide). Dense mopani wood bonds especially well — prep details in the mopani wood aquarium guide.
Silicone Versus Super Glue: Picking the Right Bond
Most good builds use both adhesives for different jobs. Cyanoacrylate (super glue gel) cures in seconds and is the right choice for attaching plants — anubias rhizomes, java fern, mosses, and bucephalandra bond to rock and wood almost instantly. Silicone is the structural adhesive: flexible, gap-filling, and strong across the large irregular joints that glue could never bridge. Use silicone for rock-to-rock, wood-to-rock, and wood-to-wood joints, glass baffles, and backgrounds; use gel for plants, moss, and small joins. Never use silicone on live plants — it smothers tissue during the long cure and the acetic acid damages leaves. For the full comparison, see our aquascaping glue guide.
When NOT to Use Silicone
Do not reseal a leaking manufactured tank unless you strip every trace of old silicone first — new silicone bonds poorly to old. For failing seams, a professional reseal or a replacement tank is the honest answer. Do not apply silicone to wet surfaces or underwater; it cures using airborne moisture and cannot form a real bond submerged. Skip it for acrylic-to-glass structural joints, which need a sealant rated for plastics. And do not trust it for heavy cantilevers: silicone has good tensile strength but modest shear strength, so design structures where gravity and friction do the work and the silicone just keeps things from shifting.
Frequently Asked Questions
How long should I wait before adding water after using silicone?
Wait a full 7 days, longer for beads thicker than 6 mm. The vinegar smell must be completely gone — that odor means acetic acid is still off-gassing and curing is incomplete. Add a 24–48 hour water test for load-bearing joints before stocking.
Does the tube have to say "aquarium-safe" on the label?
No, but the label must say 100% silicone with no mold or mildew inhibitors, and list no biocides. Aquarium-labeled sealants like Aqueon remove the guesswork. Hardware-store tubes can work, but formulations change — always verify the current label every time.
Can I use silicone to attach aquarium plants to rock?
No — use cyanoacrylate super glue gel instead. Silicone takes days to cure, smothers plant tissue, and the acetic acid released during curing damages leaves. Gel sets in seconds and is the standard for attaching rhizome plants and mosses to hardscape.
Can I glue rocks together or fix a leak underwater?
No. Silicone cures using moisture from the air and cannot form a proper bond fully submerged — underwater repairs are cosmetic and will fail. Drain below the work area, dry the surfaces, apply silicone, and complete the full cure before refilling.
Build It Once, Build It to Last
The right tube, a patient 7-day cure, and joints designed so gravity does the heavy lifting — that is the whole formula. Respect the label and the cure time, and this weekend's hardscape will still be standing years from now.
Sources: GE Silicone 1 product specifications; Aqueon Silicone Sealant product details.