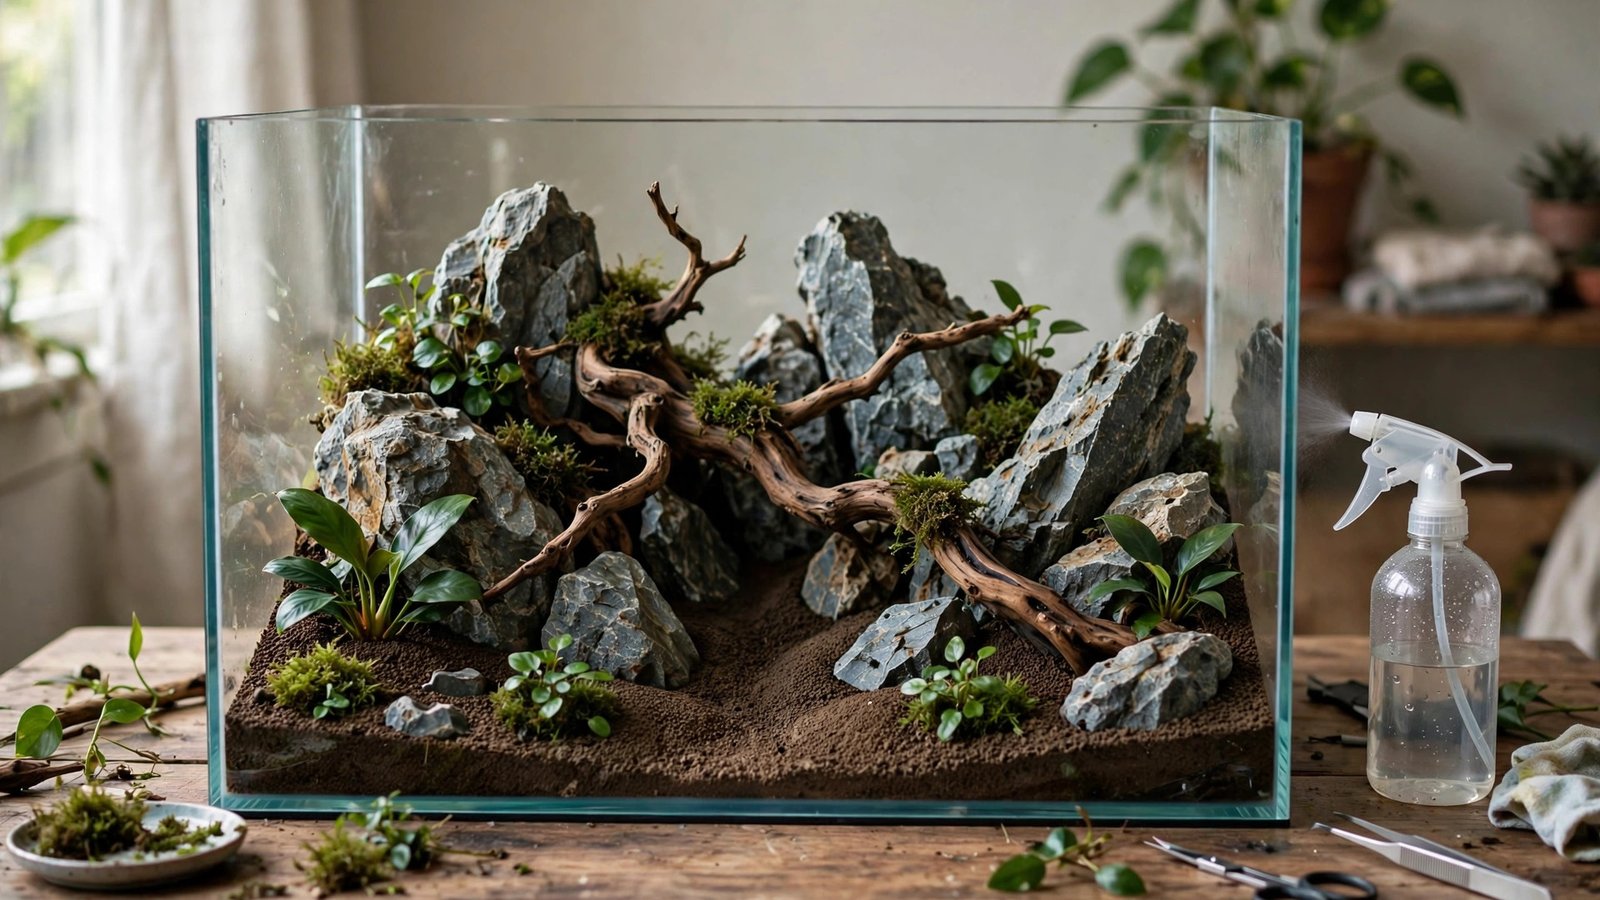
Learning how to plan aquascape hardscape before water enters the tank is the single highest-leverage skill a new aquascaper can build. The dry-layout method — arranging every rock and branch on the bare tank footprint, photographing iterations, testing stability, and locking the arrangement in place before flooding — turns a stressful underwater guessing game into a calm, repeatable workflow. Most painful rescapes happen because the aquascaper tried to compose while submerged, where floating dust, shifting substrate, and foreshortened perspective make honest judgment nearly impossible. This guide walks you through the practical pre-flood workflow, step by step.
Why Dry-Layout Planning Is the Standard for Aquascape Hardscape
Working dry gives you three advantages you simply cannot get underwater. First, honesty: air has no haze, and dry rock shows its true texture and gaps, so the arrangement you approve is the arrangement you get. Second, gravity feedback: a wobbling stone reveals itself instantly when you nudge it on the counter, whereas underwater it might sit "fine" until a corydoras nudges it at 2 a.m. Third, freedom to iterate: moving a stone on cardboard costs five seconds; moving it in a flooded tank costs you disturbed substrate, cloudy water, and uprooted stems.
Professionals treat the dry layout as a separate project phase, not a rushed ten minutes before filling. Budget an hour or two, plus one overnight pause: an aquascape that looks intentional on day one and survives the first month without emergency repairs is worth the wait.
What You'll Need Before You Start
Gather everything before you begin iterating, because the whole point is to work with your real materials, not imaginary ones. You will need your tank (empty and clean), a sheet of cardboard or newspaper at least as large as the tank footprint, all of your hardscape pieces (buy or collect more than you think you need — roughly 1.5 times your estimate), your substrate, a spray bottle of water, your phone, painter's tape, a marker, cyanoacrylate superglue gel, and a piece of egg crate (lighting diffuser panel) cut roughly to your tank's footprint.
If you have not chosen materials yet, start with our overview of the best rocks for aquascaping so you buy pieces with character rather than filler. Two of the most popular stone types, dragon stone (Ohko) and Seiryu stone, behave differently in layout — Ohko's holes catch light and shadow dramatically, while Seiryu's layered faces reward strong angled placement — so know which look you are chasing before you arrange.
Step 1: Build Your Footprint Template
Lay your cardboard or newspaper on a table at a comfortable working height and trace your tank's exact footprint, front edge clearly marked. Better still, place the empty tank on the template and work inside it once you move to the arrangement stage — glass walls change how you see proportions, and a piece that looked perfect on open cardboard can suddenly feel cramped once the front panel "frames" it. Many aquascapers skip this and arrange on a desk, only to discover their composition overflows the back corners when transferred.
Mark a few reference lines on the template with painter's tape: the front-to-back midpoint, and the rule-of-thirds lines for the front view. You will use these constantly during placement. Tape a simple viewing window — two vertical strips marking the visible width from your normal viewing distance — so you can check whether side pieces will be hidden by the tank's edge from your sofa or desk. This five-minute step prevents the classic disappointment of a beautiful side angle that nobody ever sees from the front.
Step 2: Shape Your Substrate Slopes First
Substrate goes in before hardscape, not after. Sculpt your slopes and terraces now, because hardscape sitting on shaped substrate looks planted and natural, while hardscape dropped onto flat substrate with soil piled around it later looks like garnish on a cake. Build your main slope rising from front to back — a common ratio is 2–3 cm at the front glass rising to 8–12 cm at the back for a 60 cm tank — and mist it thoroughly with the spray bottle so it holds its shape during the layout session.
Where slopes are steep, plan terraces with stone retaining walls instead of trusting raw substrate; loose slopes slump within weeks. Our guide to building terraces in aquascapes covers wall construction in detail, and the substrate depth guide for aquarium plants will help you keep enough depth for root feeders without wasting aquasoil where rock will sit. A practical trick: place your main stones first on the bare template, then add substrate around their bases — this both anchors them and hides their bottoms, which reads as "rock emerging from the earth" rather than "rock placed on the floor."
Step 3: Place the Main Stones and Wood (The Golden-Ratio Workflow)
Start with your single most important piece — the largest stone or the most dramatic branch — and place it at one of the golden-ratio points rather than dead center. For a tank of length L, the two classic focal points sit at roughly 0.38L and 0.62L from the left; this one decision does more for your composition than anything else. Angle the piece so its longest axis points toward the viewer or sweeps diagonally — a stone lying flat and parallel to the front glass always looks parked, never natural.
Support the cast around your hero piece
Add the next two or three supporting pieces in descending size, each echoing the hero's angle and texture. Work in odd numbers — threes and fives photograph better than pairs, which the eye reads as symmetrical and static. Keep at least a few centimeters of "breathing room" between major elements; crammed hardscape reads as one lumpy mass from the front. As you add each piece, ask: does it point toward the focal point, or does it compete with it?
Match your materials' personalities
Mixing stone types usually looks like a rock collection, not a landscape — commit to one stone family for the main composition. If you are choosing between branch styles, our spider wood vs manzanita comparison explains which suits fine, twiggy detail versus bold, architectural lines. Driftwood must be fully prepped before it enters the layout — sink-tested, cleaned, and tannin-managed per how to prepare driftwood for an aquarium — because a floating branch will ruin your iteration rhythm. Foraged stone needs testing too; our guide to finding and testing safe river rocks shows the simple vinegar and bucket tests to run first.
"Seiryu's sharp ridges suit the golden-ratio focal points": Seiryu stone.
 ★4.5
Eorbow Natural Seiryu Stone Rocks
Check Price on Amazon ★4.5Step 4: Test Every Structure for Stability
Once the arrangement pleases your eye, abuse it. Press each stone firmly from several angles, rock every stack, and tug each branch — lean on the composition the way six months of maintenance will. Anything that shifts, clicks, or rocks must be re-seated, re-angled, or rejected.
Two safety rules are non-negotiable. First, never rest a heavy rock directly on bare glass: a sharp point plus a bump equals a cracked base, the most expensive mistake in the hobby. Place a cut-to-fit sheet of egg crate (plastic lighting diffuser, sold at hardware stores) under your hardscape zone before substrate goes in; it spreads point loads across the glass and is invisible once covered. Second, wedge unstable joints with smaller stones rather than balancing on single contact points — three contact points make a tripod, and tripods do not wobble. In nano aquascapes this matters doubly, because tiny tanks leave no room for a fallen stone to land safely.
Step 5: Glue and Tie the Lock-In Points
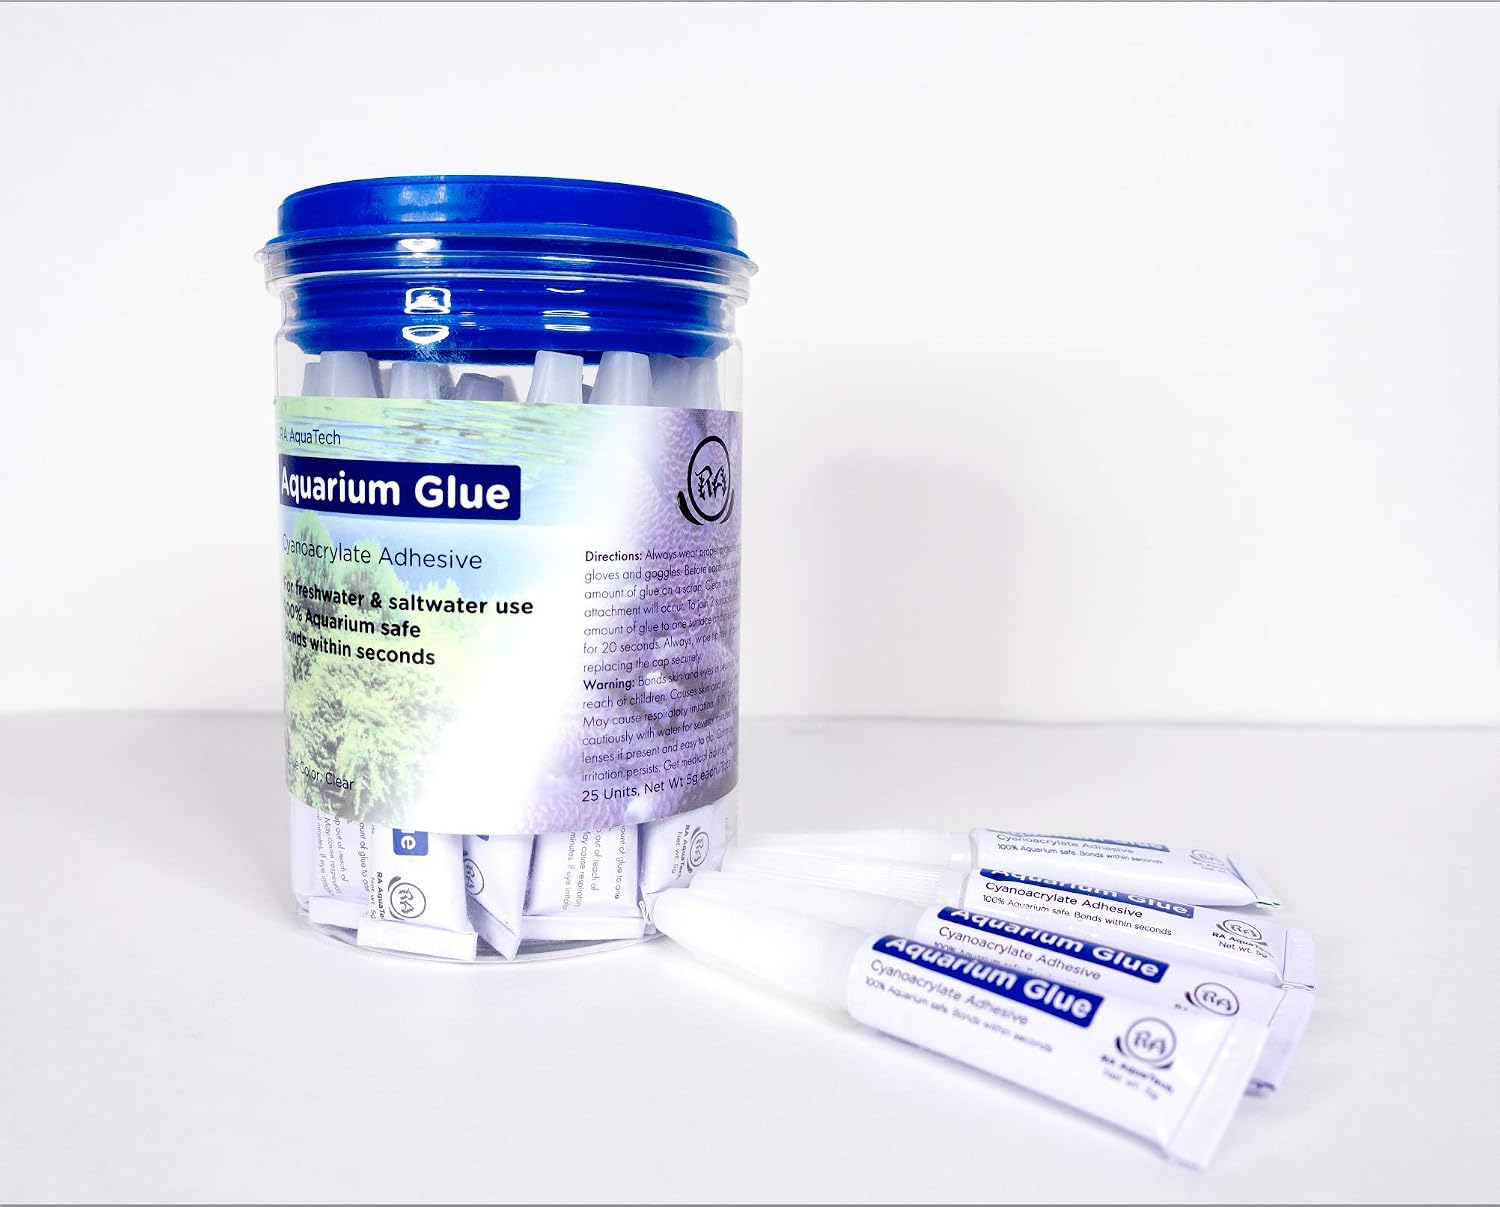
Stability you achieved by careful balancing should be made permanent with glue and ties before flooding, because water, substrate settling, and digging livestock will test every joint. Thin cyanoacrylate superglue gel bonds rock to rock and wood to rock in seconds and is aquarium-safe once cured. The classic technique: wedge a small tuft of tissue or cotton between the two surfaces, saturate it with glue, and press — the tissue acts as a bridge that the glue hardens into a surprisingly strong, natural-looking joint you can later hide with moss or small plants.
For heavy branches that must stay put, combine glue with mechanical fasteners: zip ties or fishing line through drilled holes, anchored to slate bases buried in the substrate. Work from the bottom of the structure upward, gluing each layer only after it passes the push test. Our aquascaping glue guide covers which adhesive types are safe, how to avoid the white haze bloom on dark stone, and when to choose epoxy putty over superglue for gap-filling.
Gel cyanoacrylate locks the contact points permanently: cyanoacrylate aquascaping glue.
 ★4.3
RA AquaTech Aquarium Glue
Check Price on Amazon ★4.3Step 6: Photo-Iterate Until It's Right
Your eyes lie after twenty minutes of staring at rocks. Your phone does not. Photograph the layout from straight-on at your normal viewing distance, from above (the top-down view reveals symmetry and spacing problems the front view hides), and from each side. Then compare the shots side by side on your phone — flaws that were invisible in person, like two peaks of equal height or a gap shaped like an arrow pointing at the glass, jump out immediately in a still image.
Run at least three iteration rounds: arrange, photograph, adjust, repeat. Between rounds, mist the hardscape — wet rock darkens to its submerged color, and the "dry look" misleads. For inspiration, browse Tropica's aquascape layout gallery and note how the strongest entries handle negative space. Then walk away overnight: cover the layout with a damp towel, and judge your photos fresh in the morning.
Step 7: Final Pre-Flood Checklist
Before the first liter of water goes in, walk this checklist with the layout fully assembled:
- Substrate depths verified: at least 4–5 cm in planting zones, with terraces and retaining walls holding steep sections.
- Equipment clearances: filter intake and outflow, heater, and CO2 diffuser all have homes that hardscape will not block. Hold each device in place and confirm.
- Maintenance access: you can reach every glass panel with an algae scraper and the substrate surface with a siphon without moving rock.
- Plant pockets planned: gaps between stones are sized for the root balls of your intended plants, and epiphyte spots on wood and rock are identified.
- Water chemistry checked: if you used Seiryu or other limestone-type stones, confirm you are comfortable with the pH shift — see do aquarium rocks raise pH? for testing methods.
- Photographic record: final top-down and front photos saved, so you can rebuild exactly if a piece shifts during filling.
- Fill plan ready: a plate, plastic bag, or bubble wrap staged to diffuse the incoming water stream so it does not crater your slopes.
Only when every item is genuinely checked — not "probably fine" — should you start filling. Flood slowly, watch the structure through the glass as water rises, and pause if anything shifts; with the photographic record and glued joints, small corrections take minutes rather than the full rescape they would have cost unplanned.
Common Dry-Layout Mistakes (and Fixes)
Judging color on dry rock. Almost every stone darkens underwater. Mist pieces during iteration so the contrast you are designing actually exists post-flood.
Building to the tank's edges instead of its viewing angles. Tape your viewing window on the template and judge every placement from where you will actually sit.
Forgetting the equipment. A perfect composition that blocks the filter intake is a failed composition — place hardware during the dry phase.
Under-buying hardscape. Keep roughly half again as much material as your final layout will use: selection is subtraction, and leftover stone becomes the next tank's starter kit.
Skipping the overnight test. Fresh eyes catch composition sins that tired eyes forgive. Never flood on the same day you finalize.
Frequently Asked Questions
How long should a dry layout session take?
Plan for one to two hours of active arranging and photographing, plus an overnight pause before the final decision. Rushing this phase is the most common cause of rescapes — the hour you spend iterating on cardboard is worth ten hours of underwater corrections later. If you are still moving pieces after three hours, take the overnight break; fatigue makes every option look equally good.
Should substrate go in before or after the hardscape?
Substrate first, always. Sculpt your slopes and terraces, mist them firm, then set hardscape into the shaped substrate so stones sit nested rather than perched. Placing rock on flat substrate and piling soil around it afterward creates unstable, unnatural-looking mounds and wastes expensive aquasoil in spots where no roots will ever reach.
Can I do a dry layout in a nano tank?
Yes, and you should — small tanks punish mistakes hardest because there is no room to hide them. Use tweezers for fine adjustments, photograph with your phone's macro or zoom rather than leaning in (which distorts perspective), and be extra strict about the egg-crate base layer, since nano glass is thinner and a shifting stone has nowhere safe to fall.
How do I stop driftwood from ruining the layout by floating?
Only lay out with wood that is already waterlogged or mechanically anchored. Soak buoyant pieces until they sink on their own, or pre-attach them to slate bases and bury the bases in substrate during the dry phase. Never trust a "probably sunk enough" branch — it will lift the moment water rises and take your glued joints with it.
Do I need to test my rocks before the dry layout?
Test before you fall in love with an arrangement. A quick vinegar fizz test flags carbonate stones, and a week-long bucket test with pH measurements tells you the real effect on your water. Discovering that your centerpiece raises pH after the tank is flooded means either living with the chemistry or tearing down a finished scape.
What if I want to change the layout after flooding?
Small tweaks — nudging a stone, rotating a branch — are fine in a young tank and cost little. But a full recomposition underwater disturbs substrate layers, releases trapped nutrients, and usually triggers an algae bloom, which is why rescapes are best treated as a planned project rather than a casual adjustment. This is exactly the pain the dry-layout method exists to prevent.
The Hour You Spend Now Saves the Rescape Later
The dry-layout method is not extra work; it is the same work done in the right order, where mistakes are free. Template the footprint, shape the substrate, place to the golden ratio, test every joint like it owes you money, glue the lock-ins, photo-iterate, sleep on it, and flood with confidence. Do this once, properly, and you will join the quiet club of aquascapers whose tanks look intentional on day one — and who never have to explain to their fish why the living room is underwater again.