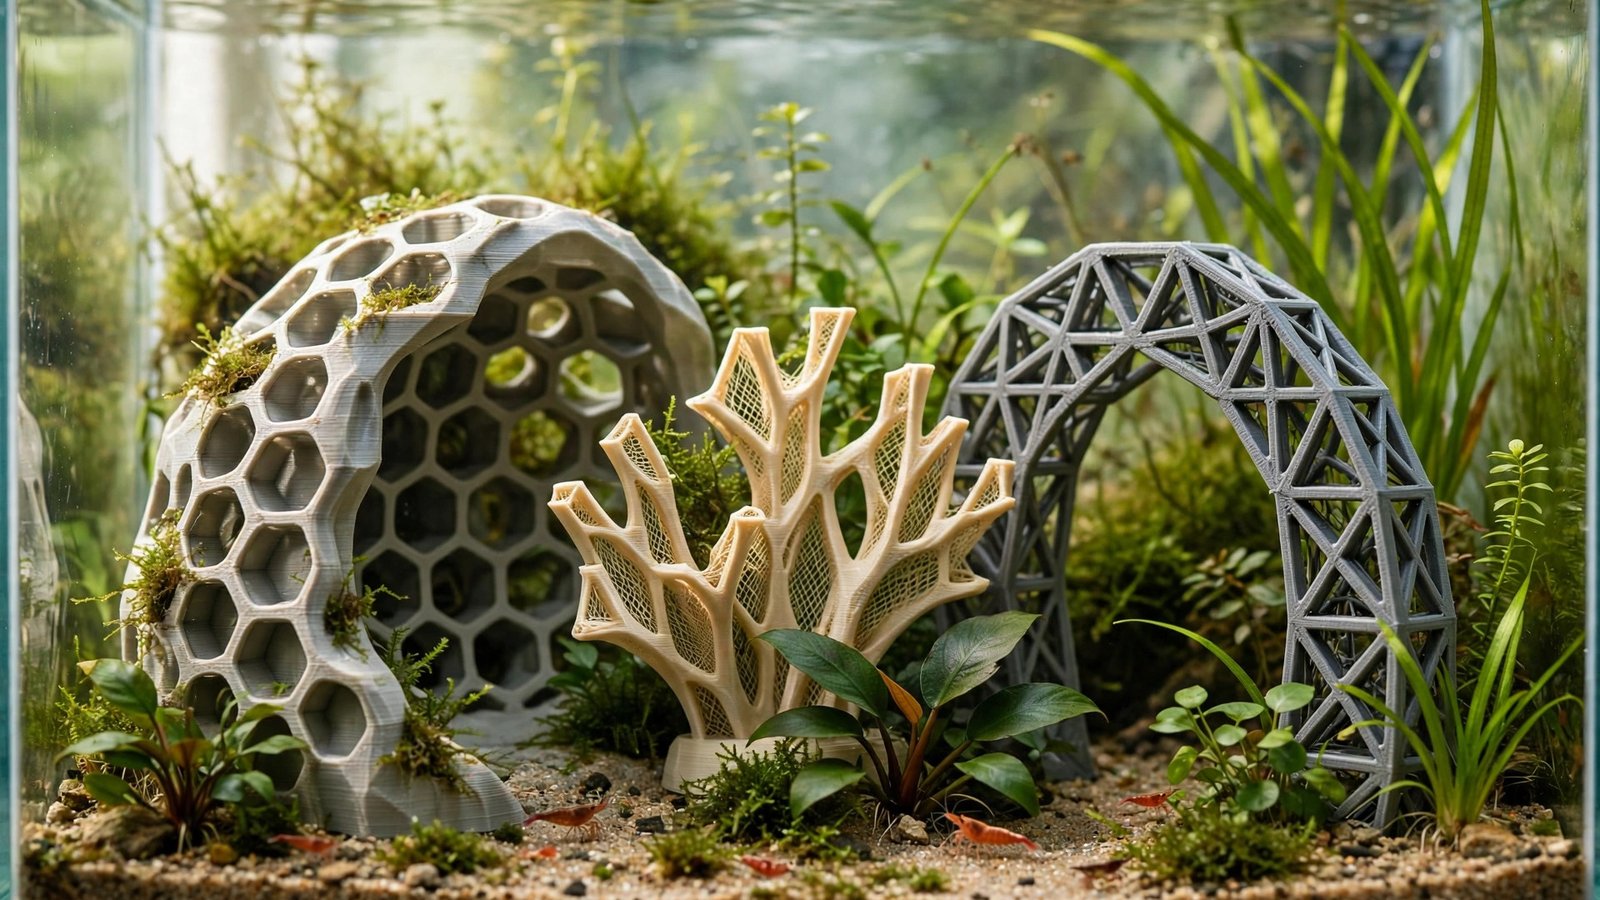
Your For You page is full of them: moss-covered castle ruins, hollow driftwood replicas, and shrimp hides that slot together like LEGO — all 3D printed overnight in someone's bedroom. It looks like magic, and it mostly is, but here is the question that decides whether your shrimp colony thrives or your cycle crashes: are 3D printed aquarium decorations safe in a planted tank? The honest answer is yes — if you print with the right filament and finish the piece properly. Print with the wrong plastic, or skip post-processing, and the same print that looked so cool on TikTok can leach chemicals, grow an impenetrable algae crust, or bob to the surface like a beach ball. This guide walks you through every step: which filaments to trust, how to seal them, and how to print decor that sinks, stays put, and keeps your water chemistry stable.
Why 3D Printing Took Over Aquarium Decor
Custom resin caves used to cost $40 at the fish store and never quite fit the corner you had in mind. A $20 spool of PETG plus a free model from Printables gets you a cave sized to the millimeter, a filter intake cover that actually matches your filter, or a branching tree skeleton that holds moss in a shape you designed. For planted tanks the real win is repeatability: six identical plant weights, a dozen tissue-culture cup holders, a feeding dish that keeps food off your carpet.
But a 3D print is not a single slab of plastic — it is hundreds of thin layers with tiny gaps between them, and water finds gaps. That is the entire safety story: filament chemistry decides what could leach into your water, and the layer structure decides how water, algae, and bacteria interact with the surface. Get both right and a print can live underwater for years — aquarists on the Prusa3D forums report sealed PLA pieces running five years in freshwater with no degradation. Get either wrong and you fight the piece instead of enjoying it.
If you are still sketching the layout, sort out your composition first — our hardscape planning guide covers the rule-of-thirds layouts that make printed decor look intentional instead of cluttered.
The Filament Safety Table
Not all plastics belong in water. This table ranks the common FDM filaments for submerged aquarium use, from best to worst:
| Filament | Aquarium safety | Water behavior | Best for |
|---|---|---|---|
| PETG | Safest all-rounder — non-toxic when additive-free | Water-resistant; survives years submerged | Permanent decor, caves, filter parts, anything load-bearing |
| PLA | Safe when plain (no glitter, silk, or glow additives) | Biodegradable — softens and degrades over 1–3 years underwater, faster above 28°C / 82°F | Temporary or experimental pieces; always seal for long-term use |
| ASA | OK if sealed — releases styrene fumes while printing | Very water-resistant once printed | Outdoor pond decor; must be epoxy-sealed for tanks |
| ABS | Use with caution — possible styrene leaching; ventilate while printing | Water-resistant | Rarely worth it for tanks; PETG does everything ABS does, more safely |
| TPU (flexible) | Generally safe when plain | Water-resistant; flexible | Soft intake guards, suction-cup mounts — not structural decor |
| Nylon | Avoid — absorbs water, swells, and can release caprolactam | Soaks up water and deforms | Nothing submerged |
| Resin (SLA) | Avoid unless fully post-cured — uncured resin is toxic | Varies | Never for beginners; even cured, long-term data is thin |
| Glow / silk / metal-filled PLA | Avoid — undisclosed additives can leach | Varies | Nothing in the tank, ever |
The pattern is simple: stick to plain PETG or plain PLA from a reputable brand. The detailed breakdown at 3DSourced's aquarium safety guide reaches the same conclusion after testing the full filament lineup.
How Leaching Actually Works
"Leaching" sounds dramatic, but in practice it means two things: chemicals migrating out of the plastic, and the plastic itself slowly breaking down. With plain PETG both are negligible — it is the same base plastic as food packaging, and long-term hobbyist trials show no measurable water-chemistry change. With plain PLA the risk is not acute poisoning; it is slow biodegradation. In warm water bacteria eventually start eating the starch-based plastic, micro-cracks open, and the roughened surface becomes an algae and biofilm magnet long before the piece falls apart.
The genuinely dangerous category is additives: pigments, plasticizers, flame retardants, metal powders. This is why silk, marble, glow-in-the-dark, and wood-filled filaments are a hard no — no one tests them for 24/7 submersion at 25°C / 77°F. ABS and ASA deserve special mention for styrene: both release it as fumes during printing (ventilate well, keep the printer out of the fish room), and ABS has a plausible leaching pathway in warm water. If you must use them, seal completely and bucket-test for two weeks first.
One more quiet risk: your printer itself. Before printing for a tank, run a cold pull to clear burnt residue from the nozzle, and consider a stainless-steel nozzle (under $15) to eliminate trace-metal shedding from brass entirely.
Sealing: Polyurethane vs Epoxy
Sealing does three jobs at once: it waterproofs the layer lines, gives algae a smooth surface it cannot grip, and locks in any residual surface chemistry. Two options dominate:
| Sealant | How it works | Cure time | Pros | Cons |
|---|---|---|---|---|
| Two-part aquarium epoxy | Mix resin + hardener, brush or dip | 24–72 hours full cure (follow the label — "dry to touch" is not "tank-safe") | Thickest barrier; food/aquarium-rated formulas widely available; fills small gaps | Thick coats can mute fine detail |
| Water-based polyurethane | Brush or spray 2–3 thin coats | 24 hours between coats; 7 days full cure before submersion | Thin, detail-preserving; easy to apply evenly | Longer wait; water-based only — oil-based formulas are not tank-safe |
For PLA, sealing is effectively mandatory for anything staying in the tank more than a few months. For PETG it is optional for safety but still worthwhile on decor because of the algae issue above. Whatever you choose, respect the full cure time — most "sealant killed my fish" stories trace back to a piece that went in while the coating was still off-gassing.
The Layer-Line Algae Problem (And How to Beat It)
Here is the complaint in every 3D-printing aquarium thread: "My print looked great for two months, then the layer lines turned into an algae farm I can't scrub." FDM ridges — typically 0.2 mm per layer — trap algae spores where no brush can reach. On a smooth rock, algae wipes off. On a raw print, it colonizes the texture itself.
You have three defenses, and they stack:
- Print finer. Drop to 0.12 mm layer height on visible surfaces. It doubles print time, but smoother surfaces give algae less to grip.
- Sand it. Wet-sand visible faces with 220-grit, then 400-grit. Ten minutes of sanding makes a print feel injection-molded.
- Seal it. Epoxy or polyurethane fills the remaining micro-grooves, leaving a glassy surface a sponge wipes clean.
Design helps too. Favor smooth, flowing models over fine engraved detail — engraving is pre-made algae habitat. And orient the print so large faces are vertical; horizontal top faces collect light and detritus and green up first.
Weighted Bases: Making Prints Sink and Stay Put
The second classic failure is buoyancy: hollow prints trap air, and air always wins. The fix is structural:
- 100% infill on anything that must sink. Solid PETG (density ~1.27 g/cm³) sinks reliably; anything under ~60% infill is a float risk.
- Design in a ballast chamber. Fill a hollow base cavity with clean quartz gravel or stainless-steel nuts, then cap it with epoxy.
- Give it a footprint. Tall, narrow prints tip when a pleco rams them at 2 a.m. Make the base at least one-third of the piece's height in diameter, or slot it under the substrate so the substrate anchors it.
- Silicone it down. A bead of aquarium-safe silicone between base and glass holds through anything — just know a razor blade is needed to remove it later.
A heavy printed centerpiece distributes its weight better across an egg-crate grid than on bare glass — worth planning before you fill the tank. And in deep substrate beds, remember that buried organics can generate gas pockets in aquarium substrate; keep printed bases clear of those zones.
Step-by-Step: Print and Post-Process a Tank-Safe Piece
Here is the full workflow for a decorative cave or hide, start to finish. It adds about a day of passive cure time but turns a raw print into something that lasts years:
- Choose the model. No sharp internal edges (fish fins tear on them), openings at least 2 cm wide, no enclosed chambers you cannot clean.
- Slice for submersion. Plain PETG, 0.12–0.16 mm layers, 4–5 wall perimeters, 100% infill. Bump nozzle temp 5°C over your normal PETG setting for stronger layer adhesion — delamination is how pieces fail underwater.
- Print and inspect. Trim stringing with a hobby knife; a 2–3 second heat-gun pass from 15 cm melts whiskers smooth. Sniff the print — strong chemical smell means suspect filament; plain PETG smells faintly sweet or like nothing.
- Wet-sand. 220-grit then 400-grit under running water on visible faces. Rinse thoroughly — trapped sanding dust becomes detritus.
- Wash. Scrub with a dedicated soft brush in warm dechlorinated water. No soap, ever. Air-dry at least 12 hours — sealant over damp plastic bubbles and peels.
- Seal. Two thin coats of epoxy or polyurethane. For caves, pour mixed epoxy inside and roll it to coat interior surfaces.
- Cure fully. Epoxy: 72 hours minimum. Polyurethane: 7 days. Ventilated room, not a sealed box.
- Bucket test. Submerge 5–7 days in dechlorinated water; test ammonia, nitrite, and pH at start and end. Any swing means it is not ready. This catches 90% of problems before livestock meets the print.
- Install. Bed the base into the substrate on a level spot and anchor tall pieces per the weighted-base section.
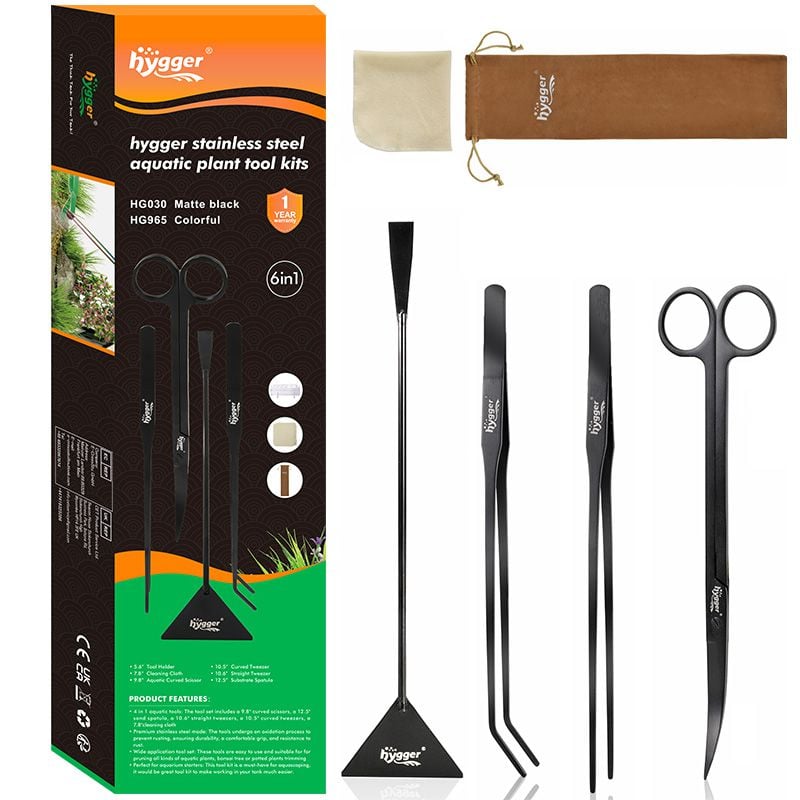
Flush cutters and long tweezers from an aquascaping kit are the right tools for trimming print supports and cleaning layer lines during post-processing: an aquascaping tool kit.
 ★4.6
hygger 6-in-1 Long Aquarium Aquascaping Tools Kit
Check Price on Amazon ★4.6Printed Decor in a Planted Scape
A print does not have to look like a print. The best-planted-tank uses hide the plastic entirely: a tree skeleton wrapped in Java moss, a cave mouth half-buried under a lava rock slope, a background panel that disappears behind stems. Stipple the sealing epoxy and dust it with fine sand while wet, and a cave reads as stone from 30 cm away.
Think about contrast like any hardscape. A dark print against white sand draws the eye — perfect for a focal cave, terrible for an equipment cover you wanted to hide. Before committing to a big printed centerpiece, sanity-check it against a rock-only aquascape layout: if the composition works with plain stone, it will work with your print.
Small tanks reward printed decor most. A custom-fit background ledge or corner filter shroud reclaims space off-the-shelf decor wastes — the approach pairs naturally with the space-saving tricks in our hardscape for nano aquascapes guide..
Cyanoacrylate gel is the hobby-standard way to fix moss and epiphytes onto printed decor; the section discusses wrapping a printed tree skeleton in Java moss: a dab of cyanoacrylate aquascape glue.
Frequently Asked Questions
Is PLA really safe for aquariums, or will it poison my fish?
Plain PLA is non-toxic — it is made from plant starches — so it will not poison your fish outright. The real issue is durability: PLA biodegrades in warm water over 1–3 years, getting brittle and algae-prone as it breaks down. Seal it with aquarium-safe epoxy and it lasts much longer. For a permanent piece, skip the debate and print in PETG instead.
Do I need to seal PETG prints?
For fish and shrimp safety, no — plain PETG is inherently water-resistant and non-toxic without any coating. Seal it anyway on decorative pieces, because the sealant fills layer lines and turns an algae-trapping ridged surface into one you can wipe clean in seconds. Two thin coats of water-based polyurethane is enough; let it cure the full 7 days.
Why is my 3D print floating, and how do I fix it?
It is floating because trapped air inside the hollow print outweighs the plastic. Reprint at 100% infill, or retrofit: drill a small hole in an inconspicuous spot, fill the cavity with clean quartz gravel, and plug it with aquarium-safe epoxy.
Can I use glow-in-the-dark or silk filament for a centerpiece?
No. Glow filaments contain phosphorescent compounds like strontium aluminate, and silk filaments use undisclosed additives for their sheen — neither is tested for continuous submersion, and both have plausible leaching pathways in warm aquarium water. They are fine for the lid of your printer enclosure. Keep them out of the tank.
How do I clean algae off a 3D-printed decoration?
On a sealed print, a soft sponge or old toothbrush during water changes is enough — treat it like glass. On an unsealed print with algae rooted in the layer lines, remove the piece and soak it in a 1:20 hydrogen peroxide dip for 10 minutes, scrub, and rinse thoroughly. If algae keeps winning, that is your sign to sand and seal the piece properly.
Will a printed decoration affect my water parameters?
A properly printed and cured piece in plain PETG or sealed PLA causes no measurable change to pH, GH, KH, ammonia, or nitrite — which is exactly what the week-long bucket test verifies before installation. If you see a pH swing or an ammonia blip during the bucket test, the sealant was not fully cured or the filament had additives; do not put that piece in a stocked tank.
The Bottom Line on Printed Decor
3D-printed aquarium decorations are safe when you respect two rules: print in plain PETG or plain PLA, and finish the piece like it will live underwater for years. Sand the layer lines, seal the surface, cure it fully, sink-test it in a bucket, and anchor it so it stays put. Do that, and the castle on your For You page becomes exactly what it should be: decor you designed, printed, and trust completely, in a planted tank that looks like nothing anyone can buy.