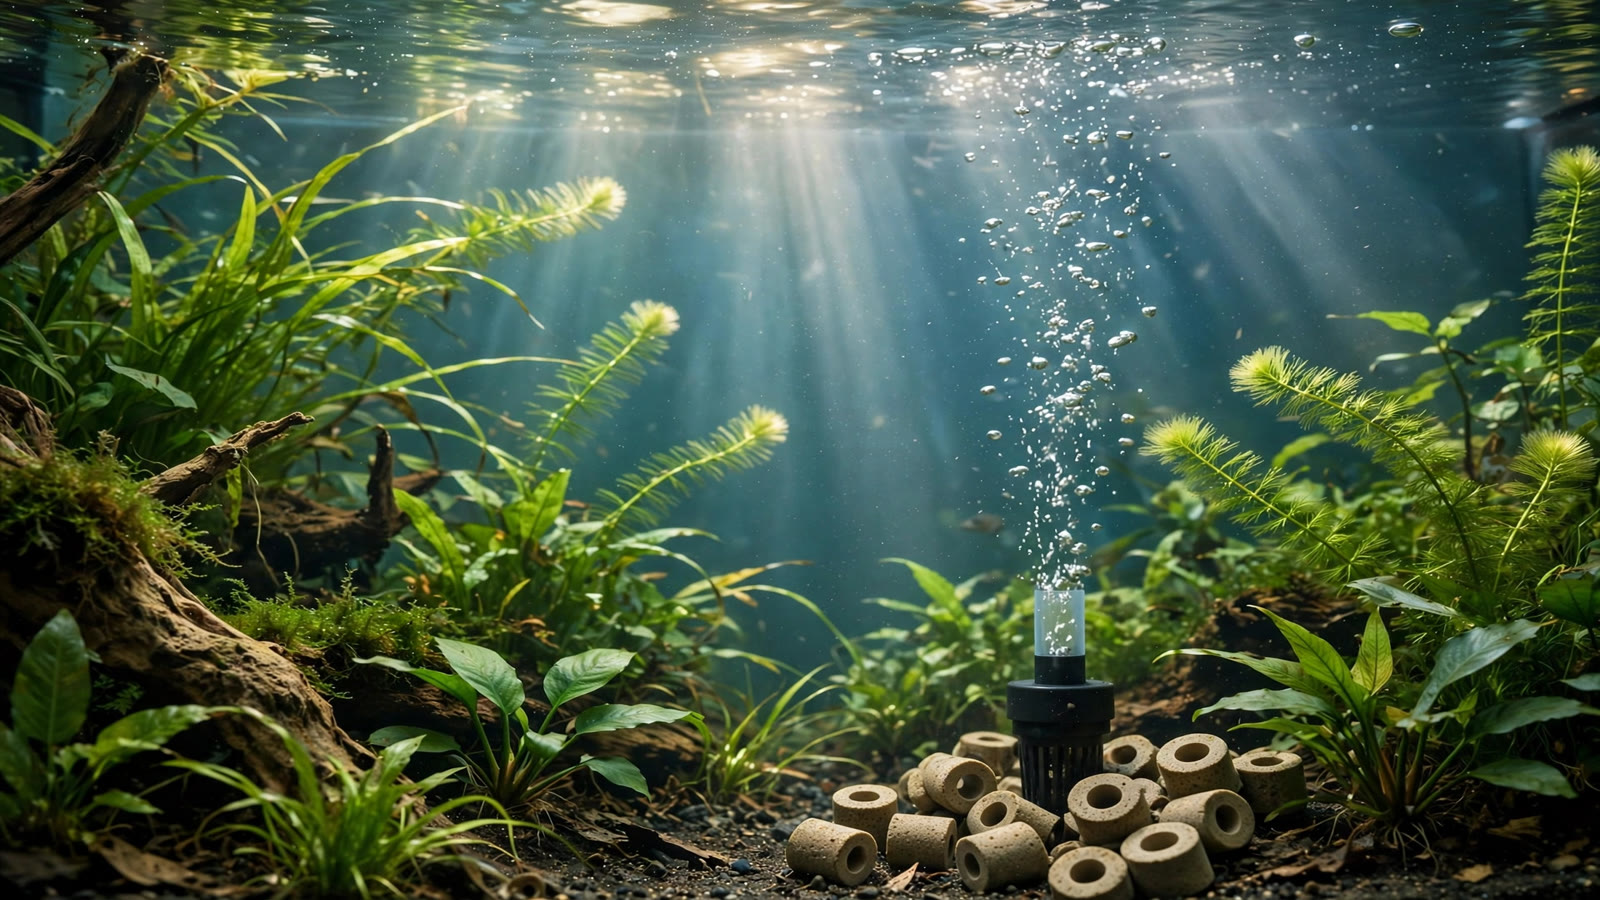
If you are setting up a planted aquarium, one question comes up in almost every forum thread: do planted tanks need to be cycled? After all, plants absorb ammonia, and a thicket of fast-growing stems can soak up an impressive amount of waste. The short answer is yes — plants help a great deal, but they cannot replace the nitrifying bacteria that make a tank stable. Understanding why will save you from the most common cause of new-tank fish losses.
The Nitrogen Cycle in a Planted Tank
Every stocked aquarium runs on the same biological engine. Fish excrete ammonia through their gills, and uneaten food, dead leaves, and waste break down into ammonia too. Ammonia is highly toxic even at low concentrations. Two groups of microbes then process it in sequence: ammonia oxidizers convert it into nitrite (also toxic), and nitrite oxidizers convert nitrite into nitrate (far less harmful). A "cycled" tank simply means these microbial populations are established and large enough to process the ammonia livestock produce every day.
For a scientific walkthrough of these conversions, this aquarium science overview of the nitrogen cycle and TropicalEdu's explanation of nitrification describe what the bacteria and archaea do at each step.
How plants change the picture
Plants tilt the cycle in your favor three ways: they absorb ammonium (the ionized form of ammonia) directly, they outcompete nuisance algae for nutrients, and the zone around roots hosts its own nutrient-processing bacterial communities. That's why heavily planted tanks often skip the ugly algae-bloom phase.
But plants have limits. Fast-growing stems pull plenty of nitrogen; slow growers like anubias barely make a dent. At night, plants respire and consume oxygen. And when a plant mass melts back — common during adjustment — decaying tissue releases ammonia instead of absorbing it. Plants are a powerful helper, not a substitute for bacterial colonies that work around the clock.
Do Planted Tanks Need to Be Cycled? No — Plants Help, They Don't Replace It
No. Plants reduce the ammonia load and add real resilience, but livestock produce ammonia continuously and in spikes — every feeding, every dead snail, every disturbed substrate bed. A tank whose safety depends entirely on plants can be fine one week and lethal the next after a big trim or a melting episode. A bacterial colony is self-regulating: it grows when ammonia rises and stabilizes when it falls. That self-adjusting capacity is what makes a cycled tank forgiving.
Think of it as layered defense. Plants are the first layer, absorbing ammonia directly. Nitrifying bacteria are the second layer, processing whatever the plants miss. Water changes are the third layer, exporting accumulated nitrate. Skip the bacterial layer and one bad day leaves you with no backup.
How Bacterial Starters Work
Bacterial starters are bottled nitrifying bacteria sold to speed up cycling. Instead of waiting weeks for the right microbes to arrive and multiply on their own, you pour in a ready-made population and give the cycle a head start.
What's inside the bottle
Early products often contained organisms suited to wastewater systems, not aquaria. Research over the last two decades has shown that aquarium biofilters are usually dominated by different ammonia oxidizers, including members of the genus Nitrospira and various ammonia-oxidizing archaea. Modern, well-made starters contain the organisms that actually colonize aquariums, kept alive in a dormant or protected state until use. That's why quality varies so widely: the right microbes in good condition work well; the wrong microbes in a dead bottle do nothing.
What starters can and can't do
A good starter shortens the cycle rather than eliminating it. The bacteria still need time to attach to surfaces — filter media, substrate grains, driftwood — and multiply into colonies big enough to handle your bioload. With a quality starter and a light ammonia source, many tanks cycle in one to two weeks instead of four to eight.
What no starter can do is support a full stocking on day one. Bottled bacteria arrive in suspension; your long-term biofilter lives on surfaces, and surface colonies take time to grow. If you are fishless cycling a planted tank, treat a starter as a head start, not a replacement.
Buying and handling a starter
Check date codes and buy fresh — bacteria die on old bottles, and extreme heat or freezing kills them outright. Get filter media, substrate, and hardscape in place before dosing, since bacteria need surfaces to colonize. Always dechlorinate the water first (chlorine kills bacteria on contact), and keep UV sterilizers off for 24–48 hours after dosing.
The Substrate-Inoculation Trend (2026)
An interesting development on display at Interzoo 2026 was a new generation of substrate products pre-inoculated with nitrifying cultures. Instead of setting up a tank and adding bacteria to the water afterward, you begin with the substrate — the aquarium's largest surface area — already seeded. The logic is sound: nitrifiers live on surfaces, and bacteria bound to grains are less likely to be flushed out by water changes than free-floating ones.
Stay realistic, though. These products are new and long-term hobbyist evidence is still accumulating, so treat launch claims with skepticism. "Pre-seeded" does not mean fully cycled — colonies still need time and an ammonia source to reach full strength. Choose substrate for your plants first (grain size, nutrients, buffering capacity) and treat the inoculation as a bonus. Trends evolve; the nitrogen cycle doesn't change.
Comparing Cycling Methods
| Method | How it works | Typical time | Risk to livestock | Best for |
|---|---|---|---|---|
| Fishless cycle | Controlled ammonia source (pure ammonia or decaying food); no livestock present | 4–8 weeks; 1–3 with a starter | None during cycling | Beginners who can wait; safest, most predictable |
| Plant-first (silent) cycle | Dense planting from day one absorbs ammonia while bacteria mature; light, gradual stocking | 2–4 weeks to full confidence | Low if densely planted and lightly stocked | Anyone wanting a lush tank from day one |
| Bacterial starter | Bottled nitrifying bacteria dosed with an ammonia source | 1–3 weeks | Low with testing and gradual stocking | A faster, more predictable fishless cycle |
The plant-first method and bacterial starters combine well: a densely planted tank dosed with a quality starter is the fastest realistic setup. The Walstad method, with its soil substrate and heavy day-one planting, is a close cousin — and even it calls for gradual stocking.
The Plant-First (Silent) Cycle, Step by Step
The silent cycle is the planted-tank hobby's favorite shortcut. A tank that is 70–80% planted with fast-growing species from day one can absorb the ammonia a small initial stocking produces, buying time for bacterial colonies to mature.
- Plant heavily on day one — at least two-thirds of the substrate, with fast growers: stem plants plus floaters like salvinia or water lettuce, which are especially strong ammonia absorbers.
- Run a 6–8 hour photoperiod and fertilize sparingly. Plants must grow vigorously — melting plants release ammonia rather than absorbing it.
- Add a small, hardy starter group — a few small tetras or a small cleanup crew, not a full stocking. They supply the ammonia bacteria need.
- Test every other day. Target zero ammonia and nitrite with a small, stable nitrate reading. Any detectable ammonia means too many fish or too few plants.
- Feed very lightly for the first two weeks — uneaten food overwhelms a young system fastest.
- Increase stocking gradually over 2–4 weeks: one small group at a time, several days apart, testing after each addition.
The classic failure is under-planting: a dozen anubias and one sword plant do not make a silent cycle. When in doubt, add more fast growers — you can thin them later, and excess stems are useful insurance while the substrate matures — the deep substrate method needs weeks for its bacterial colonies to fully establish.
How to Use a Bacterial Starter in a Planted Tank
- Set up everything first — substrate, hardscape, filter media, dechlorinated water, plants. The starter goes in last, not first.
- Dose near the filter intake so bacteria circulate through the media and across the substrate. UV sterilizers off for 24–48 hours.
- Provide an ammonia source within 24 hours. Bottled bacteria starve in sterile, plant-only water — a small dose of pure ammonia, a pinch of fish food, or a light first stocking. Pick one, not all three.
- Test daily. In a planted tank you may never see a classic ammonia spike, since plants absorb ammonia directly. Watch for nitrate appearing — that signals the full cycle is running. No nitrate after a week or two, despite an ammonia source, means the starter was dead or conditions blocked colonization.
- Stock gradually regardless. Even after tests look good, add livestock in stages so surface colonies grow into each new load.
Testing Timeline: When Is It Safe to Stock?
A liquid drop test kit (ammonia, nitrite, nitrate) is the best purchase a new planted-tank keeper can make. A typical fishless cycle with a starter looks like this:
- Days 1–3: Ammonia present; nitrite and nitrate at zero. Planted tanks may read lower than expected because plants absorb ammonia — that's normal.
- Days 4–10: Ammonia falls; nitrite may appear briefly or not at all. Nitrate starts showing up.
- Days 10–21: Ammonia and nitrite consistently zero; nitrate rises and stabilizes. When a full day's ammonia dose converts to nitrate within 24 hours, the cycle is functionally complete.
- After stocking: Test daily for a week after each new group, then settle into your regular maintenance schedule.
One planted-tank quirk: dense plantings can absorb nitrate as fast as bacteria produce it, so zero nitrate with zero ammonia and nitrite can mean a healthy, plant-driven system — not a broken cycle. Verify by dosing a known amount of ammonia, waiting 24 hours, and confirming zero ammonia and nitrite. If you notice microfauna blooms during this early window, our guide to tiny white bugs in a planted tank covers what those usually are and whether they matter.
Stocking After the Cycle
The cycle is complete when tests say so, not when a calendar does — but "complete" for a light bioload isn't complete for a full one. Stock in stages: one small group at a time, 5–7 days apart, testing 24 and 48 hours after each addition. A small ammonia blip that clears within a day means bacteria are catching up; persistent ammonia means you added too much.
Quarantine new arrivals when practical — quarantining new plants and livestock protects the ecosystem you've built. Hold off on cleanup crew stocking until after the first livestock groups: algae eaters need established biofilm and some algae to graze, and they can starve in a brand-new tank. Feed lightly for the first month. And remember that cycling is a capacity, not a one-time event — an aggressive rescape or an over-cleaned filter can shrink the bacterial population back down.
Frequently Asked Questions
Do I really need to cycle a planted tank if it is heavily planted?
Yes, although a heavily planted tank makes the process easier and safer. Plants absorb a share of ammonia directly, which lowers peak toxin levels and often prevents the classic ammonia spike entirely. But plants are not a complete replacement for nitrifying bacteria, which process waste continuously — day and night — and automatically scale up when the ammonia load increases. The safest approach is to plant heavily and still cycle properly: test your water, confirm zero ammonia and nitrite, and stock gradually.
Can I add fish on day one if I use a bacterial starter?
You can add a small, hardy group on day one in a well-planted tank with a fresh, quality starter, but adding a full stocking is asking for trouble. Bottled bacteria mostly arrive in suspension, while your long-term biofilter lives on surfaces; the surface colonies take days to weeks to grow. Add one small group, feed lightly, test daily, and expand stocking only when ammonia and nitrite read zero. Start low, observe livestock, and let the tests — not the marketing — tell you when it's safe to add more.
How long does cycling take with plants versus without?
A traditional fishless cycle without plants typically takes four to eight weeks. A planted tank doing the silent cycle, with dense fast-growing plants and light gradual stocking, is often functionally stable within two to four weeks. Adding a quality bacterial starter alongside planting can compress that further, often to one to three weeks. These are ranges, not guarantees: temperature, pH, planting density, and whether your starter was actually viable all shift the timeline.
Will my filter kill the bacteria if I rinse the media?
Rinsing filter media in old tank water during a water change is perfectly fine and is part of normal maintenance. What damages bacterial colonies is rinsing media under hot tap water, where chlorine and temperature shock kill nitrifiers, or replacing all the media at once. Clean media gently, in dechlorinated water, and never all of it in the same week. The bacterial starter you dosed lives on that media now, so treat it as living infrastructure.
Why do I have zero nitrate — is my tank not cycled?
Probably not a problem at all. In a densely planted tank, plants can absorb nitrate as fast as bacteria produce it, so zero nitrate with zero ammonia and zero nitrite is a sign of a healthy, plant-driven system, not a broken cycle. To verify, dose a known amount of ammonia (or feed a small amount of food), wait 24 hours, and confirm ammonia and nitrite read zero. If they do, your tank is cycled — the plants are simply drinking the nitrate.
The Bottom Line
Plants and bacteria are partners, not rivals. Plants blunt the ammonia peaks that kill fish; nitrifying bacteria handle the relentless, round-the-clock work of converting waste into plant food. Cycle properly, test honestly, stock gradually, and let the plants do what they do best: make that safety net almost invisible. Your fish will never know how much chemistry went into their boring, uneventful, perfectly safe first year — and that's exactly the point.
Tissue-culture plants are the exception — they’re grown in sterile gel and adapt with minimal melting, which is part of what you’re paying for. Plants bought submersed from another hobbyist’s tank also transition with little melt, since they’re already in the right form.
Which Plants Melt Most (and Least)
Heavy melters (expect significant leaf loss)
- Cryptocorynes — infamous for “crypt melt,” sometimes dropping every leaf after any disturbance. They almost always recover from the roots within weeks.
- Stem plants grown emersed — rotala, ludwigia, and hygrophila often shed lower emersed leaves while the growing tips transition.
- Amazon swords — emersed-grown swords typically lose their broad oval aerial leaves and replace them with longer submersed ribbon leaves.
Light melters
- Anubias, java fern, bucephalandra — slow-growing rhizome plants transition gradually; occasional old-leaf melt but rarely dramatic.
- Vallisneria — usually transitions well, though it dislikes the move itself and may sulk for a week.
- Floating plants — minimal melt since their leaves were already at the air-water interface.
The Acclimation Protocol
Step 1: Quarantine or dip first
Before acclimating to your tank’s conditions, make sure you’re not acclimating pests along with the plant. Run new arrivals through our quarantine and dip protocol — it adds days upfront but prevents months of regret.
Step 2: Float to temperature-match (30 minutes)
Float the bag or container in your tank for 20–30 minutes to equalize temperature. Plants are less temperature-sensitive than fish, but a 10°F shock on top of transplant stress is an avoidable insult.
Step 3: Trim before planting
Remove any leaves that are already damaged, yellowing, or heavily algae-covered — they won’t recover and they’ll rot in your tank, feeding algae. For stem plants, trim off the bottom inch and any emersed leaves that look unlikely to adapt; the plant wastes energy maintaining leaves it’s going to shed anyway. Keep the healthy growing tips — that’s where recovery starts.
Step 4: Plant correctly the first time
Follow our planting guide — right depth, crown exposed on rosettes, rhizomes unburied on epiphytes. Every uprooting and replanting restarts the acclimation clock, so get placement right on the first attempt. Decide where each plant goes before it goes in the water.
Step 5: Run a gentle first week
For the first 7 days after planting:
- Moderate light — run your normal photoperiod but consider dropping intensity 20–30% if your light is dimmable. Blast-level light on a melting plant grows algae on the dying leaves, not recovery.
- Stable CO2 — if you inject CO2, keep it consistent. Fluctuating CO2 during acclimation is a melt accelerator. If you’re low-tech, this doesn’t apply — see growing without CO2.
- Half-strength fertilizer — new plants with damaged leaves can’t use full dosing, and the excess feeds algae. Ramp to full strength over 2–3 weeks per our fertilizer schedule.
- No disturbance — don’t move, trim, or “check on” new plants for at least two weeks. Every touch resets root establishment. This is especially critical for crypts.
Step 6: Remove melt, keep the base
As emersed leaves melt, remove the mushy material promptly — decaying leaves release ammonia and grow fungus that can spread to healthy tissue. But never discard the plant while the crown, rhizome, or roots are firm and alive. A crypt that’s lost every leaf but has firm roots is a plant that’s about to recover, not a dead plant. Give it 3–4 weeks before judging.
Telling Normal Melt From Real Problems
Normal transition melt:
- Affects oldest/emersed leaves first, newest growth last
- New submersed leaves emerge even as old ones dissolve
- Roots and crown stay firm and white/green
- Timeline: 1–4 weeks, then obvious new growth
Concerning melt (see our full melting diagnosis guide):
- New growth also melts or emerges deformed
- Rhizome or crown turns mushy and brown — this is rot, not transition
- Entire plant dissolves within days with no new growth after 4+ weeks
- Melting spreads to established plants that weren’t recently moved
Buying Tips to Minimize Melt
- Buy submersed-grown when available — hobbyist-grown cuttings transition with almost no melt.
- Choose tissue culture for sensitive species — crypts and delicate stems establish far more reliably from sterile cups.
- Avoid plants already melting in the store tank — some melt is normal, but a plant that’s mostly mush at purchase has less energy for recovery.
- Transport carefully — keep plants damp and out of direct sun/heat. A plant that dries out or cooks in a hot car melts far worse than one transported properly.
The First-Month Timeline: What to Expect Week by Week
Knowing what’s normal when removes most acclimation anxiety. Here’s the typical timeline for a healthy plant adapting to a new tank:
Week 1: The quiet week
Almost nothing visible happens. The plant is growing roots you can’t see and assessing its new environment. Some species (vallisneria, stem plants) may start shedding their lowest leaves. This is normal. Resist the urge to “help” — no moving, no extra fertilizer, no light changes. The most common beginner mistake is intervening during a week when the correct action is nothing.
Week 2: Melt peaks
This is when emersed leaves give up in earnest. Crypts may drop everything; swords shed their broad aerial leaves; stem plants lose lower foliage. It looks catastrophic and it’s usually fine. Keep removing mushy material, keep conditions stable, and watch the crown and growing tips — if those are firm and green, recovery is already underway.
Week 3: The turn
New submersed-adapted leaves emerge — smaller, thinner, often a slightly different shade of green than the emersed foliage. Stem plant tips start growing visibly; crypts push tiny curled leaves from the crown; swords unfurl narrow ribbon leaves. This is the moment most beginners exhale for the first time.
Week 4+: Established
New growth outpaces melt, and the plant is functionally yours. You can resume full-strength fertilizer, normal trimming, and stop treating it as fragile. Some slow growers (anubias, bucephalandra) take 6–8 weeks to show obvious progress — that’s their normal speed, not a problem.
Acclimating Different Plant Formats
Tissue-culture cups
Sterile, pest-free, and already adapted to high-humidity (not emersed) growth — tissue cultures melt the least of any format. Rinse the agar gel off gently (leftover gel rots and feeds fungus), split the portion into small plantlets, and plant per our planting guide. They establish slowly for the first two weeks, then accelerate. No dip needed, minimal acclimation stress — this is the premium experience you’re paying for.
Potted plants
Remove the pot and strip away the rockwool completely — leftover rockwool traps debris and rots. Tease the root mass apart gently; if it’s a dense mat, splitting it into 2–3 smaller portions actually establishes faster than planting one big clump (more growing points, better water flow around roots). Potted plants are usually emersed-grown, so expect the standard 2–4 week melt cycle.
Bare-root / bunched stems
Typically sold as weighted bunches. Remove any bands, foam, or weights, strip the lower leaves, and plant stems individually or in small groups. Bunched stems from the store are often already transitioning — check for new submersed growth at the tips, which tells you the plant is mid-adaptation and will settle quickly.
Hobbyist cuttings
Already submersed-grown and the fastest to establish — often showing new growth within days. The main acclimation factor is water-parameter difference between the two tanks. Float to temperature-match, plant promptly, and they’ll usually take off with minimal melt. This is why experienced hobbyists prefer trading cuttings over buying potted plants.
Frequently Asked Questions
Should I use a “plant starter” or transplant fertilizer?
Products marketed for transplant shock are mostly B-vitamins and mild hormones. They don’t hurt, but there’s no strong evidence they help aquarium plants specifically. Stable conditions and patience outperform any bottle. Save the money for more plants.
My new plant melted completely — bare crown, no leaves. Is it dead?
Probably not, if the crown or rhizome is firm. Crypts and swords routinely lose 100% of their leaves and regrow from the base within a month. The test is firmness: firm and pale/green means alive; mushy and brown/black means rot. Give firm-but-leafless plants a full 4 weeks before declaring them dead.
Can I speed up acclimation with extra light or CO2?
No — and trying usually backfires. A melting plant can’t use extra light; the excess just grows algae on its dying leaves. Keep light moderate and CO2 stable (not boosted) during acclimation. Growth speed comes from the plant’s own adaptation timeline, which you can’t rush, only avoid delaying.
Should new plants go straight into my main display tank?
After quarantine/dipping, yes — there’s no benefit to a separate “growing-in” tank for most plants. They acclimate to your water fastest in the tank they’ll live in. The exception is very delicate species going into a tank with boisterous fish; give those a few weeks in a calm corner or breeder box first.
The Patience Rule
The single most important acclimation skill is restraint: plant it right, set gentle conditions, remove decay, and then leave it alone for a month. The hobbyists with the best plant growth aren’t doing something clever in week one — they’re simply not interfering in weeks two through four while the plants do what they’ve evolved to do. Melt looks like failure and feels like failure, but in most cases it’s the visible part of a plant successfully becoming yours.