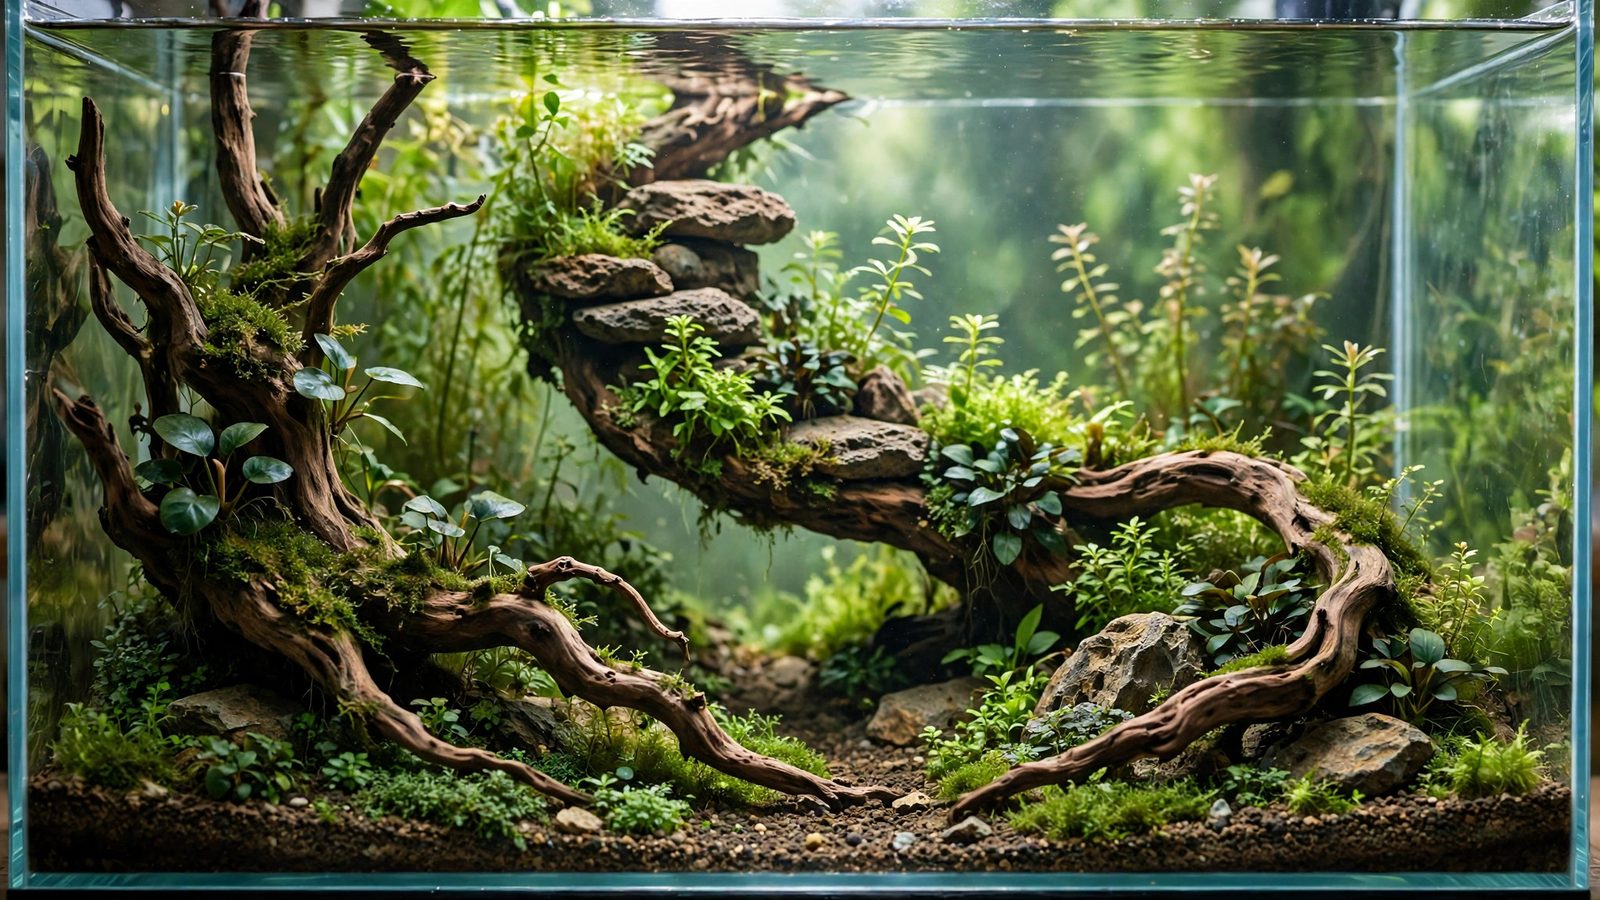
Most aquascapes fail for a reason that has nothing to do with plants, CO2, or light. They fail because the layout has nowhere for the eye to travel — everything sits in a static clump, and the brain reads it in one glance and moves on. The S-curve aquascape fixes exactly that problem: a double reverse curve winding through the tank like a river, pulling the viewer's gaze from the foreground on one side, across to the back on the other, and around again. By the end of this guide you'll be able to plan the curve on paper, build the substrate slope and hardscape that support it, plant each zone correctly, and keep the curve legible as everything grows.
What an S-Curve Aquascape Actually Is
Picture the top-down view of your tank. In a crescent layout, a single arc sweeps from one side to the other like a bow. An S-curve aquascape takes that idea further: the line enters low on one side, bends one way near the front third of the tank, then reverses direction and bends the opposite way toward the back. Two arcs, two opposing directions — the letter S.
That double bend is the whole game. The first bend gives you a near foreground focal area and pulls the eye inward; the counter-bend sends the gaze toward a second, farther "exit" point. The curve usually takes the form of a sand path, a river of carpeting plants between two wooded banks, or a transition line between plant zones — the mechanism matters less than the geometry. The eye follows flowing lines, and an S gives it the longest flowing line the tank can contain, which is why a 60 cm tank can feel dramatically deeper than it is.
Why the Double Reverse Curve Works
Three overlapping principles make this one of the most forgiving compositions in aquascaping — genuinely easier to nail than it looks.
Visual rhythm beats symmetry. The eye gets bored by symmetry and lost by chaos. An S-curve repeats one motif (the bend) twice, at different scales and orientations, which the brain registers as rhythm rather than repetition. The layout feels designed but alive.
The depth illusion is mechanical. A curve receding from the front glass compresses visual distance the way a real river does: the inner bank of each bend reads as "closer," the outer bank as "farther." Pair it with a sloped substrate — high at the back, low at the front — and the two cues multiply.
It cooperates with the golden ratio. Place the first bend's focal point at roughly 62% of the tank length from one side and the second at 62% from the other, and both major masses land on golden-ratio sweet spots without complicated measuring.
S-Curve vs Crescent: Don't Confuse Them
This is the most common mix-up, so let's be explicit. A crescent composition uses one continuous arc: hardscape and plants bow across the tank in a single sweep, with one focal mass at the arc's peak. Elegant, calm, beginner-friendly — but one bend, one focal region, and the eye traverses it once.
An S-curve uses two arcs in opposite directions. That second, reversed bend redirects the eye back across the tank, creating the back-and-forth scanning motion that makes the tank feel large.
| Crescent composition | S-curve composition | |
|---|---|---|
| Bends | One arc | Two opposing arcs |
| Focal points | One, at the arc's peak | Two, at each bend |
| Eye movement | Single sweep across | Back-and-forth journey |
| Depth illusion | Moderate | Strong |
| Difficulty | Beginner-friendly | Intermediate (planning matters) |
If this is your first composed layout, the crescent is the smarter starting point — read the crescent composition guide first. Choose the S-curve when you want maximum perceived depth in a modest tank and are willing to plan the curve before touching substrate.
Planning the Path on Paper (Do This First)
Every failed S-curve I have seen was improvised in the tank. Every good one was drawn first.
- Trace your tank's footprint at roughly 1:5 scale (a 60×30 cm tank becomes 12×6 cm). Mark the front glass.
- Draw the S as one continuous stroke. Start low at the front-left, sweep right and back in a gentle C, then reverse toward the back-right. The line should cross the tank's midline exactly once. Flatten the bends if it looks snaky — subtle curves read better than dramatic ones.
- Mark the two bend zones. Where the line curves hardest, draw a circle: these are your focal zones, around the 62% and 38% marks of the tank length. Your hero hardscape pieces go here.
- Label the banks. The area inside each bend gets low planting (inner bank). The area outside gets taller planting and hardscape (outer bank). Label them now — this decides the whole planting plan.
- Check the front view. Sketch a rough front elevation: carpet inside, midground stems flanking, tall accents at the outer banks. It must look intentional from the sofa, not just from above.
This plan doubles as your shopping list: carpet quantity for the inner banks, stem groups for the flanks, two hardscape heroes.
 ★4.6
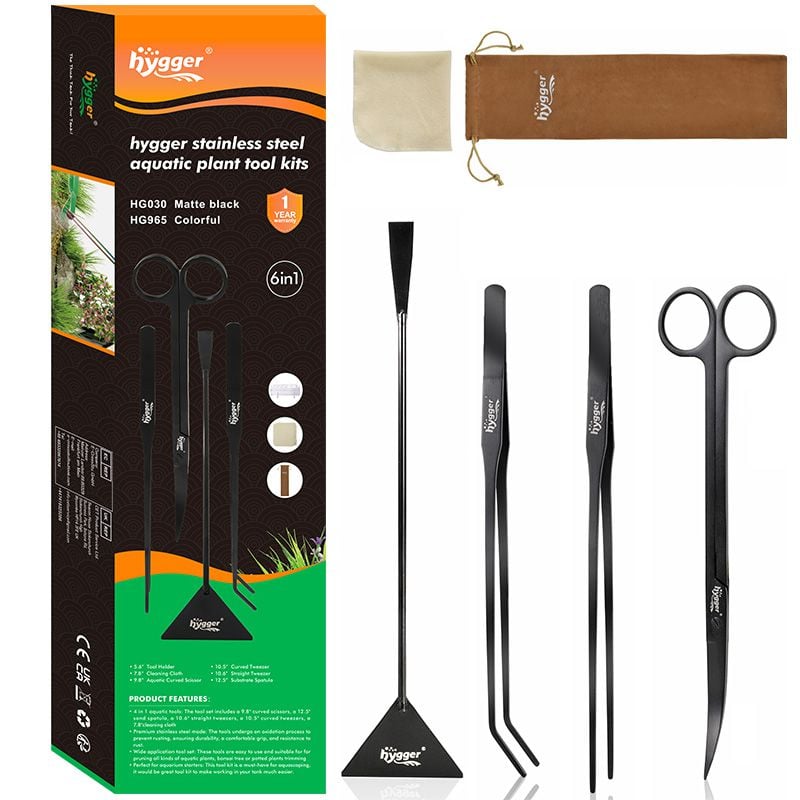
hygger 6-in-1 Long Aquarium Aquascaping Tools Kit
Check Price on Amazon ★4.6Substrate: The Slope the Curve Needs
The curve does the horizontal work; the substrate does the vertical work. Without slope, an S-curve reads as a flat graphic. With it, the curve becomes a river descending toward the viewer.
- Front zone: 2–3 cm deep. The S starts low here — the "river" emerges toward the viewer.
- Back corners: 8–12 cm deep. Build height with lava rock or mesh bags under the aquasoil so the slope can't slide. The outer bank of the second bend should be the highest ground in the tank.
- Slope along the curve, not just front-to-back. Inner banks stay lower than adjacent outer banks — this banks-and-channel profile makes the path read as a path, not a painted stripe.
- Use buried edge supports. Thin acrylic strips, stones, or cut-up filter sponge along the curve's edge stop aquasoil migrating into your sand path during month one. The cheapest insurance in the whole build.
For the sand-path variant, our sand pathway guide covers clean-edge techniques and which sands stay put.
Hardscape Placement Along the Curve
Hardscape is punctuation for the S: it marks the two bend focal points and edges the banks, but must never fight the curve's flow.
Each focal zone gets one dominant hero piece — a stone or wood piece in the 15–25 cm range for a 60 cm tank (scale up proportionally). Orient each hero so its longest axis follows the curve's direction at that bend: a stone leaning into the flow, wood branches reaching along the path, not across it. A branch jutting perpendicular across the S visually dams the river — the most damaging placement mistake in this layout.
Flank each hero with 2–4 smaller pieces stepping down in size along the curve, like eddies trailing downstream, kept on the outer bank side. The inner bank stays clean and low — that's the water's edge, and clutter there kills the flow.
Stick to one material family: all-stone, all-wood, or wood with stone footing. Mixing multiple rock and wood types splits the eye's attention and the composition fragments. Wood reads more "river," stone more "ravine." Build in this order with our hardscape-first method: place every piece, photograph, adjust, then plant.
Plant Selection by Zone
The S-curve's planting plan is a zone map. Assign every plant to a zone on your paper plan and the layout nearly plants itself.
| Zone | Role | Example plants |
|---|---|---|
| Inner banks | Low carpet — the "river" | Eleocharis acicularis 'Mini', Glossostigma elatinoides, Marsilea hirsuta |
| Outer banks | Mid-height texture framing the curve | Staurogyne repens, Cryptocoryne wendtii, Anubias nana 'Petite' on hardscape |
| Focal zones (2) | Tall accents + epiphytes on heroes | Rotala spp., Ludwigia spp. behind heroes; Bucephalandra, mosses on wood/stone |
| Back wall | Backdrop height, subordinate to heroes | Vallisneria, Echinodorus, tall Rotala walls |
The discipline: plant height rises as you move away from the curve's line. Carpet inside, midground at the banks, tall at the outer banks and back. Invert that — tall stems crowding the inner bank — and the S vanishes under a hedge within six weeks. For the color dimension, our color theory guide shows how to place reds and greens so they amplify the curve.
Step-by-Step Build
- Paper plan first (above). Thirty minutes now saves a rescape later.
- Substrate and supports. Set mesh bags or lava rock for back height, bury edge supports along the curve line, then add aquasoil: low at front (2–3 cm), high at back (8–12 cm).
- Dry-place hardscape. Heroes at the focal zones oriented with the curve's flow, supporters stepping down along the outer banks. Photograph from above and front, adjust until the S reads clearly, walk away for an hour, look again.
- Plant the inner banks first — carpet plugs 2–3 cm apart along the inner bends. An established carpet edge is the crispest curve line you can get.
- Plant outward. Midground on the outer banks, stems at focal zones and back wall, epiphytes on hardscape. Work from the curve outward so you never trample the carpet line.
- Flood slowly over a plate or plastic bag. Expect settling in week one — the buried supports handle it. Roughly 6–10 weeks to knit and fill in (see how long an aquascape takes to fill in). Don't reposition hardscape after flooding; tweak with trimming instead.
Maintenance: Keeping the Curve Legible
An S-curve exists only as long as the boundary between "low inside" and "tall outside" stays crisp. Growth blurs boundaries; your job is to re-sharpen them on schedule.
- Trim to the line, not to a height. When outer-bank stems lean over the path, cut the encroaching side harder. You're sculpting an edge, not mowing a lawn — see our trimming guide.
- Carpet edging every 2–3 weeks (high-tech) or 4–6 weeks (low-tech): run tweezers along the buried support line and pull invading runners.
- Re-sand the path quarterly. Siphon the top 5 mm and top up with matching sand 2–4 times a year.
- Photograph monthly from the same spot and compare against your dry-hardscape photo. If the S is getting harder to see, your next trim should be corrective, not cosmetic.
Budget 20–30 minutes a week for a 60 cm high-tech S-curve once established. Skip two months and you'll own a jungle with a rumor of a curve — the fix is a hard corrective trim, not a rescape.
Frequently Asked Questions
What is an S-curve aquascape?
It's a composition where the main visual path — a sand path, carpet river, or plant-zone boundary — follows a double reverse curve (an S shape) across the tank. The two opposing bends create two focal points and a back-and-forth eye movement that makes the tank feel significantly deeper than it is.
How is an S-curve different from a crescent layout?
A crescent uses one single arc with one focal area; an S-curve uses two arcs bending in opposite directions with two focal zones. The counter-bend is the defining feature — it sends the eye back across the tank for a second pass, greatly enhancing the perceived-depth effect of a single arc.
What tank size works best for an S-curve?
The classic canvas is a 60 cm (20-gallon long) tank — long enough for both bends to breathe — and it scales up beautifully to 90–120 cm. Below 45 cm the two bends get cramped and read as a wobble; in nano tanks a single-arc crescent usually composes better.
Do I need CO2 for an S-curve aquascape?
Not strictly — the composition is about geometry, not species, so it works low-tech. But CO2 knits the carpet edge in 6–8 weeks instead of 4–6 months, and a crisp carpet line is what makes the curve legible. Without CO2, choose an easy carpet like Marsilea hirsuta and expect a slower fill-in.
How do I stop the curve from disappearing as plants grow?
Trim to the line: cut encroaching stems harder on the path side, edge the carpet along its buried support every few weeks, and photograph monthly from a fixed spot to catch drift early. The curve is maintained by scheduled edging, not by hoping plants respect boundaries.
Can I combine an S-curve with Iwagumi or Dutch styles?
Partly. S-curve geometry pairs well with nature-style planting and triangle-composition accents at the focal zones. It clashes with Dutch style (regimented plant streets, not flowing curves) and strict Iwagumi (odd-numbered stone groups and open sand) — one philosophy per tank.
The River Test
When the tank is filled in and the school is tracing the path, stand back and squint. If you can still read one continuous S from foreground to back — carpet inside the bends, height rising outward, two hardscape heroes marking the turns — you built it right. If you can't, the fix is almost always trimming, not rebuilding: the curve is in the plan; the plants just need reminding. And once it's legible, photograph it — a well-executed S-curve is one of the most photogenic layouts in the hobby, and contest judges notice the depth illusion immediately (see how judging works in aquascaping contests).
For verified plant data while finalizing your zone list, the Tropica plant database gives height, growth rate, and CO2 needs per species, and the Aquatic Gardeners Association publishes solid technique articles on composition and maintenance.