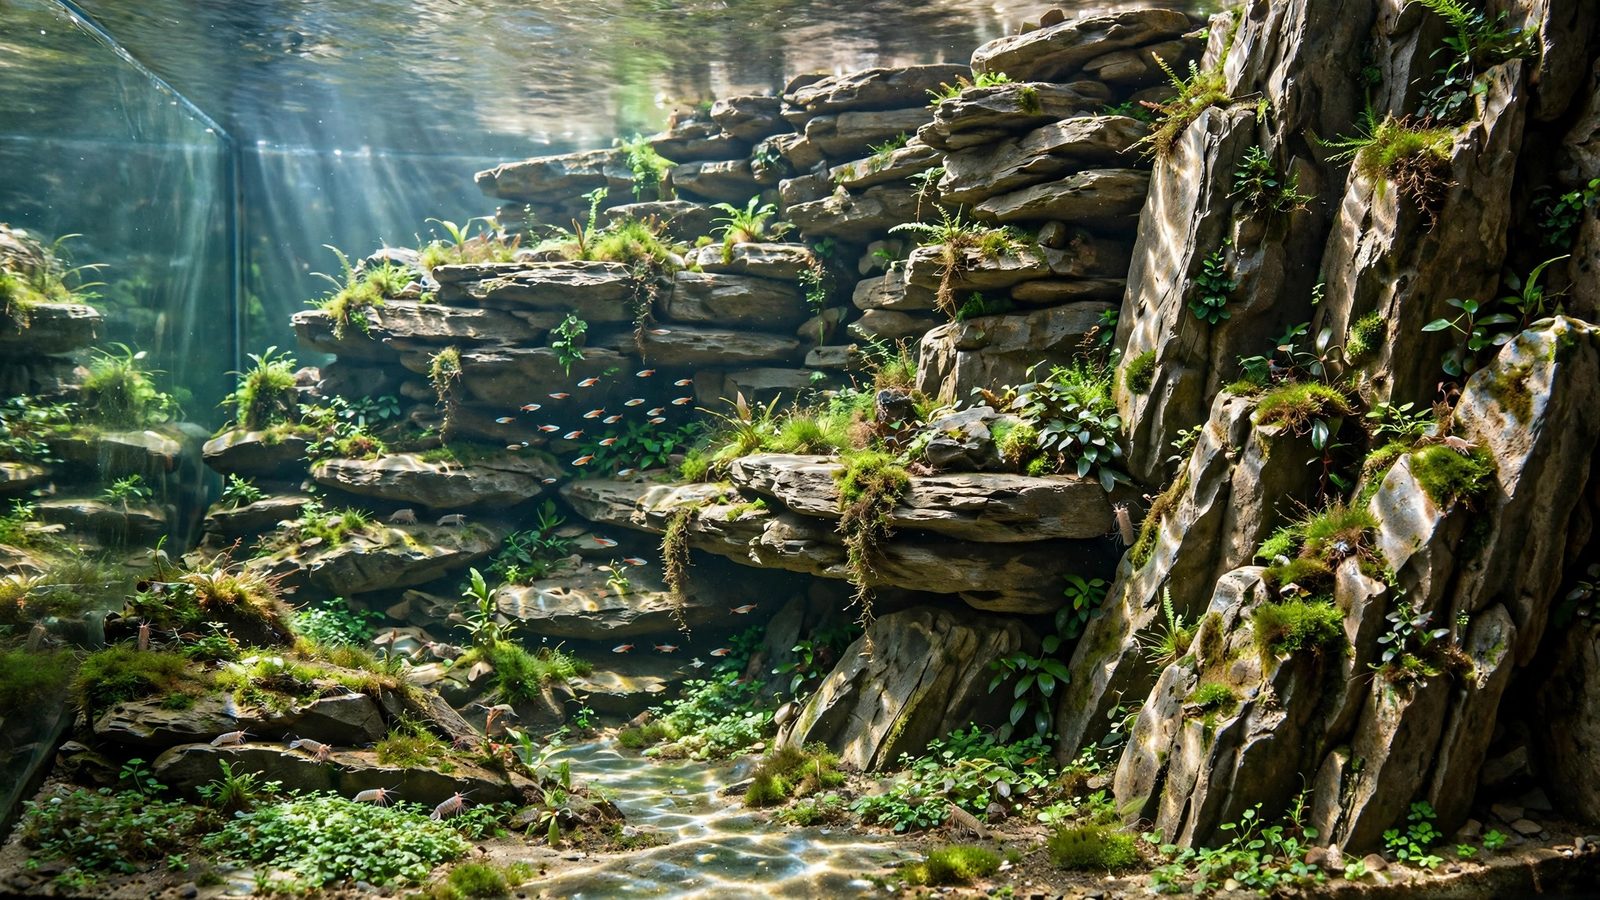
A rock wall aquarium turns a flat, two-dimensional tank into a landscape with vertical drama: a cliff face rising from the substrate, crevices stuffed with moss, and shadowed overhangs where fish dart in and out. Unlike a poster background or a pile of pebbles, a built rock wall is real, three-dimensional structure — it changes how light falls, where currents flow, and how fish behave. This guide covers both ways to build one: stacking real stone into a natural cliff face, and constructing a taller foam-and-cement wall for a true 3D background. You'll learn which rocks are safe, how to keep a heavy structure stable, how to plant the crevices, and how to hide your equipment behind the cliff.
Why Build a Rock Wall Aquarium
A flat tank bottom is the natural enemy of interesting aquascaping. Everything sits on one plane, so compositions look like a shop window: wide, shallow, predictable. A rock wall breaks that plane. It gives you a vertical canvas for planting, creates a focal point that dominates the tank the way a mountain dominates a valley, and multiplies your usable surface area — moss and epiphytes live on the cliff face while rooted plants stay in the foreground.
There's a behavioral payoff too. Fish from rocky habitats — mbuna cichlids, many gobies and loaches, even territorial dwarf cichlids like apistogrammas — genuinely use vertical rock. Overhangs become caves, crevices become spawning sites, and the shadowed face of a cliff becomes a natural boundary that reduces aggression between tank mates. In a diorama with forced perspective, a rock wall is often the centerpiece itself: cliffs are what make a miniature landscape read as a landscape. And if you've built horizontal terraces before, think of the rock wall as their vertical sibling — terraces step up gently, cliffs rise with drama.
Two Ways to Build a Cliff Face
Every rock wall aquarium uses one of two construction methods. Your choice depends on tank size, budget, and how tall you want the cliff.
Method 1: Stacked-Stone Cliffs
The simplest approach: arrange real rock into a self-supporting cliff face, piece by piece, like drystone walling. Ideal for walls up to roughly one-third to one-half of the tank's height, it looks the most natural because every surface is genuine stone with real weathering texture. Each stone's weight locks the ones below — the same principle as real cliff talus slopes. It's the fastest method: no curing, no coatings. You can build, plant, and fill in a single weekend.
Method 2: Foam-and-Cement DIY Walls
When you want a wall covering the entire back glass — floor to near the waterline — real stone gets too heavy. The DIY alternative is a sculpted background: expanded polystyrene foam or polyurethane pond foam carved into a cliff face, coated with tinted cement or epoxy to look like rock. This is the method behind most dramatic DIY background builds, and the only practical way to get a full-height vertical wall in a large tank. The tradeoff is time: the coating must cure fully (7–14 days of soaking, with daily water changes to leach alkalinity) before it's livestock-safe. Rush this and the cement will spike your pH for months.
Choosing the Right Rock
Not every attractive rock belongs underwater. Every stone must pass two tests: chemistry and structure.
Aquarium-Safe Rock Types
- Seiryu stone: the classic aquascaping rock, pale blue-grey with dramatic weathered texture. Leaches some carbonate — best for hard-water setups or with buffering awareness in soft-water tanks.
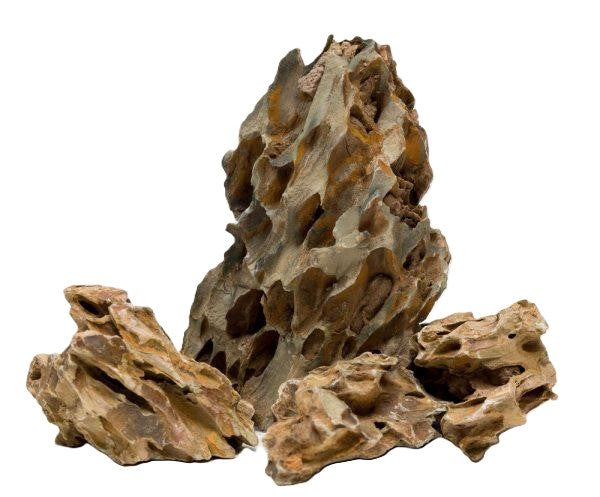
- Ohko / dragon stone: clay-textured, heavily pitted brown stone. Chemically inert and excellent for moss attachment.
- Lava rock: featherweight, rough, and inert. Low density means a tall lava-rock cliff weighs a fraction of a Seiryu wall — a genuine safety advantage.
- Slate: flat, stackable, inert. Flat slabs make excellent cliff ledges when cemented or wedged between stones.
- Granite and basalt: hard, inert, usually dark. Check that decorative polished granite hasn't been sealed with chemicals.
 ★4.5
Unocho Dragon Stone Aquarium Rocks
Check Price on Amazon ★4.5The Water-Chemistry Check
Put a few drops of white vinegar on each rock. If it fizzes, the rock contains carbonates that will continuously raise KH and pH. That's fine in African cichlid or livebearer tanks, but a dealbreaker in soft-water setups with shrimp or wild-caught South American fish. Then soak every stone in a bucket for 24–48 hours and test pH and KH before and after. Rocks collected outdoors can carry pesticides or road runoff — a rock that smells of anything or sheds color into the water never goes in the tank. When in doubt, buy from an aquascaping supplier rather than the garden center.
Planning the Structure
A rock wall fails on the drawing board, not in the tank. Decide three things before touching stone. Composition: centered cliffs fight the golden ratio focal points most scapers aim for — a cliff at one of the thirds lines, with open foreground sloping away, usually reads stronger. Sketch it over a photo of your empty tank. Height and footprint: budget roughly one-third of the tank's floor area for a stacked wall's footprint, and leave 10–15 cm (4–6") of water clearance above the wall's top for light spread, gas exchange, and maintenance access. Water flow: a solid wall blocks circulation, so plan gaps at the back and sides for your filter outflow — stagnant pockets behind a rock wall become detritus traps and algae farms.
Stacking for Strength and Safety
A collapsed rock wall in a glass box means cracked glass, crushed fish, and ruined substrate. Treat structural safety as the most important part of this build.
The Three-Point Rule
Every stone must contact the pieces below at three or more points. A rock that wobbles with your fingers will fall — reseat it or shim it with a smaller fragment. Build base-up, widest and heaviest at the bottom, narrowing as the cliff rises like a real talus slope.
Build on the Tank Base, Not the Substrate
Substrate compresses and shifts; stones sitting on gravel settle unevenly and destabilize the face. Set base rocks directly on the glass bottom (over an egg-crate diffuser sheet or thin foam mat), then arrange substrate around them. This also spreads the load so no single pane takes a point load.
Lock It Together
For anything tall, gravity alone isn't enough. Bond key structural stones with aquarium-safe silicone, or drill and pin them with fiberglass or acrylic rods. A silicone bead between two flat faces, cured 48 hours before filling, turns a pile of rocks into a single rigid structure. Super glue is fine for moss, but it fails in shear under shifting stone — don't trust it for structural loads.
Respect the Weight Budget
A serious cliff can add 15–30 kg (35–65 lbs) to a 120-liter tank. Check your stand's rating — and for large builds, the floor itself. Lava rock is the weight-saver's friend: its porous structure makes it dramatically lighter than dense stone per unit of visual volume.
Building a Foam-and-Cement Wall
- Design the face. Sketch ledges, crevices, caves, and plant pockets on the back glass with a dry-erase marker.
- Cut the foam core. Rigid polystyrene panels or expanding pond foam, 5–8 cm thick. Wear a dust mask — foam dust gets everywhere.
- Carve the cliff. Cut ledges with a serrated knife, tear crevices with a wire brush, texture flat spots with foil or a hot tool. Avoid smooth, rounded surfaces — real cliffs are rough.
- Coat it. Apply 2–3 thin layers of Portland-cement mortar or aquarium-safe epoxy with sand, tinted with concrete pigments. Press real stones into the wet coat, stipple with a brush, wash dark pigment into the crevices.
- Leach it out. Soak 7–14 days, changing water daily, until soak-water pH matches your tap water and holds for 48 hours. Skipping this is the classic beginner mistake — uncured cement drives tank pH above 9.
- Silicone it in. Bond to the back glass and give 48 hours to set before filling.
The biggest realism mistake is uniform color. Dry-brush lighter tones on raised edges, wash dark pigment into deep cuts, and let planted mosses do the final "aging" — nothing sells a fake cliff like living growth softening its edges.
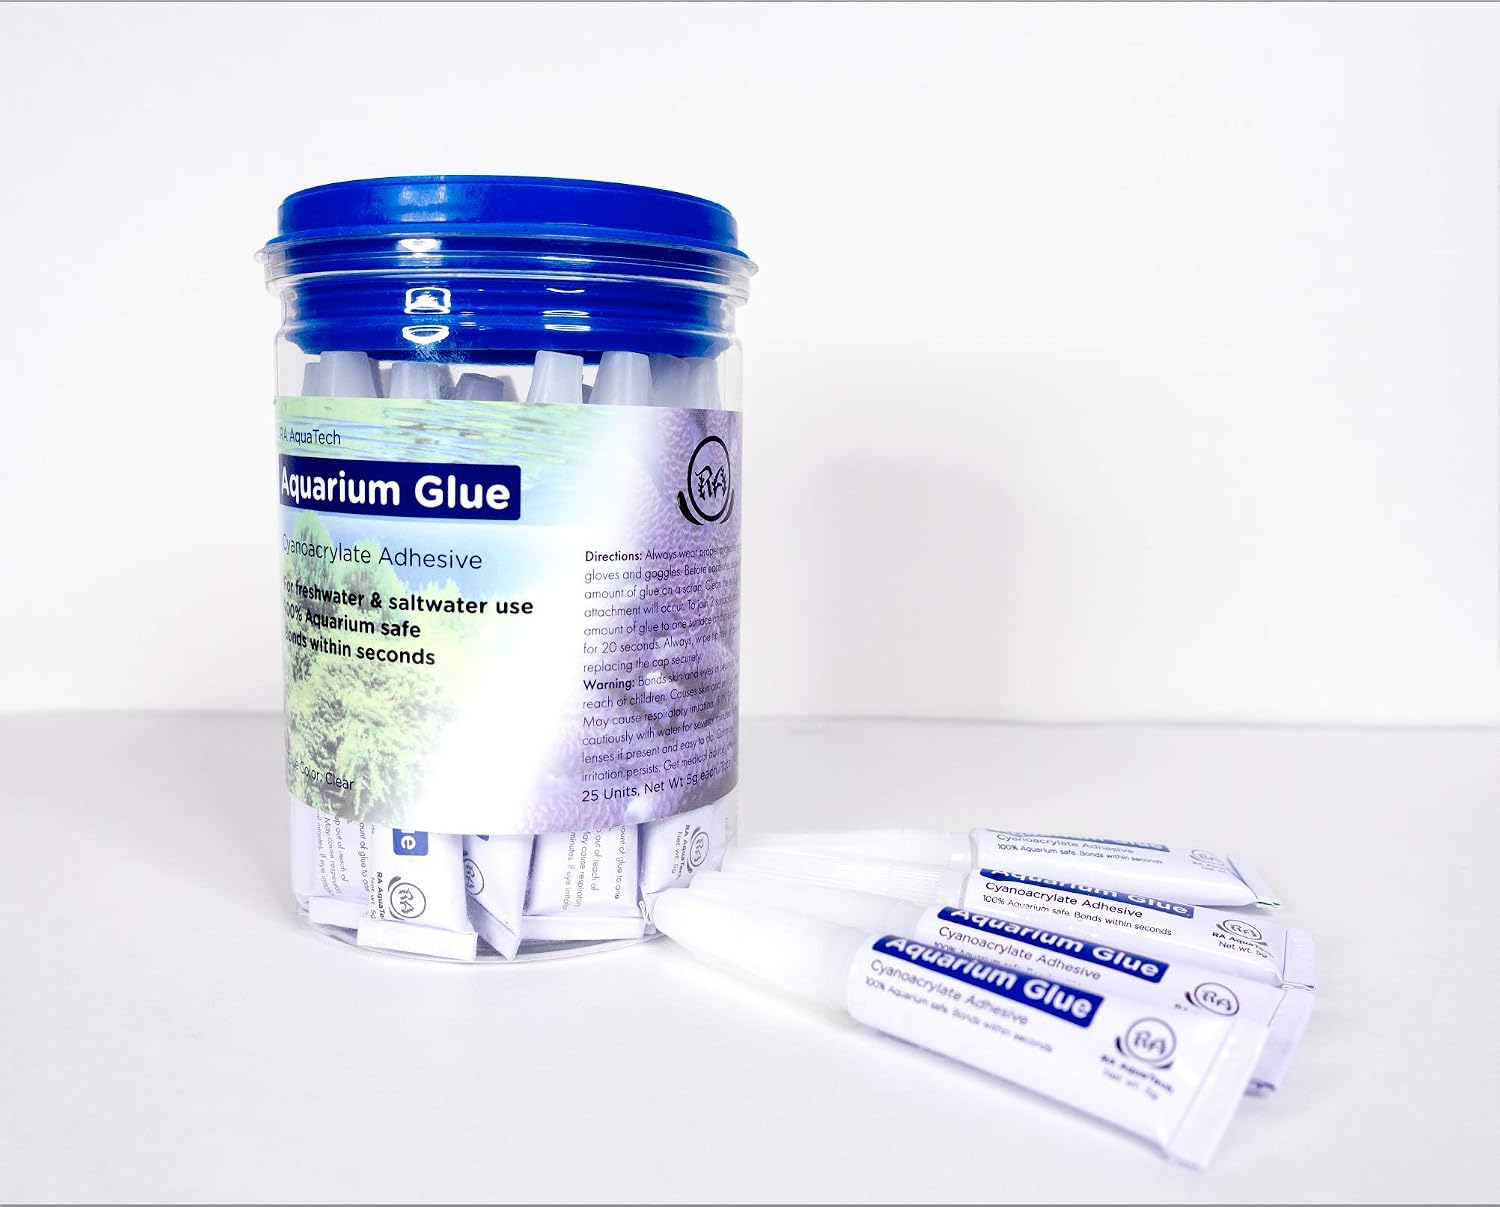
Cyanoacrylate bonds rock to foam securely: aquascaping glue.
 ★4.3
RA AquaTech Aquarium Glue
Check Price on Amazon ★4.3Planting the Wall: Crevices, Ledges, and Faces
A bare cliff looks like a quarry; a planted one looks like a gorge. Note that a rock wall is fundamentally different from a mesh moss wall — that's a flat netting panel hung against the glass, while a rock wall is 3D structure with depth, overhangs, and caves that you plant in the crevices.
Mosses for Crevices
Java moss, Christmas moss, weeping moss, and flame moss attach to rough stone by themselves within weeks. Wedge a tuft into a crack with tweezers or glue a thin layer to a ledge with cyanoacrylate gel, leaving growing tips exposed. Start sparse — moss fills crevices faster than you expect, and overstuffed cracks look lumpy.
Epiphytes for Ledges
Flat ledges suit small anubias (Anubias nana 'Petite', Anubias 'Bonsai'), Bucephalandra, and Bolbitis. Tuck the rhizome into the crack with glue or thread, keeping it fully exposed — buried rhizomes rot. Tropica's plant database is an excellent reference for matching epiphytes to your light and CO₂ levels. A two-year-old anubias colony cascading over a cliff ledge is one of aquascaping's most beautiful sights.
Carpeting the Top and Base
The cliff top is prime real estate for Monte Carlo or dwarf hairgrass — the meadow above the gorge. At the base, a sand foreground against the rock (exactly the pairing a sand pathway creates) keeps the transition clean and gives bottom-dwellers foraging ground. In a concave layout, the cliff can serve as the raised center with slopes falling away on both sides.
The Dry-Start Advantage
With a cured foam wall and empty tank, mist crevice mosses and ledge epiphytes daily for 3–4 weeks so they root into the coating before flooding. Dry-started moss grows dense and anchored instead of shedding loose tufts into your first fill. Keep humidity near 100% with cling film and bright light, then flood slowly.
Hiding Equipment Behind the Cliff
The space behind or within the cliff is invisible from viewing angles — so your heater, filter intake, and CO₂ diffuser can all disappear. In foam builds, design intake slots and a heater chamber into the wall before coating: a low intake slot at one end, an outflow notch high at the other, gives gentle circulation with zero visible hardware. In stacked builds, leave a channel behind the face wide enough for a heater and intake strainer. Route cables up the rear corner behind the wall's edge, and finish with a black background so silhouettes vanish. One caution: a heater that fails behind a cemented wall is a heater you must smash concrete to reach — leave a removable access panel, or mount heaters where they slide out from the top.
Maintenance and Long-Term Stability
Rock walls are low-maintenance, not no-maintenance. Trim crevice moss with curved scissors every 6–8 weeks in high-tech tanks (twice a year in low-tech), removing all trimmings so fragments don't colonize new cracks. Monthly, press each major stone firmly — if anything loosened (cichlids digging under base stones, a failed silicone bond), reseat or re-glue it during a water change while the level is low. Blast the cliff base with a turkey baster or small powerhead during water changes, because the wall slows flow there and mulm collects in the exact spot that's hardest to vacuum. In a valley layout with two cliffs facing each other, clean both bases — the inner valley is where flow dies first. A light dusting of green algae on shaded stone looks ancient; hair algae in your moss means too much light and too little flow on the face — trim hard, increase circulation, and regrowth comes back clean.
Frequently Asked Questions
How much does a rock wall aquarium weigh?
A medium stacked-stone cliff in a 120-liter tank typically adds 15–30 kg (35–65 lbs) of rock; a full-height foam-and-cement wall for the same tank weighs only 3–6 kg. Build base stones on the tank's bottom glass (with an egg-crate diffuser sheet underneath) rather than on substrate, and confirm your stand — and the floor, for very large builds — can carry the total loaded weight.
Can I build a rock wall in a small nano tank?
Yes, but keep it modest: a 10–15 cm cliff of lava rock or a small carved-foam section works in 20–40 liter tanks. Dense stone like Seiryu scales badly in nanos — a full stacked wall eats too much swimming volume and concentrates too much weight on a small pane. Use the wall as a corner accent rather than a full back wall.
Will the rocks change my water chemistry?
Only carbonate-bearing rocks will — test with the vinegar fizz test before building. Seiryu stone and limestone raise KH and pH slowly; lava rock, Ohko/dragon stone, granite, and slate are inert. Soak candidate rocks for 48 hours and compare pH and KH before and after, then choose livestock that suits the final water.
How is a rock wall different from a moss wall?
A mesh moss wall is a flat netting panel covered in moss and hung against the glass — essentially a green poster. A rock wall is three-dimensional structure: stacked stone or sculpted foam with depth, overhangs, caves, and ledges, planted in the crevices. The techniques complement each other (moss is the main rock-wall planting), but they are different builds with different materials and looks.
How do I stop moss from taking over the whole cliff?
Trim crevice moss every 6–8 weeks in high-tech tanks (twice a year in low-tech), cutting back to about half a centimeter from the stone and removing all trimmings immediately — loose fragments colonize new cracks. If a patch has truly run wild, pull it out during a water change and replant a smaller starter tuft; mosses recover within weeks.
The Cliff Awaits
A rock wall aquarium asks more than a pile of pebbles — planning, testing, honest structural work, and patience while mosses knit into the stone. What it gives back is a tank with a third dimension: shadows that move, crevices where fish spawn, and a living face of rock that changes month to month. Start with a modest stacked cliff, learn how your rocks behave, and the full-height foam wall for the dream tank stops being intimidating. Build it well, check it monthly, and your cliff will outlast every other hardscape choice you could have made.