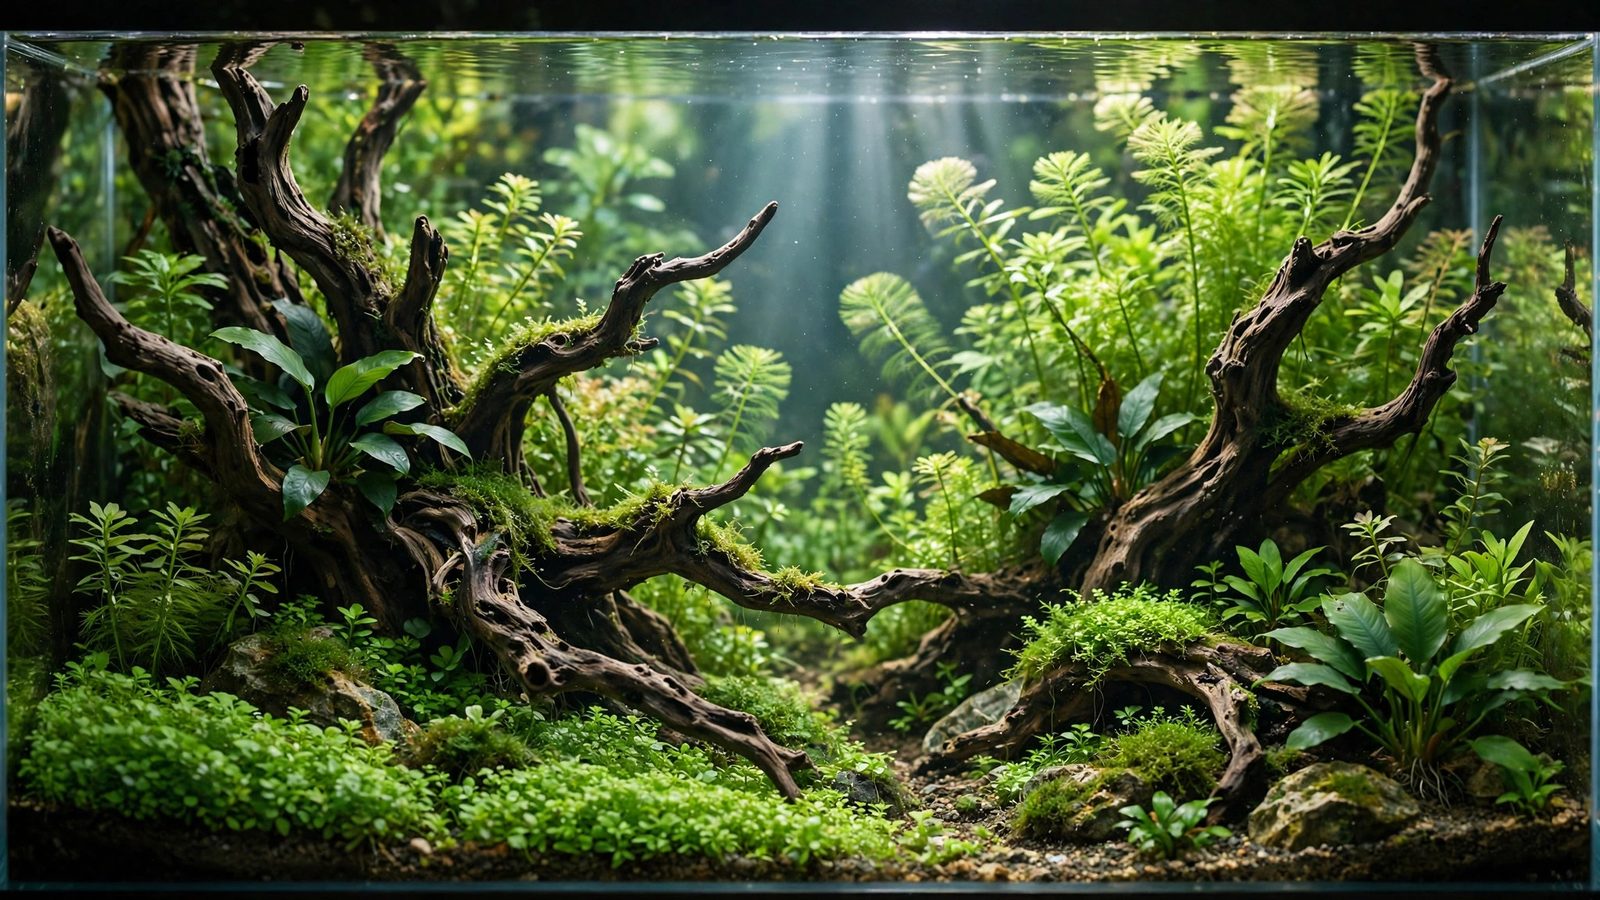
You can spend four months growing a masterpiece and ruin it in one bad photo — blown highlights, green color cast, a reflection of your living room across the glass. Photographing your aquascape well isn't vanity; it's documentation, it's contest entry, and it's how the hobby shares ideas. The good news: aquarium photography is a solved problem. A dark room, a tripod, the right settings, and ten minutes of patience produce images that do your tank justice — with any modern camera, including phones.
The Setup: Room, Tripod, Timing
- Dark room: turn off every light except the tank's. Room light reflecting on glass is the #1 killer of aquarium photos — it creates haze, reflections, and washed-out contrast. Shoot at night or black out windows; even a dim lamp across the room shows up.
- Tripod: non-negotiable for sharp shots. Aquarium photography uses slow shutter speeds (fish move, but the scape doesn't — and you're often shooting the scape). A tripod also lets you frame precisely and shoot repeatedly without reframing. For phones, a $15 mini tripod works.
- Clean the glass — inside and out: every speck, water spot, and algae dot is visible at full resolution. Scrape the inside, wipe the outside with glass cleaner, and check by shining a flashlight at an angle (reveals smudges invisible head-on).
- Timing: shoot mid-photoperiod (2–4 hours after lights-on) — plants are pearling, fish are active, colors are at peak. Avoid the first/last hour when some species' colors are muted.
- Water level: top off before shooting — a visible waterline gap at the top reads as neglect in photos. (Or shoot slightly cropped to hide it.)
Camera Settings: The Recipe
DSLR / mirrorless
- Mode: manual. Auto modes get confused by the bright tank in a dark room.
- ISO: as low as possible — 100–400. Low ISO = clean, noise-free images; the tripod makes slow shutters viable.
- Aperture: f/8–f/11 for full-tank shots (deep depth of field — front glass to back glass sharp). Open up to f/2.8–f/4 for artistic shallow-focus detail shots.
- Shutter: whatever the meter demands at your ISO/aperture — often 1/15s to 1/60s for the scape. For freezing fish motion, you'll need 1/125s+ and higher ISO — accept some noise for sharp fish, or shoot the scape slow and the fish fast as separate frames.
- White balance: custom or 6500–7500K to match your light; auto white balance often casts aquarium photos green or magenta. Shoot RAW so you can fix it perfectly in post.
- Focus: manual focus, magnified live view, focused on the focal point (your hero stone/wood). Autofocus hunts on glass.
- Timer/remote: 2-second self-timer or remote release — eliminates camera shake from pressing the shutter.
Phone cameras
Modern phones shoot excellent aquarium photos with the right technique:
- Use the main (1×) lens — it has the best sensor; avoid digital zoom (crop later instead).
- Lock exposure and focus: tap-and-hold on the tank's midground to lock AE/AF, then slide exposure down slightly — phones overexpose bright tanks.
- Night mode off (it over-processes); use standard photo mode on the tripod.
- Shoot in the phone's RAW/Pro mode if available — dramatically better white-balance control.
- Lens against glass for detail shots eliminates reflections entirely — the "lens-on-glass" trick is the phone photographer's superpower.
Framing: Composition for the Photo
- Straight-on, centered, level: the standard contest framing — camera at the tank's vertical midpoint, lens perpendicular to the front glass, frame edges parallel to the tank edges. Crooked framing is the most common amateur tell; use a bubble level or the camera's grid.
- Fill the frame: the tank's edges should nearly touch the frame's edges — dead space around the tank wastes resolution and looks tentative. Leave a hair of margin for straightening in post.
- Include the full height: don't crop the substrate or the waterline (unless hiding equipment) — the composition needs its floor and ceiling.
- Detail shots: after the full-tank hero shot, shoot vignettes — the mossy branch, the schooling fish mid-valley, the carpet texture. These tell the layout's story and make great contest supporting material and social posts.
- Top-down: for carpets and wabi-kusa, shoot straight down — reveals patterns invisible from the front.
Fish: Catching Them at Their Best
- Feed lightly 30 minutes before: active, alert fish — not the post-feeding torpor, just enough to get them moving and colored up.
- Burst mode: hold the shutter and shoot 20–50 frames; pick the one where the school forms perfectly. Fish photography is a numbers game — professionals shoot hundreds of frames per session.
- Patience over chasing: set up the shot, then wait. Schooling fish eventually cross the perfect spot; chasing them with the camera guarantees bad angles and stressed fish.
- Fast shutter for fish portraits: 1/250s+, ISO as needed. Freeze the motion, accept the noise — a sharp noisy fish beats a blurry clean one.
- Best behavior windows: many species school tightest when slightly alert — after a water change, when a new object appears near the tank, or at "dawn" when lights first ramp up.
Common Problems and Fixes
- Reflections: dark room + lens close to glass + black cloth draped over you and the camera (the pro's "black tent" trick). Polarizing filters help with angled shots.
- Green/magenta cast: custom white balance or RAW correction. If the whole image is green, your WB is set for daylight while the tank runs warm LEDs — adjust toward 7000K+.
- Blown highlights: pale sand and light stone blow out easily — expose for the highlights (slight underexposure), then lift shadows in post. Blown highlights are unrecoverable; dark shadows are fixable.
- Soft/blurry images: tripod + timer + manual focus solves 95%. If fish are blurry but the scape is sharp, that's motion — faster shutter, not a focus problem.
- Glass distortion: shoot perpendicular to the glass; angled shots through thick glass distort and reflect. For very thick (low-iron) glass, perpendicular matters even more.
- Blackwater/tinted water: increase exposure slightly (+0.5–1 stop) — meters underexpose dark water; correct the brown cast gently in post without removing the mood. Don't "fix" tannin tint into blue — the tint is the scape.
Post-Processing: Honest Enhancement
Basic editing is expected (and contest-legal within limits — see our competitions guide for rules):
- Crop and straighten: perfect the framing — level horizons, tight edges.
- White balance: neutralize color casts; the greens should look like the plants, not like the lighting.
- Exposure/contrast: gentle S-curve for depth; recover highlights, open shadows slightly.
- Spot removal: clone out the stray bubble, the bit of algae on the glass edge, the equipment reflection you missed.
- Don't: add/remove elements, composite fish from other shots (contest fraud), oversaturate into neon unreality, or blur the background artificially. Honest enhancement shows the tank at its best; manipulation shows a tank that doesn't exist.
Frequently Asked Questions
Can I take contest-quality photos with a phone?
Yes — modern flagship phones on a tripod, in a dark room, shooting RAW, produce images that place in contests. The phone's limitations (small sensor noise in low light, no true optical zoom range) matter less than technique: dark room, tripod, clean glass, locked exposure, and patience outweigh sensor size. Plenty of ranked entries were shot on phones.
Why do my photos look washed out compared to what I see?
Almost always room-light reflection on the glass — your eyes ignore it, the camera doesn't. Total darkness except the tank light is the fix. Second cause: exposure — the camera meters the bright tank and overexposes; dial exposure compensation to -0.5 or -1 and watch the contrast return.
How do I photograph fish without blur?
Fast shutter (1/250s+), higher ISO (800–3200 as needed), burst mode, and good timing — or a flash/strobe (diffused, off-camera) which freezes motion regardless of shutter speed. Note: some fish stress at flash; observe your livestock and use it sparingly. For scape-only shots, slow shutter on tripod is sharper than any fast handheld frame.
What's the best background for photography?
For the photo session, a temporary black poster board behind the tank (outside, not in the water) gives maximum contrast and hides room clutter — even if your permanent background is frosted white. Black makes greens glow and fish colors ignite. Remove it after; it's a photo tool, not a decor choice.
Should I remove equipment before shooting?
Yes — temporarily pull the heater, thermometer, and any visible intake guards just for the photo session (minutes, not hours — watch temperature). Lily pipes and diffusers: reposition out of frame if possible. Every visible equipment bit costs realism. Put it all back immediately after.
How many photos should I take?
Hundreds. Full-tank hero shots: 30–50 frames across the session (light and fish vary minute to minute). Detail shots: as many as interest you. Storage is free; the perfect frame is rare. Cull ruthlessly afterward — keep the best 5–10, archive the rest, share the best 1–3.
Shoot What You Grew
Photography is the final aquascaping skill — the one that shares your work with the world, enters it in contests, and preserves it after the inevitable rescape. The formula never changes: dark room, tripod, clean glass, locked settings, hundreds of frames, honest editing. Master it once and every tank you ever build gets the documentation it deserves — including the large showpiece and the nano jewel box alike.