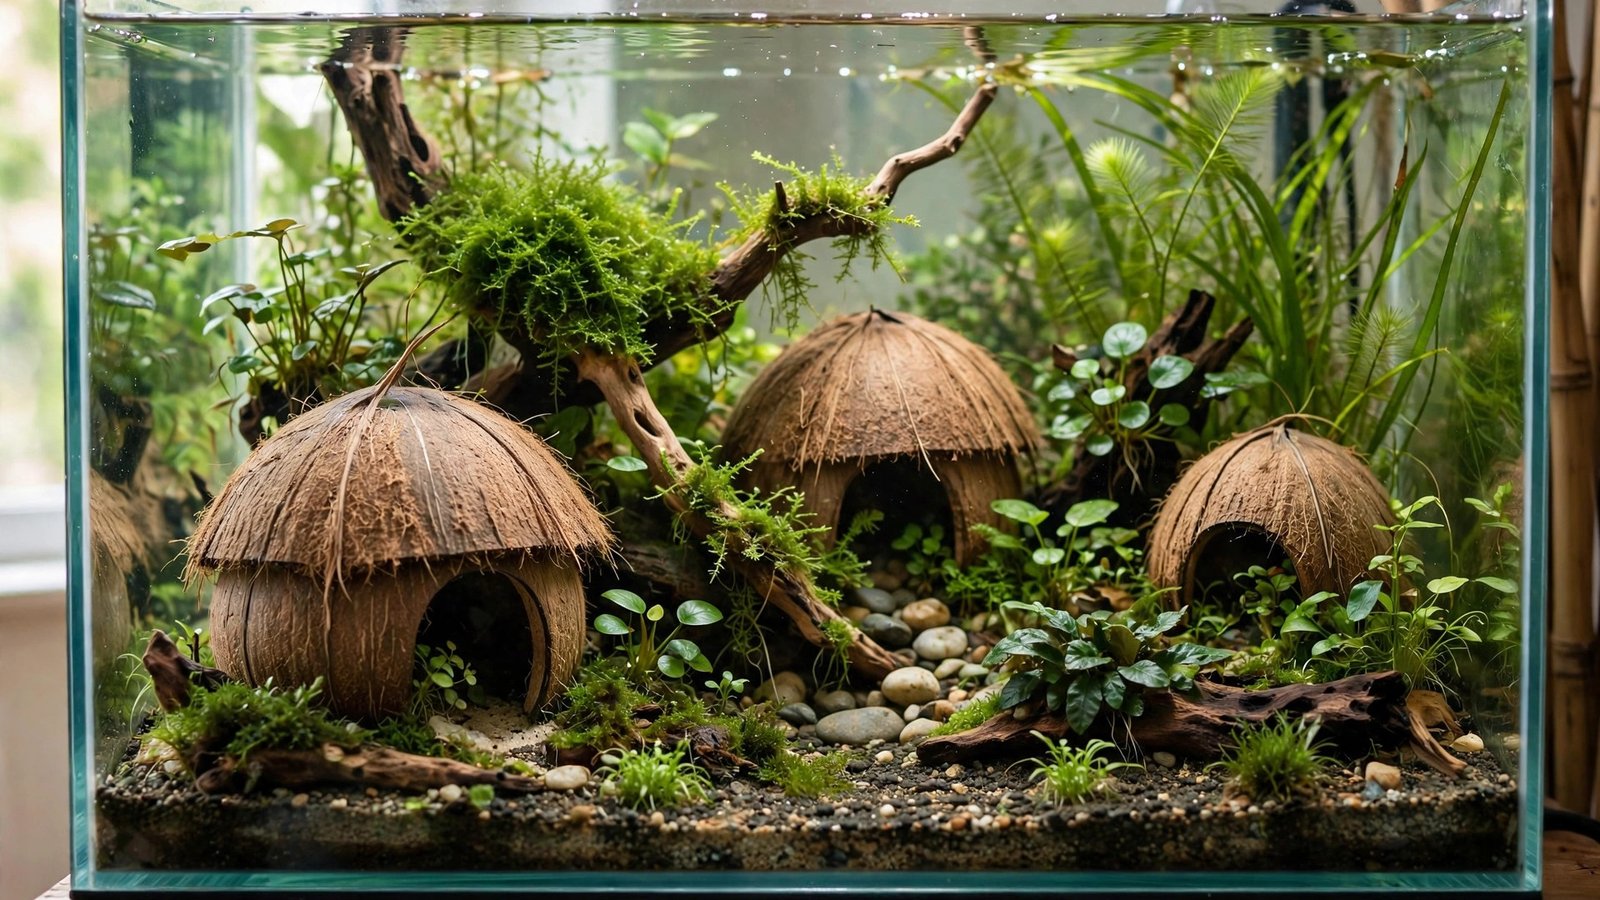
Most hardscape in this hobby costs real money — dragon stone by the kilo, spider wood by the branch. A coconut shell costs about a dollar, and with an hour of prep it becomes one of the most useful pieces of hardscape you can put in a tank. A coconut hut aquarium gives shy fish a real cave, shrimp a molting hideout, and your scape a focal point that mosses and Anubias happily colonize. Done wrong, though, a coconut hut rots, floats, and fouls the water — usually within a month. This guide covers bought versus DIY, the safe prep that prevents rot, smart placement, and the planting tricks that turn a bare shell into a living part of the scape.
A hut is hardscape first, so plan it alongside your foundation: best substrate for planted tanks — the hardscape around your substrate decides whether the cave sits naturally in the scape or looks dropped in as an afterthought.
Prepping your coconut hut aquarium for safe use
Rot is the failure mode, and it starts with what you leave inside the shell. Coconut flesh, milk residue, and husk fiber all decompose underwater — the entire prep exists to eliminate that organic matter first. Start with a fresh brown coconut, not a desiccated, sweetened, or craft-store shell that may carry preservatives. Drain it through one of the three eyes, crack it in half, and scrape out every bit of white flesh. A 20-minute bake at 150°C (300°F) loosens stubborn flesh and sterilizes the shell — the same heat treatment reputable aquarium coconut-cave makers describe for pathogen control.
Drill the entrance before boiling: a 2-inch (5 cm) hole saw suits dwarf cichlids, kribs, and small plecos, while a shrimp-only hut can take 1–1.5 inches so fish stay out of the refuge. Drill slow, then sand every cut edge until nothing catches your finger — sharp edges scrape betta fins and shrimp antennae. Then boil the half-shell, fully submerged, for 30–60 minutes: this kills pathogens, pulls out residual oils, and waterlogs the shell so it sinks immediately. A raw grocery coconut deserves the full half hour. Rinse, then dry it completely before it meets the tank.
 ★4.6
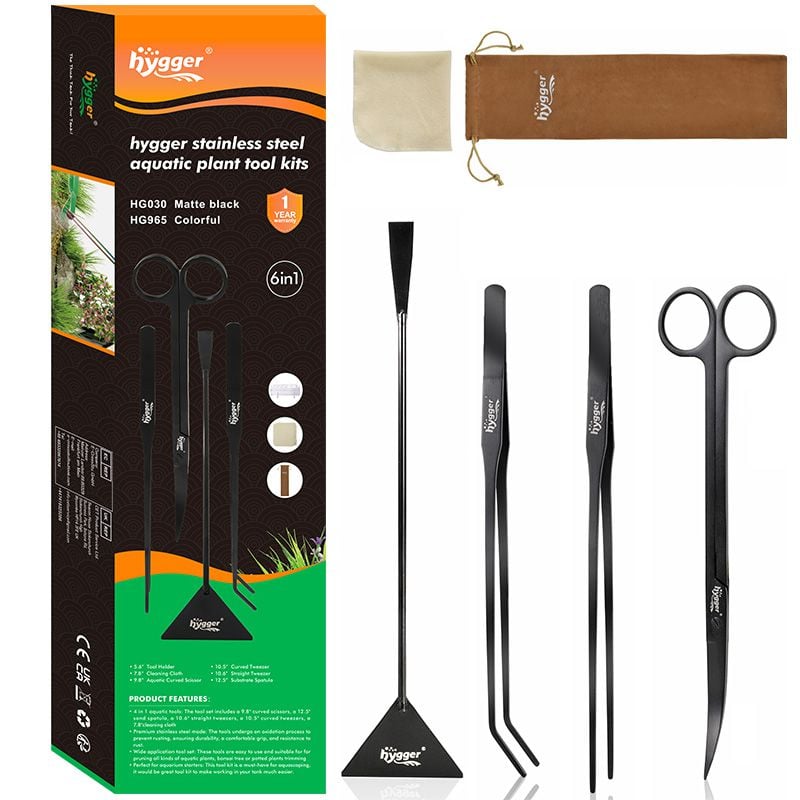
hygger 6-in-1 aquarium aquascaping tool kit
Check Price on Amazon ★4.6Bought vs. DIY: Which Coconut Cave Should You Get?
Buy a ready-made cave or prep your own? Both work — the trade-offs are time, tools, and trust.
| Factor | DIY from a grocery coconut | Store-bought coconut cave |
|---|---|---|
| Cost | $1–3 per shell (makes 2 halves) | $6–12 per finished cave |
| Prep work | 1–2 hours: crack, de-flesh, drill, boil, sand, dry | None — rinse and place |
| Tools needed | Drill + hole saw, pot, sandpaper | None |
| Entrance size | You choose exactly | Usually fixed at ~2 inches |
| Best for | Custom holes, multiple tanks, low budgets | Your first hut, or no power tools |
Good sellers sand, bake, and pre-waterlog their shells, so a bought cave genuinely skips the prep. Going DIY? Don't skip steps — the boil and the drying are the difference between a hut that lasts a year and one that rots by month two.
Tannins and Water Chemistry
Like any natural botanical, a coconut hut leaches mild tannins — the same brown-water compounds as driftwood and leaf litter. A single hut in a 20-gallon tank won't turn the water tea-colored, and in a blackwater setup the tint is a feature; apistos and wild bettas breed better in softly tinted water. The pH shift is negligible at this scale. For zero tint in a clear-water aquascape, soak the boiled shell 2–3 days or run fresh activated carbon for the first week. Test parameters after adding any hardscape, as you would when dialing in how much substrate a planted tank needs.
Placement Ideas: Breeding Cave, Shrimp Hide, Pleco Den
For dwarf cichlids like Apistogramma and kribs, set the hut with the entrance facing slightly away from the front glass — the female picks a cave she can defend without constant eye contact with tankmates. Seat the rim a finger's width into the sand cap over aquasoil so it doesn't rock when she fans eggs inside. For shrimp, it's a molting refuge: place it low and partly shaded, entrance small enough that only shrimp fit — you'll find shed exoskeletons inside within the first week. Bristlenose and clown plecos treat a 2-inch hut as a daytime den; give them the hut before they claim the space under the filter intake. Pair it with cholla wood for extra cover — wood-on-wood reads far more natural than a coconut beside sharp stone.
Growing Plants on the Hut: Blending It Into the Scape
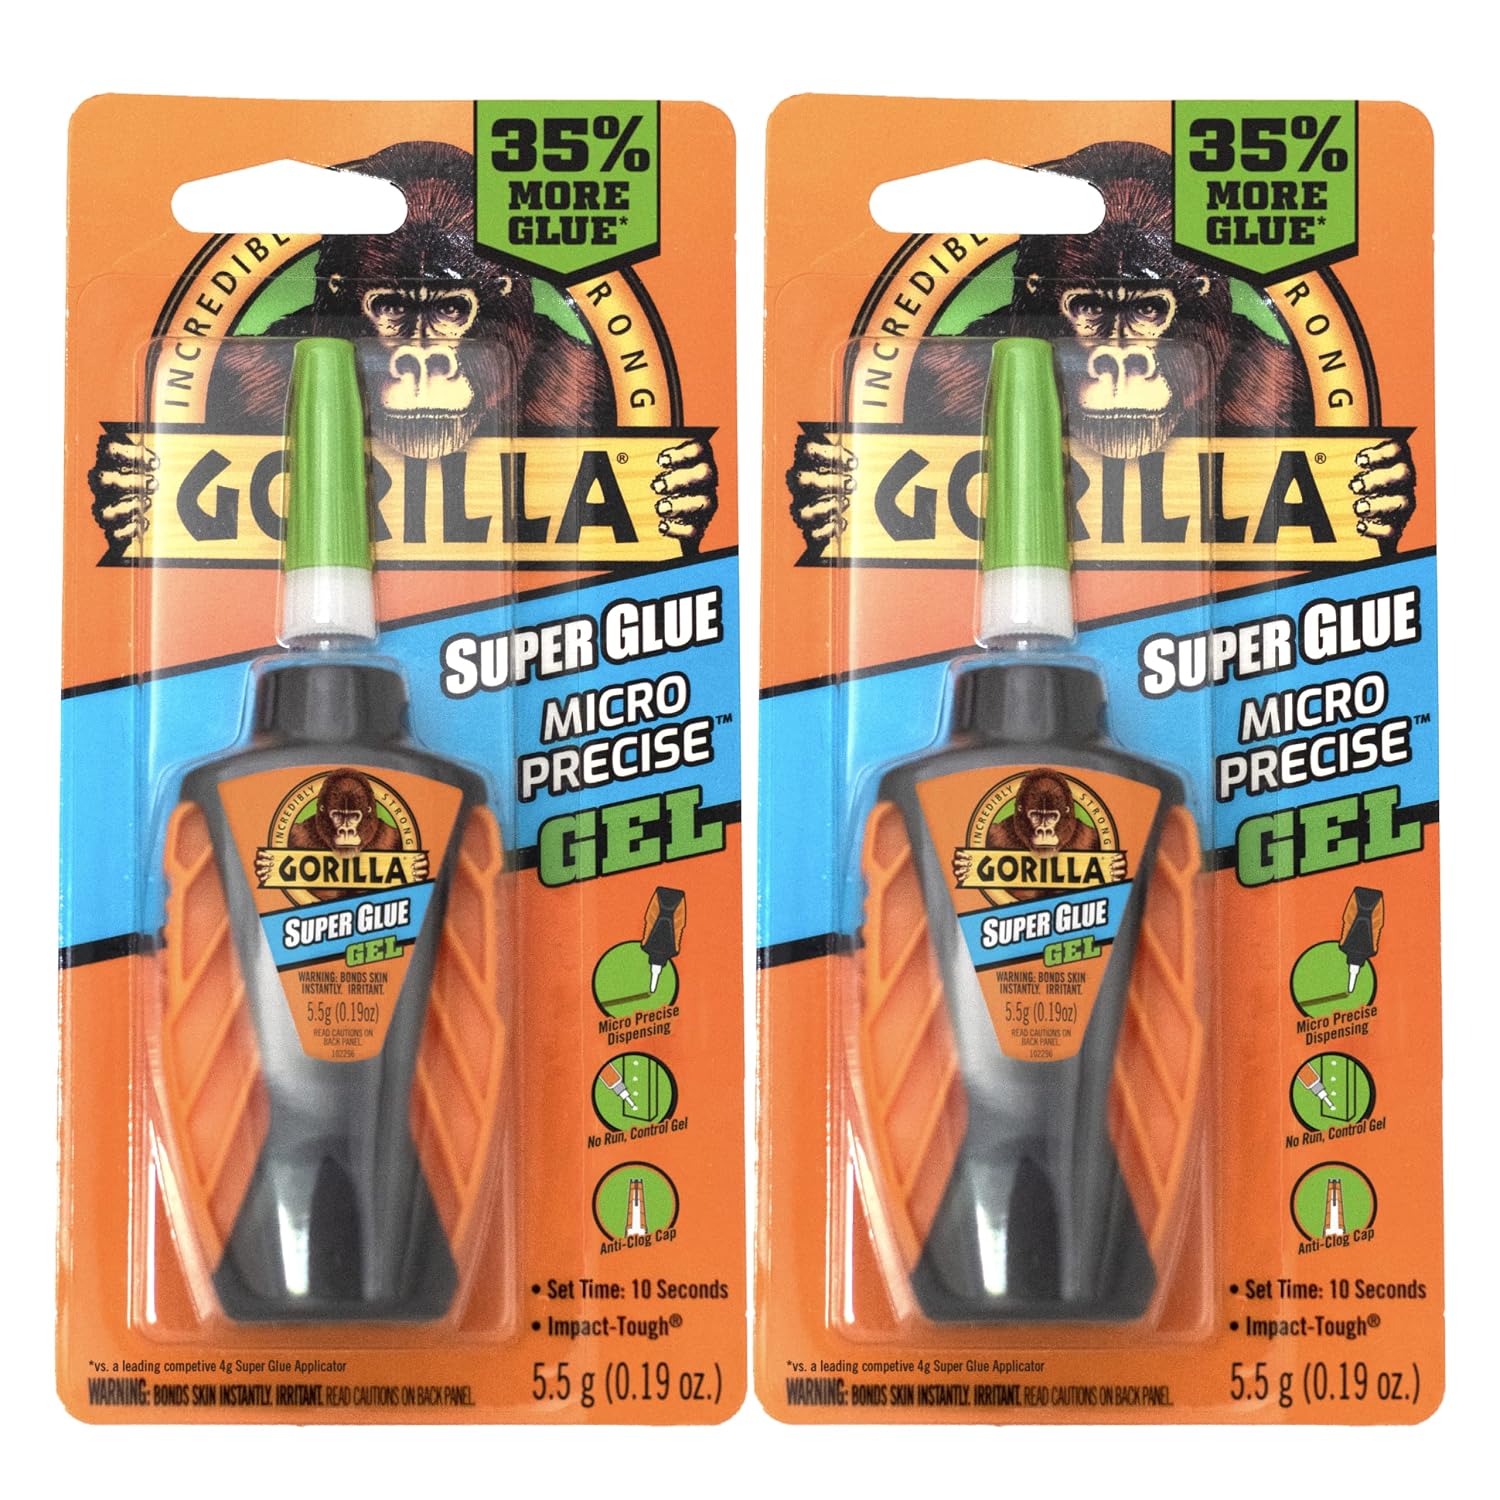
A bare coconut shell screams "decoration." A moss-covered one looks like it grew there. Java moss is the classic choice: spread a thin layer over the dome, tie it with cotton thread, and it roots into the shell's texture within a month. For a cleaner look, press Anubias nana 'Petite' or Bucephalandra portions against the shell and fix them with a dab of cyanoacrylate super glue gel — the same aquarium-safe super glue gel used on driftwood. Glue the roots, never the rhizome, and hide the white-curing dot under a moss patch. These are the same low-light epiphyte picks to grow on the hut — they thrive on the shell with no substrate contact. Glue beats thread here: thread rots within a month, while a cured cyanoacrylate bond lasts as long as the plant.
 ★4.6
Gorilla Micro Precise Super Glue Gel
Check Price on Amazon ★4.6How Long They Last — and the Rot-Proof Alternative
In a healthy, well-filtered tank, expect 12–18 months from a well-prepped hut. Soft, acidic water is gentler on the shell; hard, alkaline water breaks it down faster. The shell fails gradually — it darkens, turns spongy at the rim, then develops mushy dark patches. If it smells like sulfur at a water change, pull it and replace it: decaying shell feeds the bacteria that spike ammonia. Ceramic caves are the honest alternative — same cave function, zero rot, indefinite life, just a higher price.
Frequently Asked Questions
Is coconut shell safe for aquariums?
Yes, once properly prepped. Remove all flesh and husk, boil 30–60 minutes to kill pathogens and waterlog the shell, sand sharp edges, and dry it completely. Avoid desiccated, sweetened, or craft-store shells with preservatives — a fresh brown grocery coconut or a cave from a good aquarium seller is the safe choice.
How long should I boil a coconut hut before putting it in the tank?
Boil a raw shell for 30–60 minutes, submerged — this kills pathogens, extracts residual oils, pulls out tannins, and waterlogs the shell so it sinks immediately. A quick 10-minute boil is only adequate for commercially pre-treated shells. Rinse and dry completely before adding it to the tank.
Will a coconut hut lower my pH or stain the water?
Only mildly. One hut leaches gentle tannins that may add a faint warm tint — fine, even beneficial, for blackwater and dwarf cichlid setups — but the pH shift is negligible. Pre-soak the boiled shell for 2–3 days or run activated carbon for a week for zero tint in a clear-water aquascape.
What size entrance hole should I drill?
Drill a 2-inch (5 cm) hole for dwarf cichlids, kribs, and small plecos — large enough to enter, small enough to defend. For a shrimp-only refuge, 1–1.5 inches keeps fish out. Sand every cut edge smooth, and consider a small vent hole in the dome to release trapped air.
How long does a coconut hut last, and when should I replace it?
Expect 12–18 months in a healthy tank; soft acidic water is gentler on the shell than hard alkaline water. Replace it when the shell softens, develops mushy dark patches, or smells like sulfur at a water change. For a permanent cave with zero maintenance, switch to a ceramic cave instead.
A coconut hut rewards the hour you spend on prep with a year of service: a breeding cave your apistos choose, a shrimp refuge that fills with molts, and a moss-covered dome that belongs in the scape.