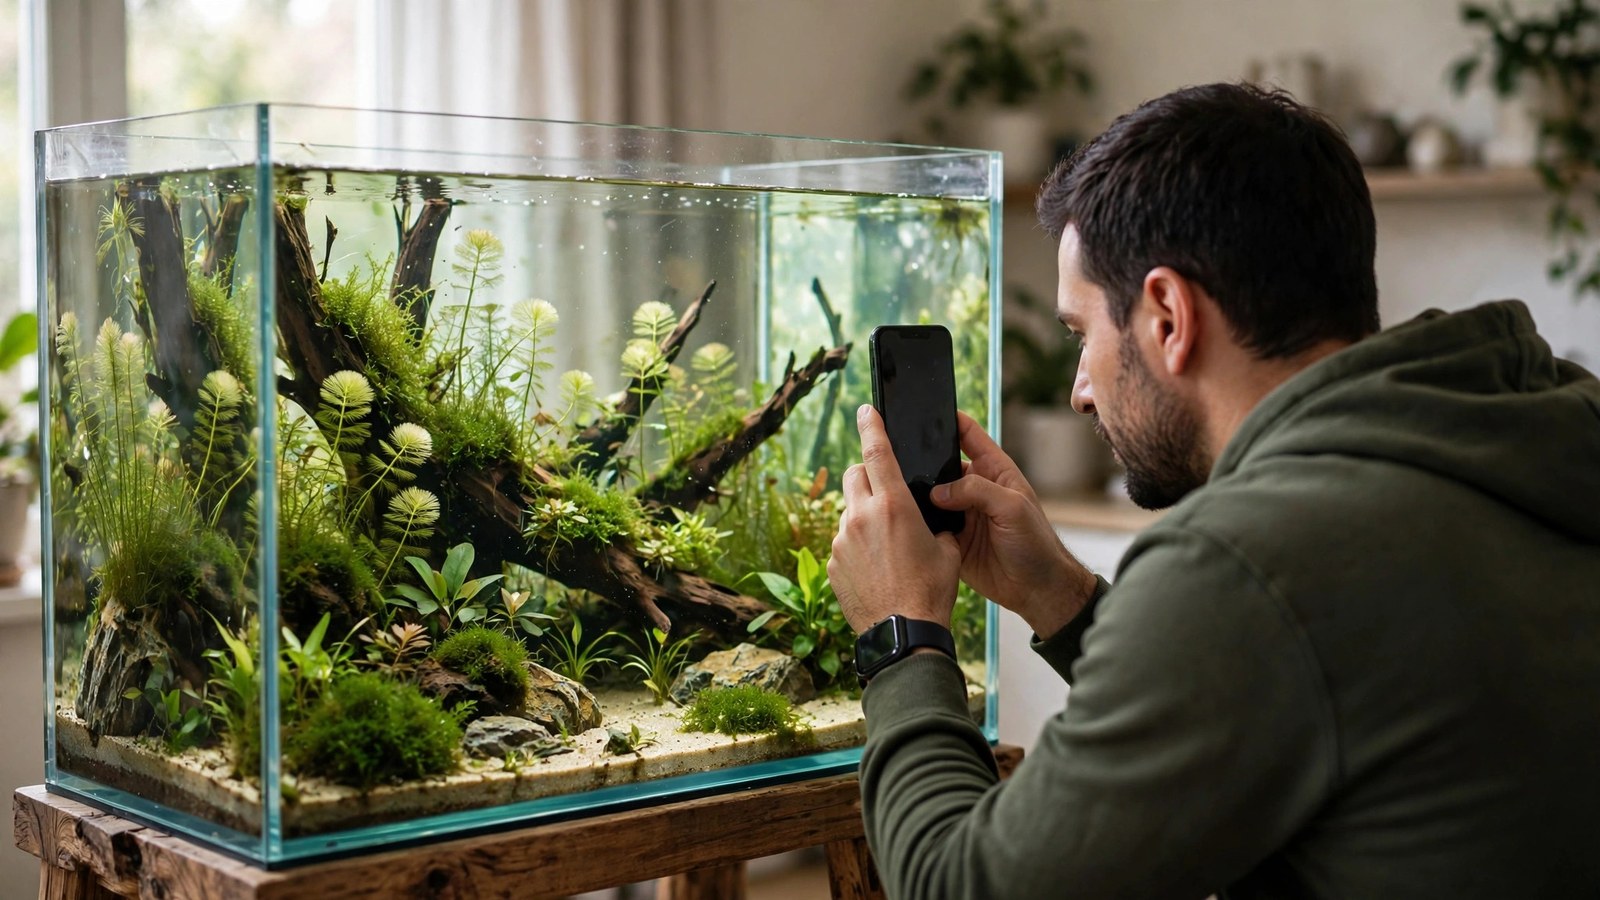
Learning to photograph aquarium plants for diagnosis is the fastest way to turn a frustrating "what's wrong with my plant?" post into a helpful, accurate answer. A dark, blurry phone snapshot hides exactly the details experienced keepers need to identify a species, spot a nutrient deficiency, or tell melting apart from algae damage. A few minutes of glass cleaning, reflection control, and deliberate angles can make the difference between silence and a solved problem.
Why Blurry Photos Get Vague Answers
Most plant help requests on forums and Reddit die unanswered, and the reason is rarely a lack of goodwill — it is a lack of evidence. From a blurry green smudge, nobody can tell whether that yellowing affects old leaves or new growth (the single most important clue in any nutrient deficiency diagnosis), whether those "holes" are pinholes from potassium shortage or rasp marks from snails, or whether the plant is melting, rotting, or simply adjusting to new water.
Good diagnostic photography answers these questions before they are asked. Sharp photos let helpers zoom into leaf veins, spot algae species clinging to a surface, check whether a rhizome is firm or mushy, and compare growth patterns against reference images. Think of each photo as evidence you are presenting to a panel of experts: the clearer the evidence, the faster and more accurate the verdict. You do not need a fancy camera — modern phones are more than capable — you just need the right preparation, lighting, and shot selection.
Prepare the Glass and Kill Reflections
Glass is the enemy of aquarium photography. Every smudge, water spot, and room reflection sits between your lens and the plant, and phone cameras faithfully record all of it. Preparation takes five minutes and improves results more than any camera upgrade.
Clean Both Sides of the Glass
Wipe the outside of the front panel with a clean microfiber cloth — fingerprints and dust are the most common cause of hazy shots. For the inside, run a magnetic algae scraper or a soft sponge over the front panel shortly before shooting, then wait ten minutes for disturbed debris to settle or get pulled into the filter. Briefly turning the filter off during the shoot keeps particles from drifting through the frame, though remember to switch it back on afterward.
Scoop out floating debris and stray food from the water surface if you plan any top-down shots, and consider a partial water change an hour or two beforehand if the water itself is hazy — crystal-clear water is the best "lens upgrade" there is. None of this needs to be perfect; it just needs to be done.
Control Reflections Before You Shoot
Reflections happen because bright objects in the room — windows, lamps, white ceilings — bounce off the glass into your lens. Fix this with a few simple moves:
- Dim the room: turn off room lights and pull curtains. Shoot with the aquarium light as the only meaningful light source.
- Shoot perpendicular to the glass: hold your phone flat against the pane, lens as close as possible, and frame the plant head-on. Angled shots catch glare.
- Wear dark clothing or drape a dark towel: a black cloth over your head and the phone (like an old-time photographer) eliminates your own reflection completely.
- Watch for white balance shifts: shooting through glass under mixed room lighting can cast a green or orange tint. Let the tank light dominate and lock your white balance if your camera app allows it.
If a stubborn glare band remains, move the room light that is causing it rather than fighting the angle — a two-minute lamp relocation beats twenty bad photos.
Lighting Tricks That Make Details Visible
Diagnostic photos live or die on lighting. You need enough light to freeze motion, reveal leaf texture, and show true color — because color is diagnostic data. A leaf that photographs yellow may be nitrogen-deficient, but if your light is simply too warm, nobody can tell.
Work With Your Tank Light (Plus a Flashlight)
Always shoot during your tank's brightest light period, not at night with a dim room lamp. Strong overhead aquarium light gives you fast shutter speeds (less blur) and accurate color. If your light is too dim for crisp macros, supplement with a white LED flashlight held at an angle to the glass — side-lighting rakes across leaf surfaces and makes texture, pinholes, and algae filaments pop in a way that flat overhead light never does.
Avoid your phone's built-in flash. It bounces hard off the glass, creates hotspots, and washes out the very detail you need.
Lock Your Phone Camera for Sharp Macros
Phones guess at focus and exposure, and through glass they often guess wrong. Take control:
- Tap to focus on the affected leaf, then hold to lock focus and exposure (AE/AF lock on iPhone, tap-and-hold on most Androids). This stops the camera from hunting mid-shoot.
- Slide exposure down slightly if highlights are blowing out — overexposed leaves lose the vein detail that distinguishes deficiencies.
- Use burst mode for close-ups. Slight water movement or your own hand shake will blur single frames; a burst of ten usually contains two or three tack-sharp ones.
- Clean the phone lens before starting. A greasy lens coating is a classic invisible cause of soft photos.
- Turn on macro mode (available on most phones from the last few years) for leaf-surface close-ups, but stay just outside the minimum focus distance — too close and nothing is sharp.
The diagnostic shot set: photographing aquarium plants for diagnosis from every angle
A strong help post includes a small set of deliberate photos, each answering a different diagnostic question. Five to seven well-chosen shots beat twenty random ones. Here is the complete set, in the order experienced helpers like to see them.
1. The Context Shot (Full Tank)
Stand back and photograph the entire tank from the front, lights on, room dark. This single image tells helpers the tank size, planting density, substrate type, hardscape, light position, and how the affected plant sits relative to everything else. Problems that look mysterious up close — like plants melting only in one corner — often become obvious at full-tank scale, where a helper can see the shaded spot or the filter outflow blasting the leaves.
2. The Whole-Plant Shot
Frame the entire affected plant, from substrate or rhizome to the newest tips. This reveals growth pattern: Are new leaves smaller than old ones? Is the plant leggy with long internodes (classic low-light or low-CO2 behavior, see CO2 deficiency signs)? Is growth stunted at the crown? Helpers compare the plant's current shape against what the species should look like, which is also why species identification matters — compare your plant to the Tropica plant database reference photos while you shoot, and include your best species guess in the post.
3. Symptom Close-Ups (Old vs. New Leaves)
This is the money shot. Photograph the damaged leaves in sharp macro, and — critically — capture both old growth and new growth in separate close-ups. Mobile nutrients (nitrogen, potassium, magnesium) are pulled from old leaves first, so damage starting at the bottom points there; immobile nutrients (iron, calcium) hit new growth first. A side-by-side pair of sharp old-leaf/new-leaf macros lets a helper make this distinction instantly. For holes in aquarium plant leaves, get close enough to show whether edges are clean, brown, or ragged.
4. Top-Down and Underside Angles
Open the lid and shoot straight down at carpeting plants, rosette plants, and stem tops — many deficiencies show first in the crown. For rhizome plants like Anubias and Java fern, photograph the rhizome itself: a firm green rhizome with a melted leaf is recoverable; a brown, mushy rhizome is not. (If your Anubias is involved, note whether you are also seeing green spot algae on the leaves, which needs a different fix than a deficiency.)
5. A Scale Reference in Every Key Shot
Place a small ruler, a coin, or your fingertip beside the plant in your close-ups. Scale is genuinely diagnostic: a "hole" that is 2 mm across means something very different from one that is 2 cm across, and "small new leaves" is meaningless without knowing how small. Tape a plastic ruler inside the tank or hold one against the glass — it takes five seconds and removes all guesswork.
What to Photograph for Specific Problems
Different symptoms need different evidence. Use this quick reference before you start shooting:
| Symptom | Must-have photos | Why it matters |
|---|---|---|
| Yellowing leaves | Old-leaf macro + new-leaf macro + whole plant | Old vs. new growth pattern identifies which nutrient is mobile-deficient (iron deficiency hits new leaves first) |
| Holes or pinholes | Macro of hole edges + leaf underside + scale reference | Edge condition and hole size separate potassium pinholes from snail damage |
| Melting/translucent leaves | Rhizome and roots close-up + full plant + substrate shot | Firm rhizome means recovery is likely; see why aquarium plants melt and Cryptocoryne melt recovery |
| Algae on leaves | Side-lit macro of leaf surface + affected area wide shot | Algae species ID depends on texture and color — green spot algae looks very different from hair algae up close |
| Red plants turning green | Top-leaf close-up + light fixture photo + tank shot | Red plants lose color mainly from light/iron issues — fixture details matter |
| New plants dying after arrival | Roots and stems on arrival + one week later comparison | Comparison shots show whether it is shipping melt or an ongoing tank problem |
What to Write Alongside Your Photos
Even perfect photos cannot show water chemistry, dosing, or history. The best help posts pair the shot set with a short facts block. Copy this template into any forum or r/PlantedTank help post:
- Plant: species (or best guess), how long you have had it, emersed-grown or submerged when bought.
- Tank: size, age, substrate type, filter, stocking.
- Light: fixture model or wattage, photoperiod hours per day, distance from water surface.
- CO2: injected, liquid carbon, or none; bubble rate if injected.
- Fertilizers: brand, dose, and frequency — "none" is a valid and important answer.
- Water parameters: pH, GH, KH, nitrate, phosphate if you test them. If you do not test yet, our guide to water test kits for planted tanks covers which kits actually matter for plant diagnosis.
- Timeline: when the symptom first appeared, whether it is spreading, and anything that changed recently (new light, rescape, new fish, moved the tank).
This block takes two minutes to write and routinely cuts the back-and-forth in half. Helpers can skip the twenty clarification questions and go straight to comparing your symptoms against known deficiency and melt patterns.
Frequently Asked Questions
Can I just use my phone, or do I need a real camera for diagnostic photos?
A modern phone is genuinely enough for 95% of diagnostic photography. What matters is technique, not gear: clean glass, the tank light as the main source, tap-to-focus with exposure locked, and burst mode for macros. A dedicated camera with a macro lens helps only for extreme close-ups of tiny algae or pest ID. Spend your effort on the shot set and the facts block in your post — those improve answers far more than any camera upgrade ever will.
Why are all my close-ups blurry even though the tank looks clear?
The usual culprits are a dirty phone lens, the camera focusing on the glass instead of the plant, or motion from water flow. Clean the lens, tap directly on the leaf to set focus, lock focus and exposure, and turn the filter off for the two minutes you are shooting. Use burst mode and pick the sharpest frame. If the plant is swaying, wedge your elbows against the tank stand to steady your hands, or photograph during the calmest part of the photoperiod.
Should I pull the plant out of the tank for a clearer photo?
For in-tank diagnosis, no — keep it planted, because placement, substrate, and neighbors are all diagnostic clues. The exception is examining a suspect rhizome or root system: lifting the plant briefly for a clear rhizome shot is worthwhile when melt is involved, since a mushy rhizome changes the prognosis completely. Photograph it in your hand against a plain background, note the smell (rotting rhizomes smell bad), and replant promptly.
How many photos should I attach to a help post?
Five to seven deliberate shots is the sweet spot: one full-tank context shot, one whole-plant shot, two or three symptom macros (old and new growth separately), and one or two special angles like a top-down or rhizome photo. Always include a scale reference in the macros. More than ten photos usually means duplicates that slow helpers down; fewer than three usually means missing the key old-vs-new comparison that deficiency diagnosis depends on.
My photos look yellow or blue compared to real life. Does color accuracy matter?
Yes, more than most people realize — yellowing, pale new growth, and red coloration are all diagnostic, so a color cast can actively mislead. Fix it by making the tank light the dominant source (room lights off), locking white balance in your camera app if possible, and avoiding the phone flash. If you edit, adjust only white balance to match what your eyes see — never boost saturation, because oversaturated "healthy-looking" photos hide the very deficiency you are asking about.
Great Photos Get Real Answers
Photographing aquarium plants for diagnosis is a skill, not a talent — and like any skill, it is mostly checklist: clean the glass, kill the reflections, light the plant, lock the focus, shoot the full set from context to macro with a scale reference, and post it with the facts block. Do this consistently and you will notice your help posts getting faster, more confident answers, often from the most experienced keepers who simply skip blurry posts. Your plants get diagnosed correctly, your fixes work sooner, and over time you will start recognizing the patterns yourself — old-leaf yellowing, pinholes, melting crowns — before you ever need to post at all.