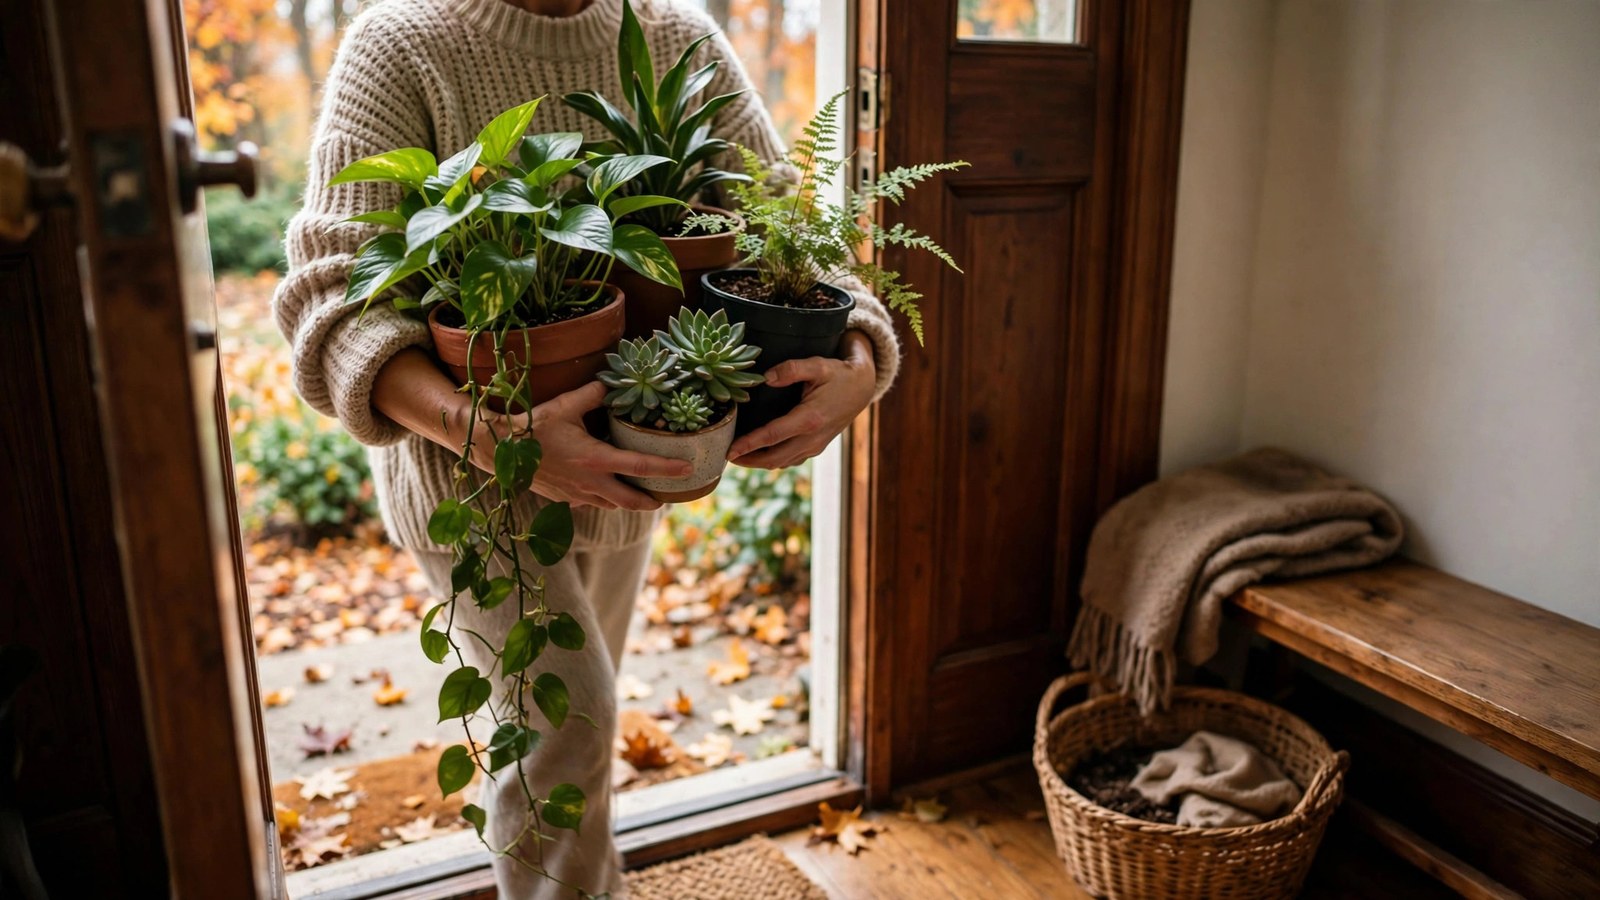
Summer spent outdoors is the best thing that ever happened to most houseplants — the bright light, fresh air, and humidity grow them faster than any windowsill can. But the single biggest risk of bringing houseplants inside for winter is not the cold at all: it is the hitchhikers. A mild summer lets small colonies of mealybugs, spider mites, aphids, and fungus gnats establish quietly, and one infested plant carried indoors can spread pests to your entire indoor collection in a matter of weeks. Treat the move as a biosecurity operation, not just a relocation, and your plants will arrive indoors clean and stay that way all winter.
Timing the Move: Before the First Frost, Not After
Most houseplants should be moved inside before nighttime temperatures drop below 50°F (10°C). That is the threshold where tropical foliage plants like monstera, philodendron, pothos, and calathea start taking chilling damage, even if they look fine the next morning. Succulents and cacti tolerate colder nights, down to around 40°F, so they can wait a little longer.
Do not wait for the weather forecast to announce the first frost. A surprise cold snap can arrive days earlier than predicted, and plants already weakened by cold are far more vulnerable to the pests you are about to import with them. A good rule: start the inspection and treatment process when nights consistently hit the mid-50s, so plants are clean and acclimated before the urgent scramble begins.
Sensitive plants move first — orchids, hibiscus, and calathea dislike sustained nights below 55°F. Hardy workhorses like snake plants, pothos, and ZZ plants can stay out a bit longer, but they still need their pest treatment before crossing the threshold.
Step 1 — Inspect Every Plant Like a Detective
Set up a well-lit inspection station outdoors and go through plants one at a time. The goal is a full body check: tops of leaves, undersides of leaves, leaf joints where stems meet foliage, new growth tips, the soil surface, the rim and sides of the pot, and under the saucer. Pests hide where you do not look.
The usual suspects
- Mealybugs: small white cottony tufts tucked into leaf joints and stem crotches. They suck sap and excrete sticky honeydew that grows black sooty mold. Easy to miss in the crowns of succulents and hoyas.
- Spider mites: too small to see clearly, but their fine webbing between stems and under leaves gives them away. Tap a leaf over white paper — if tiny specks fall and smear when crushed, mites are present.
- Aphids: clustered colonies on tender new growth and buds, often green or black, leaving sticky honeydew behind.
- Scale: immobile oval bumps in white, tan, or brown on stems and leaf veins. They look like part of the plant, which is exactly why they get missed.
- Whiteflies: they erupt in a visible cloud when you jostle the plant — a hard infestation to miss once you shake the foliage.
- Fungus gnats: small flies hovering over the soil surface. The larvae feeding in the top inch of soil are the real problem, and they ride indoors in the potting mix.
Also check for stowaways that are not pests but still do not belong in your living room: spiders, earwigs, slugs, and even small frogs or lizards that have taken up residence under large pots. Lift the pot, check the drainage holes, and brush off anything clinging to the outside. Penn State Extension recommends a magnifying glass for this job — their guide to bringing houseplants indoors walks through exactly which hiding spots to check and suggests inspecting daily for the first week or two.
Step 2 — Bringing Houseplants Inside for Winter Without the Bugs
The cardinal rule: no plant comes inside until it is treated — even if you found nothing. Outdoors, populations are suppressed by predators, wind, and rain; indoors, those natural controls vanish, and a population of five becomes five hundred. Treat every returning plant, not just the ones with visible problems.
The knockdown wash
Start with the simplest tool: a hard spray of water. Tip the plant on its side and blast the foliage — especially leaf undersides — with a strong hose stream. This physically dislodges mites, aphids, and whiteflies and washes off honeydew. Let the plant dry, then follow with a treatment that actually kills what remains. A wash alone never gets eggs or scale.
Insecticidal soap and neem oil
After washing, spray the entire plant with insecticidal soap, coating both leaf surfaces, stems, and joints until it drips. Insecticidal soap kills on contact, so thorough coverage matters — it has no residual effect. Apply it in the shade or evening to avoid leaf burn, and repeat after 7–10 days to catch anything that hatched since the first application. Neem oil works similarly and adds some residual repellency; alternate or combine the two sprays a week apart for the toughest infestations. The University of California's integrated pest management program frames this well in its houseplant problems guide: prevention through pest exclusion and early detection beats rescue treatments every time. For scale and mealybug clusters, dab individuals first with a cotton swab dipped in rubbing alcohol, then spray.
Soil treatments: drench the potting mix
Leaf sprays do nothing for fungus gnat larvae or other soil dwellers. For the top layer of soil, apply a neem oil or insecticidal soap soil drench, watering it in so it penetrates the upper few inches where larvae feed. A Bacillus thuringiensis israelensis (Bti) drench — the same biological control used against mosquito larvae — specifically targets fungus gnat larvae without harming the plant, and it is a clean, low-toxicity choice for indoor soil. Let the soil dry down a bit between treatments; gnats breed in constantly soggy mix, so correcting your watering is half the cure. For severe soil infestations, replace the top inch of potting mix entirely after treating.
Systemic granules for the stubborn cases
If a plant has a history of recurring mealybugs or scale, consider a systemic insecticide applied to the soil about a week before the move. The plant absorbs the active ingredient through its roots, making its sap toxic to sap-sucking insects for weeks. This is the heavy artillery: use it only on plants that need it, follow label directions precisely, and keep treated plants away from pets that might chew foliage. Reserve it for high-value plants with chronic problems — most plants do fine with soap, neem, and vigilance.
The principle is the same one aquarists follow when new acquisitions arrive: nothing joins the established collection until it has been treated. If pest invasions sound dramatic, consider that planted-aquarium keepers routinely deal with snails and other pests hitchhiking into aquarium plants — the treatment-before-introduction discipline is identical whether the pests are aquatic or airborne.
Step 3 — Groom, Prune, and Clean the Pots
Treatment is only half the job. A groomed plant is both healthier and easier to keep pest-free indoors.
- Remove dead material: strip off all yellow or dead leaves, spent flowers, and old flower stalks. Debris on the soil surface is shelter and food for pests and fungal problems.
- Prune for size: plants that sprawled all summer may need cutting back to fit their indoor spot. Prune now rather than midwinter, when the plant has the least energy to recover. Keep the removed cuttings away from the compost pile if pests were present.
- Clean the containers: scrub the outside of pots with a brush and diluted dish soap; algae and mineral crust on pot sides harbor pests and look bad in the living room. A weak bleach solution kills algae, but keep it off the soil.
- Check the roots lightly: slip the root ball out of the pot and inspect for root mealybugs or ant nests. If the plant is root-bound, repot it into fresh mix now — not in December. A plant repotted in fall has time to settle; one repotted in midwinter, when light is weakest, will sulk for months.
Step 4 — Quarantine: Two Weeks Away from Your Indoor Collection
Even after inspection and treatment, hold every returning plant in quarantine for at least two weeks — three is safer. Quarantine means a room, garage, or bright corner physically separated from your established indoor plants, with good light and air circulation. Eggs survive sprays; the quarantine period exists so the next generation of pests hatches where it cannot reach your collection.
During quarantine, inspect each plant every few days: tap leaves over white paper, check new growth, and watch the soil surface for gnats. If anything appears, treat again on the spot. Only when a plant has been clean for the full quarantine period does it graduate to the general population. If you only have one bright room, a clear plastic storage bin turned humidity dome works as a makeshift isolation ward for smaller plants.
This isolate-first discipline is standard practice across every corner of plant keeping. Planted-tank hobbyists follow the exact same logic — for instance, the rigorous treatment-and-isolation routines used when removing hydra from planted tanks or eliminating planaria from planted tanks before they can colonize an established system. Your living room deserves the same caution as an aquarium.
Step 5 — Ease the Indoor Transition
Pests are handled. Now handle the shock. Your plants are moving from blazing outdoor light to a windowsill — a 70–90% light reduction. Expect some leaf drop; it is normal triage, not failure. Ease the transition with a few adjustments:
- Acclimate light gradually: move plants to a shaded patio or porch for a week or two before bringing them fully inside. The step-down prevents the dramatic shed that a direct move causes.
- Give maximum indoor light: place returning plants in your brightest windows. South and west exposures are best. Wash the windows — a season of dust and grime can cut light by a surprising amount.
- Boost humidity: indoor heating drops humidity to desert levels. Group plants together, set pots on pebble trays of water, or run a humidifier nearby. Misting helps briefly but evaporates fast.
- Cut back on water and fertilizer: slower winter growth means less thirst. Let the top inch or two of soil dry between waterings, and stop fertilizing entirely until spring — feeding a slow-growing plant is how salt buildup and weak, leggy growth happen. If you are unsure what feeding damage looks like, learn to recognize over-fertilizing symptoms before you reach for the bottle in February.
- Hold the temperature steady: keep plants away from drafty doors, heating vents, and radiators. Cool roots plus dry blasting heat is the classic indoor-killer combination.
Remember that sudden environmental changes cause tissue die-off across all plants — aquatic growers see the same phenomenon, documented in guides on why aquarium plants melt after environmental shifts and why plants die after sudden water changes. The mechanism is the same: tissues built for one environment must be rebuilt for another. Patience beats panic.
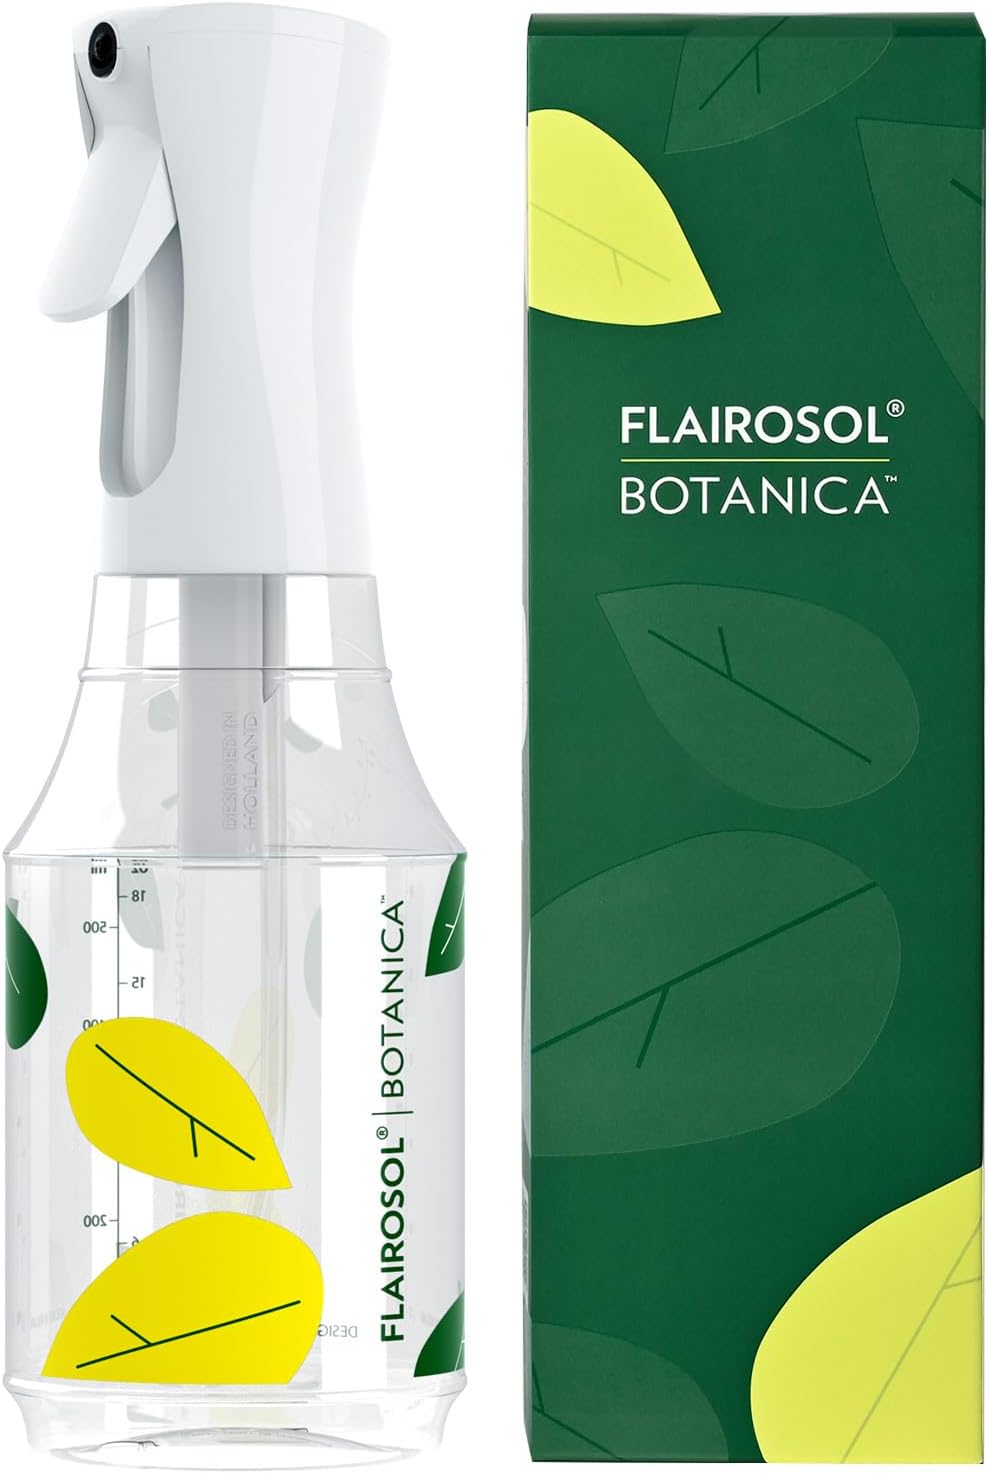
Misting eases the humidity shock of coming indoors: a fine-mist sprayer.
 ★4.4
FLAIROSOL Botanica Plant Mister
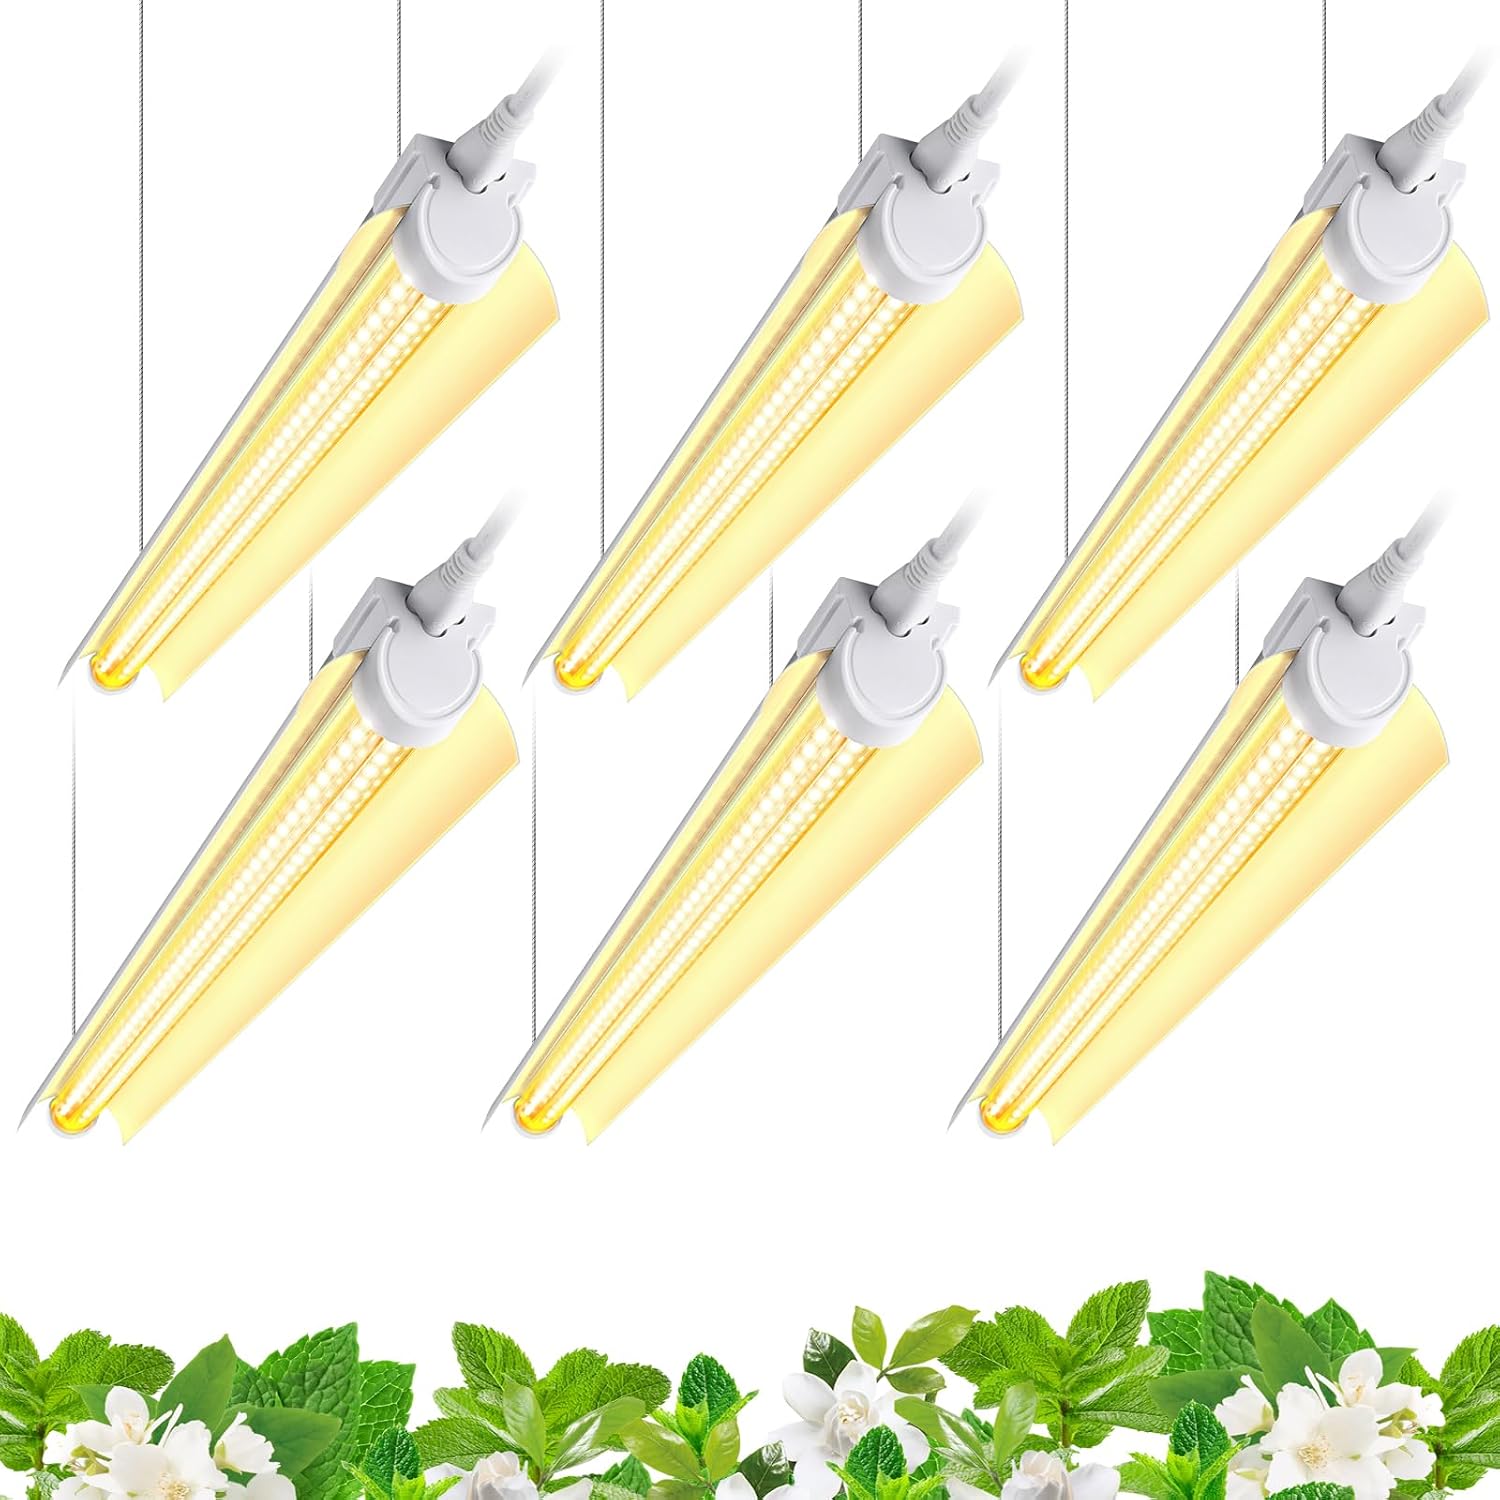
Check Price on Amazon ★4.4Supplemental light replaces the sun they just lost: Barrina T8 grow lights.
 ★4.6
Barrina T8 LED Grow Light
Check Price on Amazon ★4.6First-Frost Emergency: What to Do When Frost Hits Tonight
Sometimes the forecast betrays you. If frost is coming tonight and your plants are still outside:
- Bring the most sensitive plants in immediately — orchids, hibiscus, calathea, and anything tropical.
- Cover what you cannot move with frost cloth, bedsheets, or even cardboard boxes. Never plastic sheeting directly on foliage; it conducts cold and traps condensation.
- Move everything else into a garage, shed, or against the house wall under an overhang for the night.
- Do the pest treatment the next day. A single rushed night indoors without treatment is far better than a frostbitten plant — but do not skip the treatment step just because the emergency move felt like the finish line.
Frequently Asked Questions
When exactly should I bring my houseplants inside for fall?
Start when nighttime temperatures consistently drop into the mid-50s°F (around 13°C), and finish before they hit 50°F (10°C) for tropical foliage plants. Sensitive species like orchids and calathea should come in even earlier, around 55–60°F nights. Watch your local forecast rather than the calendar — the first frost date is an average, not a promise, and cold snaps routinely arrive early.
Do I really need to treat plants that look completely healthy?
Yes. Most indoor pest explosions start from plants that looked perfectly fine at the move. Outdoors, predators, wind, and rain suppress small pest populations; indoors, those controls disappear and a few survivors multiply fast. A preventive wash plus insecticidal soap spray takes minutes per plant and is the cheapest insurance you will ever buy for your collection.
How long should I quarantine plants before putting them with my indoor ones?
A minimum of two weeks, ideally three. Quarantine exists because eggs survive contact sprays — the waiting period lets the next generation hatch where it cannot reach your other plants. Inspect every few days during the hold, and only graduate a plant after a full clean period. Six weeks is the cautious standard some experts recommend for high-value collections.
Why are my plants dropping leaves after coming indoors?
Leaf drop is the normal response to a 70–90% drop in light levels. The plant is shedding foliage it can no longer support and reallocating energy to leaves suited to indoor conditions. It should stabilize within a few weeks. If dropping continues beyond a month, check for pests, drafts, and overwatering — those are the three usual culprits behind prolonged shedding.
Can I just repot everything into fresh soil and skip the sprays?
Repotting helps with soil-dwelling pests but does nothing for insects on the foliage, stems, and leaf joints — which is where mealybugs, scale, and mites live. Fresh soil is a good move for badly infested pots or root-bound plants, but it is a complement to foliar treatment, not a substitute. Do both for problem plants.
Should I fertilize my plants after bringing them in?
No — hold all fertilizer until spring. Indoor light is too weak to support the growth that fertilizer encourages, and feeding now produces leggy, weak growth while salts accumulate in the soil. Resume a normal feeding schedule once days lengthen and you see active new growth, typically late February or March.
A Clean Start for a Quiet Winter
The fall move is the one moment each year when your entire collection is vulnerable to the same mistake: skipping pest treatment. Make the wash-spray-quarantine routine non-negotiable, acclimate the light gradually, and resist the urge to fuss with water and fertilizer through the dark months. Come spring, the plants that look best will be the ones that arrived indoors clean — and stayed that way.