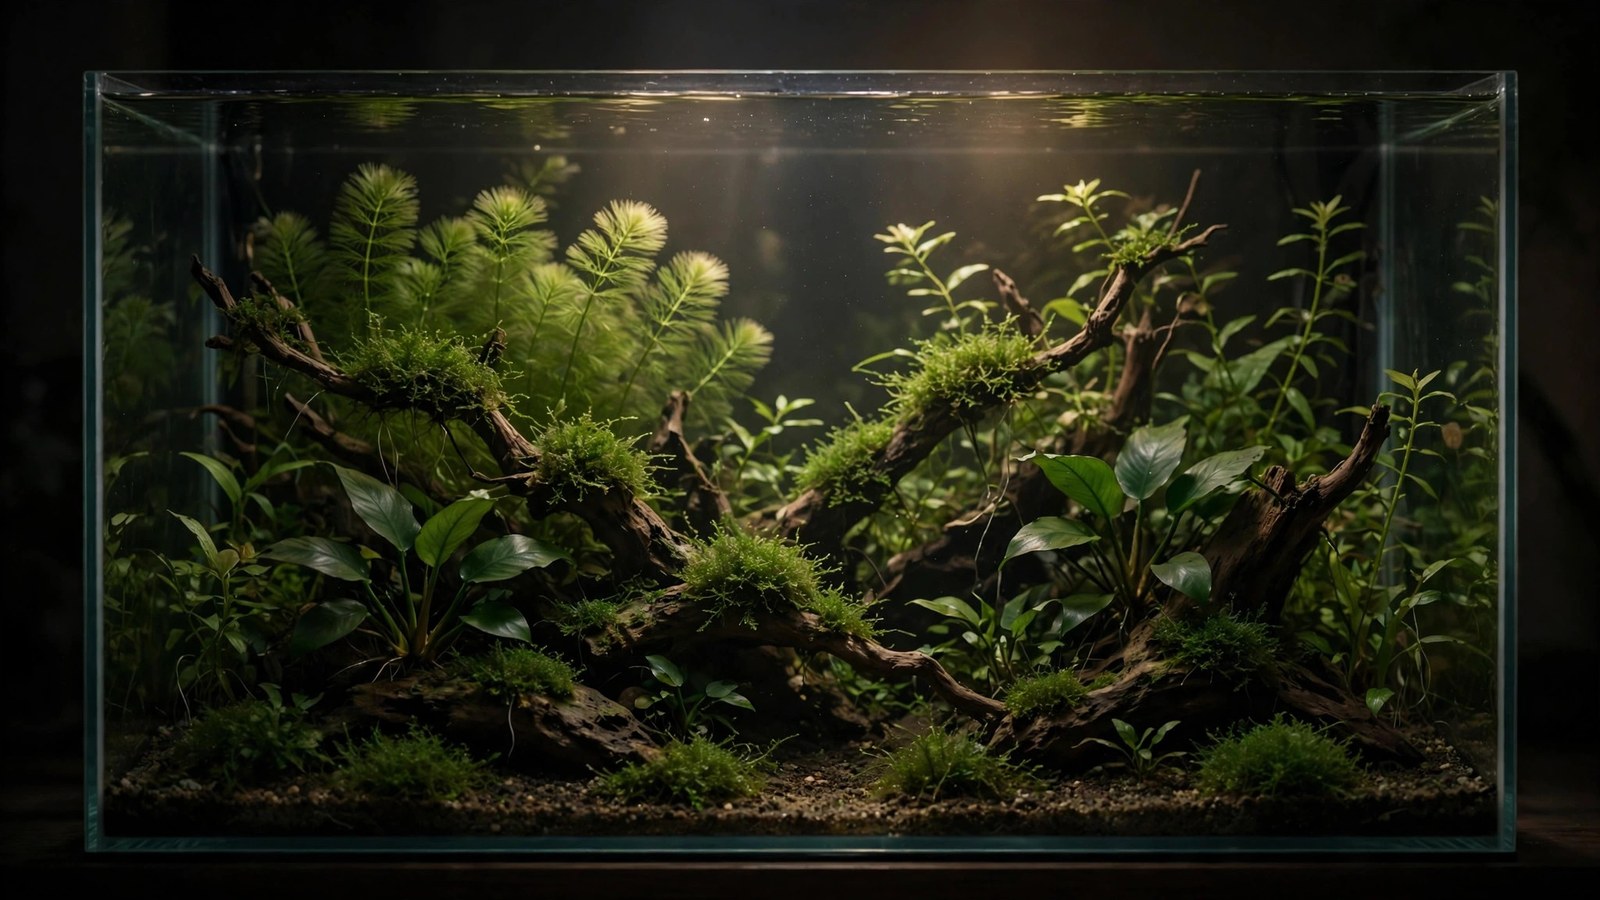
Your tank is glowing like a stadium, green fuzz is colonizing every leaf, and your fish spend all day squinting under a log. Most planted-tank keepers obsess over getting enough light — but too much light is just as destructive, and it's often the hidden culprit behind a tank that won't stabilize. The good news: learning how to dim aquarium light safely is easier and cheaper than buying a new fixture, and this guide walks you through seven proven methods, from free tweaks you can do tonight to the one tool that removes all guesswork.
Signs Your Aquarium Light Is Too Bright
Before you change anything, confirm the light is actually the problem. Too-bright lighting announces itself in three distinct ways, and they usually arrive together:
- Algae moves in first. Dust algae on the glass, thread algae on leaf tips, or a brown diatom blanket across the substrate appearing within days of a light upgrade is the classic early warning. For a fuller diagnostic walkthrough, see 7 signs of too much light in a planted tank.
- Leaves bleach and melt. New growth comes in pale, yellow, or nearly translucent — especially on carpeting plants and red stems. This is photoinhibition: the plant is receiving more photons than its photosynthesis machinery can process, and it starts to burn.
- Fish act stressed. Tetras, rasboras, and other shade-loving species hide under hardscape all day, lose color, or school tightly in the darkest corner. Bottom dwellers like corydoras may refuse to leave caves during photoperiod hours.
One nuance: algae alone doesn't prove the light is excessive. Algae is always a signal that light, nutrients, and CO2 are out of balance. If algae appeared right after you raised intensity or lengthened the photoperiod, though, light is your prime suspect.
Why Tanks End Up Over-Lit
Almost nobody buys a light intending to overdo it. It happens four predictable ways. First, modern LEDs are sold on brightness — a "high performance" fixture designed for a 24-inch-deep high-tech tank ends up parked six inches above a shallow nano. Second, fixtures get brighter as manufacturers refresh product lines; yesterday's medium is today's high. Third, raising the light to reach every corner of a wide tank pushes intensity up at the center far more than you'd expect. And fourth, there's the habit of adding light to fix slow growth that was actually a nutrient or CO2 deficiency — the plant equivalent of shouting at someone who can't hear you.
If you're still unsure what "good" light looks like, Tropica's guide to choosing the right aquarium light covers fixture selection and color temperature in plain language — a useful second opinion before you start tuning.
The fix is never to remove the light. It's to tune it down to match what your plants, fish, and maintenance schedule can actually support. For reference, most low-tech setups need far less than people think — our guide to how much light aquarium plants really need breaks down targets by tank type.
Seven Ways to Dim an Aquarium Light Safely
Listed roughly from free-and-instant to deliberate-and-measured. You can combine methods — dimmer plus shorter photoperiod is a common pairing — but change one variable at a time so you can tell what's working.
1. Use the built-in dimmer
Many current fixtures (Fluval Plant 3.0, Chihiros WRGB II, Twinstar S-series) ship with app or dial dimming. If yours has one, it's the cleanest dimmer available: it reduces output electronically without altering spectrum. Drop to 70–80% of current output as a starting point, then adjust after observing the tank for two weeks.
If your fixture has no dimmer, a third-party inline LED dimmer can work on simple on/off DC fixtures — but never on fixtures with integrated controllers or AC-driven tubes. A mismatch can cause flicker or shorten the driver's life. Check your manual before buying one.
2. Raise the fixture
Physics gives you a free dimmer: light intensity falls off with the square of distance. Raise a pendant 6 inches and you can cut PAR at the substrate by 30–50%, depending on the starting height. Go slow — two inches at a time, with a week between moves — because this method also widens your spread, which changes coverage patterns.
The physics and practical limits of this method (how high is too high, how to hang common fixtures safely) deserve their own treatment, and we have one: light hanging height, the dimming you already own.
3. Shade with floating plants
This is the most natural dimmer in the hobby. A loose layer of frogbit, red root floaters, or water lettuce diffuses light, soaks up excess nutrients, and creates the dappled shade forest species evolved under. Start with coverage of about one third of the surface; you can let it thicken or thin it out weekly to fine-tune.
The bonus is biological: floaters grow fastest exactly when light and nutrients are abundant, so they self-regulate the imbalance that causes algae. The cost is maintenance — neglected floaters will cover the whole surface and starve the plants below, so skim or remove handfuls during your weekly water change.
4. Add window screen mesh
The budget king of dimming. A single layer of fiberglass window screen (the plain black kind from any hardware store) placed under the light cuts PAR by roughly 30–45%; two layers get you to about 50–60% reduction. Cut it to fit inside the tank rim or lay it across the lid braces, and rinse it monthly — dust on the mesh is extra, unintended dimming.
Screen mesh is also the safest way to dim fixtures you can't raise and can't electronically dim: rimless clip-ons, T5 retrofits, and older fixtures with no controller. It doesn't shift color temperature noticeably, and unlike fabric or paper, it won't overheat or sag into the water.
5. Shorten the photoperiod
Intensity isn't the only dial — duration matters too. Cutting an 8-hour photoperiod to 6 hours reduces the total light energy (the daily light integral) by 25% without touching a single setting on your fixture. This is often the single most effective anti-algae move because it starves algae of the long, steady light it needs to establish.
Put the schedule on a timer so it's consistent — erratic photoperiods stress plants more than long ones do. And if you're running a CO2-injected tank, keep the CO2 window synced with the lights. Our comparison of 6 vs 8 vs 10 hour photoperiods covers the trade-offs for planted, non-planted, and algae-prone setups.
6. Try a siesta split
A siesta photoperiod — say 4 hours on, 3 hours off, 4 hours on — gives plants two intense growth windows while breaking the continuous light stretch algae prefers. It's a legitimate dimming strategy for low-to-medium tech tanks, not a cheat, and many keepers report it holds algae at bay while plants keep growing.
It isn't right for every tank, though. High-tech CO2 setups and tanks with demanding stems can stall under split schedules. Read the full breakdown of siesta lighting for planted tanks before committing, since that article covers the cases where siestas help and where they backfire.
7. Change the schedule with a timer and ramping
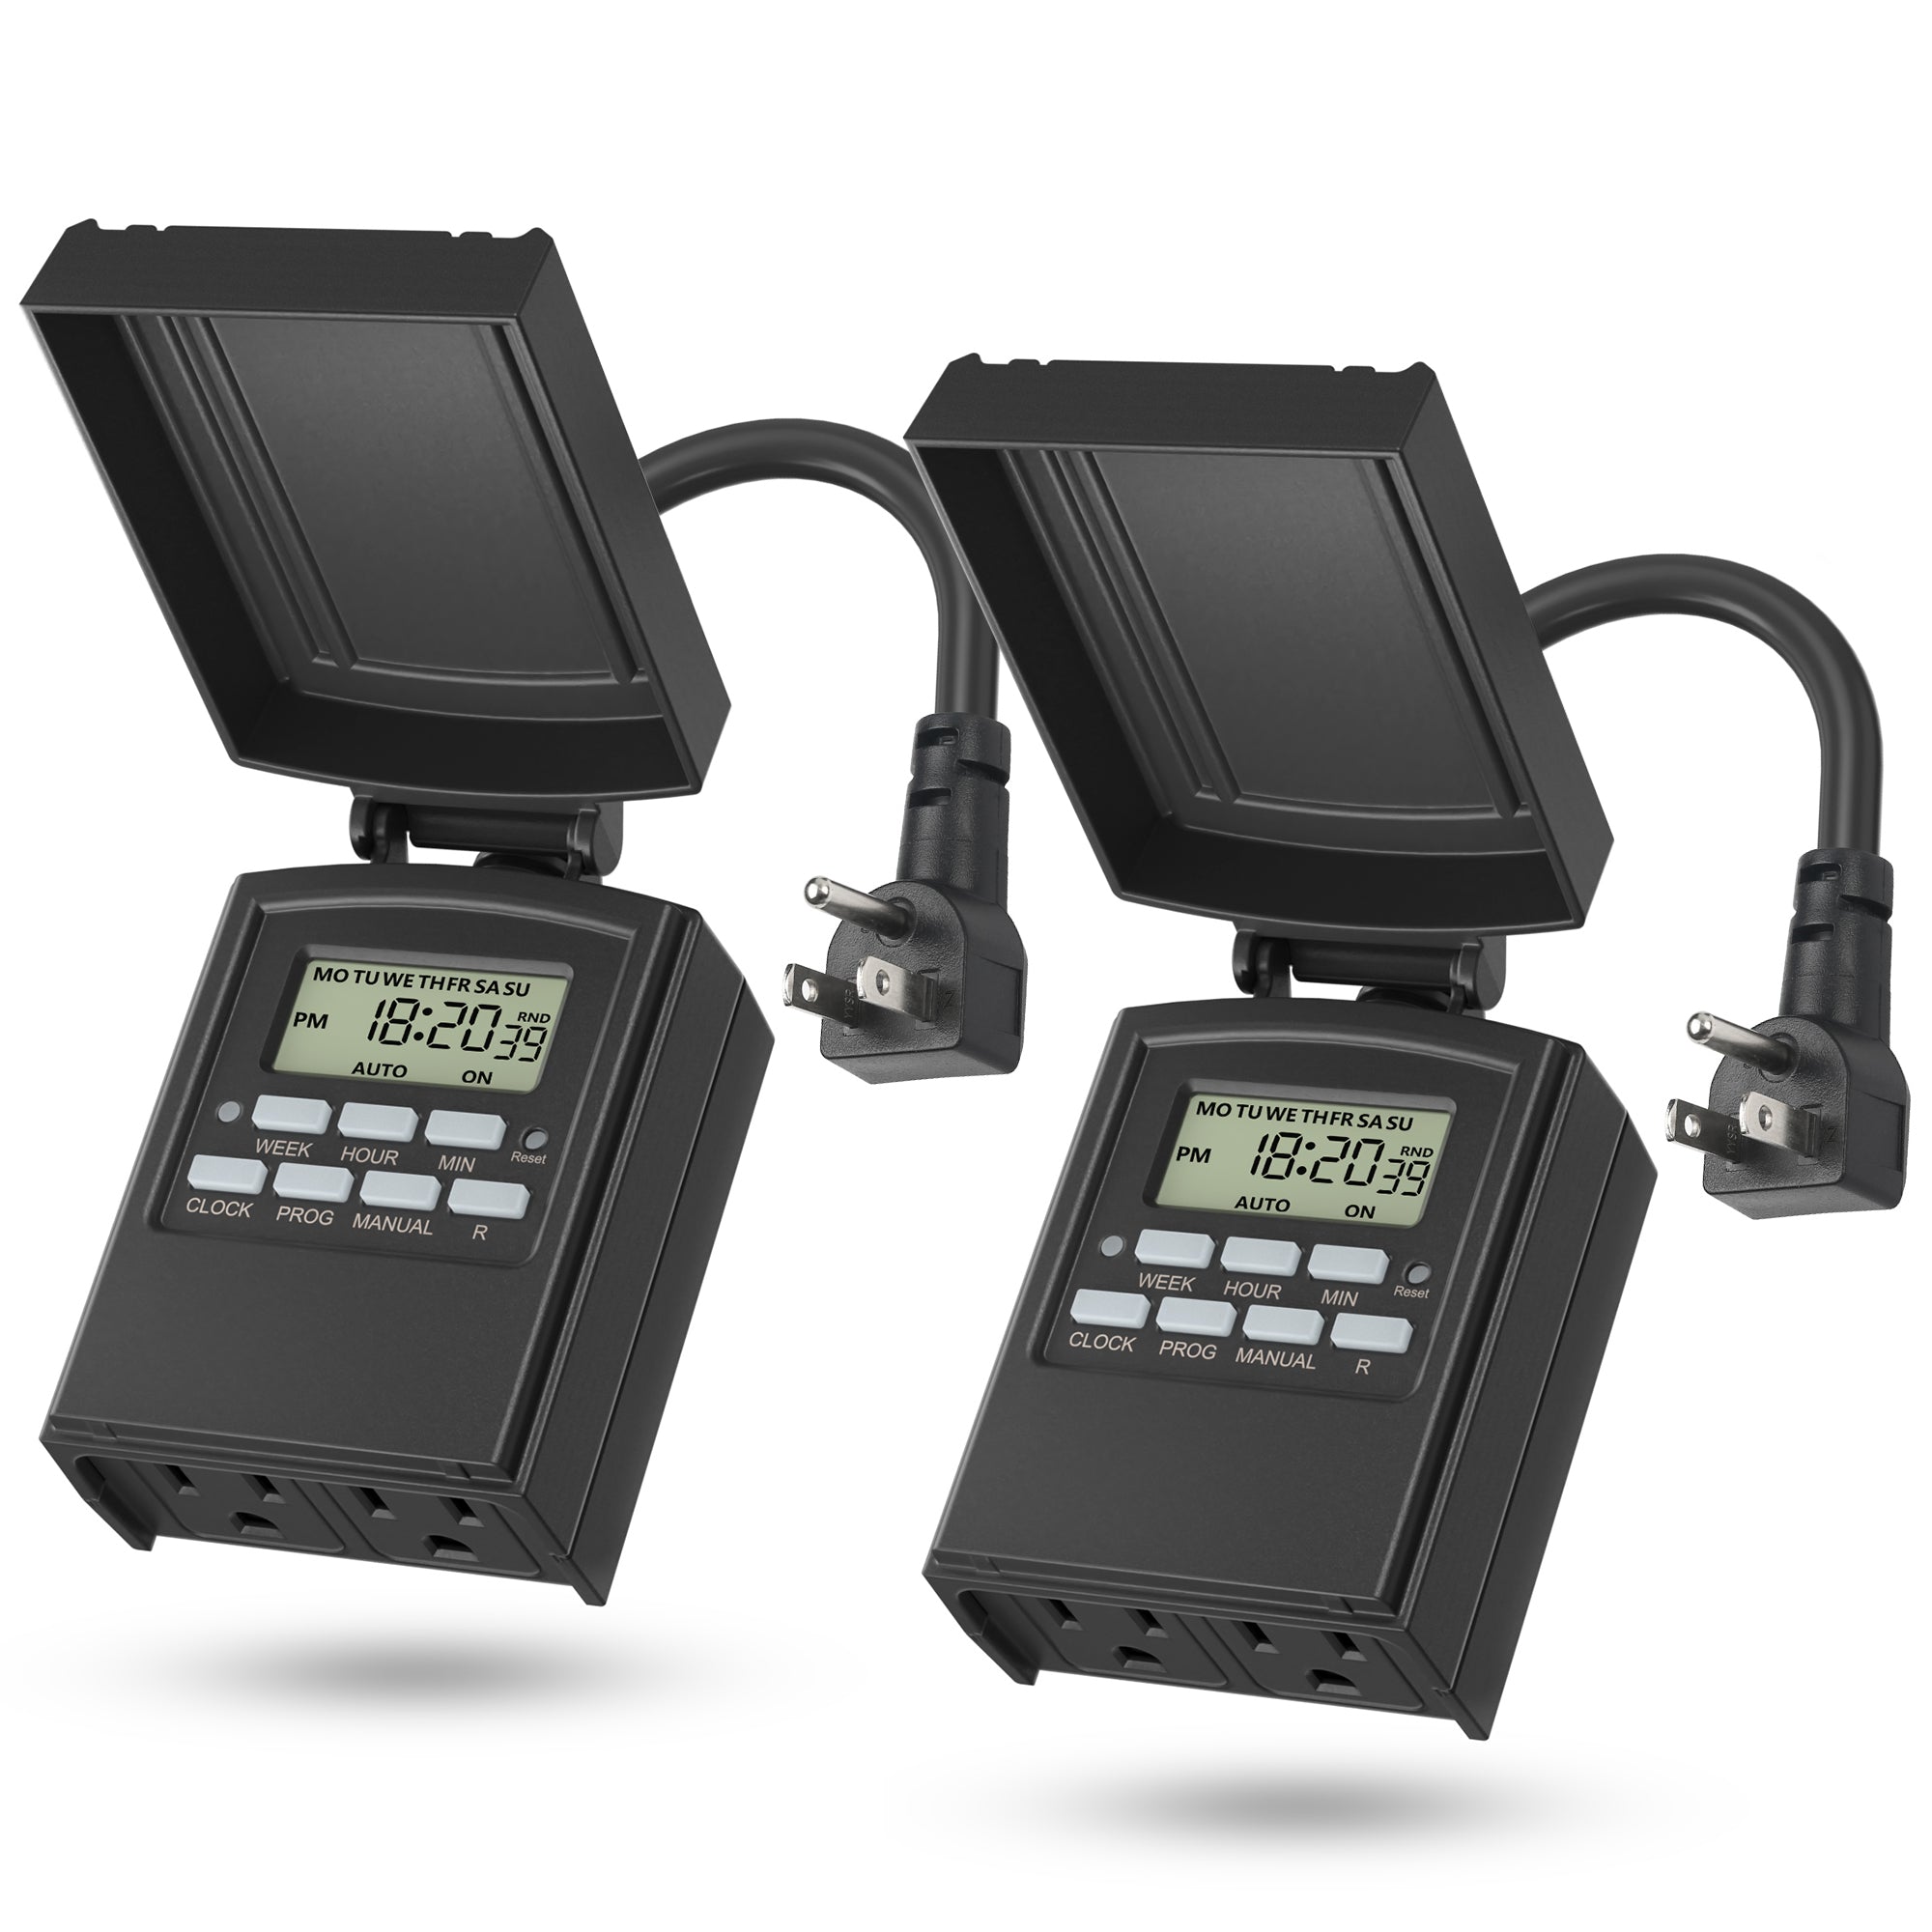
If your fixture supports sunrise/sunset ramping, the hours at low intensity at each end of the photoperiod act as built-in dimming — the tank only sees full blast for the middle core hours. Even a basic $15 mechanical timer transforms your setup: consistent on/off times beat perfect intensity, and most algae problems have a hand-timed schedule behind them. Our aquarium light timer guide covers the models worth buying and how to set them up.
| Method | Cost | Typical reduction | Best for |
|---|---|---|---|
| Built-in dimmer | Free (if fitted) | Precise, 0–100% | Any fixture that has one |
| Raising the fixture | Free | 30–75%+ | Pendants and hanging kits |
| Floating plants | $5–15 | 20–50% | Low-tech, shade-loving fish |
| Window screen mesh | $3–8 | 30–60% | Non-dimmable or fixed fixtures |
| Shorter photoperiod | Free | Up to 25%+ of daily light | Algae outbreaks, all tanks |
| Siesta split | Free | Varies | Low/medium-tech with algae |
| Timer + ramping | $15+ | Effective core hours | Inconsistent schedules |
 ★4.4
BN-LINK Digital Outlet Timer
Check Price on Amazon ★4.4How to Tell When You've Dimmed Enough
The surest way to stop guessing is to measure. A PAR meter reads the actual photosynthetically active radiation hitting your substrate — the number that matters to plants. Rent or borrow one from a local fish club if buying is too steep, and take readings at several points across the substrate at full photoperiod. For a primer on what the numbers mean, see our PAR meter guide for planted tanks.
As rough targets: non-CO2 low-tech tanks grow lushly at 30–50 µmol/m²/s at the substrate; medium-tech with liquid carbon sits around 50–80; CO2-injected high-tech setups handle 80–150+. If your meter reads over 150 in a tank without CO2, you have your answer — dim until you're in range.
No meter? Watch the tank. Within 2–4 weeks of the right level, you'll see: new growth coming in with healthy color, algae growth slowing to a film you can wipe weekly, and fish venturing out during light hours. Plants telling you you've gone too dim is subtler — leggy stems stretching upward, tiny new leaves, carpets stalling. Nudge back up by 10% if that appears.
Dimming vs Other Fixes: Don't Treat the Wrong Disease
Dimming fixes excess light. It doesn't fix everything, and it can mask deficiencies. If new leaves are small and pale but old leaves look fine, that's usually a nutrient gap, not a light problem — dimming will just slow growth further. If algae persists after you've cut light by a third, look at CO2 consistency and phosphate/nitrate balance instead.
Also worth knowing: brand-new tanks (under 8 weeks) should be dimmed preemptively. An immature biological filter and unrooted plants can't use full light yet, so the excess feeds algae. Start new setups at 50–60% intensity or with a 6-hour photoperiod, then ramp up as plants establish. Our light acclimation guide for new tanks walks through the ramp-up schedule week by week.
And remember that dimming is a tuning step, not a verdict on your fixture. An over-bright light you dial down is a light with headroom — when you eventually add CO2 or switch to demanding stems, you'll be glad the power is there.
 ★4.6
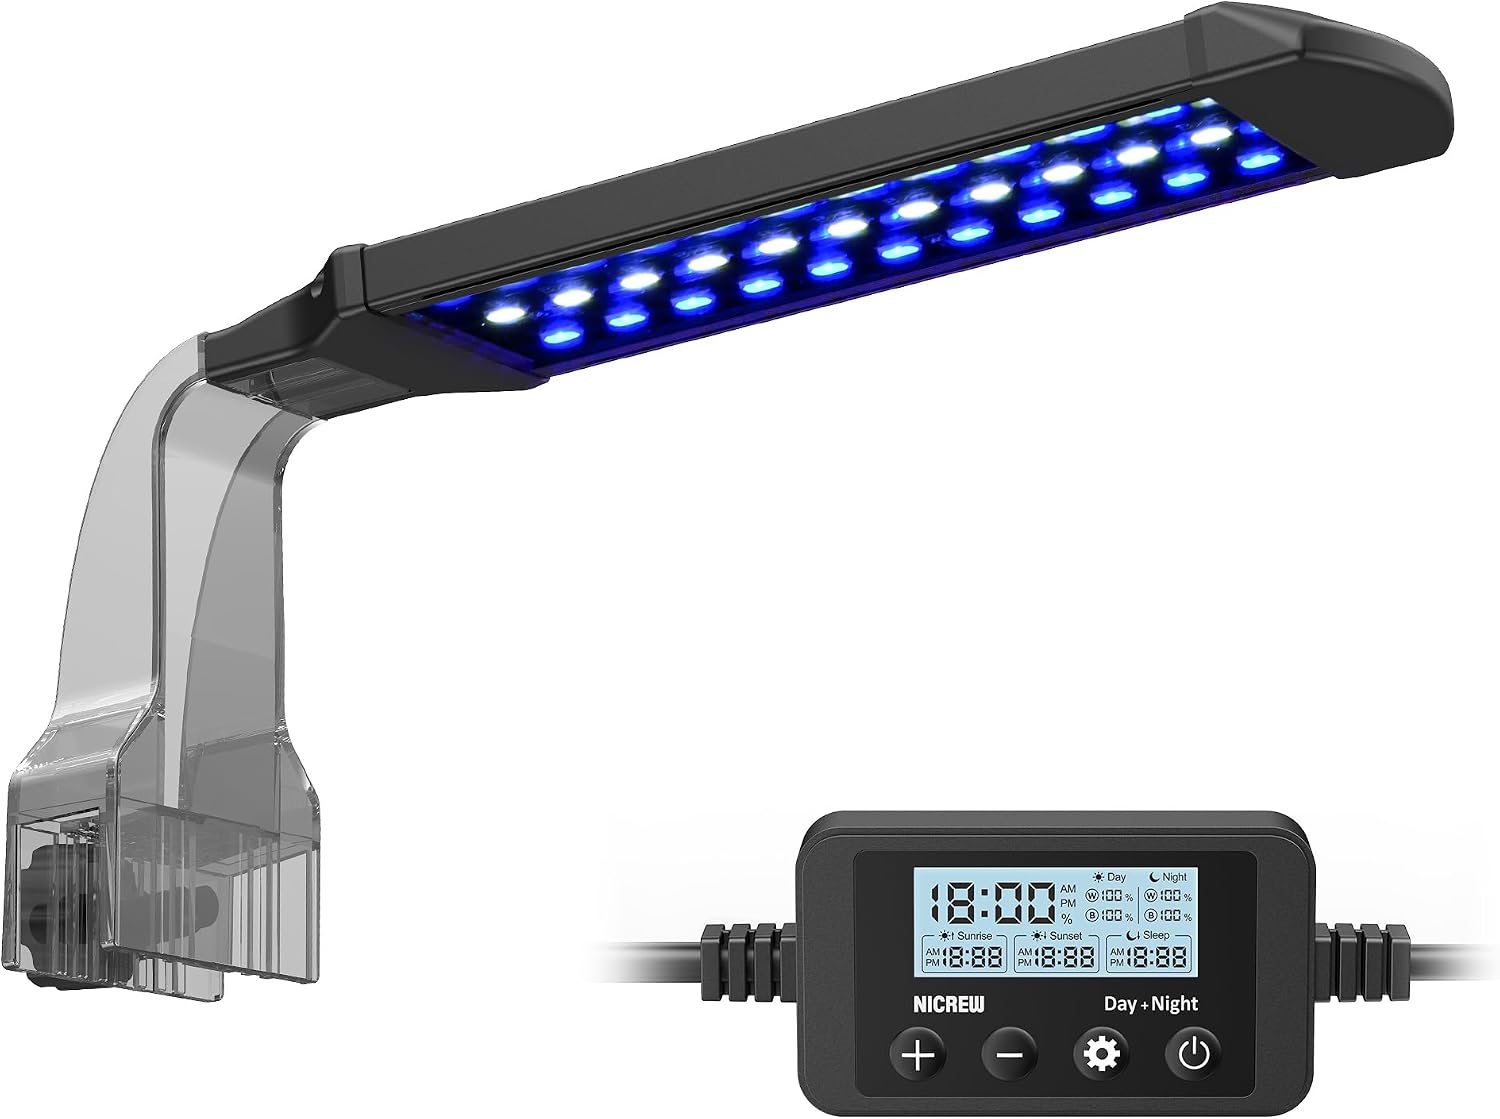
NICREW ClassicLED Plus planted aquarium light
Check Price on Amazon ★4.6Frequently Asked Questions
Can I just put tape over part of my aquarium light to dim it?
Electrical tape or foil over individual LEDs works in a pinch, but it's crude: it creates hotspots, shifts the light spread unevenly, and adhesive can bake onto the lens. Window screen mesh does the same job more evenly for about the same effort, and a proper dimmer or raised fixture is better still. Treat tape as a one-week experiment, not a solution.
Will dimming my light hurt my aquarium plants?
Not if you stay within your plants' needs and dim gradually. Most common aquarium plants — anubias, java fern, swords, crypts, vallisneria — thrive at 30–50 µmol/m²/s, well below what modern fixtures deliver. Only high-demand carpeting plants and red stems genuinely need intense light, and even those suffer more from sudden changes than from moderate reductions. Watch for leggy growth as your signal to nudge back up.
How long should I wait to see results after dimming?
Give it two to four weeks before judging. Algae that's already established won't vanish — you'll need to manually remove it — but new algae growth should slow noticeably within a week or two. Plant response is slower: expect healthier new leaves within three to four weeks. Resist the urge to keep adjusting during this window; constant changes stress plants more than a slightly-too-high light level does.
Is it better to dim the light or shorten the photoperiod?
For most algae problems, shorten the photoperiod first — it's free, instant, and reducing the daily light integral by cutting two hours is remarkably effective. Dim the intensity when fish are stressed by brightness itself, when PAR readings are far above your plants' needs, or when plants show bleaching and photoinhibition. Many tanks end up with a little of both: 70–80% intensity for 6–7 hours.
Do I need a PAR meter to dim correctly?
No, but it removes the guesswork and pays for itself in avoided mistakes. Without one, dim in small steps and read your plants: healthy color on new growth, slowing algae, and relaxed fish mean you're in range. If you keep second-guessing or you're running a high-tech setup, renting a meter from a local aquarium club for a weekend is the cheapest precision available. Our PAR meter guide explains exactly where to take readings.
Can dimming too much cause algae?
Yes, indirectly. Plants starved of light grow weakly, and weak plants leak nutrients that algae happily use. The classic scenario: someone panic-dims to 30% during an algae outbreak, plants stall, and the algae gets worse. That's why the 10–15% weekly step-down rule matters, and why you should stop dimming when new growth looks healthy rather than chasing zero algae. Aim for thriving plants, not minimum light.
Start Dimming Tonight
You don't need new gear to fix an over-bright tank — you need a decision. Pick the method that matches your fixture: use the built-in dimmer if you have one, shorten the photoperiod to six hours if you're fighting algae, or lay a sheet of window screen under a fixture you can't adjust. Make one change, wait two weeks, and let the plants tell you what's next. The best aquarium light isn't the brightest one you can buy — it's the one tuned precisely to what your tank can use.