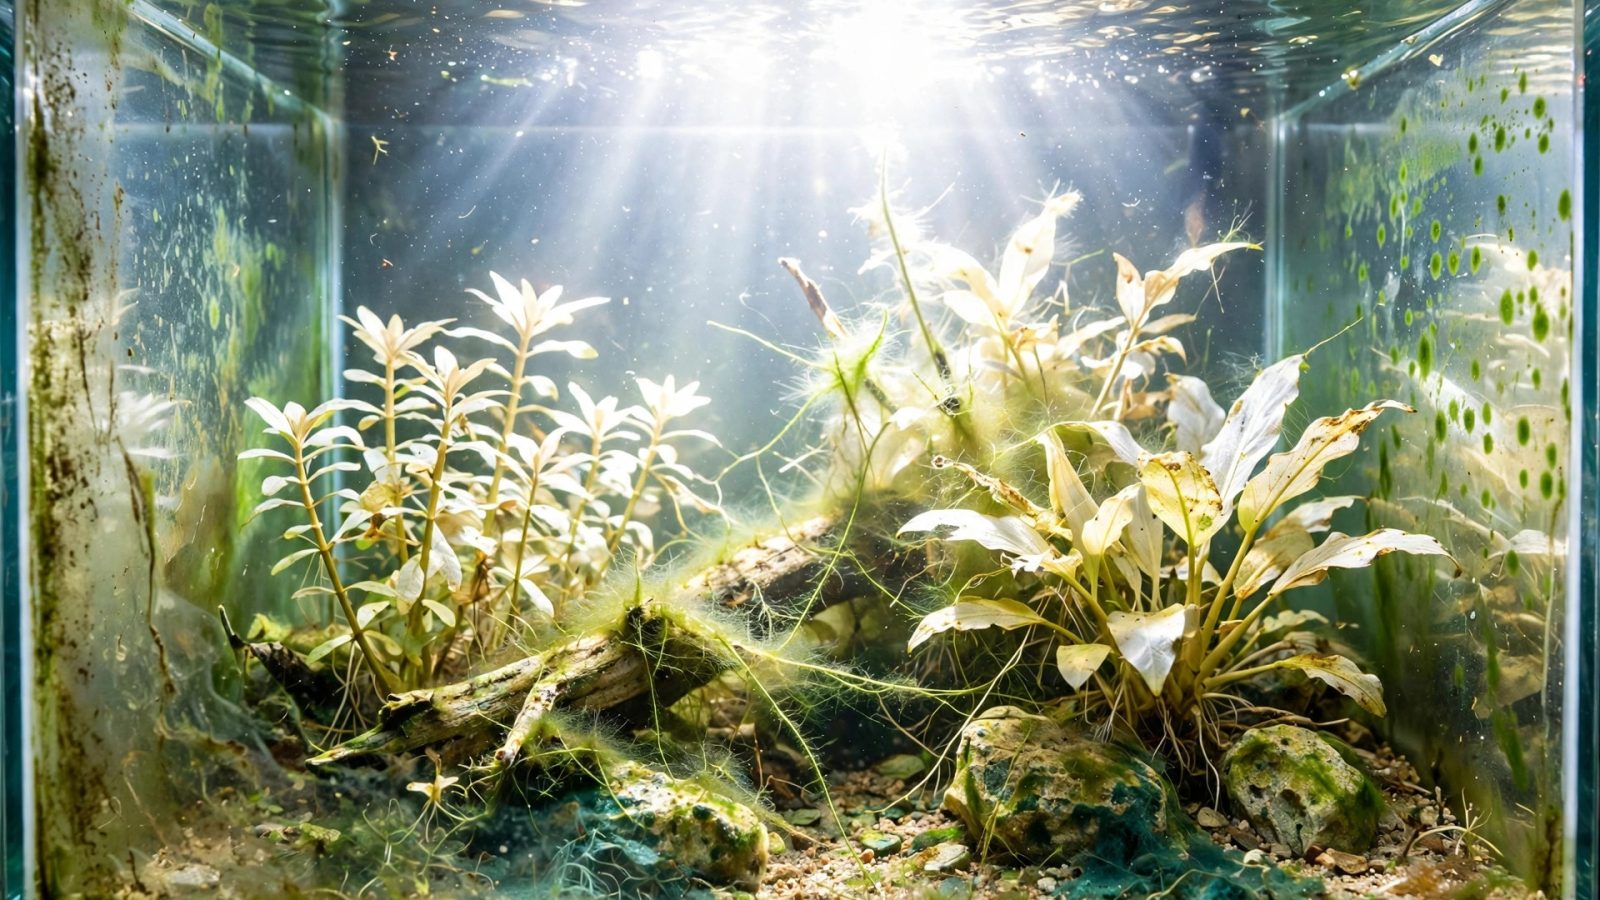
Too much light is the number one cause of algae in planted tanks — ahead of nutrients, ahead of CO2 problems, ahead of everything. The cruel irony: beginners usually respond to struggling plants by adding more light, when the light was the problem all along. Here are the 7 reliable signs your light is too strong, plus the step-by-step protocol for dialing it back without crashing your plants.
1. Algae Appears Within Days of Cleaning
The signature symptom. You scrape the glass spotless on Sunday; by Wednesday there’s a green haze again. Or dust-like green spot algae reappears on anubias leaves within a week. Healthy light levels let you go 2+ weeks between glass cleanings in a mature tank.
Light-driven algae has a tell: it grows fastest on surfaces closest to the light (top glass, upper leaves) and in the brightest center zone. If algae concentrates under the fixture while shaded corners stay clean, that’s your diagnosis. Our light requirements guide explains the PAR bands where this tips over.
2. Plants Pearl Excessively, Then Stall
Pearling — oxygen bubbles streaming from leaves — looks like success, and mild pearling is. But violent, constant pearling paired with stalled or deformed new growth means photosynthesis is running faster than the plant’s nutrient and carbon supply can support. The plant is redlining: plenty of light energy, insufficient raw materials.
This is the classic high-light-without-CO2 trap. The fix isn’t less pearling — it’s balancing the system. Either add CO2 to match the light, or reduce the light to match your CO2. See our pearling explainer for what those bubbles really indicate.
3. Leaf Edges Burn, Go Transparent, or Melt
Too-intense light damages tissue directly, especially in plants adapted to shade. Watch for:
- Transparent or white patches on leaf edges (light burn, distinct from nutrient deficiency which usually yellows whole leaves — see yellowing causes)
- Crypt leaves melting shortly after a light upgrade
- Moss turning brown-yellow at the top while staying green underneath
- Floating plants (frogbit, salvinia) developing scorched patches despite loving “high light” — they sit centimeters from the fixture
4. Red Plants Stay Green Despite Everything
This one confuses people — isn’t more light supposed to redden plants? Yes, but only when CO2 and nutrients keep pace. Under excessive light without matching CO2, red plants often stay green and grow algae-coated instead. The plant is stressed, not stimulated. If your ludwigia is green, leggy, and fuzzy with algae under a powerful light, the light isn’t the solution — balance is.
5. Carpeting Plants Grow Up Instead of Out
Counter-intuitively, too much light can make carpets grow vertically. When light is excessive at the substrate, some carpet species stretch upward trying to escape the blast zone, or algae smothers the horizontal runners. Combined with the more common too-little-light vertical growth, this means direction alone doesn’t diagnose — check it against the other signs.
6. Cyanobacteria or Black Beard Algae Take Hold
While many factors contribute, BBA (black beard algae) and cyanobacteria outbreaks frequently follow light increases. BBA in particular loves high light + fluctuating CO2 — the combination found in tanks where someone upgraded the fixture but runs inconsistent DIY CO2. If BBA appeared within weeks of a lighting change, the timeline is your evidence.
7. Fish Hide When the Light Is On
Your livestock is a light meter. Fish that hide, lose color, or huddle in shaded corners during the photoperiod but behave normally at dawn/dusk are telling you the light is harsh. Bettas, tetras, and other shade-preferring species show this first. Floating plants that provide dappled shade (see our betta floaters guide) both diagnose and treat this — if fish relax once floaters cover 30% of the surface, light intensity was the stressor.
The Dialing-Back Protocol
Confirmed too much light? Fix it in this order — one step at a time, two weeks between steps:
Step 1: Cut the photoperiod. Drop from 8 to 6 hours. This is the gentlest intervention and resolves mild cases alone. Keep intensity unchanged for now.
Step 2: Reduce intensity. If you have a dimmer, drop to 60–70%. No dimmer? Raise the fixture (hanging kit or risers) — every few inches of height meaningfully cuts substrate PAR. As a last resort, add floating plants for natural shade.
Step 3: Check the balance. If you reduced light and algae persists after 3 weeks, the problem wasn’t (only) light. Verify CO2 stability and fertilizer completeness — the CO2 guide’s balancing section walks through the triangle.
Step 4: Manual removal + patience. Existing algae won’t vanish when conditions improve — it just stops spreading. Scrub, siphon, trim affected leaves, and let clean new growth replace it over 3–4 weeks.
What NOT to Do
- Don’t black out the tank for a week as a first resort. Blackouts nuke algae but also stress plants; save them for severe cyanobacteria cases.
- Don’t cut light and fertilizer simultaneously. Starving plants while reducing light compounds the stress. Keep ferts steady while adjusting light.
- Don’t chase zero algae. A healthy planted tank has some algae — on hardscape, in tiny patches. The goal is control, not sterility.
- Don’t upgrade the light “to fix” struggling plants until you’ve ruled out nutrients, CO2, and the possibility that the current light is already too strong.
Prevention: Getting It Right From the Start
New tanks should always start dim: 50–60% intensity, 6-hour photoperiod, for the first month. Immature filter bacteria and unsettled substrates can’t support aggressive photosynthesis yet. Raise intensity only after plants show active new growth and the tank has survived 3–4 weeks without significant algae. This conservative ramp prevents 90% of new-tank algae disasters — and costs nothing. Pair it with a sensible light schedule on a timer, and light becomes a solved problem instead of a recurring crisis.
Algae Field Guide: Which Algae Means Too Much Light
Different algae point at different imbalances. Light-driven offenders:
- Green dust algae (GDA): thin green film on glass, wipes off easily, returns in days. The classic “too much light” signature — it thrives in high-energy surface films.
- Green spot algae (GSA): hard green dots on glass and slow-growing leaves (anubias). Strongly light-correlated; also linked to low phosphate, but light is the usual driver in bright tanks.
- Thread/hair algae: fine green strands on plants and hardscape. Loves high light + any nutrient imbalance. Often the first algae to appear after a light upgrade.
- Staghorn: gray-white branching tufts on leaf edges and filter outflow. High light + fluctuating CO2 is its favorite combination.
- Black beard algae (BBA): dark tufts on slow growers and hardscape. The most dreaded — strongly associated with high light and unstable carbon.
If your algae is brown diatoms (new tanks) or blue-green cyanobacteria (often flow/organic waste), light is a secondary factor — address the primary cause first.
Recovery Timeline: What to Expect
After dialing back light, recovery follows a predictable arc:
- Week 1: algae growth visibly slows. Existing algae doesn’t vanish — it just stops spreading aggressively.
- Week 2–3: new plant growth emerges clean. This is your signal the balance shifted — judge by new leaves, not old ones.
- Week 4–6: manual removal + clean new growth = visible transformation. Old algae-covered leaves can be trimmed away now.
- Week 8+: the tank reaches its new equilibrium. If algae is controlled and plants grow steadily, you’ve found your level.
The most common error is changing something else at week 2 because “it’s not working yet.” Biological systems respond on week timescales. Make one change, wait a month, then evaluate.
Case Study: The Upgraded Fixture Disaster
The archetypal too-much-light story: a hobbyist with a healthy low-tech 29-gallon buys a premium high-PAR fixture “for better growth.” Within three weeks: thread algae on every stem, GSA on the glass, BBA starting on the anubias. The fix that works: dim the new fixture to 50%, cut photoperiod to 6 hours, wait a month. The expensive light then performs beautifully — at half power. The lesson isn’t that the fixture was bad; it’s that light must match the system’s CO2 and nutrient capacity, not the aquarist’s aspirations. Our lighting roundup emphasizes dimming capability precisely for this reason.
Too Much Light vs. Other Problems: Differential Diagnosis
Several issues mimic excess light. Rule these out before dimming:
- Nutrient deficiency + moderate light can look like light stress (pale growth, algae on weakened leaves). If fertilizer has been lean, fix nutrition first — dimming a nutrient-starved tank compounds the problem.
- New-tank diatoms aren’t a light problem at all — they’re a maturity problem. Every new tank gets brown diatoms; they fade as the tank matures regardless of light.
- Old bulbs/tubes (fluorescent era): spectrum shift as phosphors degrade grows algae while reducing useful PAR. With LEDs this is rare, but a 5-year-old budget fixture can mimic “too much light” symptoms through degraded output quality.
- Overfeeding: excess organics fuel algae at any light level. If you’re heavy-handed with food, light reduction helps less than feeding discipline.
The diagnostic question: did this start when light changed? If yes, it’s the light. If no, look elsewhere first.
Protecting Fish During Light Reduction
Dimming light is plant-safe, but sudden changes stress fish mildly. Drop intensity or duration by ~25% at a time, waiting a week between steps. Maintain the same on/off times — fish care about schedule consistency more than brightness. If you add floating plants for shade, introduce them gradually (handful at a time over two weeks) so the light change is progressive, not sudden.
Measuring Success: The 30-Day Check
One month after dialing back light, evaluate with this checklist:
- New leaves emerge clean and algae-free (old leaves may still carry remnants — that’s fine)
- Glass stays clean 10+ days between scrapings
- Plants show compact new growth with good color
- Fish behave normally during the photoperiod
- No new algae types appearing
Four or five checks: you’ve found your level. Two or fewer: something else is wrong — revisit CO2 stability and fertilizer completeness before touching light again. And remember the timeline: tanks don’t transform in a week. The aquarists with the cleanest tanks are usually the ones who changed one thing and waited.
When to Consider More Light (Yes, Really)
This guide is about excess, but the endpoint of dialing back isn’t darkness. Once algae is controlled and plants grow steadily for two months, you can experiment upward — if your goals demand it. The right time to increase light: CO2 is stable at target, fertilizer is complete, plant mass is dense, and a specific plant (carpet, red stem) demonstrably wants more. Increase 10–15%, wait three weeks, observe. The dial turns both ways — mastery is knowing which direction your tank needs today.
Final note: light problems are the most fixable problems in the hobby — they cost nothing to correct and respond within weeks. When in doubt, dim it down and watch. Your plants will tell you the rest.