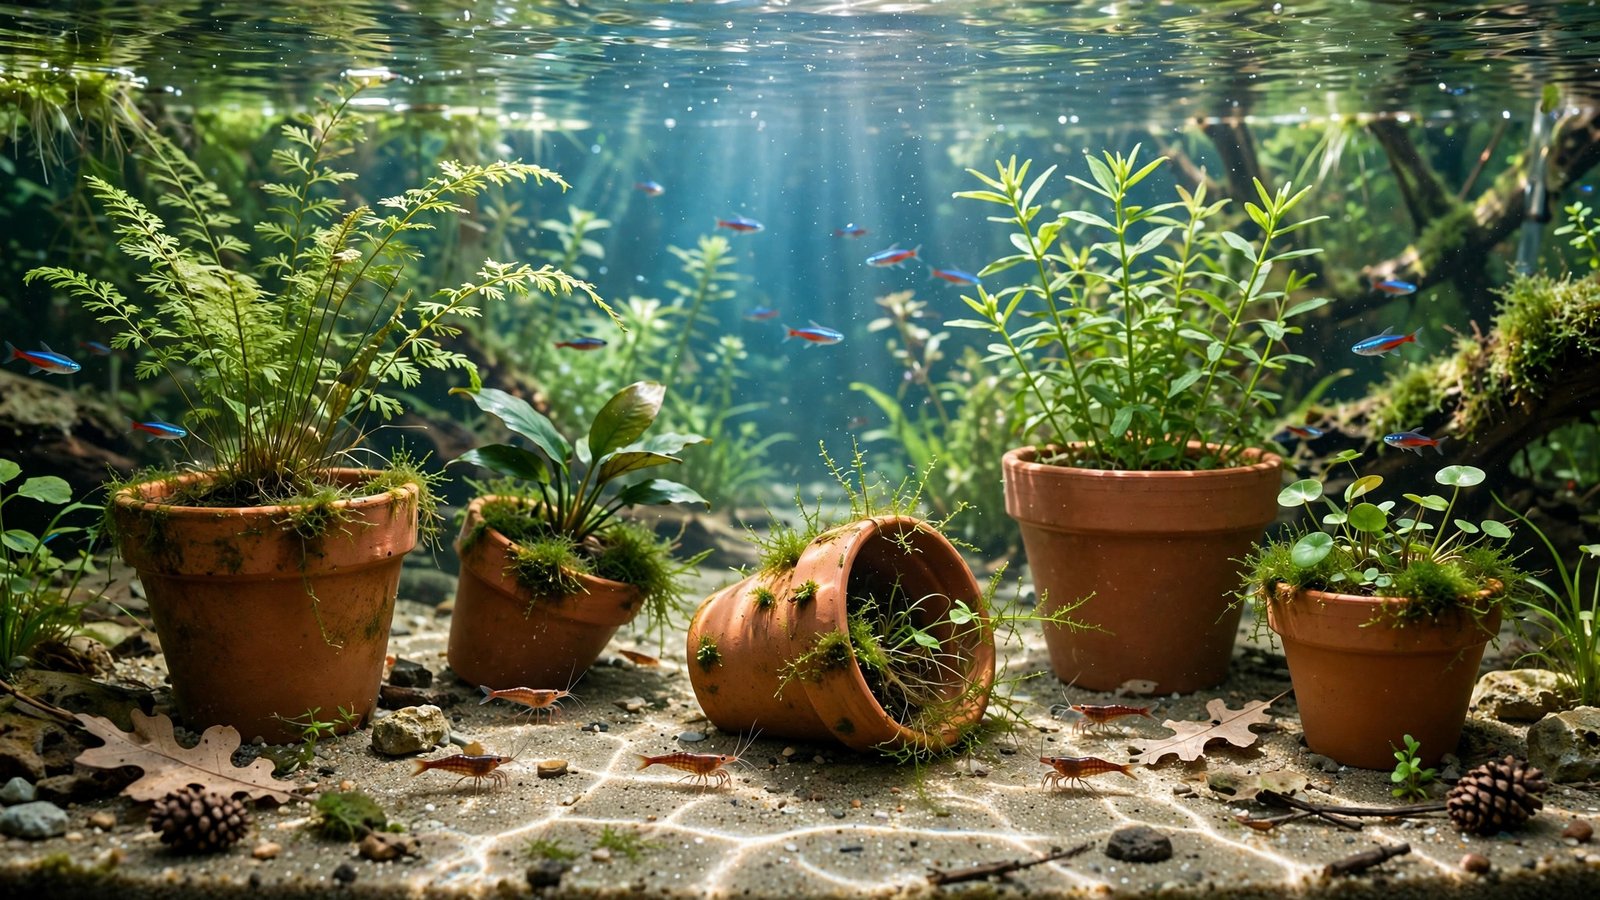
Your fish do not need a $40 designer hide to feel secure. A two-dollar clay flowerpot from the garden center has been the working breeder's secret for decades — used as a spawning cave, a fry shelter, and cheap, honest hardscape. But the aisle you shop matters more than the price tag: a plain unglazed pot is perfectly tank-safe, while the glossy glazed one next to it can leach lead and cadmium into your water. This guide shows you exactly which terracotta pots are aquarium safe, how to prepare them in under an hour, and four DIY builds that look far better than a bare pot on the substrate.
Why Plain Terracotta Works So Well Underwater
Terracotta is simply fired clay — the same material humans have been shaping into vessels for ten thousand years. Once kiln-fired, it becomes a stable ceramic that is effectively inert in aquarium water: it does not dissolve, does not release ammonia, and does not push pH or hardness around the way some carbonate rocks do. Plain terracotta is one of the least worrisome hardscape materials in the hobby — closer to inert quartz than to limestone — which is why it suits sensitive setups from soft-water blackwater tanks to shrimp breeding colonies, and why it sits alongside classics like the best driftwood for aquascaping in so many breeder fish rooms.
What makes terracotta genuinely useful, rather than merely harmless, is its texture. Unglazed clay is porous, and that porosity is colonized within days by the same biofilm and microalgae that coat every mature surface in your tank. For shrimp, otocinclus, and newly free-swimming fry, that film is a living buffet. A smooth plastic hide offers shelter; a terracotta cave offers shelter plus food. The warm orange-brown color is a bonus for the aquascaper: it contrasts beautifully with green plants and dark substrates, giving a Mediterranean or rustic character that gray stone cannot match.
Then there is the practical side. Terracotta is heavy enough to stay exactly where you put it — no more hides drifting during water changes — and cheap enough to experiment with freely. For a mixed hardscape, it also pairs surprisingly well with stone: see our dragon stone guide for a pH-neutral rock that shares its warm, earthy palette.
The Golden Rule: Unglazed Only
Here is the rule that decides whether terracotta helps your tank or poisons it: the pot must be plain, unglazed, unpainted, and unsealed. The clay itself is safe. Everything humans add to make clay shiny, colorful, or waterproof is suspect. Ceramic glazes frequently contain lead, cadmium, and barium — metals added for color and gloss — and cheap or imported decorative pots are the worst offenders. The Washington State Department of Health notes that pottery containing lead, cadmium, or barium from glazes must be treated as hazardous waste when discarded, which tells you everything about how seriously those metals are taken. Soft, slightly acidic tank water can pull metals out of a glaze over time, and an NPR report even traced a lead-poisoning case to terracotta cups — the glaze, not the clay, was the culprit.
Use this quick reference when you are standing in the garden center:
| Pot type | Tank-safe? | Why |
|---|---|---|
| Plain unglazed terracotta (natural orange-brown, rough matte surface) | Yes | Nothing but fired clay — inert and porous |
| Glazed pots (shiny coating, any color) | No | Glazes can contain lead, cadmium, or barium that leach into water |
| Painted or hand-decorated pots | No | Paints and decals add unknown pigments and binders |
| “Antique” or distressed-finish pots | No | The distressed look is usually a chemical stain or paint wash |
| Sealed or waterproofed pots | No | Sealants and waterproofing sprays are not aquarium-tested |
| “Terracotta-look” plastic or resin pots | Risky | Often painted; only use if labeled aquarium-safe by the maker |
| Plain pot with sticker/adhesive residue | Yes, after full removal | Adhesives can contain solvents — peel off and scrub completely |
Shopping tips that save trouble later: pick up the pot and check for any shine or slick coating — real unglazed terracotta feels like fine sandpaper — and give it a sniff. A strong chemical or paint smell means walk away. If a pot's finish makes you hesitate for even a second, choose a different one.
How to Prepare Terracotta Pots for Your Tank
Preparation takes under an hour of active work plus a soak you can ignore overnight. New pots carry kiln dust, warehouse grime, and sometimes garden-center pesticide residue. Treat this like preparing driftwood for an aquarium — the non-negotiable rule is no soap, no bleach, no detergents, because porous materials trap chemical residues.
| Step | What to do | Details and timing |
|---|---|---|
| 1. Inspect | Confirm unglazed, reject defects | Matte, rough, uniform color. Reject pots with glaze, paint, crumbling edges, or a chemical smell. |
| 2. De-label | Remove stickers and adhesive | Peel price tags; scrub residue with hot water and a stiff brush until the surface feels clean. |
| 3. Scrub | Brush inside and out | Stiff brush or new scouring pad, plain water only. Rinse until the runoff is clear. |
| 4. Soak | Submerge 24–48 hours | Use dechlorinated water; change it once. If the water smells chemical or turns strange colors, discard the pot. |
| 5. Boil | Sterilize 10–15 minutes | Start the pot in cool water and bring it up gradually to avoid thermal-shock cracks. Let it cool in the water. |
| 6. Finish | Smooth and plug | Sand sharp rim chips with sandpaper; plug the drainage hole with aquarium-safe silicone or filter floss. |
Two details deserve emphasis. First, the gradual heat-up in step 5 matters: dropping a cold clay pot into rolling boiling water can crack it, leaving fresh sharp edges. Second, the drainage hole in step 6 is the most commonly skipped safety item in the hobby — a curious fry, shrimplet, or small loach can wedge itself into that hole. A pea-sized dab of aquarium-safe silicone, fully cured, closes the risk permanently.
Four DIY Aquascapes With Terracotta Pots
A bare pot sitting upright on the substrate looks like exactly what it is — a flowerpot. These four builds take the same cheap material and make it look intentional. For small tanks, start with 2-inch nursery pots; our guide to hardscape for nano aquascapes covers scaling these ideas down to 5–10 gallons.
1. The breeding cave
Lay a 4–6 inch pot on its side and half-bury it in the substrate at a slight downward angle, opening facing slightly toward the front glass. This is the classic for a reason: kribensis, apistogrammas, and bristlenose plecos all claim pot caves as spawning sites. Burying the back third makes it look like the cave grew out of the substrate. Plant anubias or java fern on top to break its outline.
2. The terraced hillside
Stack two or three pots of decreasing size like a wedding cake, fill each level with substrate, and plant each tier differently — carpeting plants on top, midground stems in the middle. The pots act as ready-made retaining walls that hold a slope no loose substrate could. Our terrace-building guide covers the underlying technique; terracotta simply gives you the walls for free.
3. The shard retaining wall
For a wilder look, wrap one pot in a towel and break it into large curved shards with a hammer, then sand every edge smooth — non-negotiable, as broken clay is razor-sharp. Stand the curved shards upright in a row to form a low retaining wall, or half-bury them as a broken-pot "ruin" spilling substrate and plants. The curve of a pot shard reads as intentional architecture in a way flat slate never does.
4. The moss-covered pot
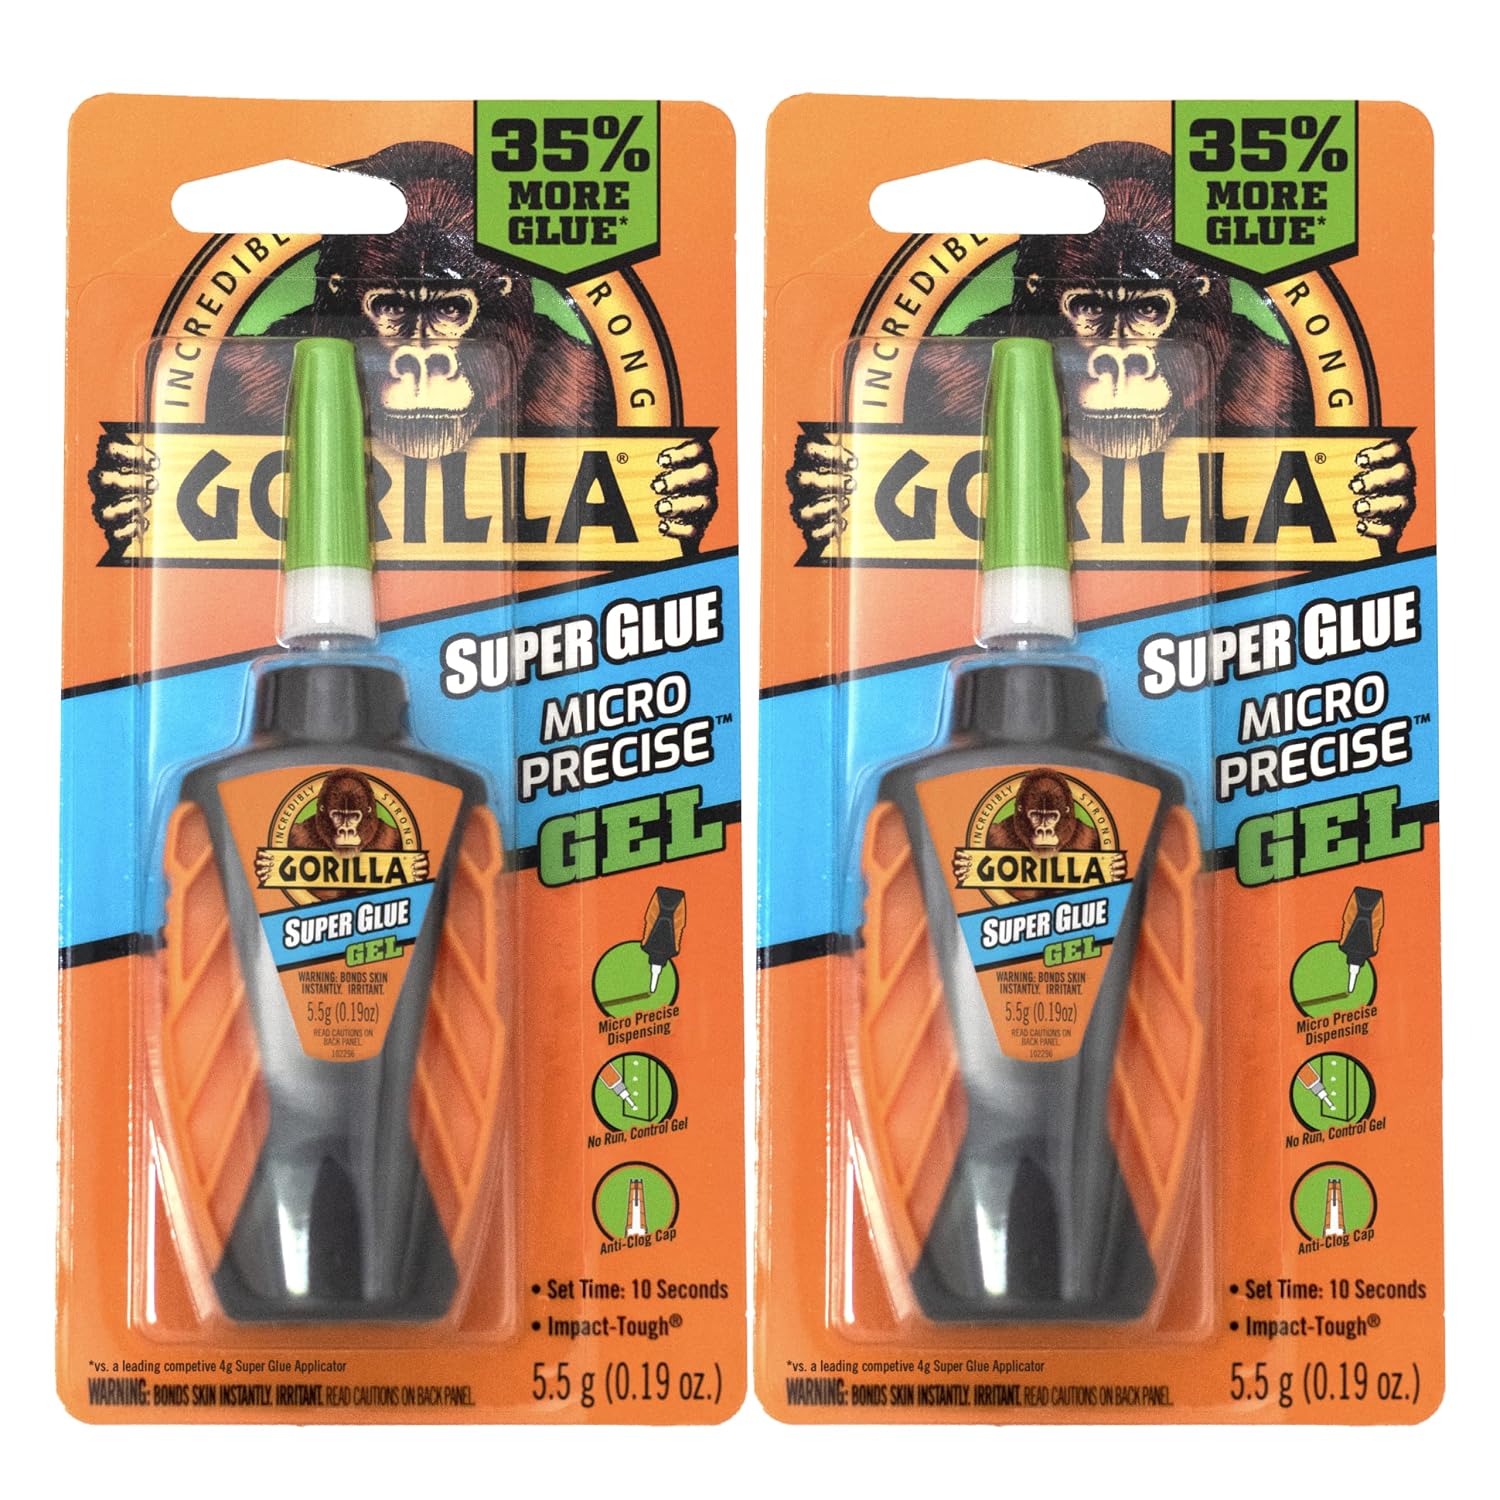
Porous clay is one of the best surfaces in the hobby for moss attachment — java moss, Christmas moss, and even fissidens grip it within weeks. Smear a thin layer of moss over a pot laid on its side and hold it with cotton thread, or use a dot of cyanoacrylate to tack down stubborn patches (see our aquascaping glue guide for the safe technique). Within two months the pot disappears under green, leaving what looks like an ancient mossy vessel — a centerpiece that cost almost nothing.
 ★4.6
Gorilla Micro Precise Super Glue Gel
Check Price on Amazon ★4.6Which Fish and Shrimp Love Terracotta
Certain livestock practically demands clay. Dwarf cichlid breeders keep stacks of small pots because apistogrammas and kribensis prefer a tight, dark cave with a single entrance for spawning — a sideways 3-inch pot is the textbook apisto cave. Bristlenose and other small plecos breed readily in pot caves too, and the male will guard the eggs inside for days. Killifish breeders use pots packed with peat or spawning mops as collection chambers.
For community tanks, the value is shelter plus grazing. Shrimp colonies thrive around terracotta because the biofilm on porous clay is available around the clock, and shrimplets hide in the pot's shadow. Fry of livebearers and egg-scatterers use pot caves the same way — another reason breeders pair pots with cholla wood in planted tanks, the other classic fry shelter. Even shy species like kuhli loaches visibly relax when a cave is available, which means more time out in the open.
The Honest Downsides
Terracotta is not perfect, and you should know its flaws before you buy ten pots. The biggest is algae: the same porosity that grows beneficial biofilm also invites green spot algae and diatoms, and once algae roots into porous clay it is much harder to scrub off than from glass or glazed ceramic. Expect to brush pots during water changes, and keep an algae crew — nerite snails and Amano shrimp do the daily maintenance for you. Many aquascapers simply accept a light algae patina as part of the aged, natural look.
The second drawback is staining. Porous clay permanently absorbs dyes and pigments, so pull your pots out before any medication treatment — methylene blue will turn a pot blue forever, and copper-based medications can lodge in the pores and leach back later at levels dangerous to shrimp and snails. The same goes for some dye-heavy liquid fertilizers.
Finally, the practical niggles: terracotta chips, and chips are sharp until sanded; pots are opaque, so a fish that hides inside is a fish you cannot see; and because the clay wicks and holds detritus, make cleaning the substrate around your plants a regular habit — gentle but consistent filtration matters — see our guide to choosing filtration for a planted tank if your current filter leaves dead spots around hardscape. None of these are deal-breakers, but they are the difference between a pot you love and a pot you quietly remove in six months.
Frequently Asked Questions
Are terracotta pots really safe for aquariums?
Plain unglazed terracotta — yes. Kiln-fired clay is chemically inert, so it will not alter pH or hardness or release toxins, and breeders have used it for decades. The danger is entirely in coatings: glazed, painted, or sealed pots can leach lead and cadmium into the water. Buy only pots that are visibly plain unglazed terracotta, with a rough matte finish and no shine, then scrub, soak, and boil them before they go in.
Will terracotta pots change my pH or water chemistry?
In practice, no. Fired terracotta is effectively inert and does not measurably shift pH, GH, or KH in a normally maintained tank — it behaves more like quartz than limestone. New pots may release fine clay dust, which is why a thorough rinse and a 24–48 hour soak are part of preparation. If you ever measure a water-chemistry shift after adding pots, suspect a glaze or sealant you missed, not the clay itself.
Can I use glazed or painted pots if I seal them first?
Do not. Sealants can fail at edges and chips, and you cannot verify full coverage inside pores and cracks. Soft, slightly acidic tank water works on glazes for months, and lead or cadmium leaching is invisible until fish show symptoms. A plain unglazed pot costs a couple of dollars — there is no savings worth the risk. If you love the look of a decorated pot, keep it as a houseplant pot instead.
How do I clean algae off terracotta pots?
Expect algae: the porosity that grows beneficial biofilm also invites green spot and diatoms. Scrub with a stiff brush during water changes — an old toothbrush reaches inside curves. For heavy buildup, pull the pot, scrub it in a bucket of tank water, and return it. Avoid bleach or algaecides on porous clay, since residues hide in the pores. Nerite snails, otocinclus, and Amano shrimp keep new growth in check day to day.
Are terracotta pots safe for shrimp and baby fish?
They are excellent for both. Shrimp graze the biofilm that colonizes porous clay around the clock, and fry use pot caves as shelter from larger tankmates. One caution: standard pots have a drainage hole that a curious fry or shrimplet can wedge into — plug it with aquarium-safe silicone or filter floss before the pot goes in. Also sand any sharp rim chips so delicate fins and antennae do not snag.
Start With One Pot and See
You do not need to rescape your tank to test this. Buy two small unglazed pots this week, run them through the scrub-soak-boil routine on a Saturday morning, and try the two easiest builds: lay one on its side half-buried at the back as a cave, and sink the other upright as a planter for a crypt or sword. Within days you will see which one your fish claim — and understand why breeders have trusted a two-dollar clay pot for longer than most aquarium brands have existed.