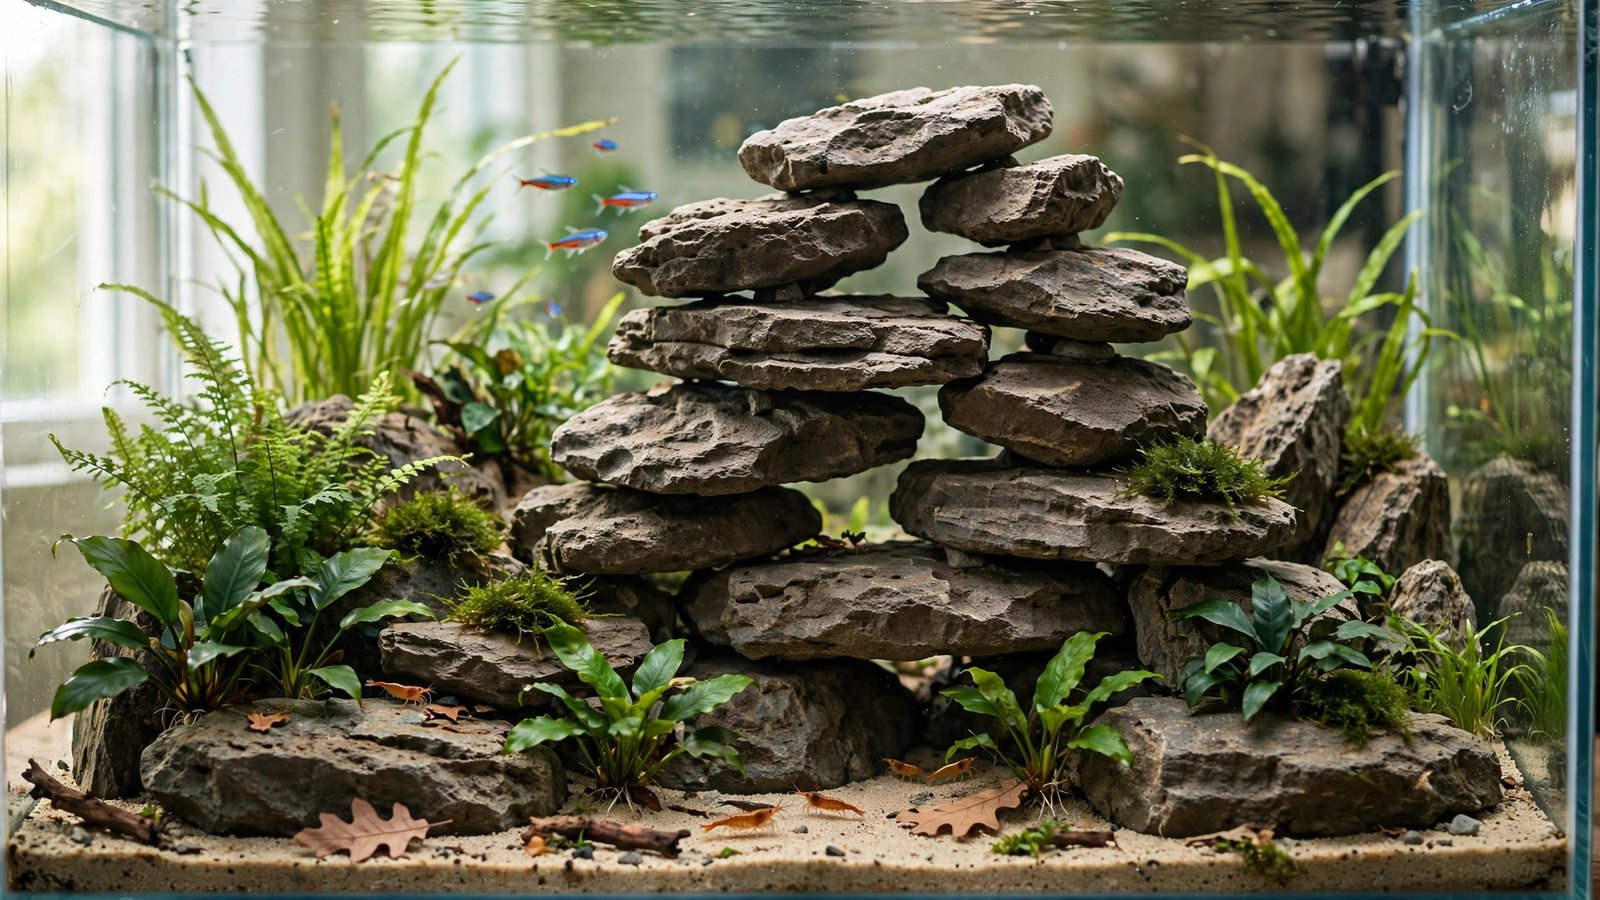
A rock stack that looks effortless in a contest photo can turn into a midnight avalanche in your living room. One shifted stone can crack glass, crush a sleeping fish, or kick up a substrate cloud that takes weeks to fully clear — and almost every collapse traces back to the same handful of preventable mistakes. Learning how to stack rocks in aquarium setups isn't about talent or a designer's eye; it's about physics, preparation, and one simple rule you'll apply to every layer. This guide walks you through choosing stack-friendly stone, building a base that can't shift, locking each rock in place instead of balancing it, and knowing exactly when adhesive is mandatory. Build it right, and you'll never lie awake wondering whether the pile is still standing.
Why Rock Stacks Collapse in Aquariums
A dry rock pile in a garden can sit untouched for years, but an aquarium is a harsher environment than it looks. Four forces work against your stack, and understanding them is what separates a permanent structure from a future cleanup job.
1. One-point balancing
Most hobbyists place rocks the way they sit in nature — resting on whatever single point they land on. That single contact becomes a pivot: any nudge shifts the rock's center of gravity past its base of support, and gravity does the rest. A stable stack works like a drystone wall, with each stone sitting on at least three points so it physically cannot rock or spin.
2. Substrate creep
This is the slow killer. Loose sand and aquasoil settle, compact, and migrate over weeks, especially on slopes. A foundation stone on loose substrate can tilt a degree at a time until its center of gravity crosses the tipping point — then the whole layer above slides at 3 a.m. The stack felt solid on day one and failed on day forty.
3. Livestock excavation
Cichlids, loaches, corydoras, and even determined goldfish bulldoze substrate constantly. A cichlid can excavate a crater under a foundation rock in a single afternoon, removing the very support the stack was sitting on. If you keep diggers, your structure must assume the substrate around the base will disappear.
4. Maintenance bumps
Gravel vacuuming, plant trimming, and algae scraping all push against the stack. A structure that only survives "don't touch it" conditions isn't finished — it's waiting. Your final stack should take a solid push from you without complaint, because it will absorb hundreds of small pushes over its lifetime.
Choose Rocks That Stack Like Bricks
Not all stone is equally cooperative. Before you fall in love with a layout, run every candidate rock through the table test: set it on a flat surface and press each edge. If it sits dead still, it has a stackable face. If it rocks, that face can only ever be decorative, never structural.
The second test is aquarium safety. Carbonate-heavy rocks raise pH and hardness, which suits African cichlid tanks but wrecks a soft-water setup. Test suspect rocks with vinegar — fizzing means carbonates — and if you're collecting stone outdoors, follow a proper process for sourcing and testing river rocks first. Then pick from the best rocks for aquascaping with stacking in mind:
| Rock | Stackability | Weight | Notes for stacking |
|---|---|---|---|
| Dragon stone (Ohko) | Excellent | Medium | Craggy holes and ridges interlock naturally; near-perfect for drystone-style stacks. |
| Seiryu stone | Very good | Heavy | Flat broken faces sit well, but dense stone hits hard in a fall — keep it low or bond it. |
| Slate | Good (flat layers) | Medium | Stacks like shingles for terraces and walls; poor for towers since pieces slide on flat planes. |
| Lava rock | Good | Light | Rough, grippy texture resists sliding; brittle edges can snap under load. |
| River rock / pebbles | Poor to fair | Medium–heavy | Rounded shapes roll — use only as shims, cap stones, or low wide piles. |
| Texas holey rock | Fair | Heavy | Smooth faces slip; bond key joints if you stack it tall. |
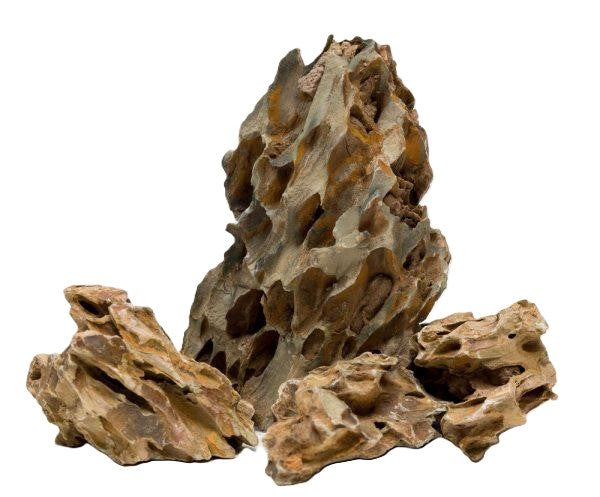 ★4.5
Unocho Dragon Stone Aquarium Rocks
Check Price on Amazon ★4.5Build a Foundation That Can't Move
The bottom layer decides everything. A perfect upper stack on a shifting base is a sculpture on quicksand, so do the unglamorous groundwork first.
Start by leveling the stand, not the tank — a 1-degree tilt across a 120 cm tank moves a tall stack's center of gravity several centimeters sideways, and that error compounds with every layer. Check it with a spirit level before the tank ever touches it.
Next, protect the glass. A heavy point load from a foundation stone can scratch or crack the bottom panel. Lay egg crate under your rocks to protect the tank glass — the grid spreads point loads and gives foundation stones a grippy seat. (That guide covers the material and placement; this article covers what to do once it's down.)
Now the technique that prevents most collapses: place foundation stones on the egg crate or glass first, then add substrate around them. Never build on top of loose substrate. Stones seated directly on the bottom can't be undermined by substrate creep, and a burrowing fish can excavate all day without removing their support. Keep loose substrate under stacked areas to 5 cm or less, compact it firmly with your palm, and keep slopes gentle — steeper than ~30 degrees and the slope itself starts migrating.
The 3 Contact-Point Rule
Here's the entire structural philosophy in one rule: every rock must touch the rock (or rocks) below it at three or more points. Three points define a plane — with three contacts, a stone physically cannot rock. With two, it teeters on an axis. With one, it spins.
Perfect three-point contact is rare with natural stone, which is where wedging and shimming come in. When a placed rock wobbles, don't reposition the whole stone — slide a small chip or sliver into the gap until the wobble stops, then confirm the big rock still holds its own three primary contacts plus the shim. Treat the shim as a doorstop, not a leg: it prevents movement, but the main stone should be nearly stable without it.
Test every rock the moment you place it: grip it firmly and try to rock it in every direction. Any movement means it needs a shim, a new orientation, or a different rock. Accept only dead-still stones, because the weight of the layers above will punish any weakness you let through now.
Step by Step: Build a Stable Rock Stack
Work dry and take your time. A stable 60 cm stack takes an hour to build and lasts years; a rushed one takes twenty minutes and lasts until the first water change.
- Dry-layout outside the tank first. Arrange your composition on cardboard, marking which piece goes where. The dry-layout method lets you solve every fit problem with both hands free instead of leaning over a glass box.
- Set the foundation stone. Your largest, flattest rock goes on the egg crate or glass first. It should be the widest piece in the whole stack — every layer above narrows slightly, like a pyramid. Test this rock the hardest; it must never move.
- Build upward one layer at a time. For each new rock, dry-fit it three or four ways before committing. Look for interlocking — a ridge on the lower rock sitting in a groove of the upper one is worth more than any adhesive.
- Shim every wobble. Keep your rubble bucket within reach. The moment a rock rocks, wedge a chip in and re-test. Small pieces are structural members, not decoration.
- Push-test each layer before adding the next. Shove the newly placed rock firmly in several directions, then push the whole stack at its current height. If anything shifts, fix it now — you'll never have easier access than this moment.
- Flood gently. Rushing water is a real force — it has toppled more stacks than any fish. Lay a plate or plastic bag over the substrate, pour onto that, and fill slowly.
- Re-test after 24 hours. Substrate settles and trapped air escapes overnight. Give the full stack one more firm push-test the next day and re-shim anything that developed play.
When to Bond Rocks: Silicone, Glue, or Epoxy
A well-built drystone stack needs no adhesive. But three situations call for bonding: stacks taller than ~30 cm, tanks with powerful diggers or large boisterous fish, and earthquake-prone homes or high-traffic rooms. Bond a few key joints — not every contact — and the natural look stays intact.
| Method | Best for | Work time | Notes |
|---|---|---|---|
| Aquarium silicone (100% silicone, no mold inhibitors) | Large heavy joints, slate walls, permanent builds | 24–48 h cure before flooding | Strongest flexible bond; useless on wet rock, so apply during the dry build. |
| Cyanoacrylate gel | Small rocks, quick fixes, attaching chips | Sets in ~20 seconds, even underwater | Ideal for touch-ups in a filled tank; weak for heavy structural joints. |
| Two-part epoxy putty | Gap-filling between irregular faces | Kneadable ~30 min, hard in ~2 h | Fills the voids cyanoacrylate can't; choose reef/epoxy putty labeled aquarium-safe. |
Our aquascaping glue guide covers glue types, safety checks, and application techniques in full. For underwater touch-ups, Seachem Reef Glue, a cyanoacrylate gel that bonds in about 20 seconds even underwater, is the standard choice.
Note the difference between this and building slate caves, terraces, and retaining walls: that guide covers what to construct with flat stone, while this one covers the stacking and stabilizing techniques that keep any rock structure standing.
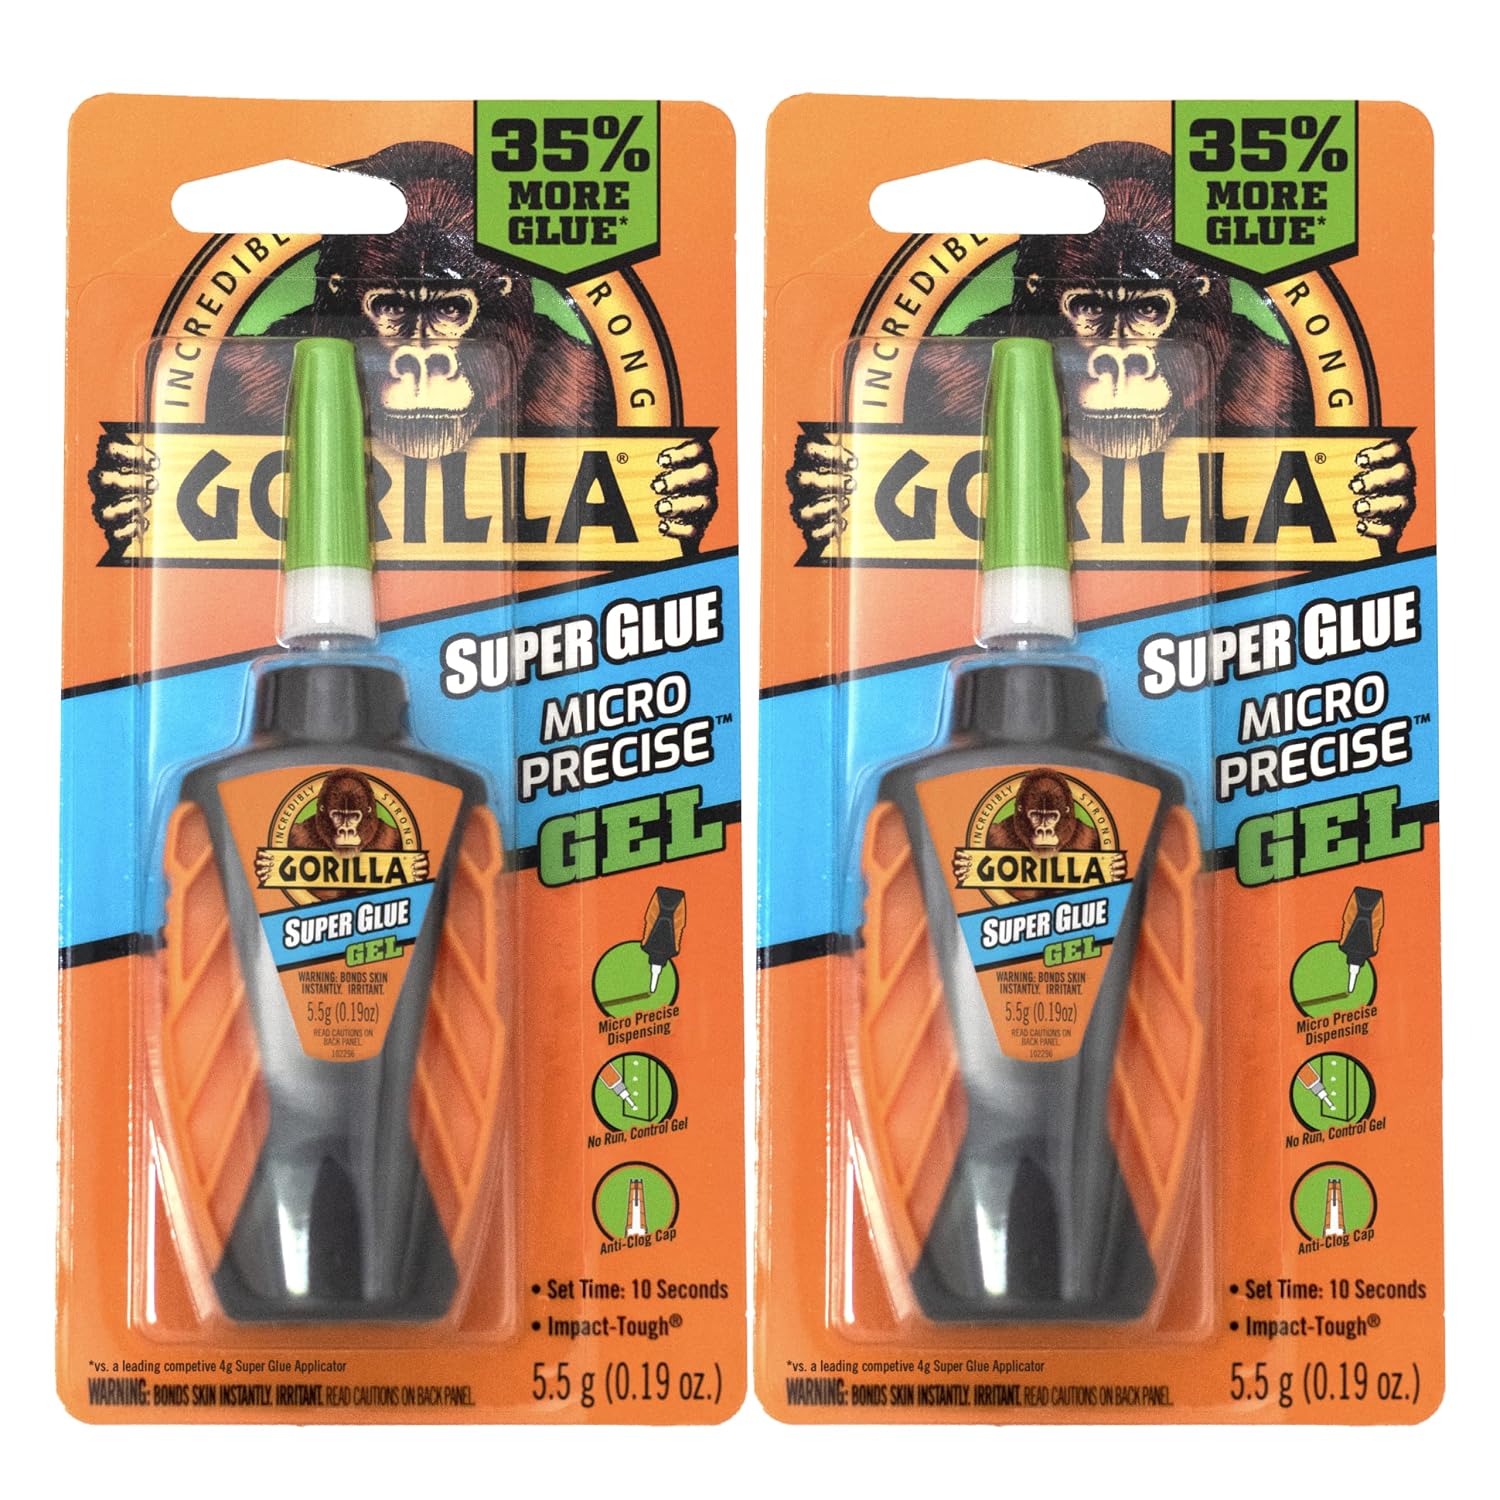 ★4.6
Gorilla Micro Precise Super Glue Gel
Check Price on Amazon ★4.6Stacking With Burrowing Livestock
Cichlids, loaches, and corydoras treat carefully leveled substrate like a construction site — and they dig hardest exactly where it matters, at the base. Design for the excavation, not against it.
First, make the foundation dig-proof: seat base rocks on glass or egg crate, so even total substrate removal around the perimeter can't drop them. Second, bond the two or three most critical joints of any stack in a digger tank — one bonded joint at the foundation beats five shimmed rocks above. Third, consider a dig-proof perimeter: a ring of large stones around the stack's base that fish can't move, discouraging digging right at the load-bearing points.
Rearranging a stack in an occupied tank deserves respect. Lower the water level for access, steady every rock with one hand while the other works, and re-test the full structure before refilling. If the job involves moving substrate or lifting foundation stones, treat it like replacing substrate in an established tank — do it in one session and monitor parameters afterward, since disturbed substrate releases trapped waste.
Frequently Asked Questions
Can I stack rocks directly on the tank's glass bottom?
Yes — for heavy foundation stones you should, because glass never shifts. The risk is scratching or point-loading the panel, so lay egg crate down first to spread the load and add grip. Avoid sharp points on bare glass; a flat face on egg crate is the safe combination.
How tall can I stack aquarium rocks without glue?
About 30 cm (12 inches) above the substrate, assuming proper three-point contacts and a wide base. Taller than that, leverage overwhelms friction and you should bond key joints with silicone or epoxy. Digging livestock or large active fish lower the safe free-stack height, so bond earlier in those tanks.
Why did my rock pile collapse weeks after I built it?
Almost always substrate creep or excavation. Loose substrate under the foundation compacts and migrates, tilting base rocks until gravity takes over. Rebuild with foundation stones seated on glass or egg crate, compact the surrounding substrate firmly, and check whether burrowing fish have been digging under the base.
Do I need to silicone all my rocks together?
No — bonding every contact is overkill and makes future rescapes miserable. Bond only the critical joints: the foundation stone to its base, plus two or three key load-bearing contacts in tall stacks. Below ~30 cm, a well-built drystone stack with three-point contacts and shims is fully stable on its own.
Can I rearrange rocks in a tank that already has fish?
Yes, with care. Lower the water partway, steady each rock with one hand while repositioning it, and re-test the whole stack before refilling. Work gently to minimize stress, and avoid stirring deep substrate, which can release ammonia. If you must move foundation stones, plan a partial water change afterward.
Start Low, Stack Slow, Test Everything
Safe rock stacking comes down to three habits: seat your foundation where nothing can move it, give every rock three points of contact, and push-test every layer before trusting it. None of this needs special talent or expensive materials — just patience and a bucket of shims. The stack you build slowly this weekend will still be standing years from now, through water changes and whatever your fish dig up underneath. Build it like a wall, not a balancing trick.