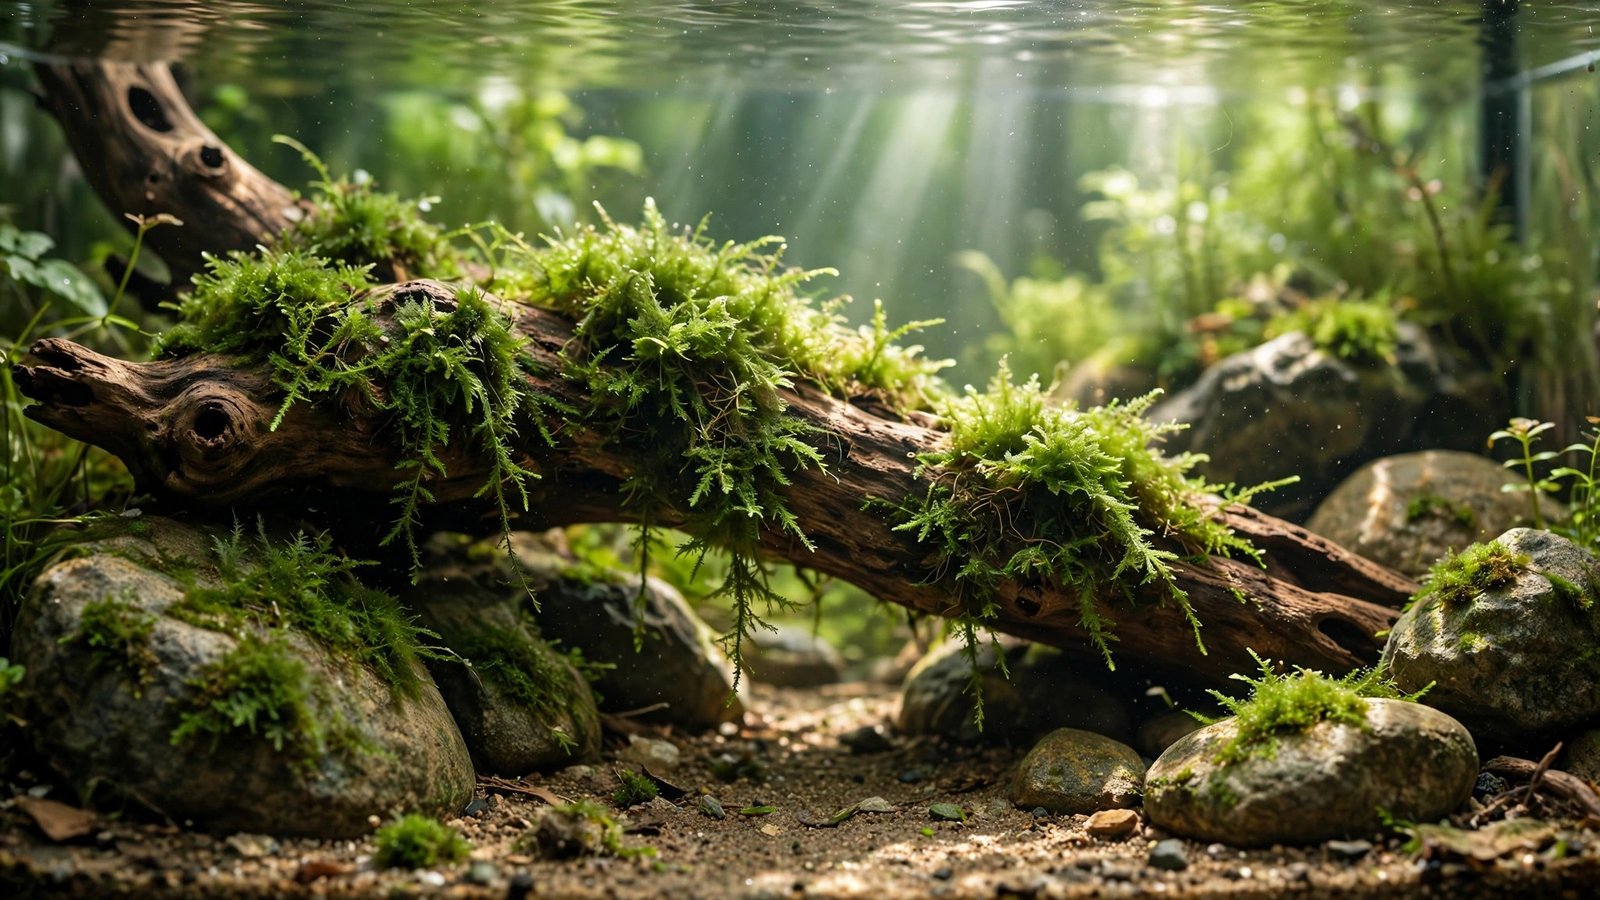
A single golfball-sized clump of Java moss can turn into a carpeted foreground, a shrimp nursery, and three gifts for friends — if you know how to propagate Java moss the right way. The good news: this is the most forgiving plant in the hobby to multiply. It has no roots to damage, no rhizome to rot, and nearly every fragment you cut can become a new plant.
The bad news is that most people propagate it messily — shredding a clump and tossing it loose, then fishing strands out of their filter for weeks. Below are three clean methods that work, with realistic week-by-week timelines so you know exactly what to expect.
Why Java Moss Propagates Almost by Itself
Java moss (Taxiphyllum barbieri) is a bryophyte, not a true aquatic plant. Instead of roots it grows rhizoids — tiny anchoring hairs that grip any rough surface within a few weeks — and it grows at a slow to very slow pace. Because each stem can sprout new rhizoids from almost any point, a torn fragment doesn't need to "heal": it just keeps growing. This is also why Java moss care is famously beginner-proof — the same traits that make it easy to keep make it easy to multiply.
There is one prerequisite: the donor moss must be healthy. Propagating brown, dying moss just spreads dying moss. If your colony looks thin or yellow, fix the underlying problem first — our complete Java moss care guide covers the light, flow, and nutrient balance that keep it lush before you start cutting.
How to Propagate Java Moss: Fragment and Tie Down (Fastest)
This is the classic technique and the best choice when you want moss on driftwood, a rock, or a decoration. Tear a healthy clump into pieces roughly 1–2 inches across (torn ends regenerate faster than crushed ones). Press each piece flat against the surface, then secure it.
Use dark cotton thread or fishing line: wrap a loose spiral 4–6 times, snug but not crushing the stems. Cotton thread rots away in about 4–6 weeks, right when rhizoids take over; fishing line must be snipped off later. Or use cyanoacrylate gel super glue — dab 3–4 pea-sized dots on a dry surface, press small tufts on, hold 30 seconds. Aquarium-safe once cured, with an instant bond.
Place the hardscape in moderate flow. Expect the first green attachment threads in 2–3 weeks and a firmly anchored mat in 3–5 weeks, at which point you can remove any thread.
Method 2: The Mesh Sandwich (Neatest Carpets)
Want a moss carpet or a green background wall? This is the cleanest route. Get a sheet of stainless steel mesh (304 grade) or plastic craft mesh — both are cheap and rust-free. Cut it to shape, spread a thin layer of moss about ¼ inch thick across it, then lay a second sheet on top and pinch the edges with small zip ties or fishing line.
Lay carpets flat on the substrate; hang walls against the back glass with suction cups. The moss grows through the grid and hides it within weeks. Keep the layer thin — thick sandwiches rot in the middle. This technique also works for Phoenix moss, which forms dense star-shaped fronds on mesh plates.
Timelines: the moss will grip the mesh in 2–4 weeks and fill in completely in 6–8 weeks. Trim the top with curved scissors every 4–6 weeks — a cut carpet branches denser each time, exactly like mowing a lawn.
Method 3: Free-Floating Grow-Out (Laziest Bulk Method)
Don't need it attached anywhere? Skip the tying entirely. Drop healthy fragments into a bucket, a spare 10-gallon tank, or a breeder box with gentle aeration, and let them tumble. It absorbs nutrients straight from the water column, so it needs no substrate.
Keep the nursery simple: 6–8 hours of light, 68–78°F, and a 30% water change weekly. A squirt of all-in-one liquid fertilizer after each water change roughly doubles growth. A single portion typically triples in 8–12 weeks. The floating clumps grow into thick balls you can later tear open as starter stock for the other two methods.
One caution: floating moss drifts toward filters and powerheads. Corral it with airline tubing rings or a breeder box. Free-floating cultivation is also how Subwassertang is usually grown — that pillowy "pelia moss" never attaches at all, so the grow-out method suits it perfectly.
Which Method Should You Pick?
| Method | Best for | Attachment time | Full result | Effort |
|---|---|---|---|---|
| Fragment & tie down | Wood, rocks, decorations | 3–5 weeks | 8–10 weeks | Low |
| Mesh sandwich | Carpets, moss walls | 2–4 weeks | 6–8 weeks | Medium |
| Free-floating grow-out | Bulk stock, shrimp nurseries | N/A (no surface) | 8–12 weeks to triple | Minimal |
New to mosses in general? Christmas moss and flame moss propagate by exactly the same fragment-and-attach logic — learn the technique on Java moss first, then repeat it on the fancier species. And if you'd like a zero-effort moss project for comparison, Marimo moss ball care shows how a rolling ball colony maintains itself with almost no intervention.
Frequently Asked Questions
Can you propagate Java moss from a tiny piece?
Yes — any healthy fragment at least ¼ inch long with visible green stems can regenerate. Java moss has no roots to protect, so each piece keeps growing from wherever it broke. Smaller fragments just take longer to fill in: a single 1-inch piece needs roughly 10–12 weeks to become a useful clump, while a golfball-sized starter gives you visible coverage in 4–6 weeks.
How long does it take for Java moss to attach to wood or rocks?
Under normal conditions — 68–78°F, moderate light, gentle flow — you'll see rhizoid grip within 2–3 weeks and a firm hold in 3–5 weeks. Cool water, very low light, or stagnant corners can stretch this to 6–8 weeks. Glued fragments behave the same as tied ones once the initial bond cures, since the glue only holds until rhizoids take over.
Should you use super glue or thread to attach Java moss?
Both work; pick by situation. Cyanoacrylate gel super glue gives an instant bond and is invisible, making it ideal for small tufts on vertical surfaces. Thread or fishing line is better for large areas like carpets, because glue dots leave gaps. Use gel, not runny liquid glue — the gel stays put underwater and won't wick into the moss and kill the contact patch.
Can Java moss grow floating, or does it need to be tied down?
It grows perfectly well floating and never needs a surface — it feeds from the water column. Floating is actually the fastest bulk-multiplication method since you skip all tying. The only downsides are cosmetic: drifting clumps can tangle in filters, and free-floating moss grows into loose, shaggy balls rather than the tidy attached mats most aquascapers want.
Why is my newly propagated Java moss turning brown?
Three usual suspects. First, too much light: fresh fragments under strong LEDs brown at the tips within days — drop to 6 hours or dim the light. Second, heat above 80°F stalls rhizoid growth and invites algae that smother new moss. Third, leftover glue or medications: runny super glue wicking into stems and recent copper-based treatments both melt fresh cuttings. Trim the brown parts and fix the cause.
Start Small, Grow More
Java moss is one of those rare cases where the hobby's advice is true: you genuinely can't mess this up if the donor moss is healthy and the water is stable. Pick your method — tie-down for hardscape, mesh for carpets, floating for bulk — and in about two months you'll have more moss than you know what to do with. For the long term, our Java moss care guide covers trimming, algae prevention, and keeping a big colony thriving.