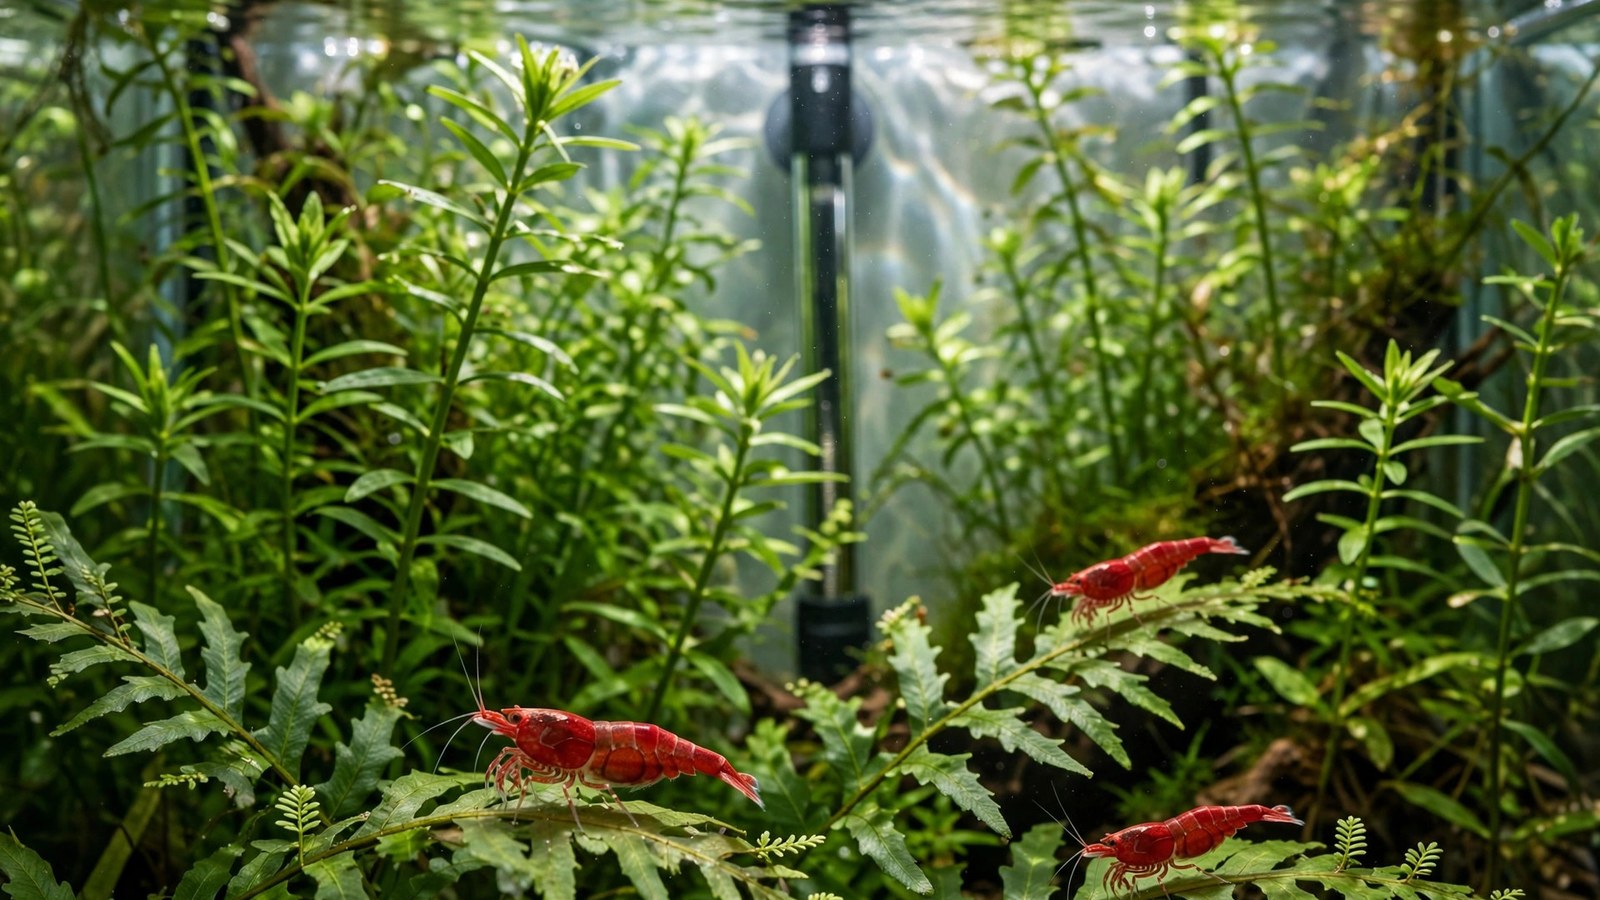
A 50-watt heater stuck in the ON position adds roughly two degrees Fahrenheit to a 10-gallon tank every hour, and it keeps going for as long as nobody is home to notice. That is the math behind the most common shrimp-killing disaster in the hobby: a cheap heater cooking a colony worth ten times its price. The fix is not luck. It is a short list of deliberate decisions — right wattage, adjustable dial, one external safety device — that turn the heater from the scariest thing in your tank into the most forgettable.
The short answer: the best heater setup for a 10-gallon planted shrimp tank is a 50-watt adjustable heater — never 100 watts or more — set to your species' range (68–74°F for cherry shrimp, 64–72°F for caridina), plus an external temperature controller that cuts power if the heater's own thermostat ever sticks on. The Eheim 50W Jager and the Fluval M50 are the two 50W models with the longest trust records in the hobby. Verify every setting against a thermometer placed at the far end of the tank.
Why 10-gallon shrimp tanks cook so fast
Small water volumes have no thermal buffer. Ten gallons of water weighs about 83 pounds, and a stuck-on 50W heater pushes it roughly 2°F higher every hour before heat loss to the room slows the climb. That sounds gradual — until you do the math on an eight-hour workday. A 200W heater in the same tank climbs roughly four times faster, which is why the "bigger is safer" instinct is exactly backwards in nano tanks.
And the failure mode that matters is the common one: heaters far more often fail with the thermostat stuck closed (heating continuously) than stuck open. Shrimp are less forgiving than fish about that. Neocaridina tolerate brief warmth, but sustained temperatures above 80°F crash dissolved oxygen, spike their metabolism, and wipe colonies that a community fish tank would have survived. The disaster stories all rhyme: a heater that "worked fine for a year," a warm afternoon, and a colony found the next morning.
The good news is that every part of this is preventable with cheap, unglamorous decisions. None of them require expensive equipment — they require sizing correctly, buying adjustable, and adding one external guard that watches the heater so you don't have to.
What size heater for a 10-gallon? Exactly 50W
The planted-tank rule of thumb is 3–5 watts per gallon, and for a 10-gallon that means 30–50 watts. In a normal home, 50W is the sweet spot: enough muscle to hold temperature on a cold night, slow enough that a stuck thermostat gives you hours — not minutes — to catch it. Anything above 100W on a 10-gallon is asking a small thermostat to manage a large threat.
The real sizing variable is not the tank — it is the gap between your room and your target temperature:
| Room-to-target gap | 10-gallon wattage | Notes |
|---|---|---|
| Up to 5°F | 25–50W | A 50W adjustable covers this with headroom to spare |
| 5–10°F | 50W | The standard case; 50W is exactly right here |
| 10–15°F (cold basement, drafty room) | 50–75W with a controller | Undersized heaters run constantly and wear out; size up only with the safety net below |
| 15°F+ | Fix the room first | No heater choice makes a freezing room safe — insulate, or keep the tank elsewhere |
Notice the pattern: the answer is almost always "50 watts," and the edge cases are solved by insulation or a controller, not by bolting a bigger heater onto a small tank. If you only remember one number from this guide, remember 50.
Adjustable vs. preset: why the dial matters for shrimp
Preset heaters lock in at 78°F and drift with age. That is two problems for a shrimp keeper. First, 78°F is already above the comfort zone for caridina (crystal reds, Taiwan bees) and at the warm edge for neocaridina — you are starting the colony one warm afternoon away from stress. Second, a preset thermostat cannot be recalibrated, so as its accuracy drifts over the years you have no way to compensate; you just discover the drift when shrimp start dying.
Adjustable heaters solve both. You can target 72°F for cherries or 68°F for crystals, and when you verify against a thermometer — which you should do monthly — you can nudge the dial to compensate for drift. Assume every dial is off by a few degrees out of the box; the verification thermometer is what makes an adjustable heater accurate, not the dial itself.
The external controller: the one device that prevents cooked shrimp
Here is the uncomfortable truth no heater review will tell you: every internal thermostat is a single point of failure, and the hobby's most trusted brands are trusted because they fail less often, not because they never fail. An external temperature controller — a separate unit with its own probe that cuts power to the heater at your set point — removes that single point of failure entirely.
The setup is simple. Plug the heater into the controller, drop the controller's probe in the tank, and set the controller to your target temperature (say 72°F). Then set the heater's own dial 2–3°F higher (74–75°F). In normal operation the controller's probe does the regulating; the heater's internal thermostat is just a backup that should never engage. If the heater's thermostat ever sticks closed, the controller cuts power at 72°F anyway, and your colony survives a failure that would otherwise have killed it.
The unit the hobby keeps recommending for this is the Inkbird ITC-308 — a dual-stage controller with high/low temperature alarms, about ±1°F accuracy, and a price that is small next to even a modest shrimp colony. Shrimp breeders treat it as standard equipment, not an accessory. If your colony is worth more than a pizza, the controller pays for itself the first time a thermostat sticks.
The best heaters for a 10-gallon planted shrimp tank
Every pick below is 50W or less, adjustable, and chosen for thermostat reliability — because in a shrimp tank, accuracy is the feature. The two linked picks were verified live and purchasable when this guide was written.
| Heater | Best for | Type | Standout | Tradeoff |
|---|---|---|---|---|
| Eheim Jager 50W | Reliability above all | Glass, adjustable | Recalibratable dial, ±0.5°C claimed accuracy | Long body; glass needs a guard |
| Fluval M50 | Slim, accurate, discreet | Glass, adjustable | Computer-calibrated thermostat, mirrored finish hides in the scape | Premium price per watt |
| Aqueon Pro 50 | Shatterproof peace of mind | Aluminum, adjustable | Nearly indestructible casing | Wider accuracy tolerance — verify with a thermometer |
| hygger mini + controller | Nano precision on a budget | Compact, adjustable | Small footprint pairs well with an external controller | Budget build feel next to Eheim or Fluval |
| Orlushy 25W (preset) | Absolute budget | Preset | Cheap and compact | Preset 78°F is too warm for caridina; drifts — a stopgap, not a plan |
Eheim Jager 50W — the adjustable workhorse
The heater the hobby's old hands measure everything else against. The TruTemp ring lets you recalibrate the dial against a thermometer, and the claimed ±0.5°C control accuracy is the tightest of any conventional heater here. It runs from 25 to 300W in the line, but for your 10-gallon you want exactly the 50W. Honest downsides: the tube is long for a nano tank, it is still glass so budget a guard if you have boisterous tankmates or clumsy maintenance habits, and you must calibrate it yourself out of the box.
Check the Eheim Jager 50W on Amazon ★4.3
Fluval M50 — slim and discreet
The M50 is the pick when the heater has to disappear into an aquascape. Its mirrored finish reflects the surrounding water and plants so the tube practically vanishes behind hardscape, and the computer-calibrated thermostat holds temperature with a consistency that earns its premium. Shock-resistant borosilicate glass and a ceramic heat sink round out a genuinely well-engineered 50W unit rated for tanks up to 15 gallons — perfect headroom for a 10. The tradeoff is price per watt: you pay for the form factor and the calibration, not for extra heating power.
Check the Fluval M50 on Amazon ★4.4
Disclosure: the two links above are affiliate links. If you buy through them, I earn a small commission at no extra cost to you — it helps keep AquaVerdia's guides free and ad-light. I only link products that fit the article's exact scenario; check the current listing for availability.
Honorable mentions (no link — verify the listing before buying)
The Aqueon Pro 50 earns its place on durability alone: an aluminum casing that shrugs off bumps during maintenance, fully submersible, with an LED that glows while heating. Its accuracy tolerance is wider than the Jager's, so pair it with a thermometer or the external controller and it becomes a heater you can forget about. The hygger mini heaters are the budget nano favorite — compact, adjustable, and a natural pairing with a controller when you want precision without the premium price. And the Orlushy 25W preset is the cheapest thing that works, acceptable as a quarantine-tank stopgap but a poor permanent choice: preset 78°F and drift-prone, exactly the two weaknesses this guide exists to avoid.
Where to put the heater (and the thermometer)
Placement decides whether your heater's accuracy reaches the whole tank or just the water touching the glass. Mount the heater horizontally, low in the tank, near the filter outflow — strong flow past the element prevents hot pockets, and the horizontal position keeps it submerged during water changes. Never bury it in substrate, never trap it behind hardscape with no flow, and never let it touch the glass directly where shrimp graze (they will sit on warm glass; the element itself should have a guard or clearance).
The thermometer goes at the opposite end of the tank from the heater. A thermometer next to the heater measures the heater, not the tank. A cheap glass thermometer and a digital probe in two spots costs less than five shrimp and tells you what your colony is actually experiencing. If you run the external controller, its probe goes in flowing water at the far end too — see the warning box above.
Heater habits that keep shrimp alive for years
Heaters are consumables with a 3–5 year lifespan, and they degrade silently — the thermostat gets less accurate, seals weaken, condensation creeps inside glass tubes. Plan replacement like you plan filter media: proactively, not after a failure. For a colony you have real money or years of breeding lines in, shorten that to two years; a heater is the cheapest livestock insurance in the hobby.
Three habits close the remaining gaps. First, verify monthly: glance at the thermometer and confirm it matches your target; drift caught monthly is a dial nudge, drift caught never is a dead colony. Second, unplug before water changes — exposed heating elements crack or overheat in air, and the seal damage accumulates. Third, keep a spare: a spare heater in the cabinet turns a Friday-night failure into a ten-minute swap instead of a weekend emergency. If you want the deeper background on heater sizing, placement, and controllers, our best aquarium heater for planted tanks and heater controller guides cover the general cases; this guide is the 10-gallon shrimp-specific version.
Frequently asked questions
Will a 100-watt heater cook my shrimp in a 10-gallon?
Not automatically — a working 100W thermostat holds temperature just like a 50W one. The danger is the failure case: a stuck-on 100W heater climbs roughly 4°F per hour in 10 gallons, giving you half the reaction time of a 50W. Since the 50W handles the job completely in any normal room, the 100W buys you nothing and costs you your safety margin.
Do I even need a heater if my room stays 74°F?
For neocaridina, often no — 74°F sits inside their 68–74°F range. But rooms rarely hold steady: nighttime drops of 5°F are common, and a 10-gallon tracks the room within hours. If your room swings more than a few degrees between day and night, a heater set to the bottom of the range (68–70°F) smooths the curve. Watch the tank for a week with a thermometer before deciding.
Can cherry shrimp survive a few degrees of temperature swing?
Yes — gradual daily swings of 2–3°F are normal even in nature and healthy colonies handle them. What kills shrimp is speed and height: a sudden 8°F spike, or sustained heat above 80°F. Stability matters more than hitting an exact number, which is exactly why the controller matters more than the brand of heater.
Where should the thermometer go in a 10-gallon?
At the opposite end from the heater, in water with some flow — never touching the heater tube. Two thermometers (one glass, one digital probe) in different spots is the cheap way to be sure; if they disagree by more than a degree or two, one of them is lying and you find out before the shrimp do.
Is an external controller overkill for a cheap cherry shrimp tank?
Do the math on your colony, not your heater. Twenty cherry shrimp at a few dollars each is already more than a controller costs, and a berried colony replaces itself — the controller protects the breeding line, not just the current shrimp. Even for a budget tank, it is the single highest-value purchase in this guide.
How do I know my heater is failing?
Three warning signs: the thermometer no longer matches the dial setting, temperatures swing wider between heater cycles than they used to, or you see condensation inside a glass tube. Any one of them means replace the heater now — not after the weekend. Heaters usually fail in the ON position, so a failing heater is a heating-to-failure heater.
The bottom line
A 10-gallon planted shrimp tank needs exactly one thing from its heater: boring, predictable warmth. Buy a 50W adjustable model you can calibrate, verify it against a thermometer at the far end of the tank, and put an external controller between the heater and the wall socket. Do those three things and the heater becomes the piece of equipment you think about least — which is precisely the point. If you are building the tank around the heater, our planted shrimp tank setup guide walks through the full build, and the 10-gallon setup guide covers everything else that goes in the glass box.