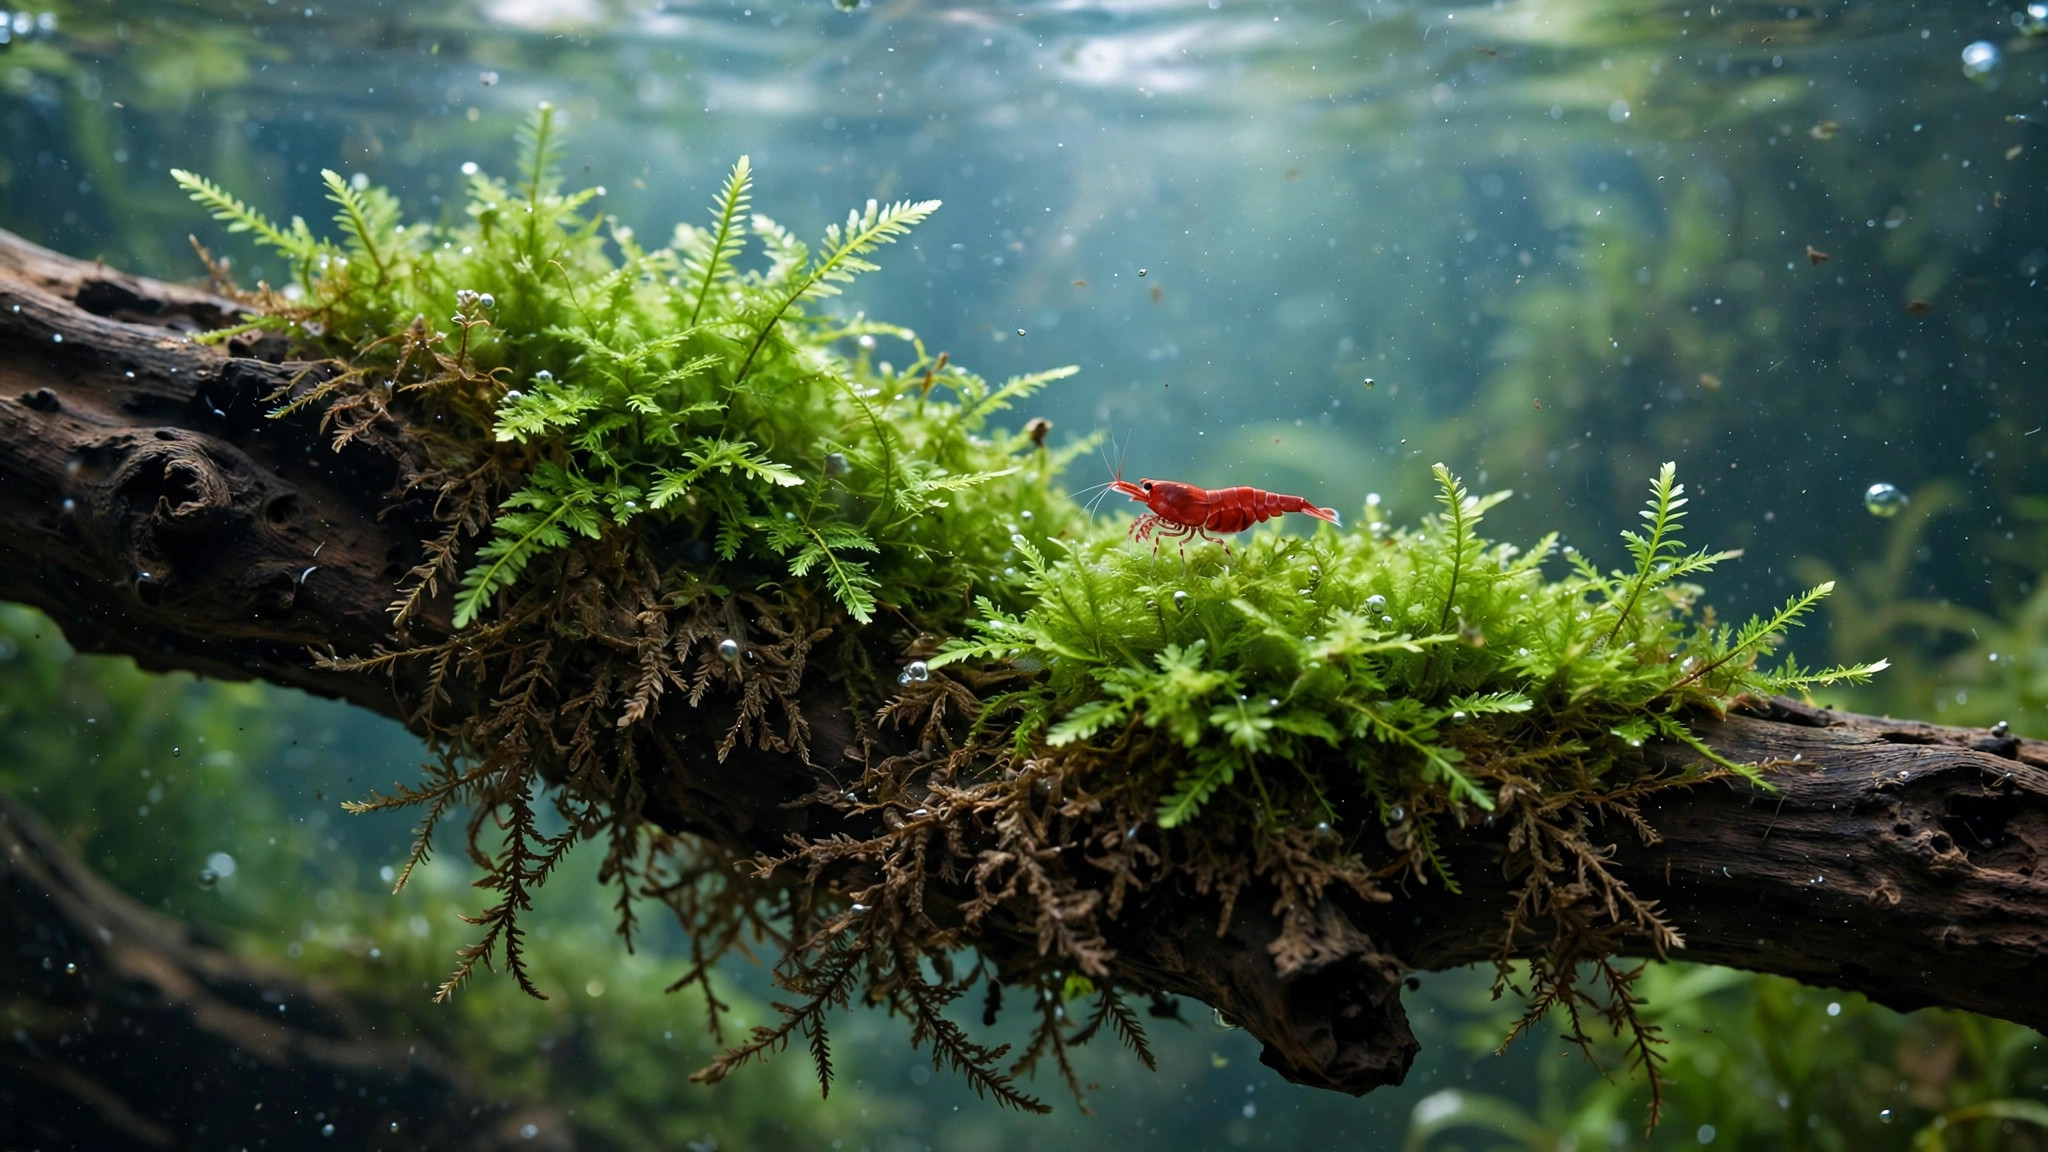
Nothing alarms an aquarist quite like java moss turning brown. Java moss (Taxiphyllum barbieri) has a reputation as the indestructible plant — the moss that survives low light, no CO2, and near-total neglect. The good news is that browning is almost always a symptom of a fixable condition, not a death sentence. Moss rarely dies outright; it stalls, sheds, and waits. Read the pattern of the browning, find the cause, and give the plant what it needs to resume growth. This guide walks you through a visual triage system, the seven most common causes with targeted fixes, a trim-and-recover protocol that works on nearly every case, and how to tell moss that will bounce back from moss that is genuinely gone.
Brown Center vs Brown Tips vs Brown All Over: The Triage System
Before changing anything in your tank, spend two minutes really looking at where the brown is. The location of the browning tells you more than any water test strip can, because each pattern points at a different cause. Part a thick clump with your fingers and look at the interior; press a strand between your thumb and finger to feel whether it is still firm or going mushy; check whether the browning started after a recent change (a new light, a moved tank, a heat wave).
| Pattern | Most likely cause | Your first action |
|---|---|---|
| Brown center, green tips — the outside looks alive, the middle is a brown mat | Overgrown, suffocated clump; stagnant interior starved of light and flow | Thin the clump out and split it into smaller portions |
| Brown or bleached tips — the ends look tan, yellowish, or faded while the base stays green | Excessive light intensity or too long a photoperiod | Reduce intensity, raise the light, or shorten the photoperiod |
| Brown all over — the whole mass fading uniformly, growth stalled | Nutrient deficiency or transition shock after a new setup | Check dosing and water parameters; be patient with new transplants |
| Brown patches with fuzz or slime — moss looks dirty, coating of green/brown fuzz | Algae smothering or heavy debris accumulation | Gently clean, improve flow, address the algae source |
| Brown, slimy, foul-smelling strands — tissue disintegrates when touched | Anaerobic decay; tissue is dead | Remove the dead portion entirely — it will not recover |
| Browning right after moving the moss — moss that was green at the store | Transition shock from changing water chemistry or emersed-to-submerged growth | Keep conditions stable and wait; healthy strands rebound in weeks |
These patterns can overlap: a thick, neglected clump under a strong light may show a suffocated brown center and bleached tips at the same time. When in doubt, start with the most obvious mechanical problem — a matted, debris-choked clump is always worth thinning regardless of what else is going on.
7 Causes of Java Moss Turning Brown and How to Fix Each One
1. Overgrown Clumps Starving the Interior
This is the single most common cause of browning in established tanks. Java moss grows into a thick, layered mat, and as the outer layer thickens it shades the strands underneath. The interior receives no light, no water exchange, and no nutrients — so it browns and dies while the outer tips stay green. You can confirm this by parting the clump: if the outside is vibrant and the middle is a brown, compacted felt, suffocation is your culprit. The fix is physical. Pull the clump apart into thin, loose portions no thicker than a centimeter or two, discard the dead interior felt (it will not re-green), and reattach the healthy outer strands loosely to the driftwood or rock with thread or glue. Spread moss out rather than piling it — a thin layer everywhere beats a thick pillow in one spot. Going forward, trim every few months before the mat gets dense enough to suffocate itself again.
2. Poor Flow and Stagnant, Debris-Trapped Centers
Closely related to overgrowth is poor water movement through the moss. Moss is a superb filter — it traps mulm, fish waste, and uneaten food in its dense strands, which is exactly why shrimp love it. But when detritus builds up faster than it gets flushed out, the trapped organic matter decomposes, consumes oxygen, and creates an anaerobic, stagnant pocket in the middle of the clump. The moss there turns brown and may start smelling swampy. Fix this by gently swishing the moss in a bucket of old tank water during water changes to shake debris loose, and by directing a gentle, steady current across the clump — a repositioned filter outlet works — rather than a direct jet that tears strands loose.
3. Excessive Light: Photo-Bleaching
Despite its tough reputation, java moss is a low-light plant at heart. Under a high-intensity LED run at full power for ten or twelve hours, the growing tips can bleach — turning pale, yellowish, or tan — because the moss's photosynthetic machinery cannot use all that energy and gets damaged by it. This is easy to confuse with nutrient problems, but the tell is distribution: bleaching hits the tips and the topmost, most exposed strands first. The fix is to give the moss some relief. If your light has dimming, drop it to 50–70% for the moss zones; if not, raise the fixture, float some floating plants above the moss to cast dappled shade, or trim the photoperiod to 6–8 hours.
4. Nutrient Deficiency or Fertilizer Imbalance
Java moss is an epiphyte: it anchors to wood and rock rather than rooting into the substrate, so it drinks entirely from the water column. In a brand-new tank with inert substrate, or in a tank where the owner religiously doses nothing because "moss doesn't need fertilizer," the water can run genuinely barren. Uniform browning with stalled growth across the whole clump — not just the center or tips — points at this. Start with a modest all-in-one liquid fertilizer dosed to the low end of the label and watch for bright green new tips over two to three weeks. Equally, more is not better: if you are already dosing heavily and the moss is browning with browned or melted neighbors, you may be looking at the opposite problem — signs of over-fertilizing in the tank, where excess nutrients feed algae that then smother the moss (see cause 7).
5. Heat Stress
Java moss has a firm ceiling on temperature. It thrives roughly between 20–26°C (68–79°F), and when tanks drift into the high 20s during a summer heatwave or under a hot light fixture, the moss goes brown from stress — often suddenly, over a few days. Unlike the patchy patterns of light or flow problems, heat browning tends to be widespread and fast, sometimes accompanied by strands becoming brittle. If your tank temperature has been climbing, that is your answer. Cool the tank: raise the light or add a fan across the water surface for evaporative cooling, run the aquarium lights during cooler hours, and keep the room ventilated. Moss that browned from a heat spike will often regrow from surviving green cores once temperatures stabilize — but strands that cooked fully are finished, so trim them away and let the healthy tissue take over.
6. Transition Shock in New Tanks
Moss bought from a store or moved between tanks frequently browns within the first week or two, and hobbyists panic — but this is often completely normal. Two things drive it. First, much commercial moss is grown emersed (in humid air) at the nursery, and those air-grown leaves must be shed and replaced with submerged-form growth. Second, every tank's water chemistry differs — pH, hardness, temperature — and moss needs time to adjust its physiology. Keep lighting modest, flow gentle, and water parameters stable, and give it two to four weeks. The giveaway that it is transition shock: tiny, vivid bright-green tips emerging from the brown mass — the new growth, and your sign to leave the moss alone.
7. Algae Smothering
Moss that looks brown but feels fuzzy is usually not dying at all — it is being buried alive by algae. Hair algae, in particular, loves to colonize slow-growing moss, weaving through the strands until the whole clump looks like a brownish-green tumbleweed. Black beard algae can do the same in darker patches. The algae blocks light and exchange exactly the way a dense overgrown clump does, and the shaded moss browns underneath. The fix has two halves. First, physically clean the moss: pull out what hair algae you can by hand or with a toothbrush, and for stubborn cases treat the algae directly — our hair algae removal guide walks through manual, biological, and chemical options, and there are dedicated approaches for black beard algae on plants and cladophora treatment too. Second, fix the root cause (usually excess light, excess nutrients, or immature filtration), or the algae simply returns.
The Trim-and-Recover Protocol
Whatever the cause, once you have addressed the conditions, most browned moss responds to the same rehabilitation routine. Set aside fifteen minutes and a bucket of tank water.
- Remove and inspect. Take the clump out and spread it on a light-colored surface. Good lighting matters — you need to see green versus brown clearly.
- Cut away the dead tissue. With sharp scissors, trim off anything that is brown, tan, mushy, slimy, or disintegrates when pinched. Be ruthless: dead tissue never re-greens, and it rots in the tank, feeding algae.
- Split into thin portions. Divide the healthy green remainder into portions no more than 1–2 cm thick. Remember that thickness is what caused the suffocation in the first place.
- Rinse in old tank water. Swish each portion gently in a bucket of tank water to shake out trapped detritus and loose dead strands. Never use tap water — chlorine and temperature swings stress the plant.
- Reattach loosely. Spread the portions thinly over driftwood or rock and secure with cotton thread, fishing line, or a dab of aquarium-safe glue. Leave gaps so water and light reach the center of each portion.
- Fix the original cause. Thin the photoperiod, adjust flow, start modest dosing, or cool the tank — whichever cause you diagnosed. Skipping this step means repeating the whole protocol in a month.
- Watch for bright green tips. If new lime-green growth appears at the strand ends within two to three weeks, the moss made it.
If other aquarium plants are stalling or melting alongside the moss, treat the moss as a canary: see our guide to aquarium plants not growing for a whole-tank diagnostic approach.
Is It Dead? How to Tell Recoverable Moss from Dead Moss
Java moss is famously hard to kill completely, and a clump that looks 90% brown can still harbor living tissue. Run through this checklist before throwing anything away:
- Look for any green at all. Even a few green strands or a green tinge at the holdfasts where the moss meets the wood means living cells remain. Green anywhere equals recoverable.
- Feel the texture. Living or recently dormant moss is springy and firm; it resists when you tug gently. Truly dead moss is mushy, slimy, and pulls apart with no resistance — and it often smells foul.
- Check the attachment points. Moss anchored to wood often survives at the rhizoid layer even when the fronds brown. Scrape a tiny spot: if the tissue there is greenish or firm, it will sprout new fronds.
- Give it the two-week test. After trimming the dead material and fixing conditions, healthy-but-dormant moss shows bright green new tips within one to three weeks. No new growth after a month, in good conditions, means it is finished.
Declaring moss dead is the last resort. If it is firm, has any green, and grows new tips, it is alive. If it is entirely tan-gray, crumbles between your fingers, and stinks, it is compost.
Frequently Asked Questions
Will brown java moss turn green again?
The brown strands themselves will not re-green — once tissue dies, it stays dead. Recovery happens through new growth: surviving living tissue pushes out bright green tips, and over several weeks those new fronds overtake the trimmed brown mass. That is why the trim-and-recover protocol matters: you remove what cannot come back so the living parts have light, flow, and room to grow. Expect visible new tips within two to three weeks in corrected conditions.
Should I remove brown java moss from the tank?
Remove the parts that are clearly dead — mushy, slimy, tan strands that disintegrate when touched — because they rot and feed algae. But do not throw away a clump just because it has browned. Trim it hard, keep anything firm and greenish, and give it two to four weeks in fixed conditions. Java moss recovers from remarkably little living tissue, and tossing the whole clump wastes months of established growth.
Can too much fertilizer turn java moss brown?
Indirectly, yes. Heavy dosing rarely harms moss directly, but excess nutrients combined with strong light fuel algae blooms, and algae smothering is one of the top causes of moss browning. If you dose heavily and notice algae coating the moss, cut dosing back to a moderate level, trim the photoperiod, and manually clean the moss. Balance beats abundance for epiphytes like java moss.
How long does java moss take to recover after trimming?
Once the underlying cause is fixed, expect the first bright green tips within two to three weeks, and a visibly filled-in clump in six to eight weeks. Recovery is slower in cool, low-light, no-CO2 setups and faster in warm, well-lit tanks with steady dosing. If nothing new appears after a full month of good conditions, the remaining tissue was likely dead.
Why is my java moss turning brown in a new tank?
New-tank browning is usually transition shock: nursery moss grown in humid air sheds its emersed leaves to grow submerged ones, and the shift in water chemistry stresses it. Keep conditions stable, light modest, and be patient for two to four weeks while it adjusts. Also confirm your cycling tank does not have ammonia spikes or extreme pH swings, which compound the stress.
Moss Bounces Back: Your Next Steps
Brown java moss is a message, not a verdict. Start by reading the pattern — a brown, matted center says overgrowth and poor flow; bleached tips say too much light; uniform browning says nutrients, heat, or transition shock; fuzzy brown says algae. Thin thick clumps before they suffocate, give the moss gentle flow and modest light, feed the water column lightly, and keep temperatures in the 20s. Then run the trim-and-recover protocol and watch for the lime-green tips that signal the comeback. If you notice similar stress in your other epiphytes — yellowing anubias leaves, for instance — the same environmental fixes usually apply across the whole tank.
Tissue-culture plants are the exception — they’re grown in sterile gel and adapt with minimal melting, which is part of what you’re paying for. Plants bought submersed from another hobbyist’s tank also transition with little melt, since they’re already in the right form.
Which Plants Melt Most (and Least)
Heavy melters (expect significant leaf loss)
- Cryptocorynes — infamous for “crypt melt,” sometimes dropping every leaf after any disturbance. They almost always recover from the roots within weeks.
- Stem plants grown emersed — rotala, ludwigia, and hygrophila often shed lower emersed leaves while the growing tips transition.
- Amazon swords — emersed-grown swords typically lose their broad oval aerial leaves and replace them with longer submersed ribbon leaves.
Light melters
- Anubias, java fern, bucephalandra — slow-growing rhizome plants transition gradually; occasional old-leaf melt but rarely dramatic.
- Vallisneria — usually transitions well, though it dislikes the move itself and may sulk for a week.
- Floating plants — minimal melt since their leaves were already at the air-water interface.
The Acclimation Protocol
Step 1: Quarantine or dip first
Before acclimating to your tank’s conditions, make sure you’re not acclimating pests along with the plant. Run new arrivals through our quarantine and dip protocol — it adds days upfront but prevents months of regret.
Step 2: Float to temperature-match (30 minutes)
Float the bag or container in your tank for 20–30 minutes to equalize temperature. Plants are less temperature-sensitive than fish, but a 10°F shock on top of transplant stress is an avoidable insult.
Step 3: Trim before planting
Remove any leaves that are already damaged, yellowing, or heavily algae-covered — they won’t recover and they’ll rot in your tank, feeding algae. For stem plants, trim off the bottom inch and any emersed leaves that look unlikely to adapt; the plant wastes energy maintaining leaves it’s going to shed anyway. Keep the healthy growing tips — that’s where recovery starts.
Step 4: Plant correctly the first time
Follow our planting guide — right depth, crown exposed on rosettes, rhizomes unburied on epiphytes. Every uprooting and replanting restarts the acclimation clock, so get placement right on the first attempt. Decide where each plant goes before it goes in the water.
Step 5: Run a gentle first week
For the first 7 days after planting:
- Moderate light — run your normal photoperiod but consider dropping intensity 20–30% if your light is dimmable. Blast-level light on a melting plant grows algae on the dying leaves, not recovery.
- Stable CO2 — if you inject CO2, keep it consistent. Fluctuating CO2 during acclimation is a melt accelerator. If you’re low-tech, this doesn’t apply — see growing without CO2.
- Half-strength fertilizer — new plants with damaged leaves can’t use full dosing, and the excess feeds algae. Ramp to full strength over 2–3 weeks per our fertilizer schedule.
- No disturbance — don’t move, trim, or “check on” new plants for at least two weeks. Every touch resets root establishment. This is especially critical for crypts.
Step 6: Remove melt, keep the base
As emersed leaves melt, remove the mushy material promptly — decaying leaves release ammonia and grow fungus that can spread to healthy tissue. But never discard the plant while the crown, rhizome, or roots are firm and alive. A crypt that’s lost every leaf but has firm roots is a plant that’s about to recover, not a dead plant. Give it 3–4 weeks before judging.
Telling Normal Melt From Real Problems
Normal transition melt:
- Affects oldest/emersed leaves first, newest growth last
- New submersed leaves emerge even as old ones dissolve
- Roots and crown stay firm and white/green
- Timeline: 1–4 weeks, then obvious new growth
Concerning melt (see our full melting diagnosis guide):
- New growth also melts or emerges deformed
- Rhizome or crown turns mushy and brown — this is rot, not transition
- Entire plant dissolves within days with no new growth after 4+ weeks
- Melting spreads to established plants that weren’t recently moved
Buying Tips to Minimize Melt
- Buy submersed-grown when available — hobbyist-grown cuttings transition with almost no melt.
- Choose tissue culture for sensitive species — crypts and delicate stems establish far more reliably from sterile cups.
- Avoid plants already melting in the store tank — some melt is normal, but a plant that’s mostly mush at purchase has less energy for recovery.
- Transport carefully — keep plants damp and out of direct sun/heat. A plant that dries out or cooks in a hot car melts far worse than one transported properly.
The First-Month Timeline: What to Expect Week by Week
Knowing what’s normal when removes most acclimation anxiety. Here’s the typical timeline for a healthy plant adapting to a new tank:
Week 1: The quiet week
Almost nothing visible happens. The plant is growing roots you can’t see and assessing its new environment. Some species (vallisneria, stem plants) may start shedding their lowest leaves. This is normal. Resist the urge to “help” — no moving, no extra fertilizer, no light changes. The most common beginner mistake is intervening during a week when the correct action is nothing.
Week 2: Melt peaks
This is when emersed leaves give up in earnest. Crypts may drop everything; swords shed their broad aerial leaves; stem plants lose lower foliage. It looks catastrophic and it’s usually fine. Keep removing mushy material, keep conditions stable, and watch the crown and growing tips — if those are firm and green, recovery is already underway.
Week 3: The turn
New submersed-adapted leaves emerge — smaller, thinner, often a slightly different shade of green than the emersed foliage. Stem plant tips start growing visibly; crypts push tiny curled leaves from the crown; swords unfurl narrow ribbon leaves. This is the moment most beginners exhale for the first time.
Week 4+: Established
New growth outpaces melt, and the plant is functionally yours. You can resume full-strength fertilizer, normal trimming, and stop treating it as fragile. Some slow growers (anubias, bucephalandra) take 6–8 weeks to show obvious progress — that’s their normal speed, not a problem.
Acclimating Different Plant Formats
Tissue-culture cups
Sterile, pest-free, and already adapted to high-humidity (not emersed) growth — tissue cultures melt the least of any format. Rinse the agar gel off gently (leftover gel rots and feeds fungus), split the portion into small plantlets, and plant per our planting guide. They establish slowly for the first two weeks, then accelerate. No dip needed, minimal acclimation stress — this is the premium experience you’re paying for.
Potted plants
Remove the pot and strip away the rockwool completely — leftover rockwool traps debris and rots. Tease the root mass apart gently; if it’s a dense mat, splitting it into 2–3 smaller portions actually establishes faster than planting one big clump (more growing points, better water flow around roots). Potted plants are usually emersed-grown, so expect the standard 2–4 week melt cycle.
Bare-root / bunched stems
Typically sold as weighted bunches. Remove any bands, foam, or weights, strip the lower leaves, and plant stems individually or in small groups. Bunched stems from the store are often already transitioning — check for new submersed growth at the tips, which tells you the plant is mid-adaptation and will settle quickly.
Hobbyist cuttings
Already submersed-grown and the fastest to establish — often showing new growth within days. The main acclimation factor is water-parameter difference between the two tanks. Float to temperature-match, plant promptly, and they’ll usually take off with minimal melt. This is why experienced hobbyists prefer trading cuttings over buying potted plants.
Frequently Asked Questions
Should I use a “plant starter” or transplant fertilizer?
Products marketed for transplant shock are mostly B-vitamins and mild hormones. They don’t hurt, but there’s no strong evidence they help aquarium plants specifically. Stable conditions and patience outperform any bottle. Save the money for more plants.
My new plant melted completely — bare crown, no leaves. Is it dead?
Probably not, if the crown or rhizome is firm. Crypts and swords routinely lose 100% of their leaves and regrow from the base within a month. The test is firmness: firm and pale/green means alive; mushy and brown/black means rot. Give firm-but-leafless plants a full 4 weeks before declaring them dead.
Can I speed up acclimation with extra light or CO2?
No — and trying usually backfires. A melting plant can’t use extra light; the excess just grows algae on its dying leaves. Keep light moderate and CO2 stable (not boosted) during acclimation. Growth speed comes from the plant’s own adaptation timeline, which you can’t rush, only avoid delaying.
Should new plants go straight into my main display tank?
After quarantine/dipping, yes — there’s no benefit to a separate “growing-in” tank for most plants. They acclimate to your water fastest in the tank they’ll live in. The exception is very delicate species going into a tank with boisterous fish; give those a few weeks in a calm corner or breeder box first.
The Patience Rule
The single most important acclimation skill is restraint: plant it right, set gentle conditions, remove decay, and then leave it alone for a month. The hobbyists with the best plant growth aren’t doing something clever in week one — they’re simply not interfering in weeks two through four while the plants do what they’ve evolved to do. Melt looks like failure and feels like failure, but in most cases it’s the visible part of a plant successfully becoming yours.