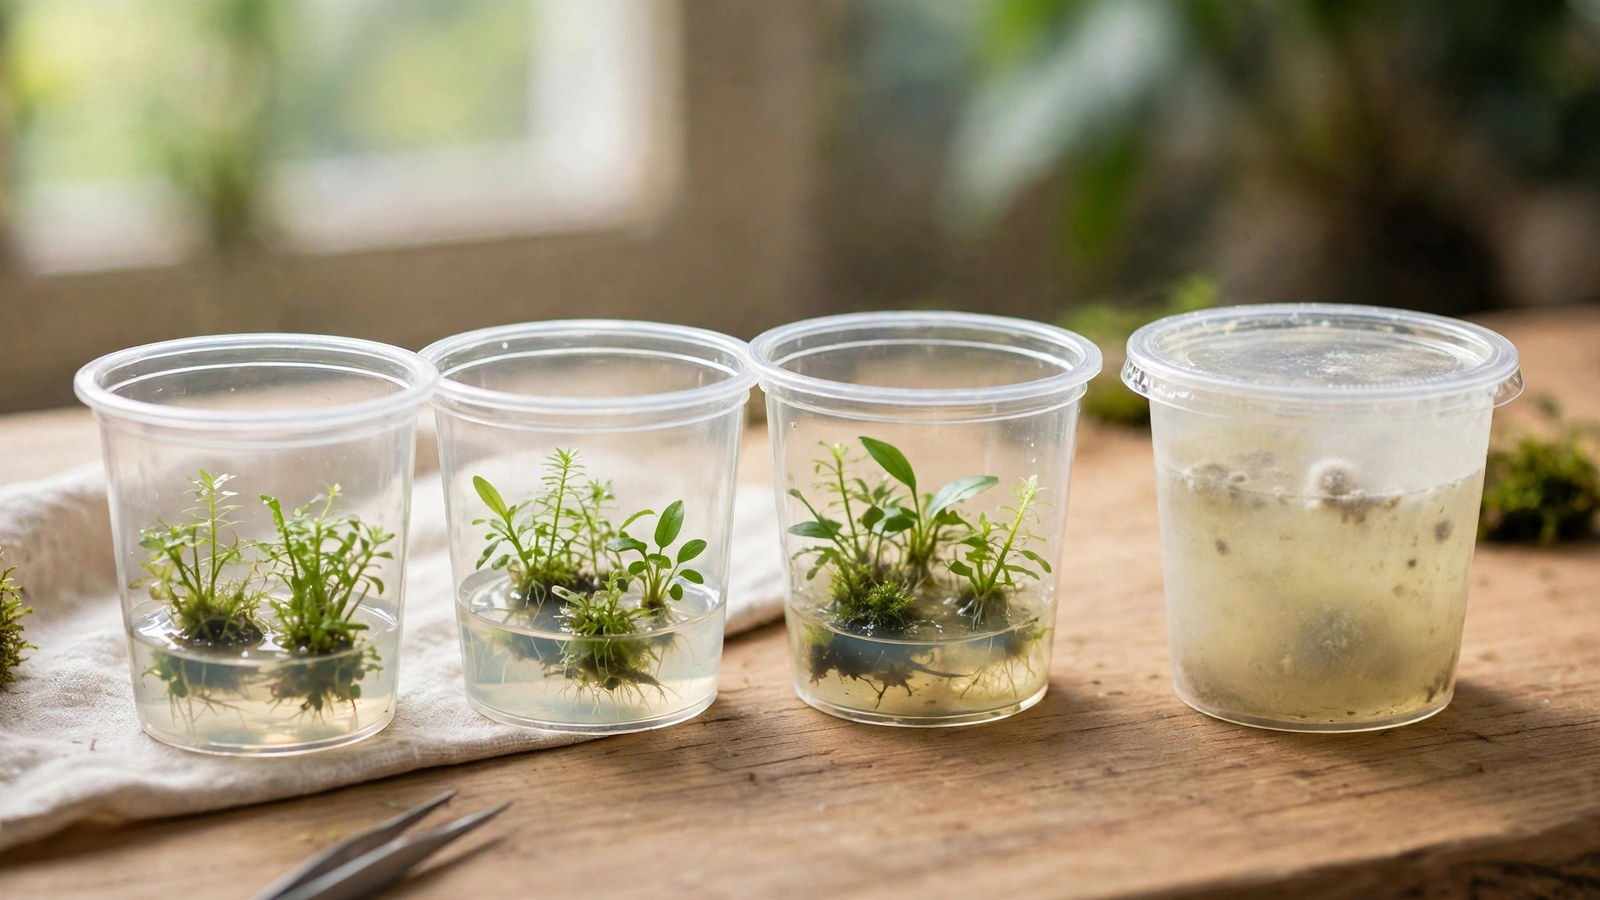
That little cup of tissue culture plants costs more per gram than good steak — and planting a contaminated one straight into your tank seeds mold spores and bacterial slime across the whole aquascape. The good news: diagnosing tissue culture contamination in aquarium plants takes about two minutes once you know the visual signs, and roughly half of suspect cups can be salvaged instead of tossed. This guide covers what to look for, how to triage each cup as save-or-scrap, and how to quarantine and disinfect without harming the plants.
Why even "sterile" tissue culture cups get contaminated
Tissue culture plants grow in nutrient-rich gel inside a sealed cup — a miniature sterile lab. That same gel feeds mold and bacteria too, so sterility is a matter of degree, not magic. A spore that survived the autoclave, a hairline seal crack in shipping, or a cup baking above 30°C (86°F) on a delivery truck can tip the balance.
Once your cups are clean, our guide to how to plant aquarium plants covers the technique that gets them rooted fast.
Tissue culture contamination: the five warning signs in aquarium plants
Open the cup over your sink — not over your tank — and check each of these five signs. Contamination is visible to the naked eye about 95% of the time; no microscope needed.
1. Fuzzy spots or cobwebby threads (mold)
The most common sign: white, gray, green, or black fuzzy patches on the gel, the cup walls, or threading through plantlets like tiny cobwebs. A dime-sized spot in one corner is early infection; fuzz spanning half the cup means the mold has colonized the media deeply.
2. Slimy, glossy film (bacterial colonies)
Bacterial contamination looks like a wet, glossy sheen or milky-yellowish slime on or inside the gel. Unlike mold, it isn't fuzzy — it looks slick. Poke it gently with a toothpick (wash your hands after): if the gel oozes where it should be firm, bacteria are breaking down the media.
3. Cloudy or discolored gel
Healthy gel is clear, firm, and colorless or faintly amber, with plantlets visible inside. When the whole gel turns milky, yellow, or brown, or develops dark patches deep inside, microbes have spread through the entire medium. Beginners miss this sign most — no obvious fuzz — but a cup that's cloudy throughout is done.
4. Off smells: sour, yeasty, or rotten
A healthy cup smells like almost nothing — maybe a faint vegetal note. A sour, fermented, or rotten whiff means microbial metabolism off-gassing. Trust your nose: sour or rotten means active contamination, full stop.
5. Melted, blackened, or translucent plantlets
Sometimes the plants themselves tell the story first. Tissue-cultured plantlets should be firm and green (or the right color for the species). Stems turning translucent like wet tissue paper, leaves blackening at the tips, or whole plantlets collapsing into mush mean contamination has damaged the tissue. A few soft leaves among firm ones is normal transition stress; widespread mush is not.
Unsure which sign you're seeing? The triage table below maps every combination to a save-or-toss verdict.
The triage decision: save it or toss it
Not every contaminated cup belongs in the trash — but planting a hopeless one seeds your substrate with mold. Use this table honestly, then quarantine anything you're keeping.
| What you find | Verdict | Why |
|---|---|---|
| Small fuzzy spots on gel surface; plants firm and green, no smell | Salvage | Early localized mold; plantlets underneath are usually clean |
| Thin slime on gel surface only; plants firm, no odor | Salvage with extra rinsing | Surface bacteria; thorough gel removal usually fixes it |
| Cobweb threads through plantlets; tissue still firm | Salvage selectively | Keep firm plantlets, discard web-wrapped ones |
| Cloudy gel throughout the cup | Toss | Full-media infection |
| Sour, yeasty, or rotten smell | Toss | Active microbial metabolism |
| More than ~30% of plantlets mushy or blackened | Toss | Tissue destroyed; survivors rarely recover |
| Mold/slime plus mushy plants plus bad smell | Toss, don't open further | Triple-sign cups never recover |
Gray-zone cups — moderate slime but firm plants, or cobwebs with no smell — go into quarantine, not the tank.
Quarantine procedure for suspect cups
Quarantine keeps one bad cup from becoming a tank-wide problem — the same logic as quarantining new aquarium plants: isolation, observation, introduction.
- Open it over the sink, never near the tank. Angle the lid away from you, and rinse the cup exterior if the seal looks compromised.
- Remove every trace of gel. Tip plantlets into a clean bowl and rinse under gently running lukewarm tap water for 2–3 minutes, teasing them apart. The gel is the microbe food source — leftover clumps defeat the exercise. A soft toothbrush helps on dense root masses like tissue culture cups of carpeting plants.
- Snip away anything compromised. Cut off blackened, translucent, or slime-coated tissue with clean scissors; keep only firm, healthy plantlets. When in doubt, cut it out — one rotting leaf becomes a bacterial colony by day three.
- Float in a separate container. Use a clean bucket, tub, or spare tank with dechlorinated water, a desk lamp, and a quarter dose of all-in-one fertilizer — no substrate needed, 22–26°C (72–79°F), roughly matching your main tank.
- Observe for 7 full days. Change 50% of the water on days 2 and 5. Watch for fuzzy regrowth, reforming slime, or translucent leaves. Firm plants pushing new growth are clean; contamination reappearing by day 4–5 means the rinse failed — repeat the salvage once or discard.
- One round of retry maximum. A second failed salvage means systemic tissue infection. Discard the cup and report it with your photos.
Salvaging methods: rinse, dip, and replant
For salvageable cups, the order matters: mechanical removal first, chemical disinfection second, only as strong as needed.
Step 1: The triple rinse
Rinse all gel off under lukewarm running water for 2–3 minutes, gently separating plantlets. Then swish them in a bowl of clean dechlorinated water for 30 seconds, dump it, and repeat twice more. Keep going until the water runs completely clear — an amazing amount of gel hides in a carpet-plant root ball.
Step 2: The dilute hydrogen peroxide dip
For salvageable cups with surface mold or slime, a short peroxide dip kills residual spores without harming firm tissue. Use 1.5% hydrogen peroxide or less — drugstore 3% diluted 1:1 with dechlorinated water is standard; for delicate species like Utricularia graminifolia or baby tears, go to 1:3 (about 0.75%). Submerge rinsed plantlets 60–90 seconds with gentle agitation, then rinse a full minute in fresh dechlorinated water.
Conservative dosing matters: peroxide is an oxidizer, and longer or stronger than recommended bleaches leaf tips and melts delicate roots. Start low, keep it brief, and observe. For more on dosing ranges and species sensitivities, see our hydrogen peroxide dip guide; the bleach dip method is a stronger alternative for tough rhizome plants, though overkill for most tissue-culture salvage.
Step 3: Observe, then plant
After the dip, plantlets go into quarantine (7 days, as above) — not the main tank. This is where you verify the rescue worked. If new white fuzz appears on a previously clean plantlet by day three, that plantlet was internally colonized; remove and discard it individually. Expect some melting of older emersed leaves — that's the normal transition, not contamination. Contamination looks like growth on the plant; transition melting looks like the plant itself dissolving.
Planting salvaged cups without reintroducing contamination
Once your plantlets pass quarantine, planting technique still matters — one careless move can undo a week of careful salvage.
- Final rinse on planting day. Give plantlets one last 30-second rinse in dechlorinated water before they go into the substrate — quarantine water can carry a light bacterial load even when plants look clean.
- Plant into established substrate when possible. Fresh aquasoil leaches ammonia for 2–4 weeks, which stresses new tissue-culture plantlets. In a brand-new setup, run it fishless for at least a week and keep ammonia near zero first.
- Space plantlets, don't clump them. Plant the dozens of tiny plantlets 1–2 cm apart, not in one dense wad — water flow between plantlets prevents dead zones where leftover microbes could re-establish.
- Watch livestock after planting. If you used a peroxide dip, get the plants in at least a day before sensitive livestock (shrimp, fry) approaches that section, and observe animals for 48 hours. Start with conservative dosing, observe livestock after any chemical treatment — dips happen in a bucket, never the aquarium.
- Don't dose the tank "just in case." Pouring peroxide or algaecides into your main aquarium to pre-empt contamination stresses fish, shrimp, and beneficial bacteria for a problem that no longer exists. If the cup passed quarantine, trust the process.
 ★4.7
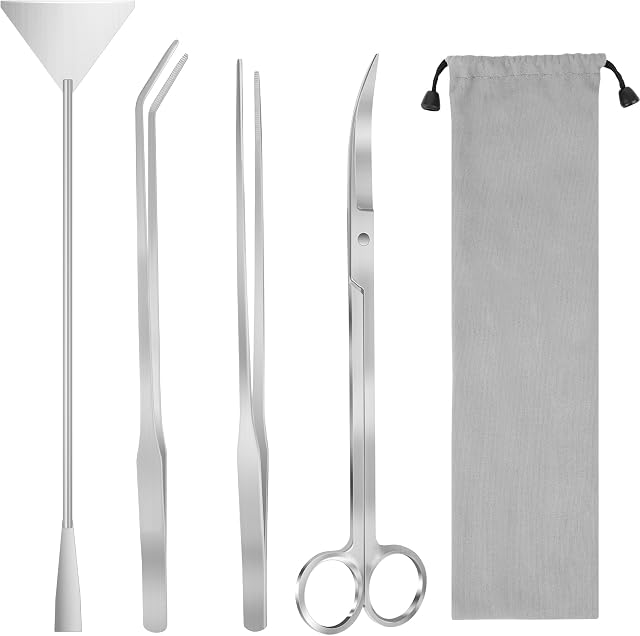
Liveek 4-in-1 Aquascaping Tool Kit
Check Price on Amazon ★4.7Storage tips: keeping good cups good
Can't plant the day cups arrive? Poor storage turns clean cups into contaminated ones — treat the seal as sacred.
- Don't open the seal until planting day. Sterility only lasts while sealed. Once opened, use the contents within 24–48 hours — opened cups go in a zip bag in the fridge at 4–10°C (39–50°F) if you must store them.
- Store sealed cups cool and dark. Room temperature (18–24°C / 64–75°F) away from windows is ideal — heat above 30°C (86°F) wakes dormant microbes, and direct sunlight melts the gel.
- Plant within 2–4 weeks of arrival. Tissue culture cups aren't pantry goods. After about a month, gel nutrients deplete, plantlets yellow from the inside, and contamination risk climbs — manufacturers generally recommend planting within a few weeks of the production date stamped on the cup.
- Inspect seals on arrival. Check every cup for cracked lids or gel leaking into the packaging. A compromised seal is a contaminated cup in waiting — photograph it and plant it first or contact the seller.
Retailer returns: what to actually expect
A contaminated cup is a defective product. Here's how claims normally work.
- Report within 3–7 days of delivery. Most shops accept contamination claims within a few days of arrival. A cup reported after three weeks on your shelf won't qualify — the shop can't tell lab contamination from your storage.
- Photos are everything. Send the photos you took at opening: the mold, the cloudy gel, the damaged seal. Retailers approve replacements almost instantly when the evidence is clear and timestamped.
- Expect a replacement cup, not a refund. The industry standard is a replacement in your next order or a reship; store credit is the middle ground some shops offer.
- You usually won't need to return the bad cup. Nobody wants a moldy cup shipped back — most retailers ask you to discard it and send photos.
- Patterns matter more than single cups. One bad cup in six is normal variance. Three bad cups from one shipment suggests a batch or shipping problem — say so, because the retailer needs that feedback.
Tropica's own tissue culture growing guide explains how their 1-2-Grow! cups are produced and what normal cup contents look like — useful for calibrating your eye. Retailer claim windows vary, so check the shipping and guarantee policy of your seller before ordering.
Frequently Asked Questions
Can I plant tissue culture plants if there's just a tiny spot of mold?
Yes — a small, localized fuzzy spot on the gel surface with firm green plants and no smell is the classic salvageable case. Remove the affected gel, rinse all plantlets, do a brief dilute peroxide dip (≤1.5%, 60–90 seconds), then quarantine 7 days. If nothing new grows, the cup is clean and safe to plant.
Is cloudy gel always contamination, or can it be normal?
A faint amber tint to otherwise firm, clear gel is normal — just the media composition. True contamination cloudiness is milky, opaque, or brown throughout, often with the gel turning runny. If you can't see distinct plantlets through the gel anymore, treat it as contaminated and toss the cup.
Will contamination from a tissue culture cup spread to my fish or shrimp?
The molds and bacteria in contaminated cups are plant-media microbes, not fish pathogens — they won't directly infect livestock. The real risk is indirect: rotting plant matter fuels ammonia spikes and bacterial blooms that stress fish and shrimp. That's why suspect cups get quarantined instead of planted straight into a stocked tank.
How long can I keep a tissue culture cup before planting?
Plant within 2–4 weeks of arrival, storing sealed cups cool (18–24°C) and dark. Past a month, gel nutrients deplete, plantlets yellow from within, and contamination risk climbs. Once the seal breaks, use the contents within 24–48 hours — after that the opened cup is a prime target for airborne mold.
Should I dip every tissue culture cup, or only suspect ones?
Only suspect ones. Healthy cups with clear gel, firm plants, and no smell are fine to plant after a plain water rinse — routine chemical dips add stress for zero benefit, since peroxide and bleach are rescue tools, not mandatory steps.
Your two-minute cup inspection routine
Make this a habit and contaminated cups will never surprise you again. Every cup arrival: check the seal, open it over the sink, run the five-sign checklist — fuzz, slime, cloudiness, smell, firmness. Clear gel and green plants go straight to a rinse and planting; anything else goes to the triage table, then quarantine, then the rinse-and-dip protocol if salvageable. Two minutes of inspection saves a week of fighting mold — and for genuinely bad cups, photograph everything and report early.