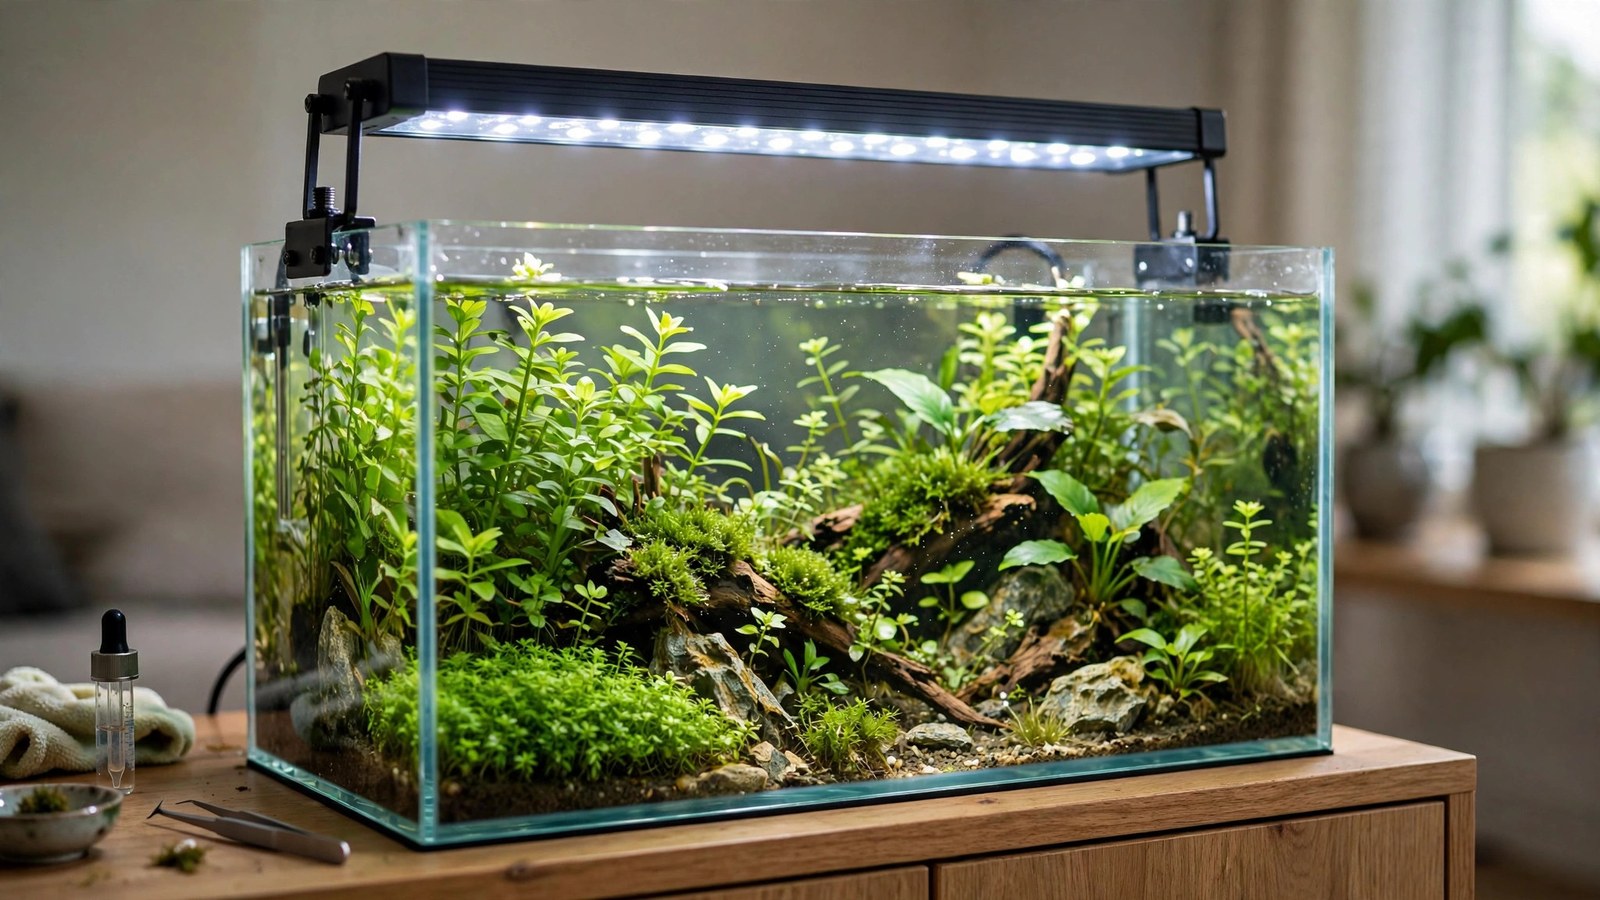
Most starter aquarium kits come with lighting that is, frankly, decorative: a dim strip of white LEDs under the hood that makes the fish visible and does almost nothing for plants. If your stem plants stretch toward the surface, your carpet plants melt, and everything looks leggy no matter how much fertilizer you dose, the light is usually the bottleneck. The good news is that you can upgrade aquarium light on a budget — properly, without algae taking over — for far less than a flagship fixture costs. This guide walks you through how to read the specs that matter, the three affordable upgrade paths, and the conservative ramp-up plan that keeps algae from celebrating your new purchase.
Signs your current light is the problem
Before spending anything, confirm that light — not nutrients or CO2 — is actually your limiting factor. Kit lights fail plants in predictable ways:
- Leggy, stretched stems with long gaps between leaf nodes. Plants are reaching for more photons.
- Carpet plants that melt or refuse to spread. Foreground species like dwarf hairgrass and monte carlo sit farthest from the fixture, so they fail first under weak light.
- Red plants that stay green. Many red species need strong light to develop their coloration.
- Old-growth die-off while new tips look fine. The plant is cannibalizing lower leaves that cost more energy to maintain than they photosynthesize.
If instead your plants show pinholes, yellowed older leaves, or twisted new growth, the problem is more likely nutrients than photons — light alone will not fix a deficiency, and adding a stronger fixture on top of a deficiency only feeds algae. Match your diagnosis to what your plants are telling you, and consider photographing your plants (see our same-batch diagnosis guide) before you buy.
What actually matters on a spec sheet
Cheap lights love big marketing numbers. Here is how to read past them.
PAR, not lumens, not watts
PAR (photosynthetically active radiation) measures the photons plants can actually use, in µmol/m²/s. Lumens measure brightness as the human eye perceives it, and watts measure electricity consumed — neither tells you how much usable light reaches your substrate. Budget lights rarely publish PAR charts; that absence is itself a data point. If a manufacturer publishes a PAR table at various depths, that is a strong trust signal. A reasonable rule of thumb for low-tech planted tanks is 20–50 µmol/m²/s at the substrate, with 50+ entering the territory where CO2 supplementation starts mattering. Our guide on how much light aquarium plants need breaks down targets by plant category.
CRI and color temperature
CRI (color rendering index) tells you how natural things look under the light — 90+ looks rich and realistic, below 80 looks washed out. Color temperature (Kelvin) describes the tint: 6500K is neutral daylight, lower numbers skew warm, higher numbers skew blue. Plants grow fine under anything from roughly 5500K to 7500K, so pick what looks good to your eye; a high-CRI 6500–7000K light makes greens pop without a purple grow-light look. Beware of "blurple" cheap grow panels: they may grow plants but make your fish look like aliens.
Spectrum and the red-light marketing trap
Many budget fixtures advertise "full spectrum with red and blue LEDs for plant growth." A little red in the mix helps red plants color up, but plants overwhelmingly use the whole visible range, and what matters most is total usable intensity delivered evenly. A fixture with fancy red/blue channels but weak overall output is worse than a simple bright white 6500K bar.
Three ways to upgrade your aquarium light on a budget, compared
You do not need a $300 flagship to grow healthy plants. These are the three routes hobbyists actually take, with honest trade-offs.
| Option | Typical cost | Best for | Strengths | Weaknesses |
|---|---|---|---|---|
| Clip-on LED | $15–40 | Nano tanks up to ~10 gallons | Cheap, mounts on rimless or rimmed tanks, easy to angle | Weak for deep tanks, small spread on wide tanks, often no dimmer |
| Daylight LED floodlight | $15–30 | DIYers, open-top tanks | Very high output per dollar, 6500K daylight versions widely available | Harsh spotlight look, needs a DIY mount or hanging kit, usually no dimming or timer |
| Full-length LED fixture | $40–90 | Standard 20–55 gallon tanks | Even spread, adjustable brackets, often includes dimmer/timer | Costs more, quality varies wildly at the bottom of the range |
Clip-on LEDs: the nano-tank sweet spot
For tanks under about 10 gallons, a well-chosen clip-on is often all you ever need. Look for adjustable gooseneck or arm mounts so you can raise or lower the head — height adjustment is your poor-man's dimmer. Skip clip-ons for deep tanks (12 inches of water or more), where their modest output falls off fast. Our roundup of the best clip-on lights for nano tanks compares current models on real output rather than marketing claims.
Daylight floodlights: maximum photons per dollar
A 6500K outdoor LED floodlight is the budget hobbyist's open secret: 20–50 watts of daylight for the price of a pizza. They work best on open-top tanks hung from a simple bracket or shelf. The catches: the light is a harsh single point source (fine for plants, less flattering for viewing), most have no dimming, and you will want them on a plug-in timer. Also mind heat and water — keep the housing dry and never mount a mains-voltage floodlight where a splash can reach it. A glass lid or careful mounting position is not optional here; it is safety.
Full-length fixtures: the balanced pick
For standard rectangular tanks, a full-length bar with adjustable-width brackets gives the most even coverage — no dim corners where carpet plants give up. This is the tier where spending a little more pays off: models in the $40–90 range often include built-in dimmers and timers, which are worth real money because they let you ramp up intensity safely (more on that below). See our picks for the best LED lights for low-tech planted tanks for models that publish honest specs.
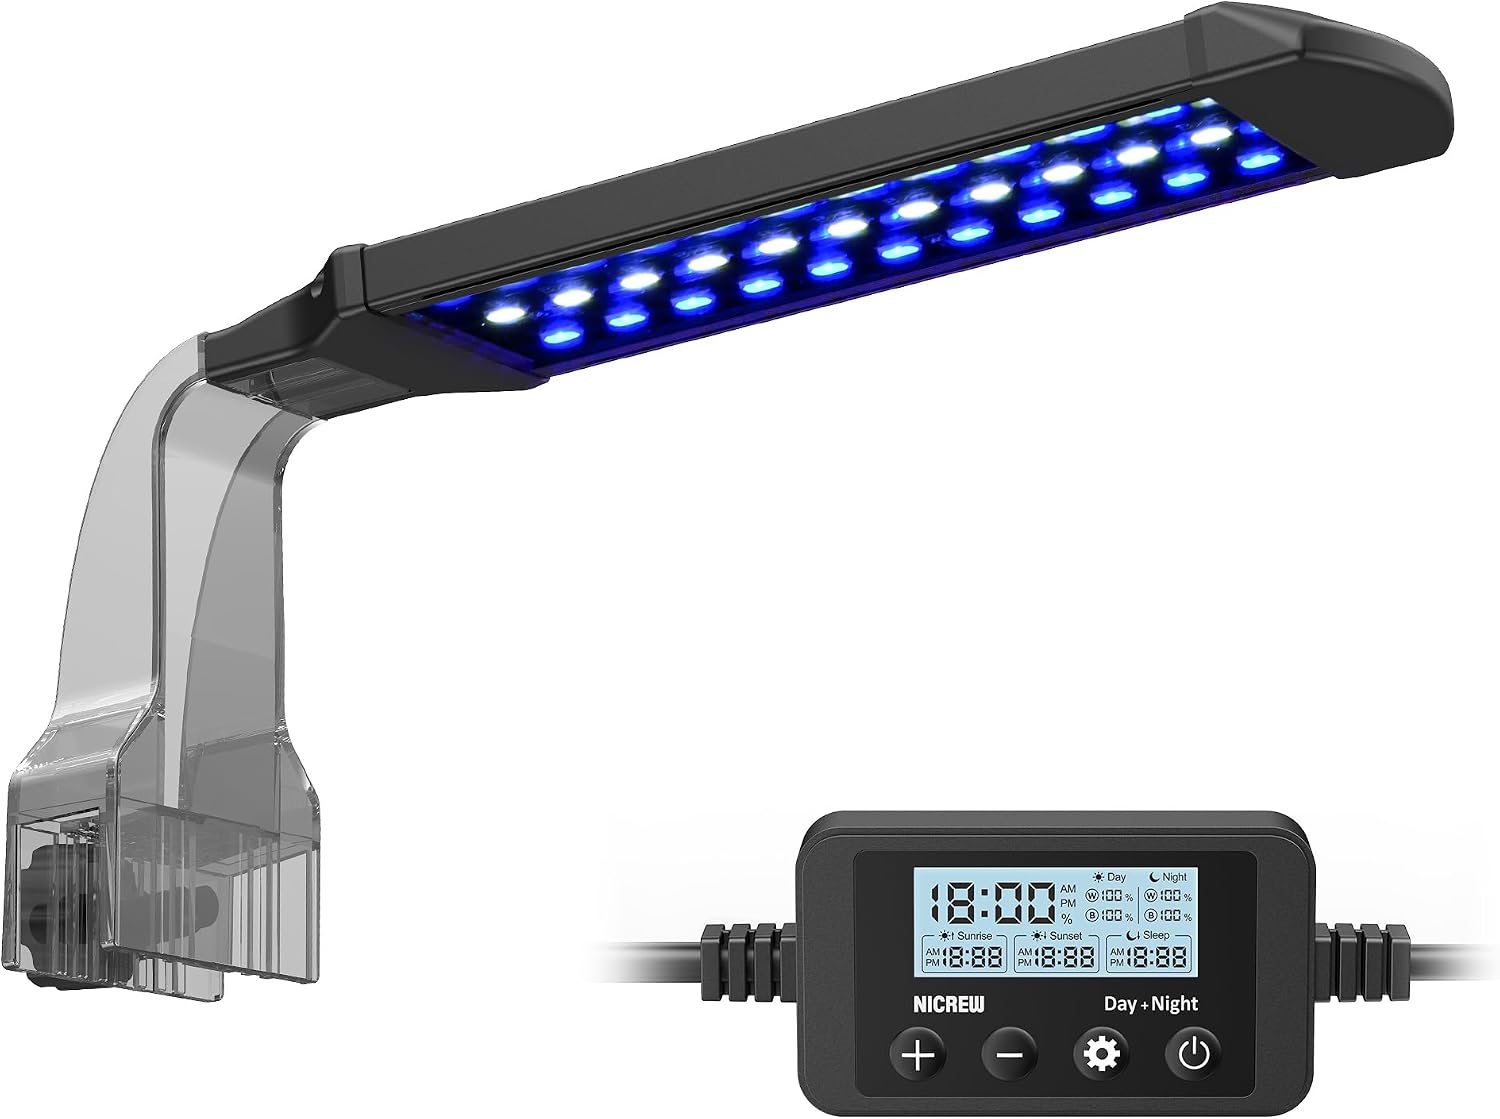
The budget sweet spot for most planted tanks is a proven mid-range LED: NICREW ClassicLED Plus.
 ★4.6
NICREW ClassicLED Plus planted aquarium light
Check Price on Amazon ★4.6The over-lighting trap: more light ≠ better
This is the mistake that turns a light upgrade into an algae farm. Plants can only use as much light as their slowest resource allows — usually CO2 or nutrients in a low-tech tank. Blasting a non-CO2 tank with high light does not make plants grow faster past their limit; it just hands the surplus energy to algae, which are far more opportunistic. Green dust on the glass within days of a new light is the classic symptom.
The conservative rule: buy a light you can turn down, not a light you have to run at full blast. A dimmable 60-watt fixture run at 50% is a far better purchase than a non-dimmable 30-watt fixture run at 100% — the first gives you headroom for denser planting later and a knob to turn when algae appears. When in doubt, choose less light and a longer photoperiod rather than more light for fewer hours.
The safe ramp-up: introducing your new light
Never swap a weak kit light for a strong new fixture at full power and walk away. Plants and the tank's biological balance need time to adjust. Follow this two-week plan:
- Start at 50% intensity (or raised high) with a 6-hour photoperiod for the first week. If your light has no dimmer, hang or mount it higher — every few inches of height drops intensity meaningfully. Our hanging light height guide has the numbers.
- Watch the glass and slow growers. A light dusting of algae on the glass in week one is normal; thick green coats or hair algae on Anubias and other slow growers means too much, too fast.
- Raise intensity or duration — never both at once. In week two, go to 7 hours at the same intensity, or bump intensity 10–15% at the same duration.
- Settle at 7–8 hours once plants show fresh growth and algae stays at background levels. Most low-tech tanks are happiest here long-term.
If algae flares at any step, back off to the previous setting for another week before trying again. Patience here saves months of fighting green water later. The full technique is covered in our guide to raising light intensity safely.
Timers and dimmers on a budget
Consistency beats intensity: plants and algae both respond to a rock-steady daily schedule, and a cheap timer delivers that for a few dollars.
- Plug-in mechanical timers ($8–12) are the cheapest meaningful upgrade you can make — even before a new light. Set-and-forget beats remembering to flip a switch.
- Inline PWM dimmers ($10–15) can retrofit dimming onto many basic 12V LED fixtures. Check voltage and polarity compatibility before buying; a mismatched dimmer can fry a driver.
- Smart plugs ($10–20) add app scheduling and are handy if your fixture lacks a built-in timer. They switch power but cannot dim, so pair with the fixture's own dimmer where possible.
- Ramp timers / sunrise-sunset controllers fade light in and out instead of slamming it on, which reduces fish stress and looks far better in a living room. See sunrise-sunset ramping for planted tanks for options at several price points.
Whatever you use, lock in a schedule and leave it alone — constant fiddling with timing is itself an algae trigger. Our aquarium light schedule guide covers how to structure the day around viewing time without over-illuminating the tank.
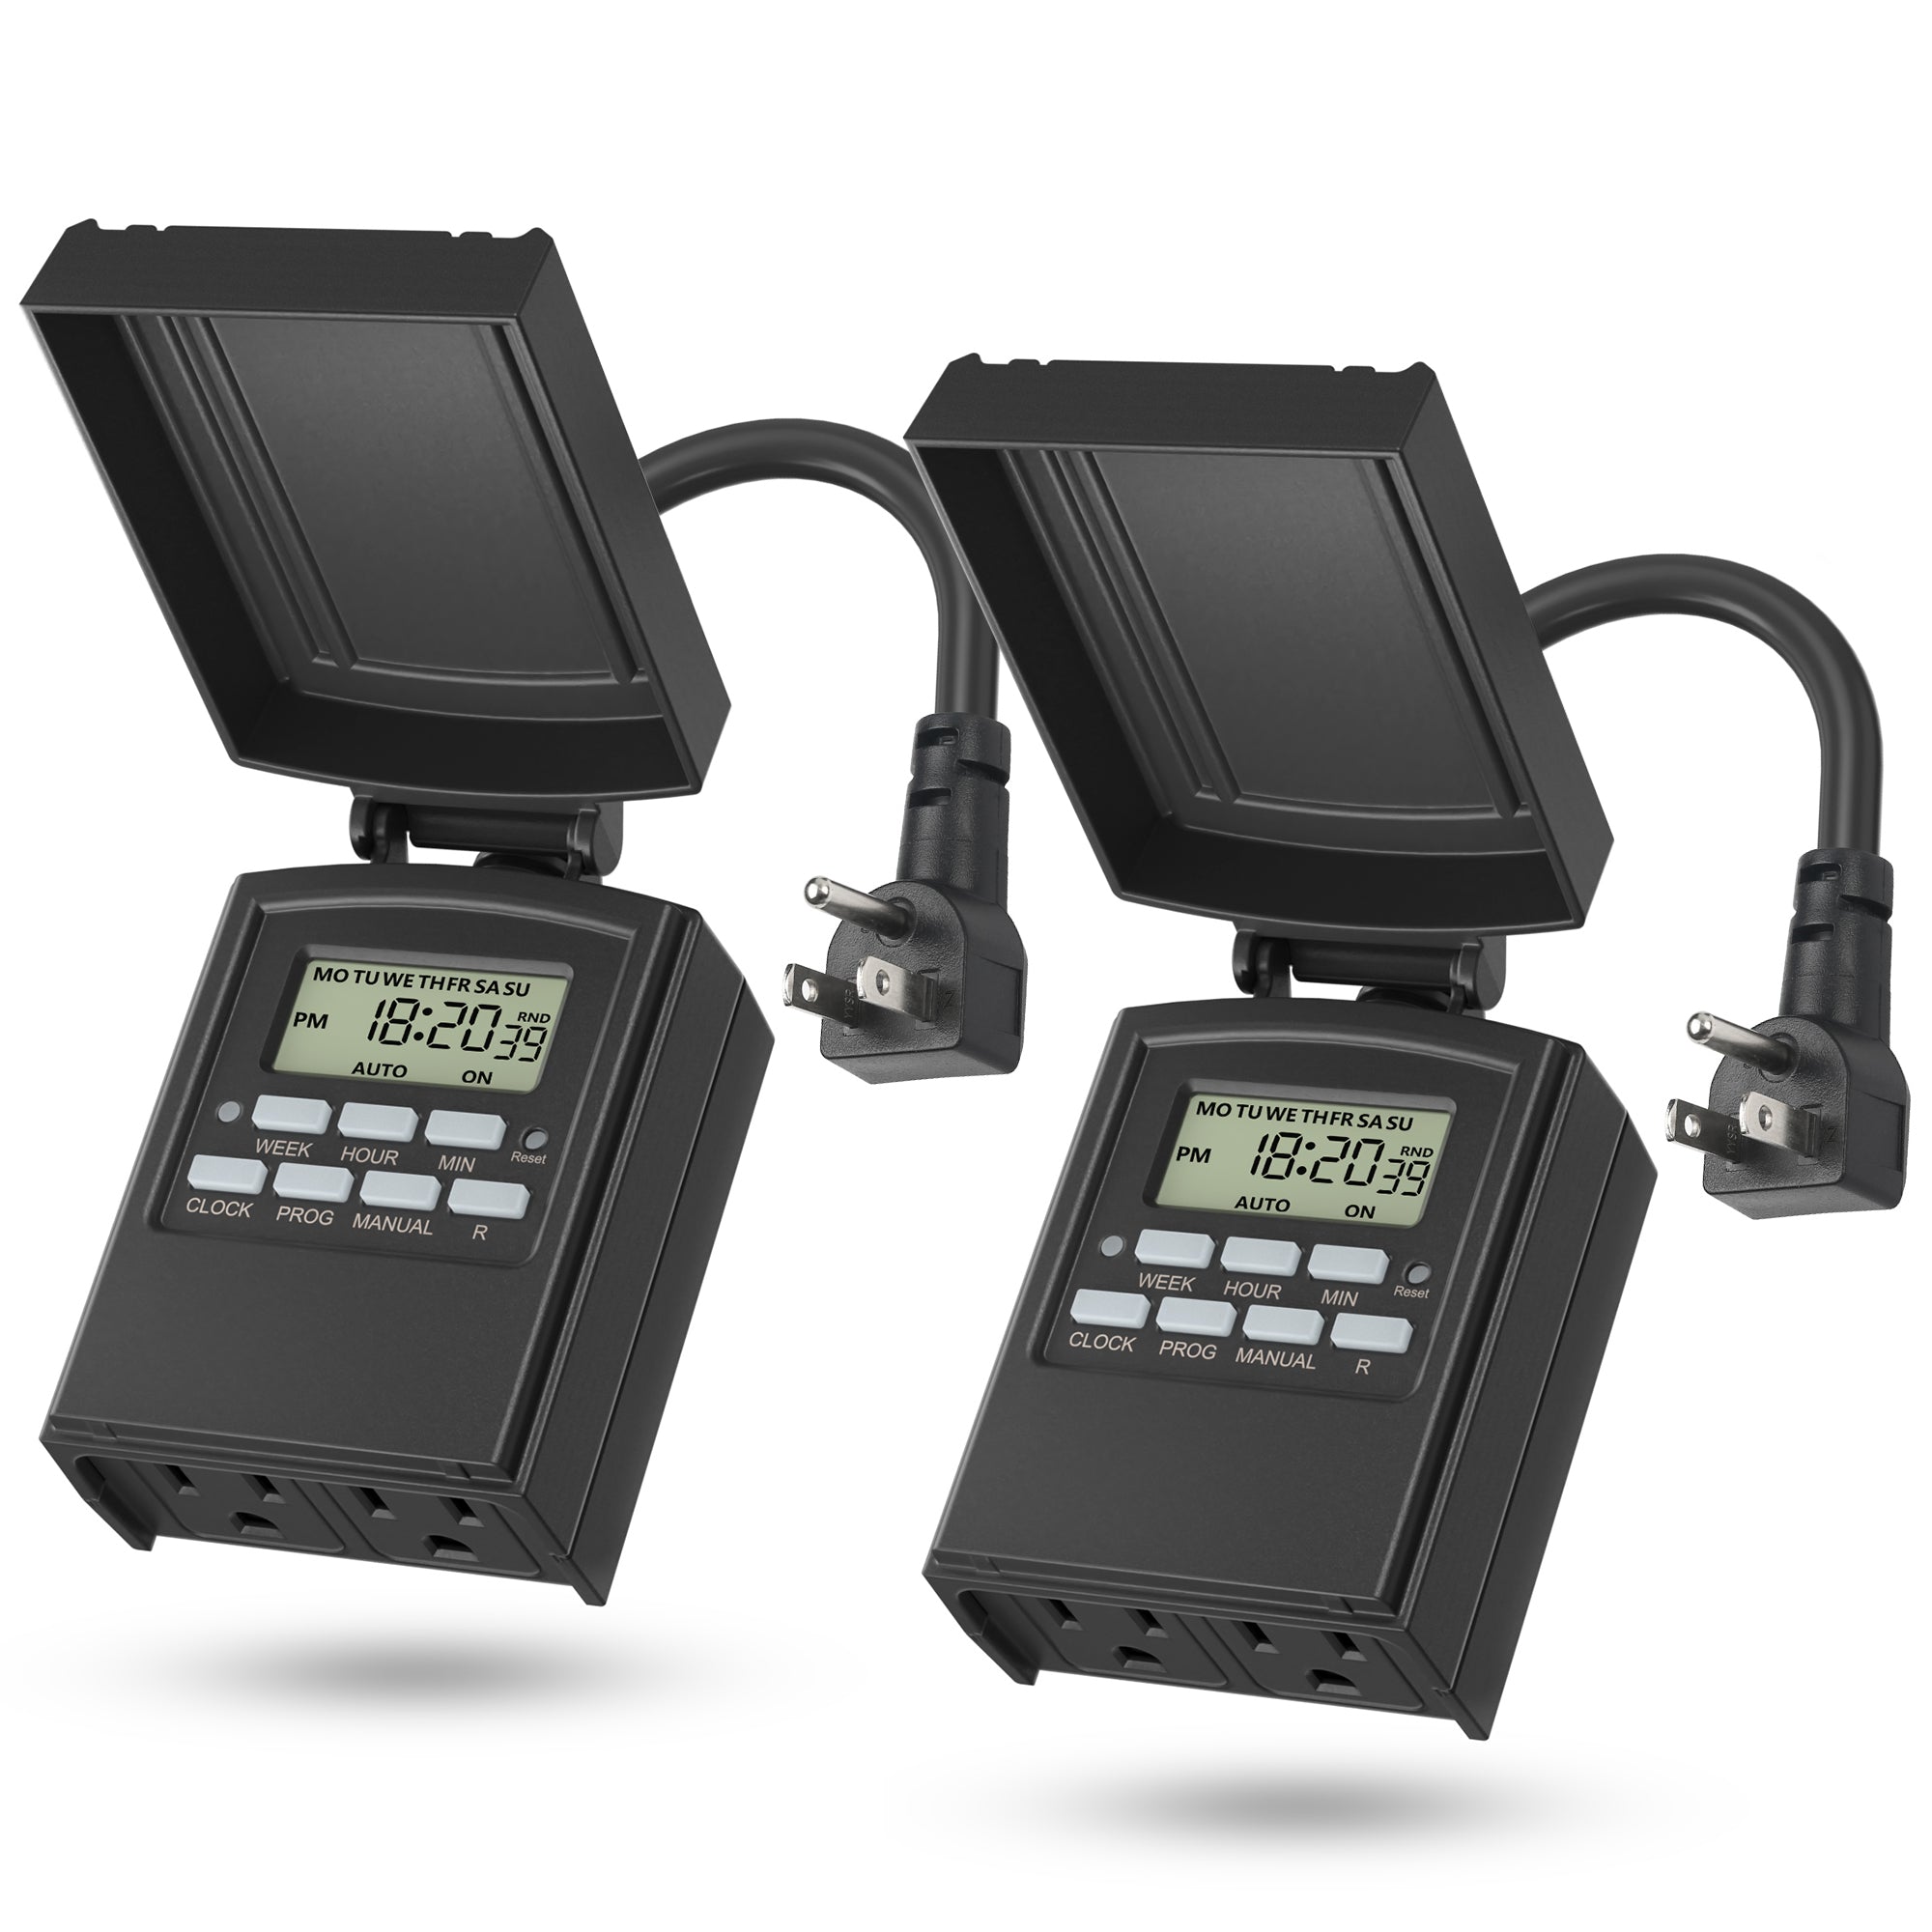
A simple outlet timer protects your investment from algae: BN-LINK digital outlet timer.
 ★4.4
BN-LINK Digital Outlet Timer
Check Price on Amazon ★4.4What not to cheap out on
Saving money is smart; saving it in the wrong places is expensive. Do not compromise on these:
- Electrical safety. No-name fixtures with thin cords, no certifications, and drivers that run hot are not worth the risk around water. Look for recognized safety marks and keep all mains connections well above splash height on a drip loop.
- Water resistance. A fixture over an open-top tank lives in humid, splashy air. IP65-rated housings or at least a glass lid between light and water are worth paying for.
- A way to reduce output. As established above, a dimmer or height adjustment is not a luxury — it is your algae insurance. A non-dimmable fixture that is slightly too strong has no fix except raising it or shading it.
- Honest specs. If a listing claims absurd wattage with no PAR data, no CRI, and no brand behind it, assume the numbers are fiction. Established budget brands publish at least basic photometric data.
Where you can save: fancy app control, sunrise animations, and brand prestige. Plants genuinely do not care about Bluetooth.
Frequently Asked Questions
Can I just add a second kit light instead of buying a better one?
You can, and for mild upgrades it works — two weak strips beat one. But it doubles the clutter, usually doubles the lack of dimming and timers, and rarely fixes the core problem of poor spectrum and uneven spread. If your kit light is truly dim, one decent budget fixture usually outperforms two bad ones and costs about the same.
Will a stronger light alone make my red plants turn red?
Stronger light helps, but red coloration also depends on the species, adequate iron and overall nutrition, and in many cases CO2. Upgrading light without addressing the rest often just grows red-tinted algae. Get the light right first, then assess whether nutrients or carbon are the next bottleneck.
How do I know if my new light is too strong without a PAR meter?
Watch the tank, not the box. Pearling plants with no algae after two weeks means you are in the zone. Green dust coating the glass within days, hair algae on slow growers, or plants closing up and stalling all signal too much light. Renting or borrowing a meter helps — our PAR meter guide explains how to measure and what the numbers mean.
Is a 6500K floodlight really safe to use over an aquarium?
The light itself is fine — 6500K daylight grows plants well. The concern is purely electrical and mechanical: mains-voltage housings must stay dry, mounted securely, with a drip loop on the cord. Never rest a floodlight directly on a glass lid where heat can build up, and never use one with damaged seals over an open tank.
Should I upgrade my light or add CO2 first?
Almost always the light first. CO2 amplifies whatever light you have — adding it under a weak kit light gives you expensive, slightly faster-growing dim plants. A proper light upgrade with good ramp-up discipline transforms most low-tech tanks on its own; add CO2 later only if your plant goals outgrow what the new light can support.
How long should I run my new light each day?
Start at 6 hours during the ramp-up, then settle at 7–8 hours for most low-tech planted tanks. Longer photoperiods rarely grow plants faster but reliably grow more algae. Keep the schedule identical every day with a timer — consistency matters more than the exact number of hours.
Upgrade once, upgrade right
A budget light upgrade done well — honest specs, a dimmer, a timer, and a two-week ramp-up — will do more for your planted tank than any fertilizer or gadget at the same price. Resist the urge to max it out on day one, let the plants tell you when they want more, and keep that surplus energy away from algae. Done this way, the cheapest meaningful upgrade in the hobby is also one of the most transformative. For a deeper dive into matching light levels to your specific plants, our guide on how much light aquarium plants need is the natural next read, and the Tropica guide to choosing aquarium light offers a manufacturer's perspective on matching lumens to plant categories.