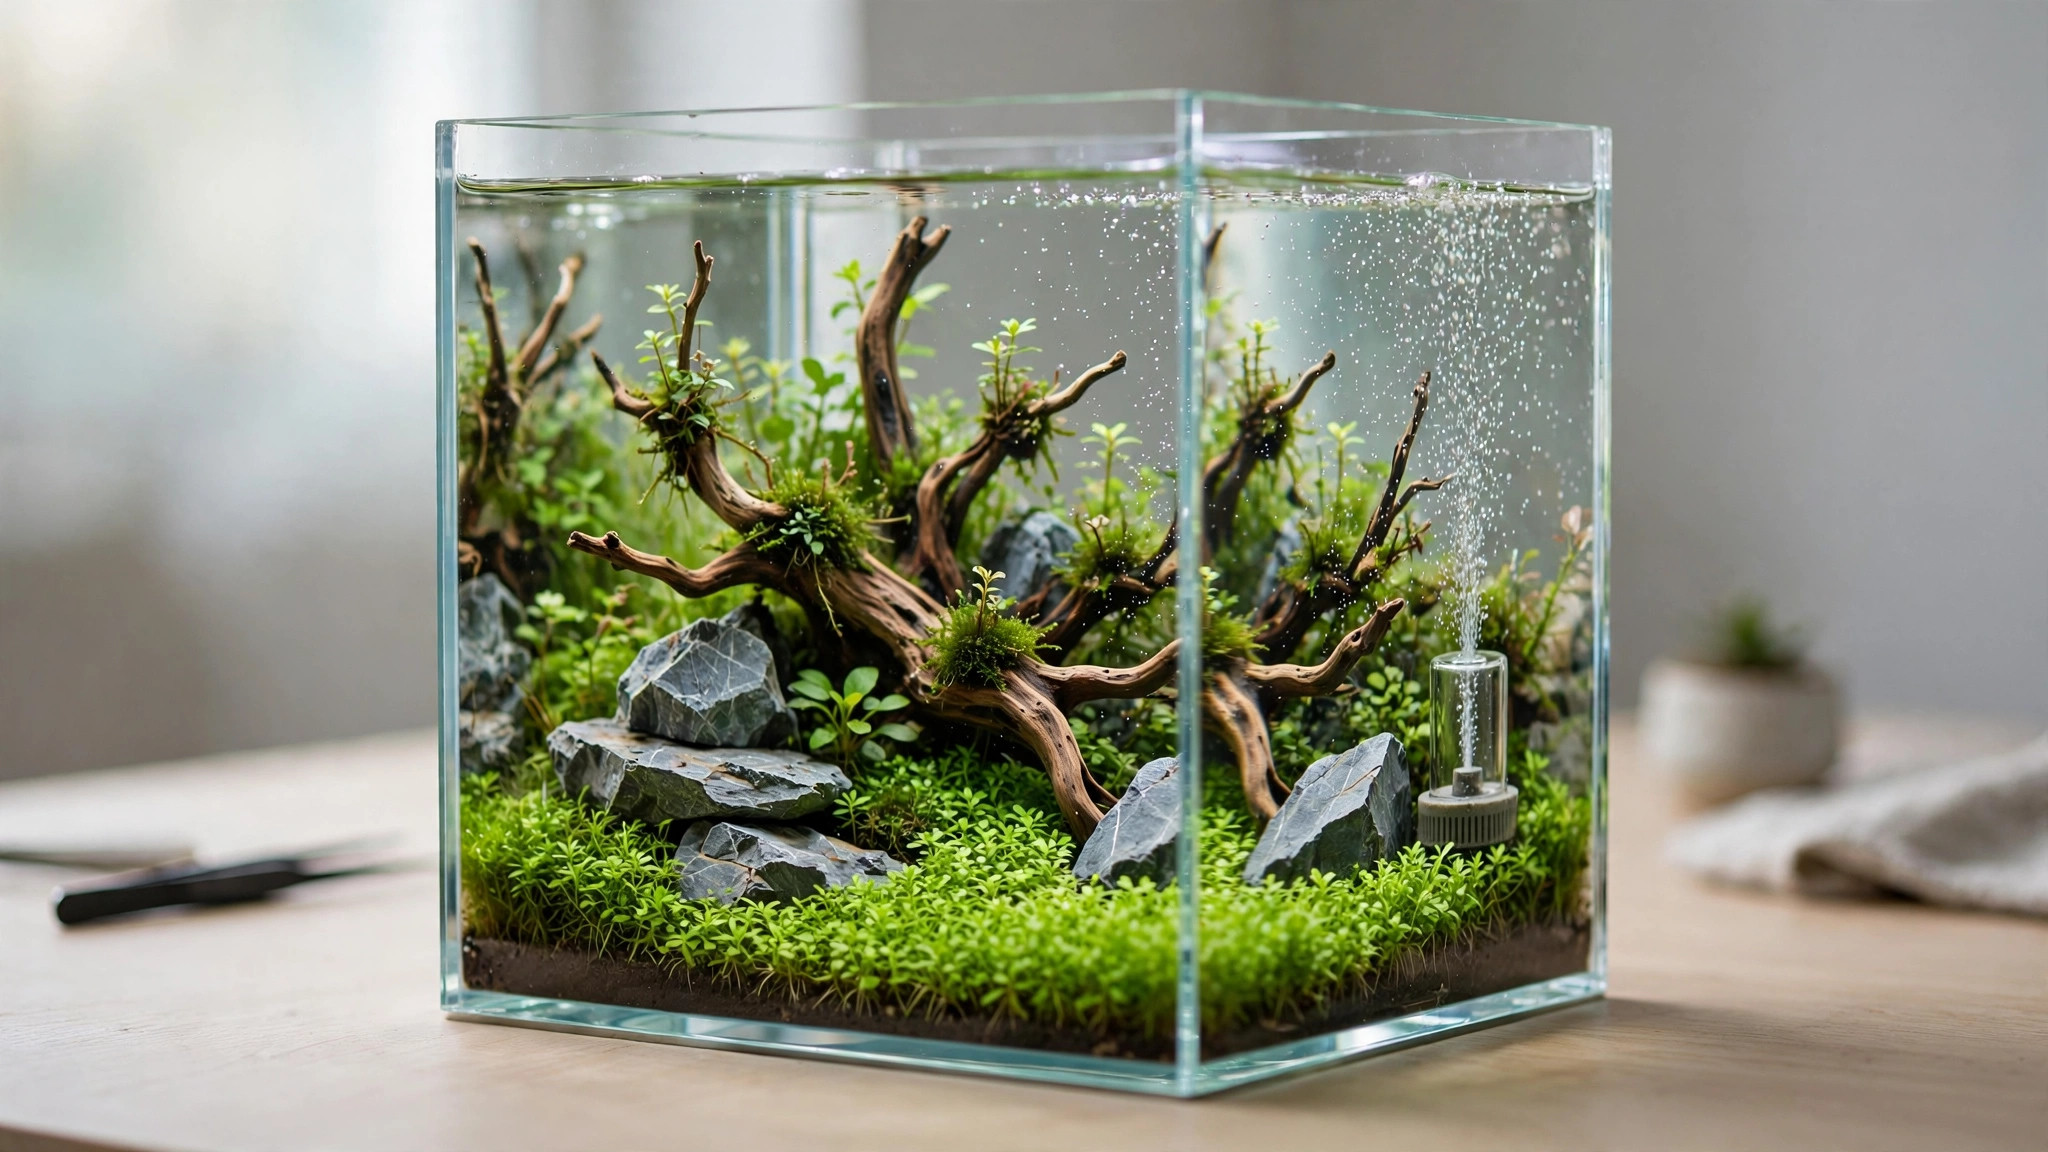
A five-gallon cube holds barely 20 liters of water — and that is exactly what makes CO2 so touchy in a nano tank. A bubble rate that would barely register in a 40-gallon tank can push a 5-gallon cube deep into the danger zone for shrimp and small fish. Get the dosing right, though, and that same tiny tank will grow dense carpets and red stems that look like they belong in a tank three times its size.
Direct answer: The best small CO2 kit for a nano aquascape is a complete cartridge-based system — mini regulator with solenoid, bubble counter, diffuser, tubing, and disposable 45g CO2 cartridges — because it gives you pressurized, timer-controlled CO2 in a footprint smaller than a water bottle. Add a glass drop checker and an outlet timer and you own the complete setup. For nanos under 10 gallons, start at 1 bubble every 2–3 seconds, tune until the drop checker reads lime-green, and run the gas only during your 6–8 hour photoperiod.
What makes a CO2 kit "nano-ready"?
Full-size CO2 rigs are built for tanks of 40 gallons and up: big cylinders, dual-stage regulators with two gauges, needle valves with hair-trigger sensitivity. Bolt one of those onto a 5-gallon cube and you get two problems — a footprint problem (the cylinder is bigger than the tank) and a control problem (the valve barely moves before it floods a nano with gas).
A kit is nano-ready when it satisfies five conditions:
- Fine flow control at low rates. You need to hold a steady 1 bubble every 2–3 seconds without the rate creeping up overnight. Precision needle valves — or small fixed-output regulators designed for disposable cartridges — do this better than full-size regulators at the bottom of their range.
- A solenoid. An electric valve that opens the gas only when powered. Without one, you are manually turning a needle valve twice a day, and forgetting once can mean a gassed tank. In a nano, there is no margin for a stuck valve.
- A bubble counter. Counting bubbles is crude, but it is the only repeatable way to set and reproduce a rate on a nano. Diffusers with a built-in bubble-counting chamber work well for small tanks.
- A small-footprint CO2 source. Disposable 45–80g cartridges, small paintball tanks, or a compact DIY generator bottle. Anything you can refill or replace without hauling a 5 lb cylinder to a welding shop.
- A complete parts chain. Regulator, solenoid, bubble counter, CO2-proof tubing, check valve, diffuser. The moment you are hunting for a missing fitting, the "kit" has failed you.
Every recommendation below is judged against that checklist.
The three routes to nano CO2
There are really only three sensible ways to put pressurized CO2 on a nano aquascape. Everything on the market is a variation of one of them.
| Route | How it works | Best for | Watch out for |
|---|---|---|---|
| Disposable cartridge kit | 45–80g food-grade CO2 cartridge feeds a mini regulator + solenoid + diffuser | Tanks under 10 gal, desktops, minimalists | Cartridges must be reordered; highest cost per gram of CO2 |
| Citric-acid DIY generator | Citric acid + baking soda react in a pressure bottle; regulator and solenoid meter the gas | Budget aquarists, 5–20 gal | Refilling every 3–6 weeks; mixture quality affects stability |
| Paintball tank + adapter | Refillable 9–24 oz paintball cylinder with a paintball-thread regulator | Heavier users, upgraders, tinkerers | Bulkiest option; needs a refill source (sporting-goods stores) |
Yeast-and-sugar DIY is the fourth option people ask about, but it earns no row in this table: the output is unstable, it cannot be turned off at night, and in a nano tank "unstable" is another word for "dangerous." If you want cheap, get the citric-acid generator instead — it is still pressurized, still timer-controlled, and still stable.
Our pick: a complete cartridge kit
For a first nano setup, the cartridge kit wins on every axis that matters to a beginner: smallest footprint, fastest setup, most stable output, and zero chemistry to learn. You unbox, screw on the cartridge, plug in the solenoid, and start counting bubbles.
The FZONE Desktop Aquarium CO2 System ★4.1 is the current shape of this idea done well: a compact aluminum regulator body designed around a 45g disposable cartridge, compatible with both 5/8" and 3/8" threaded interfaces, sized explicitly for nano aquariums. The 45g cartridge is the sweet spot for small tanks — big enough to run a month or more at nano bubble rates, small enough to tuck behind a 5-gallon cube.
What to check before you buy any cartridge kit:
- Solenoid included. Timer-controlled gas is non-negotiable on a nano. If a kit ships without a solenoid, you will pay for it twice — once in livestock stress, once when you buy the solenoid separately.
- Thread compatibility. Disposable cartridges come in 5/8" and 3/8" threads depending on brand. Kits that include an adapter (like this one) save you from ordering the wrong replacement cartridges later.
- Cartridge availability. Before committing, search for replacement 45g cartridges from the same brand and confirm they are in stock. A kit is only as good as its refill supply.
- Stand or holder. A 45g cartridge is light and tippable. A kit with a cartridge stand or holder keeps the assembly upright behind the tank instead of rolling around.
Affiliate note: the product links in this guide are affiliate links — if you buy through them, AquaVerdia earns a small commission at no extra cost to you. It helps fund the in-depth guides you read here for free, and it never changes which products we recommend.
The budget route: citric-acid DIY generator
If the recurring cost of disposable cartridges bothers you, the citric-acid generator is the answer that keeps pressurized, timer-controlled CO2. A stainless bottle mixes citric acid and baking soda in water; the reaction produces CO2 at pressure; a regulator with solenoid meters it to the tank. You buy food-grade citric acid and baking soda in bulk, and a single refill costs a fraction of a cartridge.
The Fzone 2.5L CO2 Generator Kit ★4.5 is a well-regarded example: SUS304 stainless-steel bottle, regulator with precision needle valve, bubble counter with check valve, 12V solenoid for timer control, and an automatic pressure-relief valve as a safety backstop. A 2.5L charge runs roughly a month at 1 bubble per second over 8 hours — and nano rates are slower than that, so expect even longer.
Be honest with yourself about the trade-off: you are trading money for maintenance. Every 3–6 weeks you will drain the spent solution, rinse the bottle, and re-mix powders with a funnel and syringe. It takes about fifteen minutes and becomes routine — but if you know you will not do it, the cartridge route will serve you better. Nothing grows algae like an unstable DIY setup that ran out two weeks ago.
One more consideration: these generator kits do not ship with the citric acid and baking soda (for good safety and shipping reasons). Order food-grade powders separately so they arrive the same day as the kit.
The upgradable route: paintball tank
Paintball CO2 is the sleeper pick for nano aquascapes that might grow. A 9–24 oz refillable paintball cylinder with a paintball-thread regulator gives you refillable capacity at a fraction of the size of a 5 lb cylinder, and refills at sporting-goods stores are cheap. The trick is the regulator: it must be built for paintball threads, with a solenoid and a fine needle valve.
Choose this route if your nano is a gateway tank — you plan to rescape bigger within a year and do not want to rebuy equipment. The paintball regulator moves with you to a 20-gallon, which cartridge hardware cannot do. For a single permanent nano, though, the cartridge or generator kit stays simpler.
The two parts most kits under-deliver
Even a complete kit leaves two jobs for you: measuring CO2 and automating it. These are the two purchases that separate tanks that thrive from tanks that crash.
Measuring: a glass drop checker
You cannot tune CO2 by watching fish — by the time livestock look stressed, you have already overdosed. A drop checker is a small glass vessel that hangs inside the tank holding 4 dKH reference solution and a pH indicator. CO2 diffuses in from the tank water and shifts the color: blue means too little, lime-green means roughly 30 ppm, yellow means too much.
The FZONE CO2 Glass Drop Checker ★4.6 kit ships with the checker and the 4 dKH solution together, which matters — a checker filled with plain tank water gives meaningless readings. Give it 2–4 hours to respond after each adjustment; it is a lagging indicator, not a live gauge. Place it opposite the diffuser so it measures water the CO2 has actually reached.
Automating: an outlet timer
The solenoid needs a schedule: gas on roughly one hour before the lights, gas off roughly one hour before lights-out. CO2 builds slowly in the water column, so starting an hour early means target levels are reached by the time photosynthesis begins; stopping early lets plants finish using the dissolved gas before dark, when plants switch to respiration and need the oxygen.
A simple programmable outlet timer like the BN-LINK 7-Day Programmable Digital Outlet Timer ★4.7 handles both the CO2 solenoid and your light on one schedule. Digital beats mechanical here: mechanical pin timers drift and can be knocked out of sync by power flickers, and a nano tank notices a mistimed solenoid fast.
Setting up your first nano CO2 kit, step by step
- Assemble dry. Attach the regulator to the cartridge or bottle, thread the bubble counter onto the regulator outlet, and press-fit the CO2-proof tubing from the counter to the diffuser. Standard airline tubing is permeable to CO2 and will waste gas — use tubing rated for CO2.
- Fit the check valve. Install it in the tubing run between the bubble counter and the diffuser, arrow pointing toward the tank. This is the piece that stops tank water from back-siphoning into the regulator when the gas is off.
- Mount the diffuser low and opposite the filter outflow. Fine mist needs contact time. Place the diffuser near the substrate at the opposite end from the filter output so the flow carries micro-bubbles across the whole tank before they surface.
- Fill the bubble counter with water to the indicated line, and fill the drop checker with 4 dKH solution (a few drops is enough).
- Charge and leak-check. Open the CO2 source, then brush soapy water over every connection — regulator threads, tubing joints, bubble-counter seals. Bubbles where they should not be mean a leak to fix now, not later.
- Set the initial rate. With the solenoid powered, adjust the needle valve to 1 bubble every 3 seconds. Watch for a full minute to confirm the rate is steady.
- Plug the solenoid into the timer and program lights + CO2: CO2 on at 8:00, lights on at 9:00, CO2 off at 15:00, lights off at 16:00 (adjust to your 6–8 hour photoperiod).
- Wait and tune. Check the drop checker after 4 hours and again the next day. If it is still blue, increase the rate slightly; if it trends yellow, back off immediately. Adjust once per day, never more.
Dialing in the bubble rate for your tank
Bubble rate is a starting point, not a prescription. A 5-gallon cube with a carpet of Monte Carlo and a strong light wants more CO2 than a 10-gallon with slow-growing Anubias and ferns. Use this as a ladder, not a rule:
| Tank size | Start | Typical landing zone |
|---|---|---|
| 2.5–5 gal | 1 bubble / 3 sec | 1 bubble / 2 sec |
| 5–10 gal | 1 bubble / 2 sec | 1 bubble / 1–2 sec |
| 10–20 gal | 1 bubble / sec | 1–2 bubbles / sec |
Move up the ladder only after the drop checker has sat at its new reading for a full day, and always pair increases with observation: livestock behaving normally and no algae bloom in the following week are your two confirmations.
Mistakes that gas nano tanks
- Chasing bubble counts instead of the drop checker. "I saw someone run 2 bubbles per second" means nothing for your water chemistry. Two nano tanks on the same rate can read completely differently. The checker is the instrument; bubbles are just the knob.
- Placing the diffuser under the filter intake. It looks tidy, but large filter impellers chop CO2 mist unevenly and much of the gas is lost through the filter's surface agitation. Keep the diffuser in the tank, in the flow path, low.
- Skipping the check valve. Without it, the first time the solenoid closes, tank water can siphon back through the diffuser into the tubing — and overnight, into the regulator. A check valve costs almost nothing; a corroded regulator does not.
- Cranking CO2 to fight algae. CO2 does not kill algae. Unstable CO2 causes it. If algae appears after adding gas, the usual culprit is fluctuating levels (a leak, an empty cartridge, or a rate you keep changing), not a deficiency. Stabilize first, then tune.
- No surface agitation at all. The fear is losing CO2 to the air, but zero agitation risks overnight oxygen crashes. Aim for a gentle ripple — enough to keep oxygen up, not a rolling boil that strips the CO2 out.
FAQ
Do I really need CO2 in a nano aquascape?
Need, no — you can grow Anubias, Java fern, mosses, and many stems without it. But CO2 is the single biggest lever for carpets (HC Cuba, Monte Carlo, dwarf hairgrass) and red coloration in a small tank. If your aquascape's design depends on a dense carpet or vivid reds, CO2 is what makes it possible rather than frustrating.
How long does a 45g CO2 cartridge last on a nano tank?
At typical nano rates — about 1 bubble every 2 seconds for 8 hours a day — a 45g cartridge lasts roughly 30–45 days. Larger 80g cartridges stretch that toward two to three months. Keep one spare cartridge on hand; CO2 running out mid-week is how algae gets a foothold.
Can I run CO2 24/7 in a small tank?
Do not. Plants only use CO2 during photosynthesis, so nighttime injection just accumulates dissolved CO2 while plants and livestock are consuming oxygen. On a timer, CO2 runs during lights-on only — that is the entire job of the solenoid.
Will injected CO2 hurt shrimp or a betta in a nano?
Not when it is done correctly. Problems come from overdose, which in a nano usually means a too-fast bubble rate, a solenoid without a timer, or no drop checker to warn you. Start at 1 bubble every 3 seconds, verify lime-green on the checker, and livestock stays comfortable. Shrimp are the canary — if they gather at the surface, cut the rate immediately.
Citric acid vs cartridge — which is actually cheaper?
Per month of gas, citric-acid refills are cheaper — bulk powders cost very little per recharge. But the cartridge kit wins on time: no mixing, no rinsing, no fifteen-minute refill sessions. If you value your weekends over a small monthly saving, the cartridge kit is the better buy; if you enjoy the ritual, the generator pays for itself within months.
Why is my drop checker always blue?
Three usual suspects: the bubble rate is genuinely too low for the tank, the diffuser is producing large bubbles that escape to the surface (soak a new ceramic diffuser for 24 hours before judging it), or there is a leak between the regulator and the diffuser — soapy-water test every connection. And remember the checker lags by 2–4 hours, so judge it the day after an adjustment, not minutes after.
Further reading: Practical Fishkeeping's review of a complete small-tank CO2 set is a good second opinion on what "complete" should mean, and Glass Aqua's Nano CO2 Kit page shows how specialist retailers spec a nano system (regulator, cartridge, tubing, diffuser included).