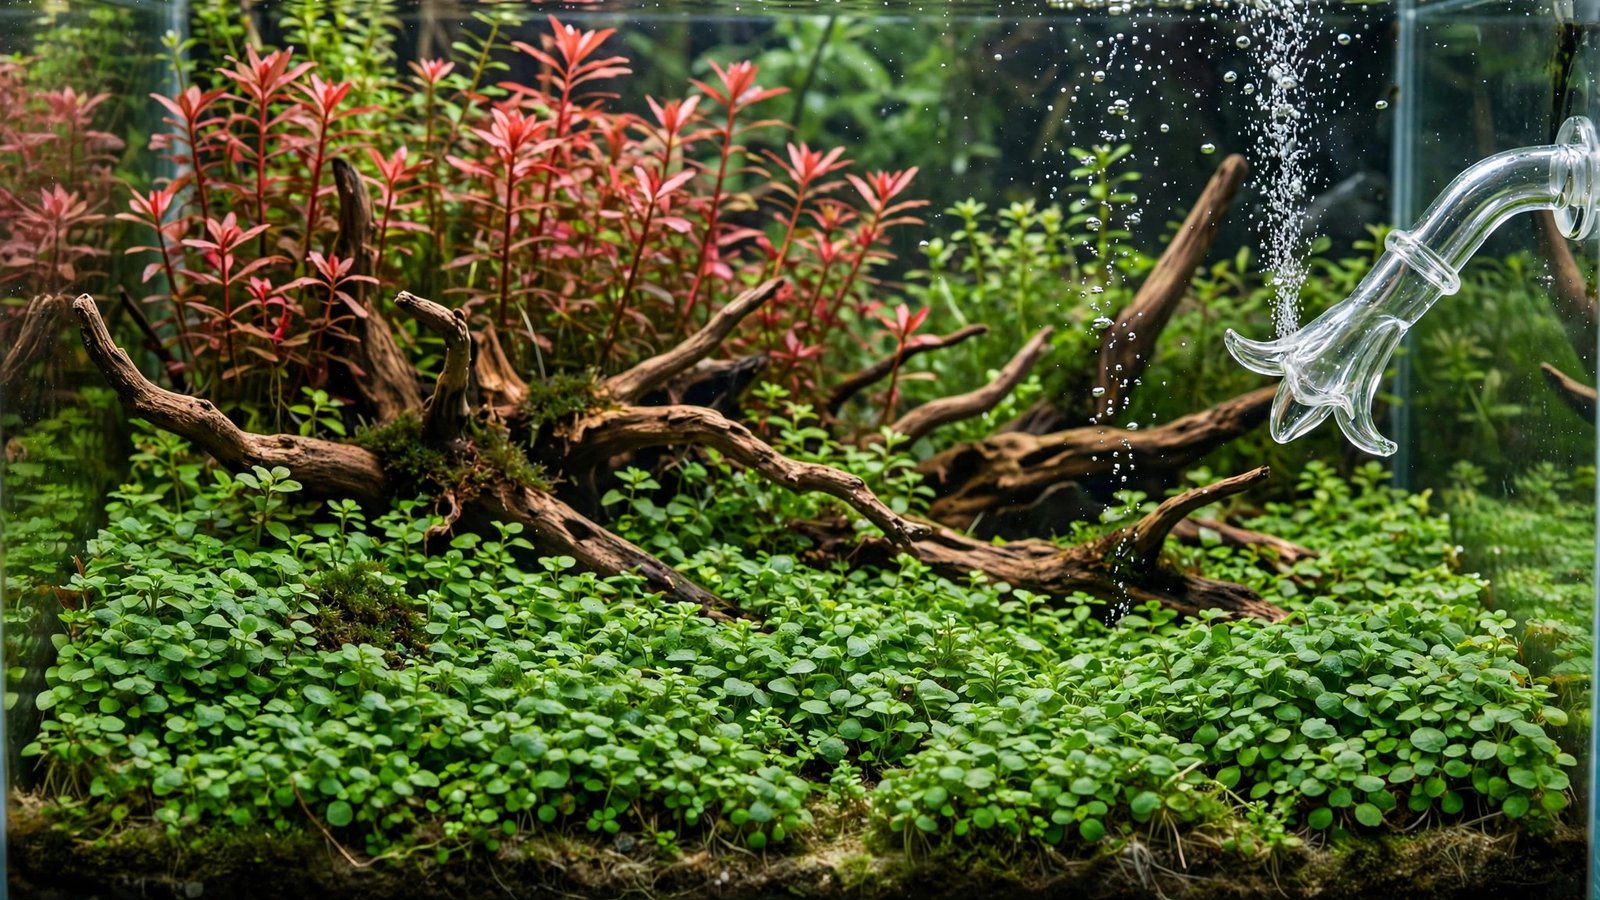
If you run a canister filter, the inside of your tank is the worst possible place to dissolve CO2. An in-tank glass diffuser releases a stream of bubbles into a corner, and half of them surf straight up to the surface and pop into the room air before the water ever absorbs the gas. You pay for that gas, cylinder refill after cylinder refill. An inline CO2 diffuser fixes the waste at the source: it sits in the filter's outflow tubing, forces the CO2 through a fine ceramic membrane under pressure, and sends a cloud of micro-bubbles straight into the strongest current your tank has.
The short answer: the best inline CO2 diffuser for your canister filter is the one that matches your hose's inner diameter (12mm or 16mm are the standards), handles at least 30 psi of working pressure, and has a replaceable ceramic membrane. Metal-bodied models outlast glass ones, and a built-in check valve saves your regulator from back-siphoned water. Install it on the filter outflow — never the intake — and verify the CO2 level with a drop checker after installation.
Why Inline Beats In-Tank Diffusion on a Canister Setup
CO2 dissolves into water in proportion to contact time and surface area. An in-tank diffuser has neither on its side: bubbles rise through a foot or so of water, exposed to surface agitation the whole way. An inline diffuser borrows the two things your canister filter already gives you for free — pressure inside the tubing and strong, tank-wide current at the outflow.
The practical result shows up in your gas bill. When the same bubble rate feeds an in-tank diffuser versus an inline atomizer, the inline version pushes more of the gas into solution and less of it into your living room. Over a year of refills on a 5 lb cylinder, that efficiency gap is real money. It also shows up in your scape: no glassware, no suction cups peeling off, no ceramic disc slowly browning in the middle of your view. Everything hides in the cabinet under the tank.
There is one honest trade-off: inline diffusers demand pressure. Where an in-tank ceramic disc will wheeze along at low pressure, an inline atomizer needs roughly 30 psi of working pressure at the regulator to force gas through the dense membrane. If your regulator is a cheap single-stage unit that maxes out below that, buy the regulator first — the best inline diffuser in the world is a paperweight without enough pressure behind it.
What to Look For Before You Buy
1. Hose diameter match — the only spec you can't fudge
Canister filter hoses are named by inner/outer diameter: 12/16mm means 12mm inside, 16mm outside. Measure the inner diameter of your hose, or check your filter's specs — Fluval, Eheim, Oase, and SunSun models mostly use 12mm or 16mm returns. An inline diffuser built for 16mm hose will not seal on 12mm tubing, and clamping it down tighter just cracks the housing or pinches flow. If your filter uses an odd size, some makers offer step-down adapters, but matching the native size is always more reliable.
2. Body material: metal beats glass for cabinet duty
Under the tank lives pumps, valves, and occasional accidental elbows. Glass inline atomizers look elegant and work fine, but one clumsy refill of your filter media and the unit is in pieces. Aluminum or stainless bodies shrug off cabinet life and handle higher pressure comfortably. If your setup is behind closed doors anyway, choose durability over looks.
3. Replaceable ceramic membrane
The ceramic disc is a wear item. Algae, biofilm, and mineral deposits slowly clog its pores over months, the bubbles get coarser, and your regulator has to work harder to push gas through. A diffuser with a replaceable membrane turns a $40 replacement purchase into a small parts swap. Skip any model where the membrane is glued in permanently.
4. Built-in check valve (or plan to add one)
When your solenoid shuts CO2 off at night and the filter keeps running, the pressure inside the tubing can pull tank water back down the CO2 line toward the regulator. A check valve on the gas line stops that. Some inline diffusers integrate one; if yours doesn't, a $10 inline check valve between the diffuser and the bubble counter does the job. This is not optional — water in a regulator is how regulators die.
5. Working pressure rating
Confirm your regulator can deliver the diffuser's minimum working pressure. Most quality inline atomizers list 30 psi as the floor; a few need 36 psi or more. Dual-stage regulators with adjustable output to 40–80 psi handle all of them easily.
The Picks That Earn Their Spot
A quick note before the recommendations: the product links below are affiliate links, which means I may earn a commission on qualifying purchases at no extra cost to you. I only recommend gear that fits the job described here, and every linked product was checked live for availability before publishing.
Best overall: JARDLI Glass Inline CO2 Atomizer (13mm, for 12/16mm hose)
For most 20–60 gallon setups on a Fluval 207/307, Eheim Classic 350, Oase Biomaster, or similar canister, this is the inline upgrade to make. The JARDLI Glass Inline CO2 Atomizer (13mm for 12/16mm hose) ★4.4 plumbs straight into the standard 12mm return line, pushes CO2 through a fine ceramic atomizer tube, and disappears inside the cabinet. It carries a 4.4-star average across thousands of ratings and a Best Seller badge in its category, and the 13mm size matches the return hose on the majority of mid-size canisters sold today.
Best for large tanks and big filters: JARDLI 17mm version (for 16/22mm hose)
On 16/22mm hose with strong turnover — think 75+ gallon tanks or filter loops pushing 300+ GPH — the 13mm version would pinch your flow, so step up to the JARDLI Glass Inline CO2 Atomizer in 17mm for 16/22mm hose ★4.4. Same atomizer design, sized for the bigger bore: the wider internal path keeps head loss low and the ceramic surface area atomizes gas evenly at the higher bubble rates big tanks demand.
The durable upgrade: a metal-body inline atomizer
Glass works, but the cabinet under a big tank is a busy place — media changes, hose fiddling, occasional elbows. If you want something that survives a decade of that, a metal-body inline atomizer (aluminum or stainless) with a replaceable ceramic membrane is the step up. CO2Art's inline atomizer is the reference design here: metal housing, minimum 30 psi working pressure, replaceable membrane, and 12/16 and 16/22 sizes to match your hose. I couldn't verify a live, in-stock Amazon listing for one in this check, so no link — buy it from the manufacturer's store or your local aquatics shop, and confirm the hose size before ordering.
| Pick | Best for | Hose size | Body | Needs |
|---|---|---|---|---|
| Best overall | 20–60 gal canisters | 12/16 (13mm) | Glass | 30+ psi regulator |
| Best large-tank | 75+ gal, high flow | 16/22 (17mm) | Glass | 30+ psi, high bubble rate |
| Durable upgrade | Cabinet-duty longevity | 12/16 or 16/22 | Metal | Separate check valve |
Installation, Step by Step
Shut the filter off and unplug the solenoid. Cut the outflow hose — the line running from the filter back to the tank, not the intake — at a convenient point inside the cabinet, leaving enough slack on both sides to reach the diffuser's barbs. Push the hose ends fully onto the diffuser, observing the flow-direction arrow molded on the body. Snug hose clamps go on both barbs; hand-tight plus a quarter turn is plenty — overtightening cracks plastic barbs and deforms rubber hoses.
Run CO2-proof tubing from your bubble counter to the diffuser's gas inlet, with a check valve in that line if the diffuser doesn't integrate one. Prime the filter, check every connection for drips, then open the cylinder and set your working pressure at or above the diffuser's minimum (usually 30 psi). Start the bubble rate conservatively — about 1 bubble per second per 20 gallons is a sane starting point — and let the drop checker tell you where you actually are.
Dialing In Your CO2 Level
An inline diffuser changes how you read your system. Because the mist enters with the outflow, distribution is excellent — but the drop checker still lags CO2 changes by one to two hours, and that doesn't change. Set your bubble rate in the morning, read the checker in the afternoon, adjust the next morning. Chasing the color in real time is how people gas their fish.
Target the classic green on your drop checker, which corresponds to roughly 30 ppm CO2 with 4 dKH solution inside. If you run a pH controller, note that inline diffusion is efficient enough that your injection times will shorten noticeably compared to an in-tank diffuser — the controller will confirm it within a week. And run CO2 only during the photoperiod: a solenoid on a timer, shutting gas off an hour before lights out, is the standard for a reason — plants don't photosynthesize in the dark, but fish still need oxygen.
Maintenance: Cleaning and Membrane Replacement
Every 2–4 months, or sooner if you notice the mist getting coarser or your regulator's working pressure creeping up, take the diffuser offline. Disconnect the gas line, remove the unit, and soak the ceramic membrane in a solution of one part household bleach to three parts water for a few hours — up to overnight for heavy buildup. Rinse thoroughly in dechlorinated water afterward and let it air out until no chlorine smell remains. Never scrub or brush the ceramic: the pores are delicate, and abrasion ruins them permanently.
If cleaning stops restoring fine bubbles, the membrane is spent — on most units that's a yearly-ish event with heavy use. Replace the membrane rather than the whole diffuser if the design allows it. Keep a spare membrane on hand if you run high light and lean on CO2 hard; swapping it takes five minutes, while ordering one takes a week of suboptimal growth.
Inline Diffuser vs. Reactor vs. In-Tank: Where Each Wins
Inline diffusers sit in the middle of the dissolution-efficiency ladder. Below them, in-tank diffusers are cheap and simple but waste the most gas and clutter the scape. Above them, inline reactors dissolve nearly 100% of the gas in a mixing chamber before it reaches the tank — the most efficient option, but bulkier, pricier, and fussier about flow rates.
Choose the inline diffuser when you want a clean tank interior, solid efficiency, and simple maintenance without sizing a reactor to your exact flow rate. Choose a reactor when you run a large, high-demand tank and every bubble of wasted CO2 shows up in your refill schedule. If you're weighing the three methods in detail, the site's CO2 diffusion methods compared guide walks through the trade-offs with numbers.
Frequently Asked Questions
Can I use an inline CO2 diffuser with a DIY yeast CO2 system?
No — and this is the most common way people waste money on one. DIY yeast and sugar systems produce low, inconsistent pressure, well under the roughly 30 psi an inline atomizer needs to push gas through its ceramic membrane. Use a low-pressure in-tank diffuser with DIY CO2, or step up to a pressurized cylinder with a proper regulator.
Does an inline diffuser reduce my filter's flow rate?
Barely, if you matched the hose size. A correctly sized inline diffuser adds a small amount of restriction, but nothing like the head loss from a reactor chamber. If you notice a meaningful flow drop after installation, you almost certainly bought the wrong hose size or the membrane is badly clogged — check size first.
Where exactly on the outflow line should it go?
On the outflow tubing inside the cabinet, closer to the filter is fine — anywhere water flows from the filter toward the tank works. Keep it accessible: you'll disconnect it every few months for cleaning, so don't bury it behind the filter where you can't reach the hose clamps.
Will the micro-bubbles bother my fish or shrimp?
The fine mist from an inline atomizer is much less noticeable than the coarse bubble stream of a cheap in-tank diffuser, and most livestock ignore it. What matters for fish safety is dissolved CO2 concentration, not the mist itself — keep the drop checker green and watch fish behavior in the first week after any bubble-rate increase.
How do I know when the membrane needs replacing instead of just cleaning?
If a full bleach soak no longer restores a fine, even mist — bubbles stay coarse, or you need noticeably higher working pressure to get the same bubble rate — the ceramic's pores are spent. At that point, replace the membrane. Trying to force more pressure through a dead membrane risks the gas inlet and wastes CO2.
Inline diffuser or CO2 reactor — which should I pick?
Pick the inline diffuser for tanks up to large sizes where you want simplicity: it installs in minutes, needs only matching hose size, and maintains well. Pick a reactor for very large or extremely CO2-hungry setups where maximum dissolution efficiency justifies the bulk and the flow-rate matching. For most home planted tanks on canister filters, the inline diffuser is the right call.