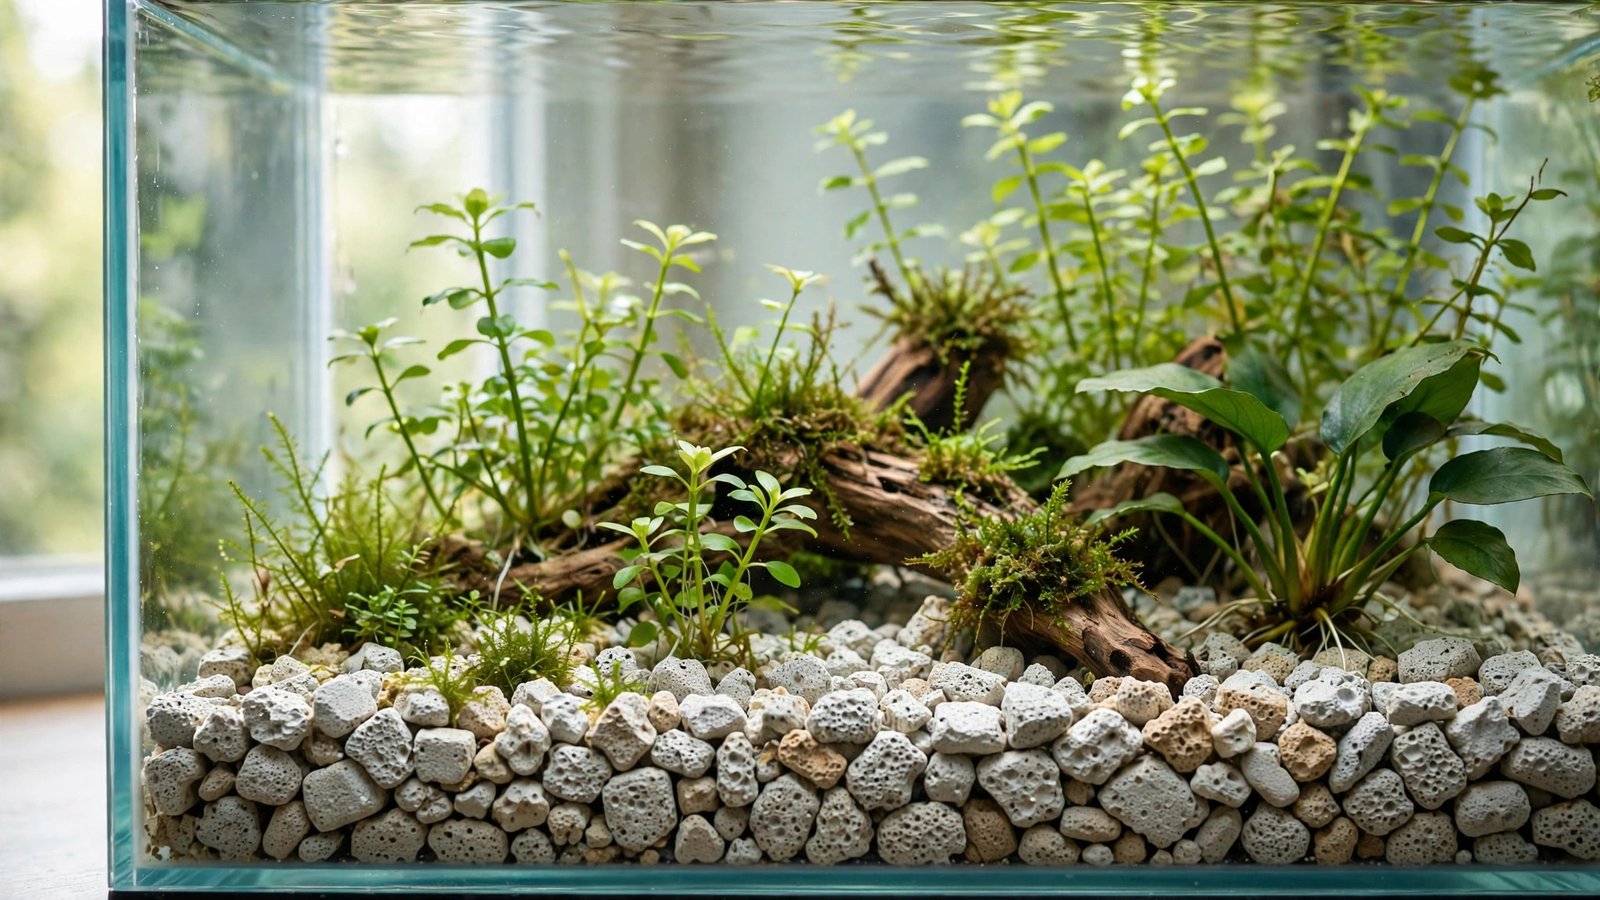
A pumice aquarium substrate base layer is the cheapest structural trick in high-end aquascaping: a layer of porous volcanic rock placed under your main substrate to give roots air, beneficial bacteria surface area, and a slope that refuses to flatten over time. If you have ever watched an ADA-style layout with those dramatic back-to-front hills and wondered how the soil stays put for years, the answer is almost always a porous base underneath. This guide shows you how to source, wash, grade, and install a DIY pumice base layer that works as the structural alternative to ADA Power Sand — inert, cheap, and biologically productive.
Why a Base Layer Matters at All
Most planted-tank failures don't start at the plants; they start underneath them. A thick slab of fine aquasoil packed directly onto the glass bottom is a dense, low-oxygen zone where detritus accumulates and compaction slowly strangles root growth. In year one it looks fine because the soil is fresh and porous. By year two or three, the lower inches have turned into a heavy, anaerobic mass that sheds the slopes you sculpted on day one.
Japanese layout masters solved this decades ago with a two-part system: a coarse, porous foundation that stays open forever, plus a nutrient-rich cap that plants actually root in. ADA calls its foundation Power Sand, a pumice-based volcanic mix dosed with long-release nutrients (see ADA's substrate system for the original concept). Once you understand it, you can build the structural half yourself for a few dollars — and the foundation determines the tank's lifespan.
So when is a base layer worth the extra work? If your tank is under 30 liters with a shallow substrate and only epiphyte plants, skip it. But for any scape with steep slopes, terraced hills, or substrate beds over 7–8 cm, a base layer is the difference between a hill that holds for three years and one that slumps into a mudflat by month eight.
Why Pumice Specifically
Pumice is volcanic rock that cooled so fast it trapped gas bubbles inside, leaving a stone that is half air. That structure gives it three properties no other cheap material combines, and each one matters for the base layer job.
Porosity That Colonizes Like Filter Media
The internal pore network of pumice has an enormous specific surface area — the same reason filter manufacturers sell pumice-based biological media at premium prices (see Seachem Matrix, which is graded pumice). Buried under your substrate, a pumice base functions as an underground biofilter: bacteria colonize the pores and process organic waste before it reaches the water column. It won't replace your filter, but it adds a deep, oxygenated biological zone that inert gravel bases cannot match.
Structure That Never Compacts
Pumice grains are angular, interlocking, and crush-resistant enough that the layer keeps its void spaces permanently. Unlike sand, which migrates and settles into a dense mass, or organic materials that decompose and shrink, a pumice base in year four looks structurally identical to day one — the single biggest reason professional aquascapers use it under dramatic terrain.
Fully Inert and Chemically Neutral
Pumice adds nothing to your water and takes nothing away: no pH shift, no KH change, no nutrient dump, no tannins, no decomposition curve. This makes it the most predictable base material available — you control the chemistry entirely through your cap. One caveat: cheap landscaping pumice can carry dust and quarry residue, which is why washing is non-negotiable.
Sourcing and Grading Your Pumice
Finding aquarium-suitable pumice is easier than it sounds, but grading it correctly is where most beginners slip up.
Where to Buy
The best sources, in order of preference:
- Aquarium/horticultural pumice (2–6 mm): Sold by bonsai and planted-tank shops as soil amendment. Pre-graded and usually washed — the most predictable option. A 4–5 liter bag covers most 60–90 cm tanks.
- Horticultural pumice in bulk: Garden centers sell 15–20 liter sacks cheaply. Expect more fines and dust — budget extra washing time.
- Pumice-based filter media: Products like Seachem Matrix are literally graded pumice. Expensive per liter, but guaranteed clean and uniform — sensible for nano tanks where you only need a liter or two.
- Landscaping pumice: Cheapest by far, but quality varies wildly. Only use grades that feel sharp and stony; reject anything crumbly or chalky.
Grading: Size Really Matters
For the base layer, you want the 3–8 mm range. Go finer and you lose the void space; go coarser and the cap will sift through the gaps. If your pumice arrives mixed, sieve it: keep the 3–8 mm fraction for the base, set aside the 1–3 mm fines for shallow-terrace work, and reject anything dusty.
Avoid two imposters: perlite looks similar but floats aggressively, and expanded clay is far less porous per volume.
Washing: The Step Nobody Should Skip
Pumice dust is fine and will cloud your tank for days if you skip washing. Rinse in a bucket with a hose, agitating handfuls at a time, until the runoff is only faintly cloudy. Then soak overnight: most pieces sink immediately, but some float for hours as trapped air escapes. Skim off anything still floating after 24 hours — floating pumice in a base layer creates dead pockets. The detail that sold me on this step forever: I once skipped the soak on a 90-liter rescape and spent a week netting gray pebbles off the surface every morning. Soak it.
Mesh-Bag vs Loose Construction
There are two legitimate ways to install a pumice base, and the right choice depends on your layout.
The Mesh-Bag Method (Recommended)
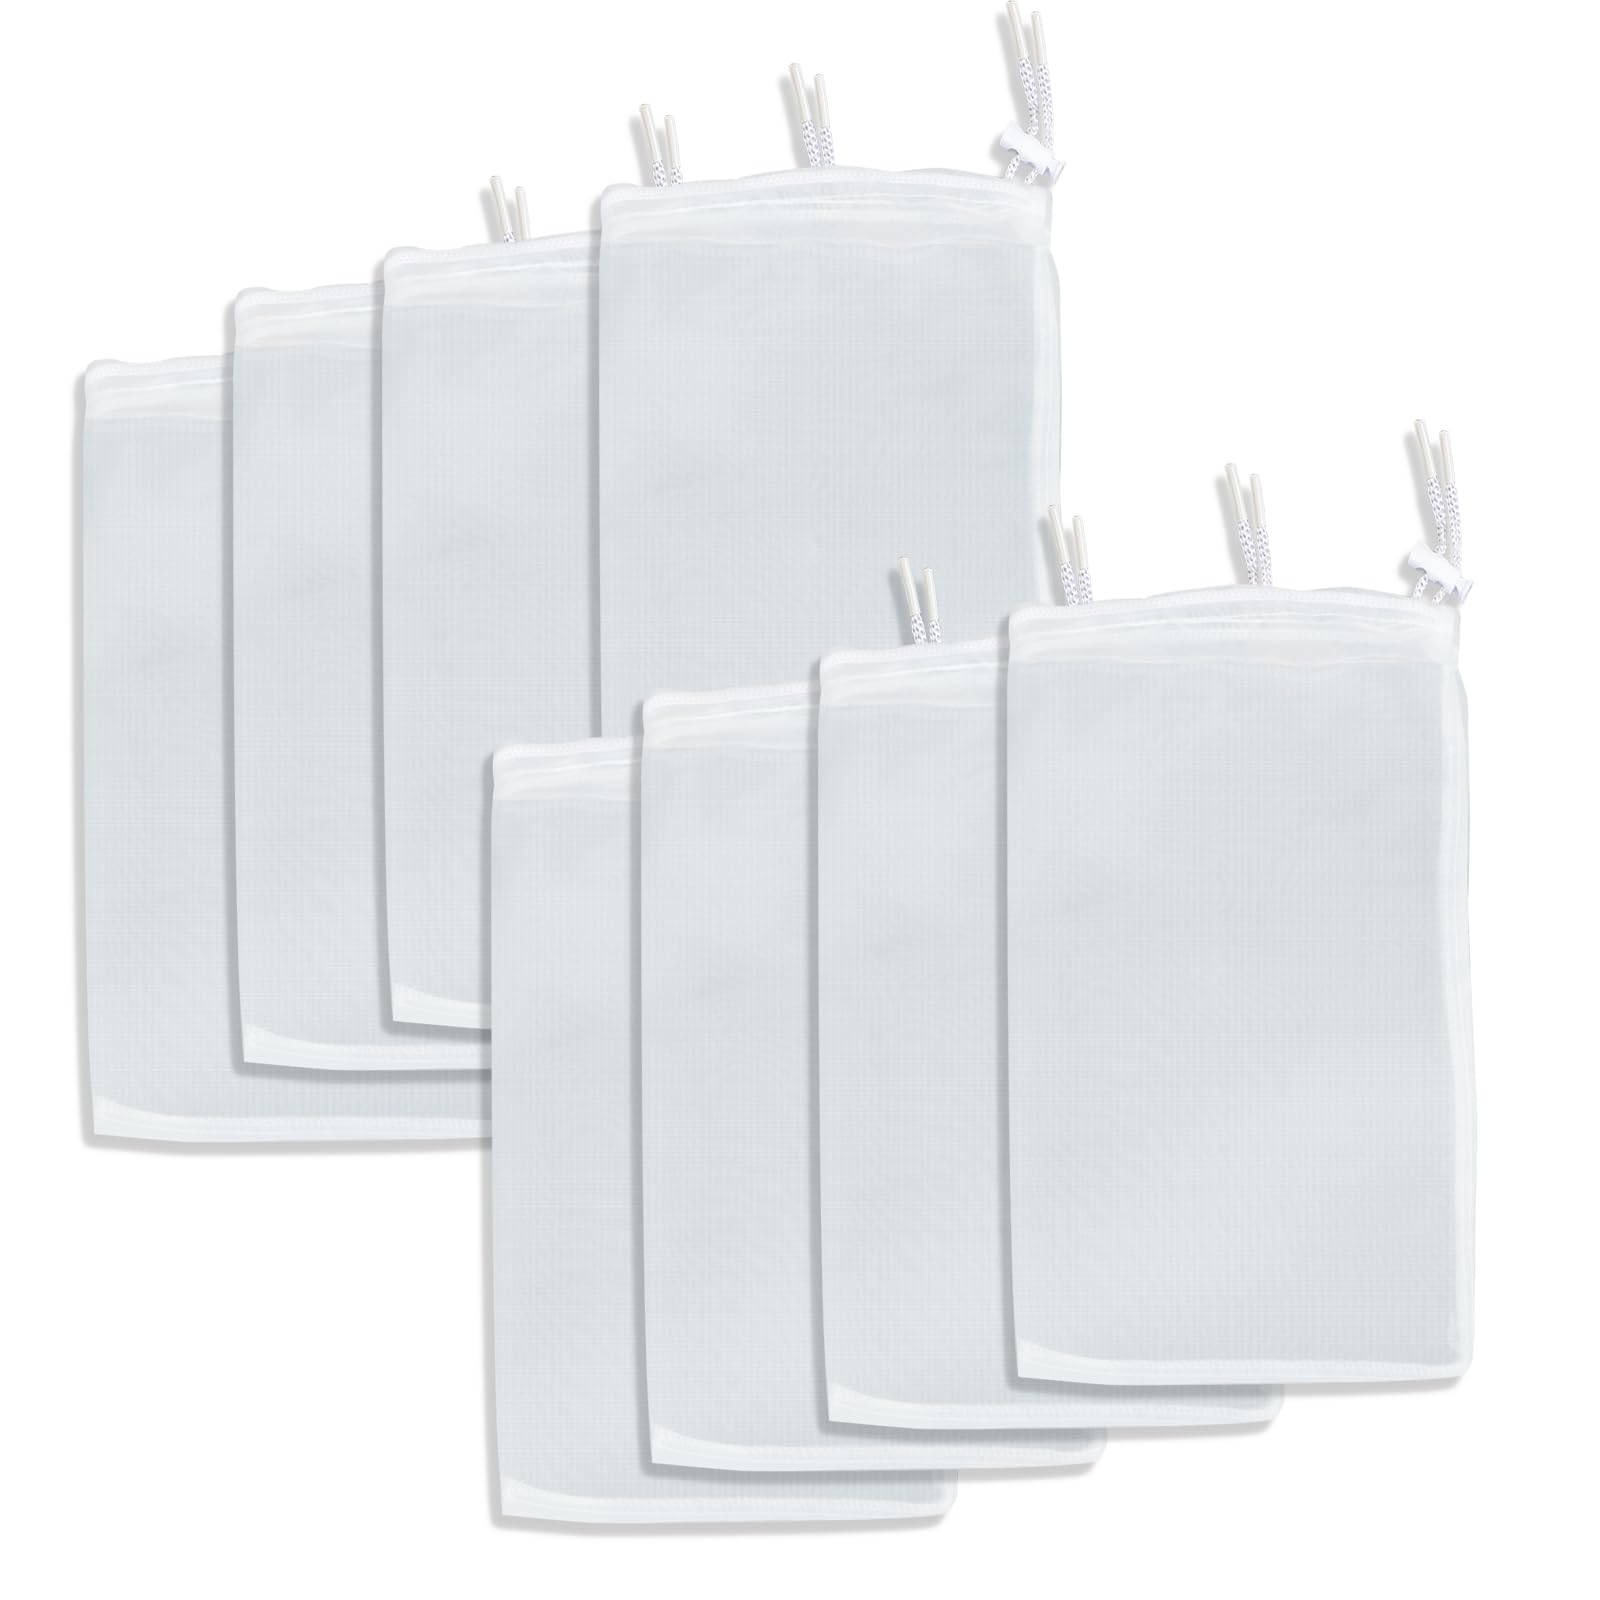
Fill fine-mesh laundry bags or filter-media bags with washed pumice, seal them, and stack them as your terrain skeleton. This is the technique behind our full guide to using aquasoil in mesh bags, adapted for the base layer. Advantages: bags stack into precise hills and terraces, never migrate or slump, block the cap from sifting between grains, and lift out cleanly at rescape time. For building terraces, bags are essentially mandatory — loose material cannot hold a vertical face long-term.
Use mesh fine enough to retain 3 mm grains. Fill bags only 70–80% full so they stay pliable and settle into each other without rocking. Stack like masonry, offsetting seams, for slopes steeper than about 25 degrees.
Loose Construction (Natural Hills)
Pile the washed pumice directly on the bare tank bottom and shape hills by hand, then cap carefully. This works well for gentle, rolling terrain where precision doesn't matter, and it maximizes water circulation between grains since there are no bag walls. The downsides: loose pumice shifts when you press plants in (hold stems firmly and wiggle rather than shoving), and over months the cap will migrate downward between grains, gradually mixing the layers. If you choose loose, use a separator mesh — a sheet of fine plastic mesh or weed-barrier fabric laid over the pumice before the cap goes on — to slow the mixing. It's an extra step that pays for itself every time you uproot a plant.
Either way, keep the pumice 2–3 cm back from the front glass and fill that strip with cap substrate only, so the visible front edge looks like pure aquasoil or sand rather than a band of gray pebbles.
Fine-mesh bags keep the pumice contained and the layers separated: fine-mesh media bags.
 ★4.8
Pawfly Filter Media Bags
Check Price on Amazon ★4.8Building Your Pumice Aquarium Substrate Base Layer, Step by Step
- Plan your terrain on paper first. Mark where hills, valleys, and planting zones will be. The base typically occupies the bottom 2–5 cm of your total substrate depth, thickest under the tallest hills.
- Lay the pumice base. Arrange bags or loose pumice to rough in the terrain. Check your target slopes against our substrate depth guide so the base-plus-cap totals give roots enough room everywhere.
- Shape and compact lightly. Press the base down firmly to seat it — you want it locked, not loose. This is the one compaction pass the layer will ever get; everything above it should sit undisturbed.
- Optional: add long-term nutrients between base and cap. A thin sprinkle of root tabs or a commercial base fertilizer sits protected here, releasing slowly into the root zone. This is the budget version of what makes Power Sand "nutritive" — entirely optional, but effective.
- Cap with your main substrate. Pour aquasoil, sand, or a combination over the base to a depth of 3–6 cm. For guidance on total amounts, use our substrate quantity calculator guide. Cap choice matters for chemistry and aesthetics; our best aquasoil roundup covers the top performers, and if you prefer a mineral look, see the best sands for planted tanks.
- Plant and fill slowly. Pour water over a plate or plastic bag to avoid blasting the cap off the base. The first fill is when unsoaked or unwashed pumice would betray you — another reason the overnight soak exists.
One design note: because the base is inert, your cap carries the entire nutrient load. For heavy root feeders, supplement with root tabs regardless of how good your aquasoil is — the pumice gives roots structure and oxygen, not food.
Long-Term Performance and When to Refresh
A well-built pumice base layer has a service life that essentially matches the tank itself. The pores gradually accumulate fine organic matter over 2–4 years, but unlike organic base materials, pumice never decomposes — so the layer never shrinks and never releases a sudden nutrient pulse. Tanks built this way routinely run 4–6 years between full rescapes, roughly double the lifespan of a single-layer aquasoil bed.
Signs your base layer system needs attention:
- Slopes visibly flattening — usually means the cap migrated into the base (loose construction without a separator) or the cap itself compacted. Top up the cap; the base is fine.
- Persistent mulm eruption when uprooting plants — normal after a few years. Deep vacuum the cap surface during water changes; don't disturb the base.
- Chronic slow plant decline in year 3+ — the cap's nutrients are exhausted, not the base. Add root tabs or refresh the cap in sections (see our guide to replacing substrate in an established tank for the safe way to do this without crashing the cycle).
- Sulfurous smell from deep substrate — rare with a pumice base, but if it happens, your base is too fine or contaminated with organic matter. This is the one scenario that genuinely warrants rebuilding.
Refreshing the cap without touching the base is the whole point of the two-layer system: siphon off the tired cap in sections over a few weeks, pour fresh aquasoil over the intact base, and the tank never loses its foundation, its bacterial colonies, or its terrain. Compare that to a single-layer tank, where a refresh means stripping everything to the glass.
If you ever do need to remove a pumice base entirely, the mesh-bag method pays off one last time: lift out the bags, rinse the pumice, and reuse it indefinitely. I've reused the same washed pumice across three different scapes now; the only cost was the water.
Pumice vs Other Base Options
Avoid two imposters. Perlite looks similar but floats aggressively, and expanded clay is far less porous per volume. Against other inert substrates, pumice wins on porosity and biological value — gravel and lava rock are structural but biologically dead by comparison. Against calcined clay products like Turface (see our Turface guide), pumice is cheaper in bulk and more crush-resistant under deep beds.
And the contrast with the organic alternative: where a peat-based base layer feeds plants through slow decomposition and eventually breaks down, pumice feeds them nothing, breaks down never, and earns its place purely through permanent structure and biological colonization. If you're weighing the organic route, our companion guide to the peat base layer method covers it in full.
Frequently Asked Questions
Can I use pumice as my only substrate, without a cap?
You can, but it's rarely ideal. Bare pumice is rough on bottom-dwellers like corydoras, traps food between grains where fish can't reach it, and offers plants no nutrients. It suits bare breeding or quarantine tanks where biological capacity matters more than looks, and some shrimp keepers run thin pumice beds under moss. For a planted display tank, always cap it with aquasoil or sand.
Will pumice change my water chemistry?
No. Clean pumice is chemically inert — it doesn't raise or lower pH, GH, or KH, and it doesn't release silicates in any amount that matters for aquarium use (a persistent myth; dissolved silicon from pumice is negligible compared to what's already in tap water and aquasoil). If you notice a chemistry shift after adding pumice, suspect quarry dust or a mislabeled product, not the pumice itself — rewash and retest.
How much pumice do I need for my tank?
Plan for the base to occupy roughly the bottom third of your total substrate depth. One liter of pumice per 30 × 30 cm of footprint gives about 1 cm of base — so a standard 60 × 30 cm tank with a 3 cm base needs around 5–6 liters. Buy 20% more than calculated; sieving fines and float-test discards eat into the bag.
Is pumice safe for shrimp and soft-water fish?
Yes — it's one of the safest base materials for sensitive livestock precisely because it contributes nothing to the water. Caridina shrimp keepers favor pumice bases because the stable chemistry lets them control parameters entirely through the cap and remineralized water. Just make sure it's thoroughly washed: fine pumice dust irritates gills and shrimp just like any mineral dust.
Can I put a heater cable or under-gravel heating under a pumice base?
You can, and pumice's open structure actually distributes gentle heat well. But be honest about whether you need it: modern consensus is that under-gravel heating offers little measurable benefit in CO₂-injected tanks, and the cables complicate any future rescape. If you already own a system, pumice is a compatible medium for it; if you're buying new, spend the money on better lighting or CO₂ instead.
How do I clean a pumice base layer during maintenance?
You don't, directly — that's the point. Vacuum the cap surface gently during water changes and let the base's bacteria handle what sinks. Never deep-siphon into the pumice layer itself; you'll pull up grains, destroy the colonized pores, and mix your carefully separated layers. If mulm visibly accumulates on the cap, that's a cap-maintenance issue, not a base problem.
The Bottom Line
A pumice aquarium substrate base layer is the closest thing planted-tank keeping has to a permanent foundation: cheap volcanic rock that gives your slopes eternal structure, your bacteria a second home, and your future self a cap that refreshes without a teardown. The build takes one extra afternoon — wash, soak, bag, stack, cap — and then it disappears under your scape and works silently for years. Many of the best-looking long-running aquascapes you've admired are standing on exactly this trick. Now yours can be too.