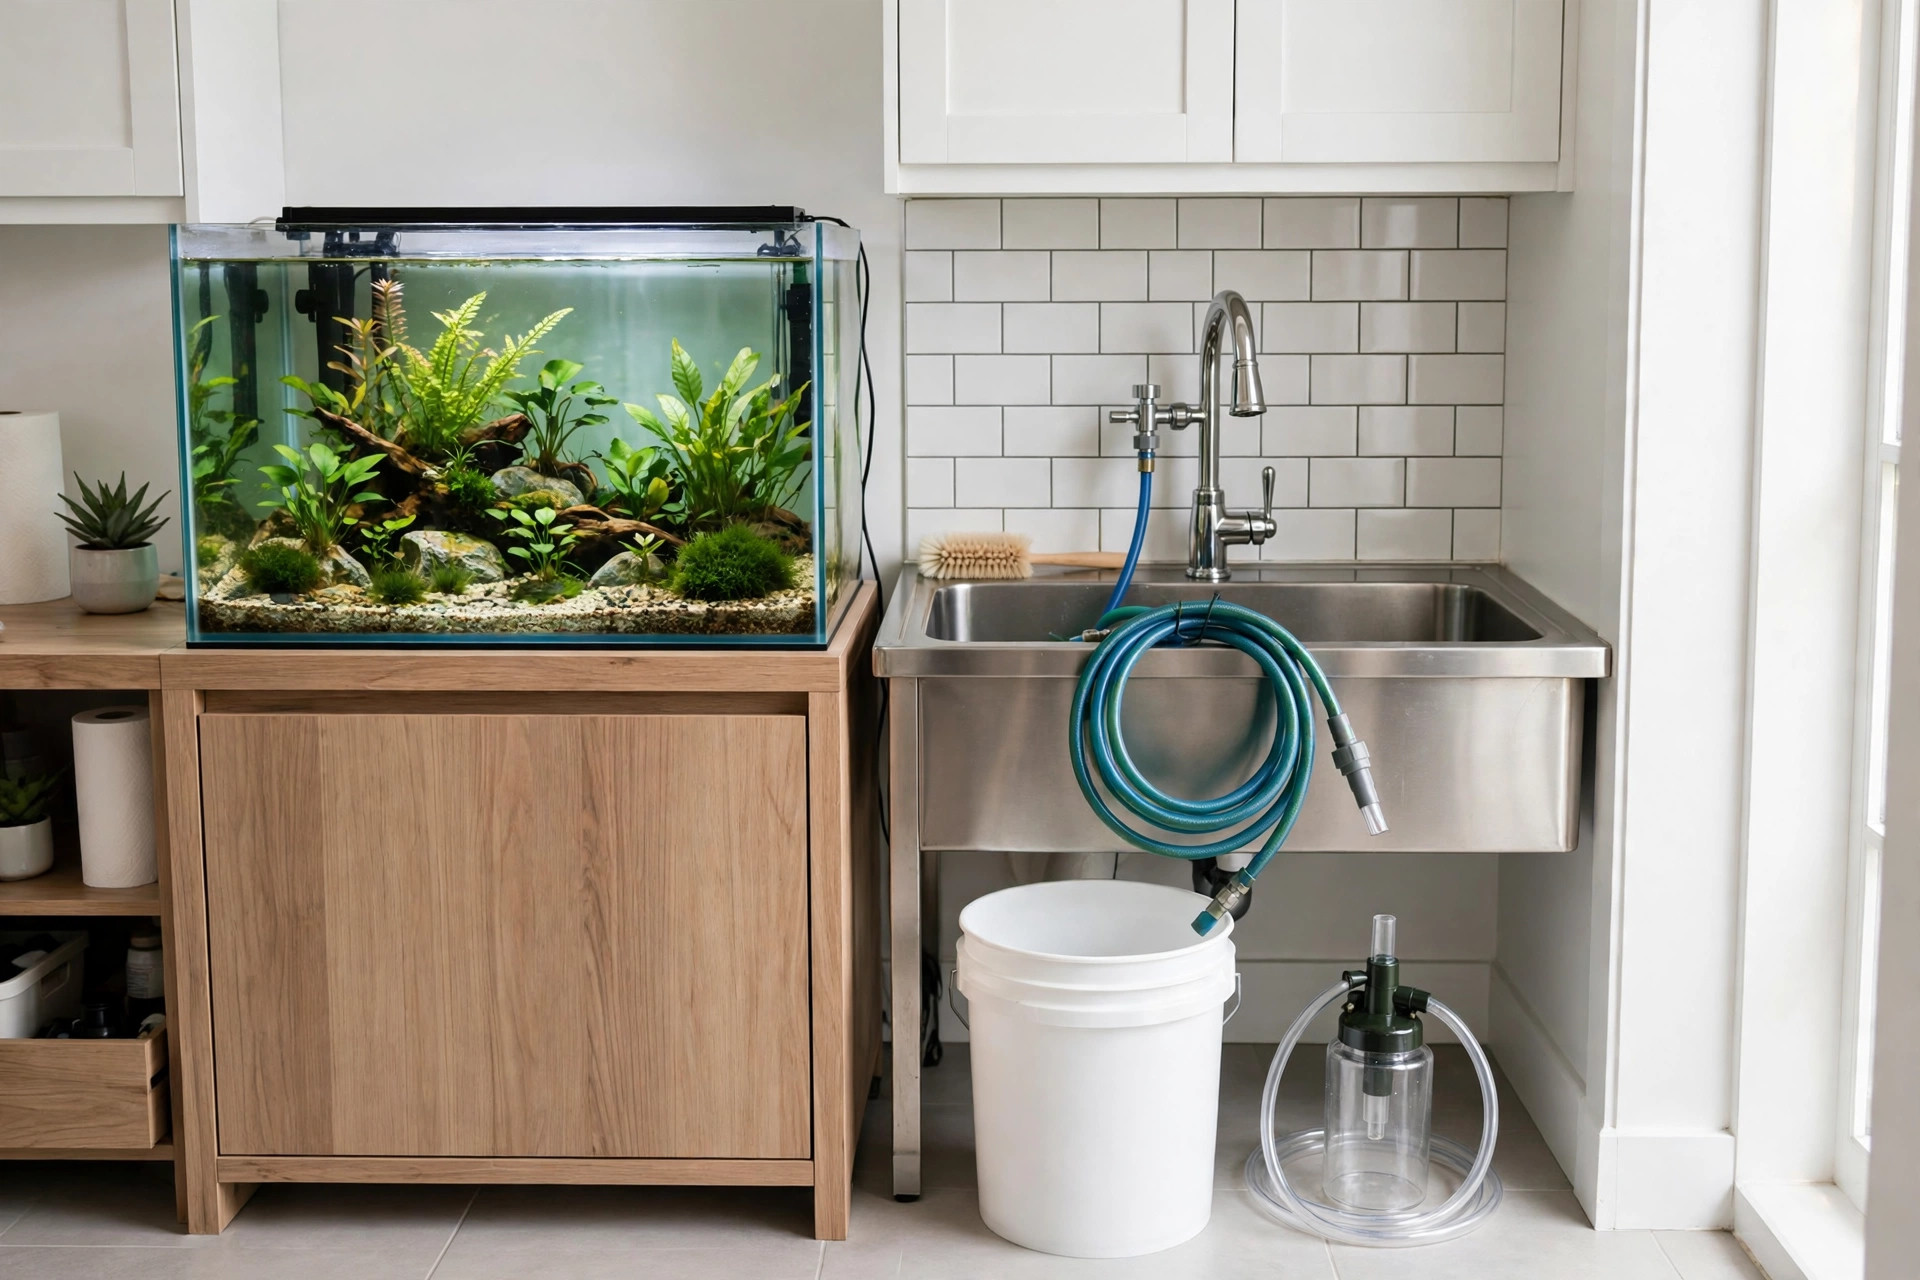
Every planted-tank keeper knows the same weekly dread: the water change. It is the single most important maintenance job in the hobby, and for years it meant buckets — heavy, sloshing, dripping buckets carried from tank to sink and back, with a trail of puddles in between. A 50-gallon tank at a 30 percent change is fifteen gallons of water, and fifteen gallons carried a bucket at a time is how floors get ruined, carpets get soaked, and water changes get skipped. Skipped changes are how nitrate creeps up, algae gets a foothold, and fish start looking dull.
The fix is not willpower. It is plumbing — or, more precisely, arranging your home so water can travel from tank to drain and back without ever being carried. That ranges from a simple faucet-connected hose for a rented flat to a semi-permanent utility-sink setup in a fish room, and every step along that scale makes the same weekly job faster, drier, and easier to actually do on schedule. This guide walks through all of them, in order of commitment, so you can pick the setup that fits your home and stop dreading the bucket.
Short answer: Connect a faucet-driven water changer to the nearest tap and run its hose to the tank — it drains by siphon and refills from the tap, so no buckets are carried at all. If you have a utility sink, laundry tap, or fish room, go one step further: leave a dedicated drain hose and a shutoff valve in place, temperature-match the refill, and dose dechlorinator as the tank fills. The whole routine then takes about fifteen minutes, with dry floors, for tanks of almost any size.
Why water changes make a mess in the first place
Mess comes from three places, and a good setup eliminates all three rather than just one. The first is transport: a bucket of water weighs around ten kilograms, it sloshes, and the trip from tank to sink crosses exactly the floors you most want to keep dry. The second is the siphon itself: a gravel vacuum that loses prime mid-drain drips, and a fill hose with no hook or clamp slips out of the tank and runs across the floor. The third is timing: a change that takes an hour gets rushed, and rushed changes are when hoses get yanked and buckets get knocked over.
Size changes the maths. A 10-gallon tank at a 25 percent change is two and a half gallons — one bucket, manageable. A 75-gallon tank at the same percentage is nearly nineteen gallons, or five to six bucket trips each way. That is why advice that works for a nano tank fails for a big one, and why the right setup depends on tank size as much as on budget. Small tanks mostly need a better siphon and a disciplined routine; big tanks need the bucket eliminated entirely.
Plants add one more wrinkle. A planted tank cannot be vacuumed the way a bare tank can — the gravel vacuum goes around stems and over carpeting plants, not through them, and a careless refill jet uproots freshly planted stems and blows substrate across the scape. The refill side of the setup matters as much as the drain side: a gentle, aimed flow, and a hand or a plate to break the stream where it lands, keeps the scape intact week after week.
Level 2: the faucet water changer that ends the bucket brigade
For most keepers, this is the whole answer. A faucet water changer is a long hose with a gravel vacuum tube at one end and a faucet adapter at the other. Connected to the tap, household water pressure creates suction that drains the tank through the hose and out through the sink; flip a valve, and the same hose refills the tank from the tap. Nothing is carried, nothing is lifted, and the tank can be drained and refilled from one position, with the hose doing all the travelling.
Before buying, check three things. First, distance: measure from the nearest tap to the tank along the route the hose will actually take — around door frames, not through walls — and buy a hose longer than that measurement, since a hose pulled taut kinks and slips. Second, the faucet: most water changers need a threaded tap, and many modern kitchen faucets have internal threads or pull-out sprayers that need an adapter, while bathroom taps may not fit at all. Third, the drain: the sink the hose drains into must be able to take the flow without splashing back, and the hose end must be secured so it cannot whip out mid-drain.
The standard example of this kind of kit is the Python No Spill Clean and Fill Aquarium Maintenance System, 25 ft ★4.5: a 25-foot hose with a gravel vacuum tube and faucet pump, long enough for most single-room tank-to-sink runs, and the kit most large-tank keepers end up with after the bucket phase. If your tap is further away, the same system comes in longer lengths — measure first, as above, rather than joining hoses together, since every join is a future leak.
Affiliate link — I earn a small commission at no extra cost to you.
Level 3: the utility-sink station, for keepers who change water every week
If you have a utility sink, a laundry tap, or a basement sink within hose reach of the tank, leave the setup in place instead of assembling it weekly. A short dedicated hose from the sink to the tank route, a shutoff valve at the tank end, and a hook or clamp that holds the fill end in the tank turn a fifteen-minute assembly job into a two-minute one — and a job that takes two minutes to start is a job that actually happens every week.
The details that make this level work are unglamorous. Put a shutoff valve where your hand is, not where the hose starts: you want to stop the flow at the tank, without walking to the sink. Keep the drain hose end fixed in the sink with a clamp or a weighted loop, so it cannot jump out when flow starts. Run hoses along walls and through doorways at floor level, never across a walkway where a foot can catch them, and never through a doorway that gets closed on the hose. If the route crosses a finished floor, a cheap drip tray or towel at the tank end catches the few drips that even a good setup produces when hoses are connected and disconnected.
Water quality deserves a line here, because a plumbed routine makes it easy to forget what is actually coming out of the tap. Chlorine and chloramine in tap water harm fish and plants, so dechlorinator goes in as the tank fills — dose for the full volume of new water, not the tank volume, unless your product says otherwise. And if you have never actually looked at what your tap water contains, reading your home water test before setting up a tank explains what each number on a test strip or lab report means, so a plumbed routine built on your tap is built on known water, not assumed water.
The drain-and-fill routine, step by step
A good routine is the same every week, and boring is the point. First, unplug the heater and filter, or at least drop the water level plan below their intakes — a heater running in air cracks, and a filter sucking air loses prime. Second, vacuum: work the gravel tube around plants and decor, lifting detritus without digging up roots, and watch the drain water — cloudy, debris-filled water at the start that clears as you go is normal; water that stays filthy means the substrate needs more frequent attention, not a bigger change. Third, stop at your planned percentage. For most planted tanks that is 25 to 40 percent weekly; larger changes are for specific problems, not routine, because big swings stress fish and plants more than the dirt they remove.
Fourth, refill slowly and gently. Aim the flow at a hand, a plate, or a broad leaf near the surface so the stream breaks before it hits the substrate, and keep the flow low enough that plants sway rather than flatten. Dose dechlorinator as the tank fills, and check temperature by hand as it comes in: the refill should feel the same as the tank water, within a degree or two. Fifth, restart in order — filter first, let it purge air and settle, then heater, then lights back to their normal schedule. A tank refilled and restarted in a rush is a tank that gets an algae bloom a week later and nobody connects the two.
The one rule that overrides all of this: never leave a filling tank unattended. Every flooded fish room story starts with "I just popped out for a minute." Set a timer, stay in the room, and treat the fill as a job that ends when you turn the valve off, not when the water reaches the line. An automatic shutoff or a water alarm on the floor is a good backup, but it is a backup, not a substitute for being there.
Small tanks, rented homes, and setups with no plumbing changes
Not everyone can plumb anything. In a rented flat, or with a single nano tank, the goal is a tidier version of the bucket routine rather than a plumbed station. A hand-pump siphon with a shutoff clamp, a dedicated bucket that lives by the tank and never gets used for anything else, and a short fill hose from the nearest tap will cut the mess dramatically without a single fitting changed. Keep the bucket small enough to carry comfortably when full — a half-full bucket carried safely beats a full one carried dangerously — and make two trips rather than one heroic one.
For landlords and leases, the faucet adapter is the key question: a screw-on adapter that comes off without a trace is fine in almost any tenancy, while anything that cuts into a pipe is not. Keep the original aerator in a drawer so the tap can be restored exactly, and never leave an adapter under pressure when the change is done — disconnect, drain the hose, and coil it. A hose left full of water grows biofilm, kinks in storage, and drips on the way to its cupboard.
Protecting floors, fish, and plants while you change water
Floor protection is cheap insurance that belongs in the setup, not added after the first flood. A waterproof tray or a sheet of pond liner under the tank stand catches the drips that hoses produce; a water alarm on the floor by the stand — the kind that beeps at the first touch of water — catches a leak while it is still a puddle rather than a claim. Both cost little, and both are worth more than any single piece of water-change gear, because the most expensive water change is the one that damages the room.
Fish and plants need the same gentle treatment during the routine. Keep fish in the tank during changes — netting them out every week stresses them far more than a careful refill does — but drop the water level slowly enough that they are never crowded into a shrinking corner, and never let the level fall below the top of the tallest plants for long, since emersed leaves dry out fast. After the refill, watch the tank for ten minutes: fish should resume normal swimming quickly, plants should settle upright, and the filter should run clear. Anything else — gasping, clamped fins, a filter coughing air — is a signal to check temperature and dechlorinator first, before reaching for any remedy.
Frequently asked questions
How much water should I change each week in a planted tank?
For most planted tanks, 25 to 40 percent weekly keeps nitrate and dissolved organics in check without swinging parameters. Heavily stocked or heavily fed tanks lean toward the top of that range; lightly stocked, heavily planted tanks can sit at the bottom. Test nitrate weekly and let the number, not the calendar alone, set your percentage.
Can I fill the tank straight from the tap?
Yes, with two conditions: dechlorinate the new water, and temperature-match it to the tank within a degree or two. Filling straight from the tap is exactly what a faucet water changer does, and it is safe once both conditions are met. Never skip the dechlorinator — chlorine and chloramine are invisible, and their damage shows up as stressed fish hours later.
What if my faucet does not fit a water changer?
Check for an adapter first: many pull-out and internal-thread faucets have a matching adapter, and the laundry or utility tap often has a standard thread even when the kitchen tap does not. If no tap fits, fall back to a hand-pump siphon and a dedicated bucket, and consider a small pump-driven system that moves water from a bucket to the tank without lifting — still far drier than carrying water by hand.
How do I water-change a tank far from any tap?
Use a longer hose and route it properly, or use a pump and a rolling container: drain into a large bin on wheels, roll it to the drain, and pump treated, temperature-matched water back from the same bin. The principle is the same as a plumbed setup — water travels by hose, not by carried bucket — even when the route is long.