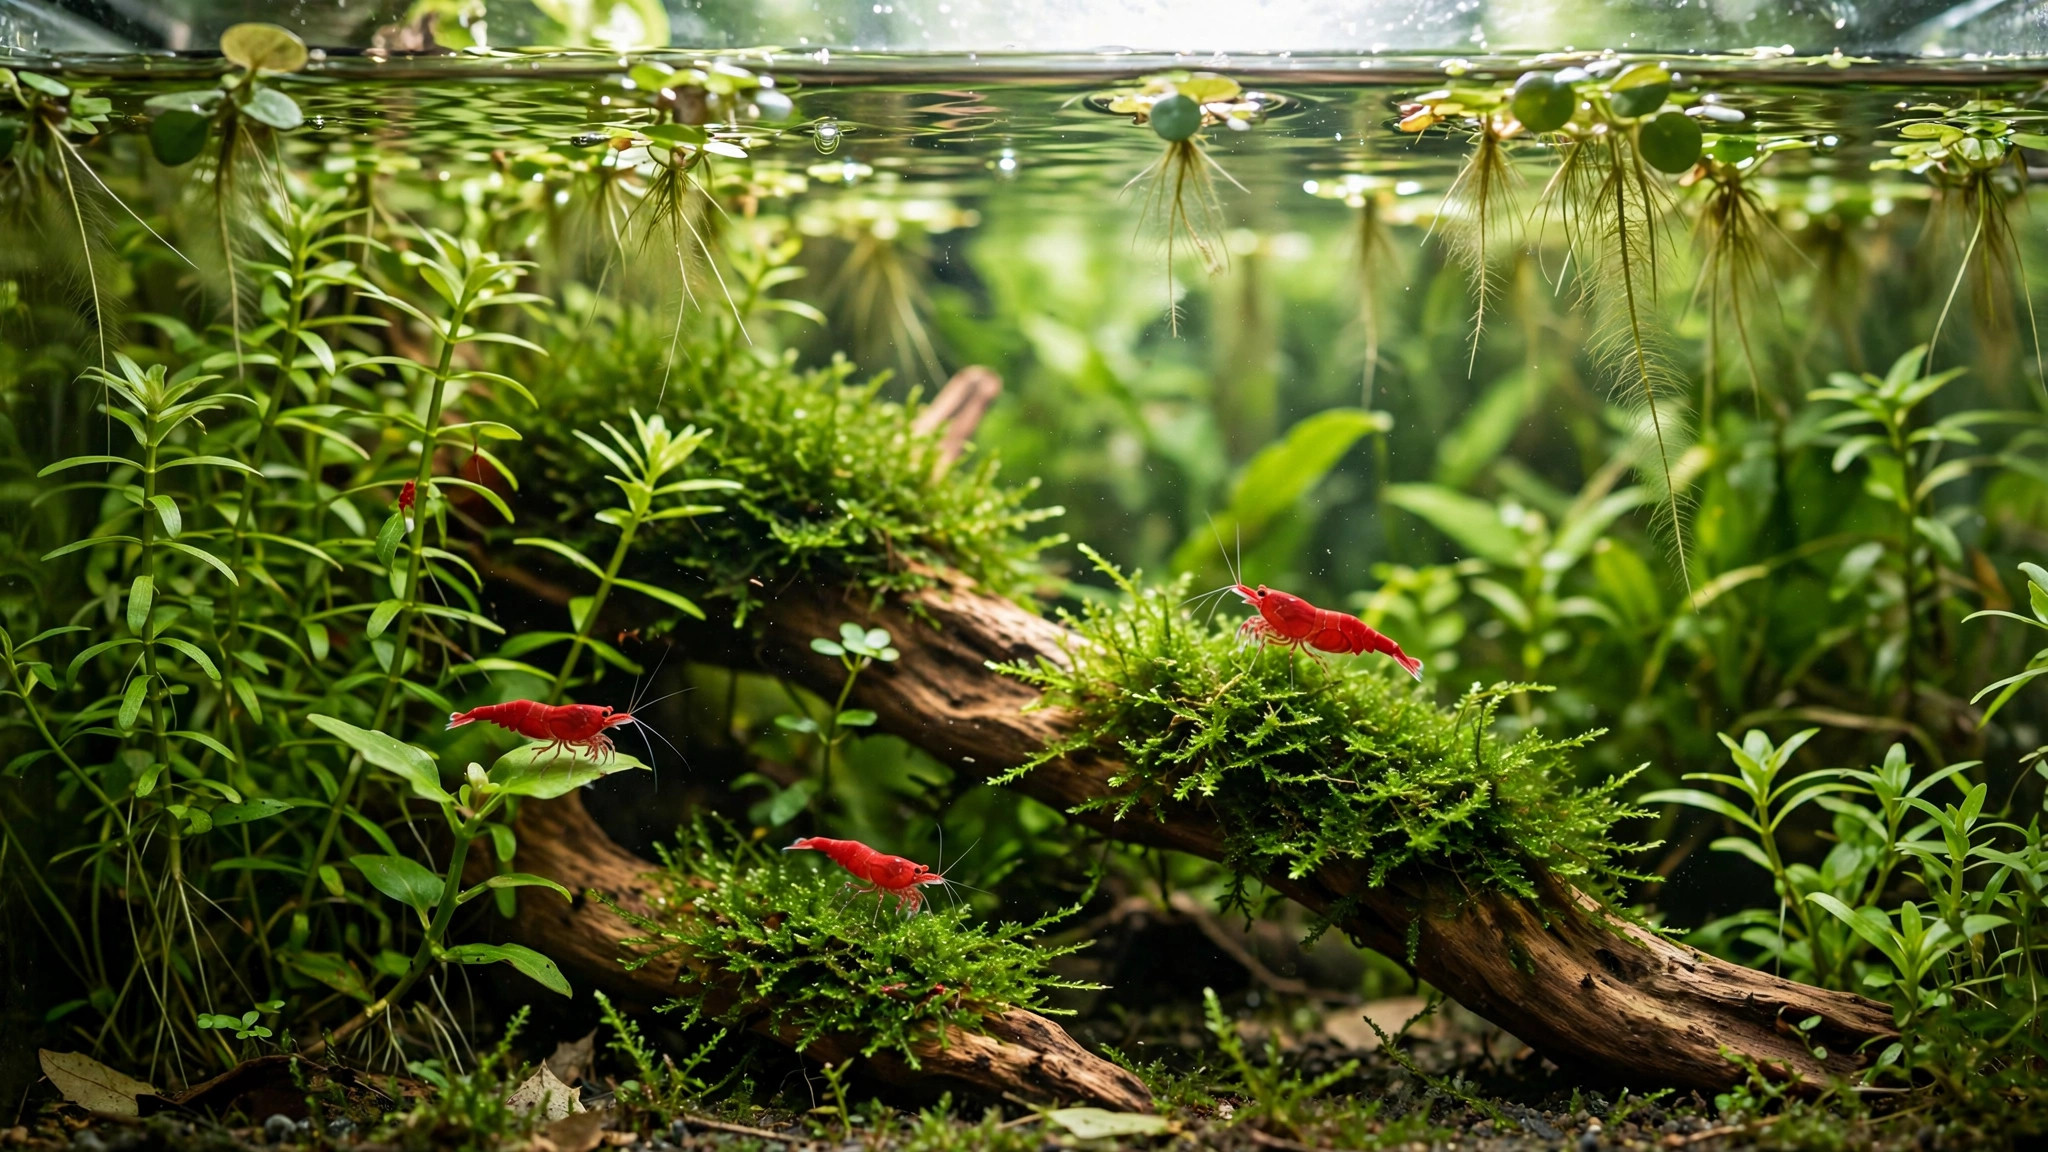
Most filterless tank guides are written for fish — and shrimp will die following them. A guppy can ride out the ammonia wobble of a settling filterless tank and keep eating. A cherry shrimp cannot: at ammonia levels a fish barely notices, shrimp stop grazing, fail to molt, and die quietly overnight. That is why most "no filter shrimp tank" attempts end as expensive plant bowls with a few sad survivors.
But a filterless shrimp tank can work — the keeper just has to respect a different set of rules than the fish world uses. The plants must be the filter, the substrate must not poison the tank in week one, and the shrimp must arrive months later than your patience wants them to. This guide gives you the exact setup: which plants do the heavy lifting, which substrate choice keeps you safe, the 8-week maturation timeline, and the honest backup plan for when summer heat tests the system.
The short answer: Start with a 5–10 gallon tank planted to at least 70% visual density using fast-growing stem plants and floating plants, use a low-ammonia substrate like Fluval Shrimp Stratum (or inert sand with root tabs), keep lighting on 6–8 hours daily, and wait 6–8 weeks of active plant growth before adding 10–15 cherry shrimp. Do 10–20% weekly water changes, feed sparingly, and keep a sponge filter on standby for heat waves or ammonia spikes.
Why a Filterless Shrimp Tank Is Harder Than a Filterless Fish Tank
In a filterless fish tank, the plants are a supplement to bacterial filtration happening on every surface. In a filterless shrimp tank, the plants are the filtration — there is no second system catching what the plants miss. That works only because a shrimp colony's total waste output is tiny: ten cherry shrimp produce a fraction of the ammonia one guppy does. The problem is the other side of the ledger. Shrimp are invertebrates, and invertebrates tolerate almost no ammonia. Fish show stress at levels where shrimp simply die, often with no warning behavior beforehand.
Three things make shrimp uniquely demanding in a filterless setup. First, molting: a freshly molted shrimp is soft and chemically sensitive for hours — any ammonia present in that window can kill it. Second, shrimplets: babies graze constantly on biofilm, so they need a biologically mature tank, not merely a cycled one. Third, grazing dependence: shrimp eat biofilm and soft algae all day, so a sterile new tank starves them even when the water tests clean.
The honest version of "no filter shrimp tank" is therefore this: no mechanical filter, but an enormous biological filter made of living plants, substrate bacteria, and time. If you build that, shrimp do more than survive — they breed. If you skip it, you get a very pretty, very empty tank.
The Plant-Mass Rule: The Only Math That Matters
Filterless success is decided on planting day, not later. The rule experienced keepers use: plant at least 70% of the tank's visual volume on day one. Not 70% of the substrate — 70% of the water column should have living plant in it. A sparse "I'll let it grow in" start leaves nothing to absorb the ammonia that decaying leaves, melting tissue-culture plants, and the first feedings produce.
Not all plants pull equal weight. Fast-growing stem plants — hornwort, guppy grass, pearl weed, water sprite — are the ammonia workhorses because rapid growth means rapid nutrient uptake. Floating plants are even better: salvinia, Amazon frogbit, and red root floaters absorb ammonia faster than submerged plants because they draw CO2 directly from the air. A thick raft of floaters is the single most effective natural filter you can add to a shrimp tank.
Build the planting in layers. Background: fast stems (hornwort or guppy grass planted in bunches). Midground: water sprite or pearl weed. Foreground: mosses — java moss tied to driftwood or stone, which doubles as shrimplet shelter and grazing surface. Surface: salvinia or frogbit covering roughly a third to half of the surface. Avoid slow growers as your foundation: anubias and bucephalandra are beautiful shrimp-tank plants, but they grow too slowly to carry filtration duty in the early months. Add them later as decoration, not as the engine.
Substrate: The Decision That Makes or Breaks Week One
Here is the trap most filterless shrimp attempts walk into: they choose a rich aquasoil like ADA Amazonia for its legendary plant growth, then add shrimp in week two — right in the middle of the soil's ammonia-leaching phase. Nutrient-rich aquasoils release significant ammonia for 4–6 weeks after flooding (shorter, 1–3 weeks, for milder soils). In a filtered tank, daily water changes and bacteria handle it. In a filterless tank with shrimp already in it, it is a massacre.
You have two safe routes. Route one: a low-ammonia active soil. Fluval Plant and Shrimp Stratum ★4.7 was formulated for exactly this situation — it buffers pH gently downward for shrimp while leaching far less initial ammonia than the heavyweight aquasoils, and its light granules won't crush delicate roots. It is the substrate we recommend most often for filterless shrimp setups. Route two: inert sand with root tabs. Pool filter sand or a fine aquarium sand leaches zero ammonia, full stop. Feed heavy root feeders with root tabs pushed into the sand every couple of months. The plant growth is slightly slower than with aquasoil, but the tank is shrimp-safe from day one, which matters more.
If you already own ADA Amazonia or another ammonia-heavy soil and want to use it, the safe play is a dark start: flood the tank, run it with no light and no livestock for 3–4 weeks while the soil exhausts its ammonia, doing large water changes twice a week, and only then plant heavily and begin the maturation countdown. Never add shrimp to a freshly flooded ammonia-leaching soil.
Disclosure: as an Amazon Associate, AquaVerdia earns from qualifying purchases made through the links in this guide — at no extra cost to you. It keeps these guides free and independent.
Tank Size and Stocking: Start Bigger Than You Think
Filterless systems live or die on water volume. A 5-gallon tank is the realistic minimum for a first attempt; a 10-gallon is dramatically more forgiving because every mistake — an overfeeding, a warm afternoon, a melted plant — is diluted in twice the water. Anything under 5 gallons (bowls, 3-gallon cubes) is expert territory: the chemistry swings too fast for plants to buffer, and one hot day can crash dissolved oxygen overnight. If your heart is set on a tiny tank, read our planted fishbowl guide first and treat it as a second project, not a first.
For shrimp, choose cherry shrimp (Neocaridina davidi) — red cherries, or any color morph. They tolerate the widest parameter range of any dwarf shrimp (pH roughly 6.5–8.0, temperature 65–80°F), breed readily, and forgive the small wobbles a filterless tank produces. Leave Caridina species — crystal reds, Taiwan bees — for filtered, RO-water setups; they demand stability a filterless tank cannot promise in its first year.
Stock lightly: 10–15 shrimp per 5 gallons to start. Resist fish entirely for the first six months; even "shrimp-safe" nano fish eat shrimplets and add waste the plants must absorb. A shrimp-only tank is not a compromise — it is the configuration a filterless system handles best. And the colony will grow: healthy cherry shrimp breed continuously, so fifteen shrimp can become sixty within a few months. Start small on purpose.
The 8-Week Maturation Timeline (Don't Skip This)
This is the step everyone wants to compress and nobody should. A filterless shrimp tank must be mature, not just cycled: plants growing vigorously, biofilm coating every surface, microfauna established. Shrimp — especially shrimplets — need the mature tank, not merely the cycled one. Here is the timeline:
| Week | What to do | What you should see |
|---|---|---|
| 0 | Plant heavily (70%+ density), fill gently, lights 6 hrs/day on a timer. No livestock. | Some melting of tissue-culture plants is normal. |
| 1–2 | 20–30% water changes twice weekly. Remove melted leaves. Don't fertilize yet. | New growth tips on stems; floaters multiplying. |
| 3–4 | Reduce to weekly 20% changes. Begin a light all-in-one fertilizer at half dose if stems stall. | Noticeable growth; faint biofilm on glass and wood. |
| 5–6 | Test ammonia/nitrite/nitrate. Trim floaters weekly. Look for copepods and seed shrimp — good signs. | Zero ammonia and nitrite for two straight weeks; visible microfauna. |
| 6–8 | Add 5 "test" shrimp first. If they graze actively and survive 2 weeks, add the rest. | Test shrimp grazing, berried females within a month. |
Test with a liquid kit, not strips — strips are too coarse for the low ranges that matter to shrimp. The API Freshwater Master Test Kit ★4.8 covers ammonia, nitrite, nitrate, and pH. Your target before any shrimp go in: ammonia 0 ppm, nitrite 0 ppm, for at least two consecutive weeks, with plants visibly growing.
Oxygen Without a Filter: The Night Problem
Plants produce oxygen by day and consume it by night. In a filterless tank there is no surface agitation from a filter outflow, so nighttime oxygen is the genuine physical risk — especially in warm rooms, since warm water holds less dissolved oxygen. Shrimp stressed by low oxygen climb toward the surface, hang motionless near the top, or gather where any ripple exists. If you see that behavior at dawn, believe it.
Three design choices keep oxygen safe. First, leave an air gap: keep the waterline an inch below the rim and skip the tight glass lid, or use a mesh cover — gas exchange happens at the surface, and a sealed lid traps CO2 and humidity. Second, limit floater coverage to about half the surface so the open half can breathe; a 100% floater blanket looks lush and suffocates the tank at night. Third, mind summer heat: above roughly 80°F (27°C), dissolved oxygen drops while shrimp metabolism (and waste output) rises. A small clip-on fan blowing across the surface can drop water temperature a few degrees through evaporation — cheap insurance during heat waves.
Some keepers add a tiny air stone on a timer that runs only at night — a reasonable compromise: the tank stays visually filterless by day, and the shrimp get an oxygen safety net when the plants switch from producing to consuming. "No filter" is a design philosophy, not a purity test.
The Weekly Routine: 20 Minutes That Keep It Alive
A filterless shrimp tank trades equipment for attention. The routine is small but non-negotiable:
- Water change: 10–20% weekly with dechlorinated, temperature-matched water. Pour gently — a hard stream uproots carpeting plants and stresses shrimp. Never change more than 30% at once; large swings kill shrimp faster than the nitrates you were removing.
- Top off evaporation with plain dechlorinated water (not tank water, not mineralized water) between changes — evaporation concentrates minerals, and topping off with more minerals each time creeps TDS upward.
- Trim floaters weekly so light reaches the stems below. Remove the trimmings from the room; compost them.
- Feed 3–4 times per week, only what the colony finishes in 2–3 hours. A mature planted tank grows enough biofilm and soft algae that shrimp need surprisingly little supplemental food. Overfeeding is the number-one killer in filterless tanks.
- Test monthly once stable (weekly during the first two months): ammonia, nitrite, nitrate, pH. Log the numbers; trends matter more than single readings.
- Don't gravel-vac the substrate. The mulm settling into the soil feeds plant roots and houses bacteria. Lightly siphon only visible debris off hardscape.
The Honest Backup Plan: When to Abandon "Filterless"
Here is the part most filterless guides won't print: keep a filter anyway — just not in the tank. An air-driven sponge filter like this hygger double sponge ★4.5, an air pump, and a few feet of airline tubing cost little, store in a drawer, and have saved more "filterless" tanks than any aquascaping trick. Deploy it when:
- Ammonia or nitrite reads above zero and a water change hasn't fixed it within 24 hours.
- A heat wave pushes the tank past 80°F and shrimp are hanging at the surface at dawn.
- You need to leave town for more than a few days — a sponge filter plus an auto-feeder is a far safer vacation plan.
- A plant mass dies back suddenly (heater failure in winter, light timer malfunction), removing your biological filter overnight.
There is no shame in it. The goal was never "no equipment on principle" — it was a thriving shrimp colony. Many long-term filterless keepers run a sponge filter for the first 3–6 months and remove it once the tank is bulletproof. The shrimp don't care about your philosophy; they care about clean water.
Mistakes That Kill Filterless Shrimp Tanks
Frequently Asked Questions
Can cherry shrimp really live with no filter at all?
Yes — experienced keepers run thriving, breeding filterless cherry shrimp colonies. The non-negotiables are heavy planting (70%+ density with fast growers and floaters), light stocking, a mature tank of 6–8 weeks before shrimp arrive, and weekly water changes. It is harder than running a small sponge filter, which is why beginners should start filtered and go filterless as a second project.
How long do I wait before adding shrimp to a filterless tank?
Six to eight weeks minimum from planting day, and only after ammonia and nitrite have read zero for two consecutive weeks and plants are growing vigorously with visible biofilm on surfaces. Add five test shrimp first; if they graze actively for two weeks, add the rest of the colony.
Do I need a heater in a filterless shrimp tank?
Usually not. Cherry shrimp thrive at normal room temperatures (65–80°F / 18–27°C), and a heater adds a failure point that can cook a small tank overnight. Only add one if your room regularly drops below 60°F (15°C) in winter, and use a reliable adjustable model — never an unregulated preset heater in a nano tank.
Can I keep fish in a no-filter shrimp tank?
Not while it's establishing, and ideally not at all. Even tiny fish eat shrimplets and add waste the plants must absorb, shrinking your safety margin. If you must, wait until the colony is breeding confidently (6+ months in), then add only a small group of genuinely shrimp-safe micro fish — and accept that shrimplet survival will drop.
What do I do if ammonia spikes in my filterless tank?
Do a 30% water change immediately with temperature-matched dechlorinated water, remove any decaying plant matter or uneaten food, and trim back to healthy growth. If ammonia is still detectable after 24 hours, drop in a cycled sponge filter (kept running in another tank or seeded with bottled bacteria) and keep it running until readings hold at zero for a week. Then decide whether to keep it permanently.
Will shrimp breed in a filterless tank?
Readily — often better than in filtered tanks, because there is no filter intake to trap shrimplets and the dense planting gives babies endless grazing and hiding spots. A colony started with 10–15 shrimp in a mature 10-gallon can number in the hundreds within a year.