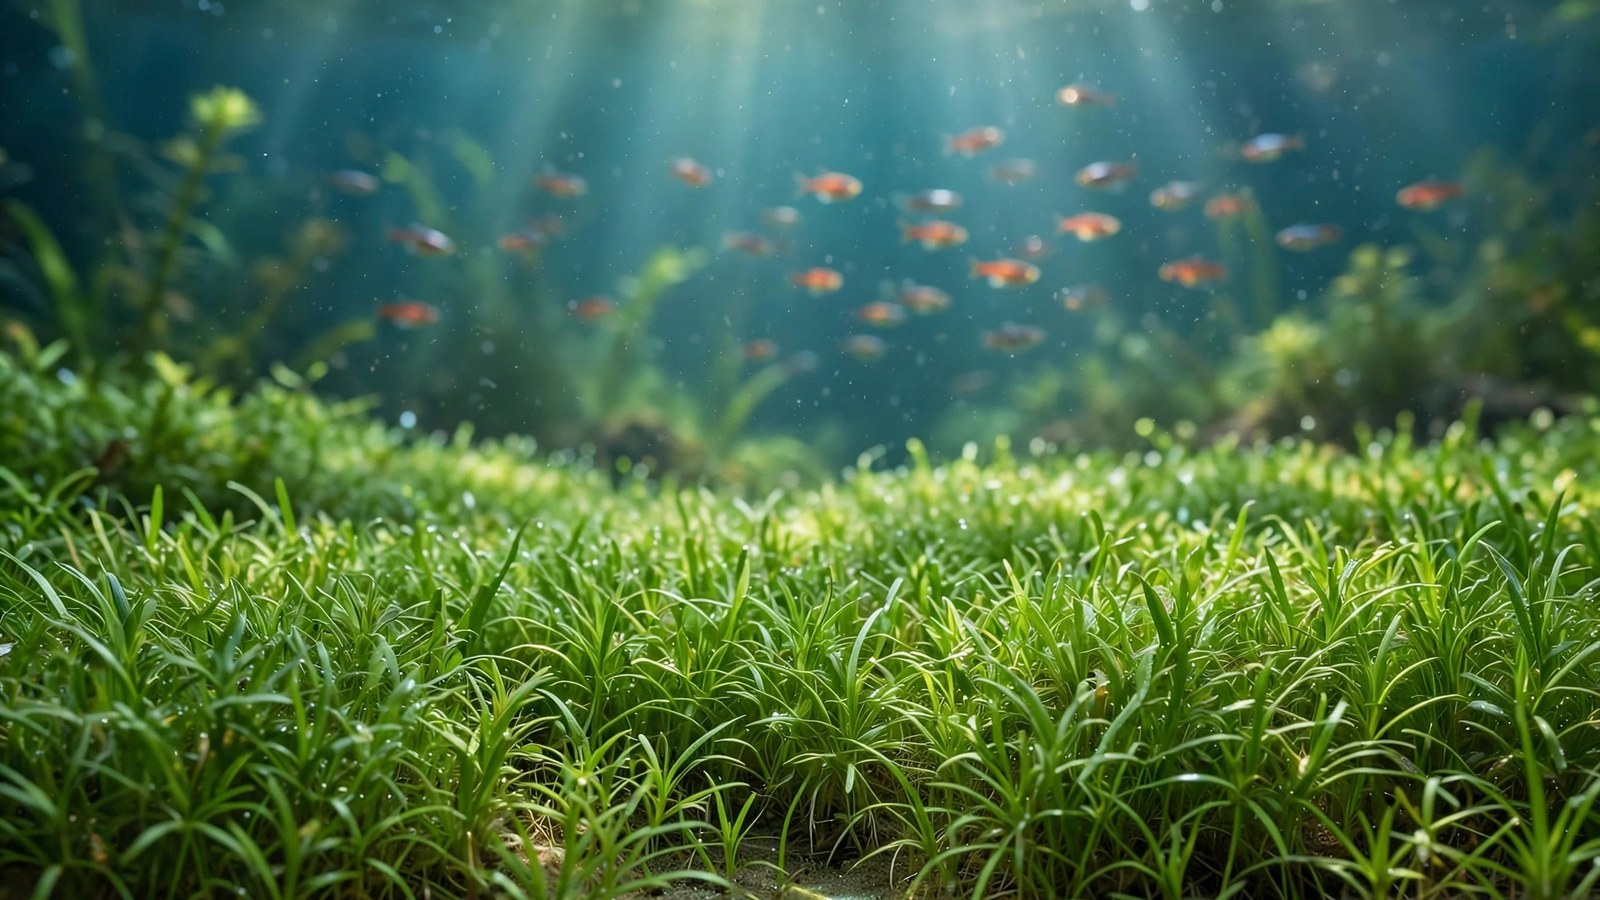
Utricularia graminifolia care rewards the patient aquarist with one of the most unusual foreground carpets in the hobby: a grass-like meadow that quietly hunts. This carnivorous bladderwort spreads into a lush lawn while its buried bladder traps capture microscopic organisms in the substrate. Because it feeds itself in ways most plants can't, utricularia graminifolia thrives in surprisingly lean conditions — but it is also one of the fussiest carpet plants to establish, with a well-earned reputation for melting when conditions aren't right. This guide covers exactly how to plant it, what it needs to root and spread, and how to keep it thriving long term.
Meet the Plant: Identification and Taxonomy
Utricularia graminifolia is a true carnivorous plant in the bladderwort family (Lentibulariaceae), one of the largest genera of carnivorous plants on Earth. In the wild it grows in marshy, nutrient-poor soils across parts of Asia, spreading as a low, grass-like mat in shallow water and damp ground — a heritage that explains its love of lean substrates and its habit of spreading via runners once settled.
In the aquarium it is sold almost exclusively as tissue culture, which is excellent news: tissue-cultured cups are pest-free, snail-free, and algae-free, and arrive as dense mats that are easy to portion. Mature leaves are narrow, pointed, and vivid green, resembling fine blades of grass — hence graminifolia ("grass-leaved"). Don't confuse it with dwarf hairgrass, which it superficially resembles; Utricularia graminifolia has softer blades and spreads via a fine underground runner network rather than distinct root clumps.
One distinctive feature: under strong light and good conditions, it produces tiny, delicate purple flowers above the waterline — a delightful surprise that confirms your carpet is genuinely happy. Flowering is uncommon in fully submerged setups but does happen.
Tank Requirements at a Glance
| Parameter | Target Range | Notes |
|---|---|---|
| Light | Medium-high to high (PAR 60+ at substrate) | The single biggest factor for success |
| CO2 | Pressurized, ~25–30 ppm | Start low, observe livestock before increasing |
| Temperature | 20–28 °C (68–82 °F) | Prefers the cooler end; avoid prolonged heat |
| pH | 5.5–7.0 | Soft, slightly acidic water is ideal |
| GH / KH | GH 1–6 dGH, KH 0–4 dKH | Mirrors its nutrient-poor native habitat |
| Substrate | Nutrient-lean aquasoil or fine aquasoil powder | Fine grain helps delicate runners take hold |
| Tank size | Any; best showcased in 10+ gallon aquascapes | Needs room to form a real carpet |
| Difficulty | Moderate to advanced | Demanding at planting, easy once rooted |
Light: The Make-or-Break Factor
If there is one rule of utricularia graminifolia care, it is this: give it strong light. Weak or medium light is the most common reason carpets stall, melt, or grow upward in leggy, pale strands instead of spreading horizontally. Aim for high-intensity lighting delivering at least 60+ PAR at the substrate, with 8–10 hours of photoperiod daily. Modern LED fixtures with good spread across the foreground are ideal; if your foreground is dimmer than your background, consider raising the light or adding a supplementary bar.
Under strong light the leaves stay compact, bright green, and dense. Under insufficient light the plant etiolates — stretching tall and thin — and the resulting weak growth is far more prone to melting. If your carpet is growing "up" instead of "out," light is almost certainly the culprit.
CO2 and Fertilization: Start Low, Observe Livestock
Utricularia graminifolia is a high-tech plant: pressurized CO2 injection is strongly recommended and, for most aquarists, effectively required for a dense carpet. Target roughly 25–30 ppm during the photoperiod, confirmed with a drop checker showing lime green. But the responsible approach matters — start with a low bubble rate, increase gradually over days, and observe your livestock closely. Fish gasping at the surface, lethargy, or rapid gill movement are all signs to dial CO2 back immediately.
Here's the interesting part: because this plant is carnivorous, it is far less dependent on water-column fertilization than typical carpet plants. Its bladder traps harvest nitrogen and phosphorus from microfauna — infusoria, tiny worms, and microorganisms living in the substrate. In a mature, biologically active tank, utricularia graminifolia grows remarkably well with lean dosing: a modest all-in-one fertilizer at reduced strength, or light dosing a few times per week, is usually plenty. Heavy fertilization is unnecessary and invites algae onto its fine leaves.
One caution: avoid overdosing liquid carbon supplements (glutaraldehyde-based products). Bladderworts are sensitive to these chemicals, and dosing errors or spot treatments near the carpet can cause sudden melting. Dose conservatively and never apply them directly onto the plants.
Water Chemistry: Soft and Slightly Acidic
This plant evolved in soft, acidic, nutrient-poor waters, and it shows. Keep pH between 5.5 and 7.0, with general hardness in the 1–6 dGH range and carbonate hardness near zero to low. Aquasoil-based substrates naturally buffer the water into this range, which is another reason aquasoil is the preferred base. Hard, alkaline tap water is workable but rarely produces the dense, vibrant carpets this plant is known for — consider mixing with RO water if your tap is very hard.
Temperature matters too: utricularia graminifolia prefers 20–26 °C and can struggle during prolonged heat above 28 °C. In warm climates, a cooling fan during summer helps.
Substrate and Planting Technique
Choose a fine-grained aquasoil — standard aquasoil works, but the powder or "fine" variant is even better, because the plant's delicate runners grip fine grains far more easily than coarse granules. A sand cap over aquasoil can also work, though pure fine aquasoil remains the gold standard. The substrate should be nutrient-lean by aquarium standards: this is one plant where a rich, heavily fertilized base is not an advantage.
Planting technique is critical and different from most carpets. Divide tissue culture mats into small portions — roughly 1–2 cm tufts — rather than planting one big clump, which rots from the inside out where light and flow can't reach. Follow this method:
- Rinse the tissue culture gel thoroughly under running water.
- Divide the mat into small tufts of 5–10 leaves each.
- Using fine aquascaping tweezers, press each tuft into the substrate so the base is buried but the leaves sit above the surface.
- Space tufts 2–3 cm apart in a grid across the foreground.
- Flood the tank slowly and carefully — a strong rush of water will uproot the shallow tufts.
Expect the planting to look sparse and unimpressive at first. That's normal. The magic happens underground: the plant sends out a fine network of runners, and new leaves emerge from nodes along them. Resist the urge to "fix" sparse spots by jamming in more clumps — give the runners 3–4 weeks to do their work. Keep flow gentle at the substrate level in the first week, since the shallow tufts have minimal roots, and avoid bottom-dwellers that dig during the establishment phase.
The Carnivory Mechanism: Why It Matters for Your Tank
Beneath the substrate, utricularia graminifolia grows tiny bladder traps — microscopic vacuum chambers with trigger hairs at their entrances. When a tiny organism brushes a trigger, the trap snaps open in a fraction of a millisecond, water rushes in, and the prey is sealed inside and digested. It's one of the fastest movements in the plant kingdom.
Why should an aquarist care? Because this supplemental feeding is exactly what makes the plant special in shrimp tanks. Shrimp tanks are typically kept lean to protect sensitive livestock, and most carpet plants struggle there — but utricularia graminifolia's traps harvest infusoria and microfauna from the substrate, giving it a private nutrient source other plants can't access. It's arguably the best foreground carpet for a dedicated shrimp or nano tank.
There's a bonus ecological effect, too: by grazing on infusoria and tiny pest organisms in the substrate, a healthy utricularia carpet subtly suppresses the microfauna blooms (like detritus worms) that plague overfed tanks. It won't replace good maintenance, but it's a genuinely functional plant — not just decoration.
One common worry: will the traps harm baby shrimp? No — the bladders are far too small to capture anything larger than microscopic organisms. Newly hatched shrimplets are far too large to trigger or fit inside a trap, so the plant is completely safe with all shrimp, snails, and fish fry.
Growth Expectations and Timeline
Set honest expectations: utricularia graminifolia is slow to establish and then surprisingly quick to spread. The typical timeline looks like this:
- Weeks 1–2: Tufts sit there looking unimpressed. Some older leaves may yellow or melt — this is transition stress, not failure.
- Weeks 3–5: Fine runners extend between tufts; tiny new leaves emerge along them. The grid pattern starts filling in.
- Weeks 6–10: The carpet knits together. Growth visibly accelerates as the runner network matures.
- Months 3–4: A dense, lush lawn — often with the first tiny purple flowers appearing at the waterline.
Total time from planting to full carpet is typically 2–4 months, depending on light, CO2, and how small you divided the initial portions. Compared to Monte Carlo or dwarf hairgrass, it's slower out of the gate but forms a finer, delicate-textured lawn once established.
Melting in Utricularia Graminifolia Care: Causes and Fixes
Melting — leaves turning translucent and dissolving — is the most reported problem with this species, and nearly always traceable to one of these causes:
- Insufficient light: The number-one cause. Leggy, weak growth melts easily. Increase intensity before trying anything else.
- CO2 instability: Fluctuating CO2 levels (inconsistent timing, running out mid-week) stress the plant. Keep injection steady and on a timer synced with the lights.
- Transition shock: Tissue culture plants grown emersed must adapt to submerged life. Some melting of the original leaves is normal; judge success by new growth, not old leaves.
- Liquid carbon overdosing: Glutaraldehyde-based products can trigger sudden, dramatic melting. Dose conservatively.
- Heat stress: Prolonged temperatures above 28 °C. Improve cooling and increase surface agitation.
- Disturbed substrate: Uprooting and replanting resets the runner network. Plant once, then leave it alone.
The fix for melting is almost always environmental, not chemical: stabilize CO2, confirm strong light reaches the foreground, keep temperatures in range, and wait. If even a few green leaves remain, the runner network is usually alive and will recover.
Algae Competition on the Leaves
The plant's fine leaves attract algae — particularly thread/hair algae and diatoms during establishment. Manual removal is risky without uprooting the plant, so prevention is everything: keep the photoperiod at 8 hours initially, maintain stable CO2, stock a cleanup crew early (Amano shrimp, otocinclus, small snails graze the leaves gently), keep dosing lean, and ensure good flow across the foreground so detritus doesn't settle into the young carpet.
If thread algae takes hold, resist aggressive manual removal — you'll pull up the carpet. Shorten the photoperiod, double-check CO2, add more shrimp, and let the cleanup crew work. Established, fast-growing utricularia outcompetes algae on its own.
Trimming and Maintenance
Once established, utricularia graminifolia needs surprisingly little trimming. It grows low and dense rather than tall, so it rarely needs the regular haircuts that dwarf baby tears or hairgrass demand. When the carpet gets too thick — lower layers yellowing from shading — a light trim with curved aquascaping scissors encourages fresh growth from the base.
Maintenance is mostly about the substrate: gently siphon detritus off the carpet surface during water changes without digging into it. If the mat becomes a thick, spongy layer more than 2–3 cm deep, carefully lift and remove sections to let light reach the base — the removed portions make excellent planting material elsewhere.
Propagation
Propagation couldn't be simpler: divide and replant. Lift a section of established carpet, tease it apart into small tufts, and press them into new substrate following the same spacing grid. Each fragment carries runners that will root and spread. Most aquarists propagate accidentally — thinning the carpet produces more planting material than they'll ever need.
A Responsibility Note: Never Release Aquarium Plants
Utricularia graminifolia is a vigorous spreader in the right conditions, and like all aquarium plants, it must never be released into local waterways, ponds, or storm drains. Bladderworts can establish in nutrient-poor wetlands and compete with native species. Dispose of trimmings responsibly: bag them for household trash, dry them out completely, or compost well away from water. Rinse water from plant maintenance should go down the drain, and check your local regulations — some regions restrict certain aquatic plants.
Frequently Asked Questions
Is Utricularia graminifolia a good beginner plant?
Honestly, no — it's best attempted after you've had success with easier carpets like Monte Carlo or pearl weed. It demands high light, stable pressurized CO2, and soft acidic water, and melts readily when those aren't right. Once established it's quite undemanding, so it's an excellent "second carpet" project for an intermediate aquarist.
Can Utricularia graminifolia grow without CO2?
It can survive in a low-tech tank with strong light, but rarely forms the dense carpet it's famous for — growth stays sparse, slow, and leggy. For the lush lawn effect, pressurized CO2 is effectively required. A high-light, no-CO2 setup may work in very soft water with a mature substrate, but expect modest results and a much longer timeline.
Will it eat my baby shrimp or fish fry?
No. The bladder traps are microscopic and designed to catch infusoria and other organisms far smaller than even a newly hatched shrimplet. Baby shrimp, snails, and fish fry are completely safe. In fact, this plant is one of the best carpet choices for shrimp breeding tanks because it thrives in the lean conditions shrimp prefer.
Why is my Utricularia graminifolia melting after planting?
Some melting of tissue-culture leaves is normal transition shock — judge by new growth, not old leaves. Persistent or total melting usually points to insufficient light at the substrate, unstable CO2, liquid carbon overdosing, or temperatures above 28 °C. Stabilize those parameters and give the runner network 3–4 weeks.
How long does it take to form a full carpet?
Typically 2–4 months from planting to a dense lawn, depending on light intensity, CO2 stability, and how finely you divided the initial portions. The first 2–3 weeks look like nothing is happening; growth accelerates noticeably once the underground runner network matures around weeks 5–8.
Does it need rich substrate or root tabs?
Surprisingly little. Fine aquasoil is ideal mainly for its texture and water-softening properties, not its nutrient content — the plant supplements itself by trapping microfauna. Heavy root fertilization is unnecessary and can encourage algae. Lean dosing of the water column a few times per week is plenty in a mature tank.
Final Thoughts
Utricularia graminifolia asks for precision at the start — strong light, steady CO2, soft acidic water, and careful planting — and repays it with a carpet unlike anything else in the hobby: a fine green meadow that hunts. Give it those first few weeks of stability and you'll be rewarded with one of the most distinctive foregrounds in aquascaping. For verified growth parameters, the Tropica plant database entry for Utricularia graminifolia is an excellent reference.
Tissue-culture plants are the exception — they’re grown in sterile gel and adapt with minimal melting, which is part of what you’re paying for. Plants bought submersed from another hobbyist’s tank also transition with little melt, since they’re already in the right form.
Which Plants Melt Most (and Least)
Heavy melters (expect significant leaf loss)
- Cryptocorynes — infamous for “crypt melt,” sometimes dropping every leaf after any disturbance. They almost always recover from the roots within weeks.
- Stem plants grown emersed — rotala, ludwigia, and hygrophila often shed lower emersed leaves while the growing tips transition.
- Amazon swords — emersed-grown swords typically lose their broad oval aerial leaves and replace them with longer submersed ribbon leaves.
Light melters
- Anubias, java fern, bucephalandra — slow-growing rhizome plants transition gradually; occasional old-leaf melt but rarely dramatic.
- Vallisneria — usually transitions well, though it dislikes the move itself and may sulk for a week.
- Floating plants — minimal melt since their leaves were already at the air-water interface.
The Acclimation Protocol
Step 1: Quarantine or dip first
Before acclimating to your tank’s conditions, make sure you’re not acclimating pests along with the plant. Run new arrivals through our quarantine and dip protocol — it adds days upfront but prevents months of regret.
Step 2: Float to temperature-match (30 minutes)
Float the bag or container in your tank for 20–30 minutes to equalize temperature. Plants are less temperature-sensitive than fish, but a 10°F shock on top of transplant stress is an avoidable insult.
Step 3: Trim before planting
Remove any leaves that are already damaged, yellowing, or heavily algae-covered — they won’t recover and they’ll rot in your tank, feeding algae. For stem plants, trim off the bottom inch and any emersed leaves that look unlikely to adapt; the plant wastes energy maintaining leaves it’s going to shed anyway. Keep the healthy growing tips — that’s where recovery starts.
Step 4: Plant correctly the first time
Follow our planting guide — right depth, crown exposed on rosettes, rhizomes unburied on epiphytes. Every uprooting and replanting restarts the acclimation clock, so get placement right on the first attempt. Decide where each plant goes before it goes in the water.
Step 5: Run a gentle first week
For the first 7 days after planting:
- Moderate light — run your normal photoperiod but consider dropping intensity 20–30% if your light is dimmable. Blast-level light on a melting plant grows algae on the dying leaves, not recovery.
- Stable CO2 — if you inject CO2, keep it consistent. Fluctuating CO2 during acclimation is a melt accelerator. If you’re low-tech, this doesn’t apply — see growing without CO2.
- Half-strength fertilizer — new plants with damaged leaves can’t use full dosing, and the excess feeds algae. Ramp to full strength over 2–3 weeks per our fertilizer schedule.
- No disturbance — don’t move, trim, or “check on” new plants for at least two weeks. Every touch resets root establishment. This is especially critical for crypts.
Step 6: Remove melt, keep the base
As emersed leaves melt, remove the mushy material promptly — decaying leaves release ammonia and grow fungus that can spread to healthy tissue. But never discard the plant while the crown, rhizome, or roots are firm and alive. A crypt that’s lost every leaf but has firm roots is a plant that’s about to recover, not a dead plant. Give it 3–4 weeks before judging.
Telling Normal Melt From Real Problems
Normal transition melt:
- Affects oldest/emersed leaves first, newest growth last
- New submersed leaves emerge even as old ones dissolve
- Roots and crown stay firm and white/green
- Timeline: 1–4 weeks, then obvious new growth
Concerning melt (see our full melting diagnosis guide):
- New growth also melts or emerges deformed
- Rhizome or crown turns mushy and brown — this is rot, not transition
- Entire plant dissolves within days with no new growth after 4+ weeks
- Melting spreads to established plants that weren’t recently moved
Buying Tips to Minimize Melt
- Buy submersed-grown when available — hobbyist-grown cuttings transition with almost no melt.
- Choose tissue culture for sensitive species — crypts and delicate stems establish far more reliably from sterile cups.
- Avoid plants already melting in the store tank — some melt is normal, but a plant that’s mostly mush at purchase has less energy for recovery.
- Transport carefully — keep plants damp and out of direct sun/heat. A plant that dries out or cooks in a hot car melts far worse than one transported properly.
The First-Month Timeline: What to Expect Week by Week
Knowing what’s normal when removes most acclimation anxiety. Here’s the typical timeline for a healthy plant adapting to a new tank:
Week 1: The quiet week
Almost nothing visible happens. The plant is growing roots you can’t see and assessing its new environment. Some species (vallisneria, stem plants) may start shedding their lowest leaves. This is normal. Resist the urge to “help” — no moving, no extra fertilizer, no light changes. The most common beginner mistake is intervening during a week when the correct action is nothing.
Week 2: Melt peaks
This is when emersed leaves give up in earnest. Crypts may drop everything; swords shed their broad aerial leaves; stem plants lose lower foliage. It looks catastrophic and it’s usually fine. Keep removing mushy material, keep conditions stable, and watch the crown and growing tips — if those are firm and green, recovery is already underway.
Week 3: The turn
New submersed-adapted leaves emerge — smaller, thinner, often a slightly different shade of green than the emersed foliage. Stem plant tips start growing visibly; crypts push tiny curled leaves from the crown; swords unfurl narrow ribbon leaves. This is the moment most beginners exhale for the first time.
Week 4+: Established
New growth outpaces melt, and the plant is functionally yours. You can resume full-strength fertilizer, normal trimming, and stop treating it as fragile. Some slow growers (anubias, bucephalandra) take 6–8 weeks to show obvious progress — that’s their normal speed, not a problem.
Acclimating Different Plant Formats
Tissue-culture cups
Sterile, pest-free, and already adapted to high-humidity (not emersed) growth — tissue cultures melt the least of any format. Rinse the agar gel off gently (leftover gel rots and feeds fungus), split the portion into small plantlets, and plant per our planting guide. They establish slowly for the first two weeks, then accelerate. No dip needed, minimal acclimation stress — this is the premium experience you’re paying for.
Potted plants
Remove the pot and strip away the rockwool completely — leftover rockwool traps debris and rots. Tease the root mass apart gently; if it’s a dense mat, splitting it into 2–3 smaller portions actually establishes faster than planting one big clump (more growing points, better water flow around roots). Potted plants are usually emersed-grown, so expect the standard 2–4 week melt cycle.
Bare-root / bunched stems
Typically sold as weighted bunches. Remove any bands, foam, or weights, strip the lower leaves, and plant stems individually or in small groups. Bunched stems from the store are often already transitioning — check for new submersed growth at the tips, which tells you the plant is mid-adaptation and will settle quickly.
Hobbyist cuttings
Already submersed-grown and the fastest to establish — often showing new growth within days. The main acclimation factor is water-parameter difference between the two tanks. Float to temperature-match, plant promptly, and they’ll usually take off with minimal melt. This is why experienced hobbyists prefer trading cuttings over buying potted plants.
Frequently Asked Questions
Should I use a “plant starter” or transplant fertilizer?
Products marketed for transplant shock are mostly B-vitamins and mild hormones. They don’t hurt, but there’s no strong evidence they help aquarium plants specifically. Stable conditions and patience outperform any bottle. Save the money for more plants.
My new plant melted completely — bare crown, no leaves. Is it dead?
Probably not, if the crown or rhizome is firm. Crypts and swords routinely lose 100% of their leaves and regrow from the base within a month. The test is firmness: firm and pale/green means alive; mushy and brown/black means rot. Give firm-but-leafless plants a full 4 weeks before declaring them dead.
Can I speed up acclimation with extra light or CO2?
No — and trying usually backfires. A melting plant can’t use extra light; the excess just grows algae on its dying leaves. Keep light moderate and CO2 stable (not boosted) during acclimation. Growth speed comes from the plant’s own adaptation timeline, which you can’t rush, only avoid delaying.
Should new plants go straight into my main display tank?
After quarantine/dipping, yes — there’s no benefit to a separate “growing-in” tank for most plants. They acclimate to your water fastest in the tank they’ll live in. The exception is very delicate species going into a tank with boisterous fish; give those a few weeks in a calm corner or breeder box first.
The Patience Rule
The single most important acclimation skill is restraint: plant it right, set gentle conditions, remove decay, and then leave it alone for a month. The hobbyists with the best plant growth aren’t doing something clever in week one — they’re simply not interfering in weeks two through four while the plants do what they’ve evolved to do. Melt looks like failure and feels like failure, but in most cases it’s the visible part of a plant successfully becoming yours.