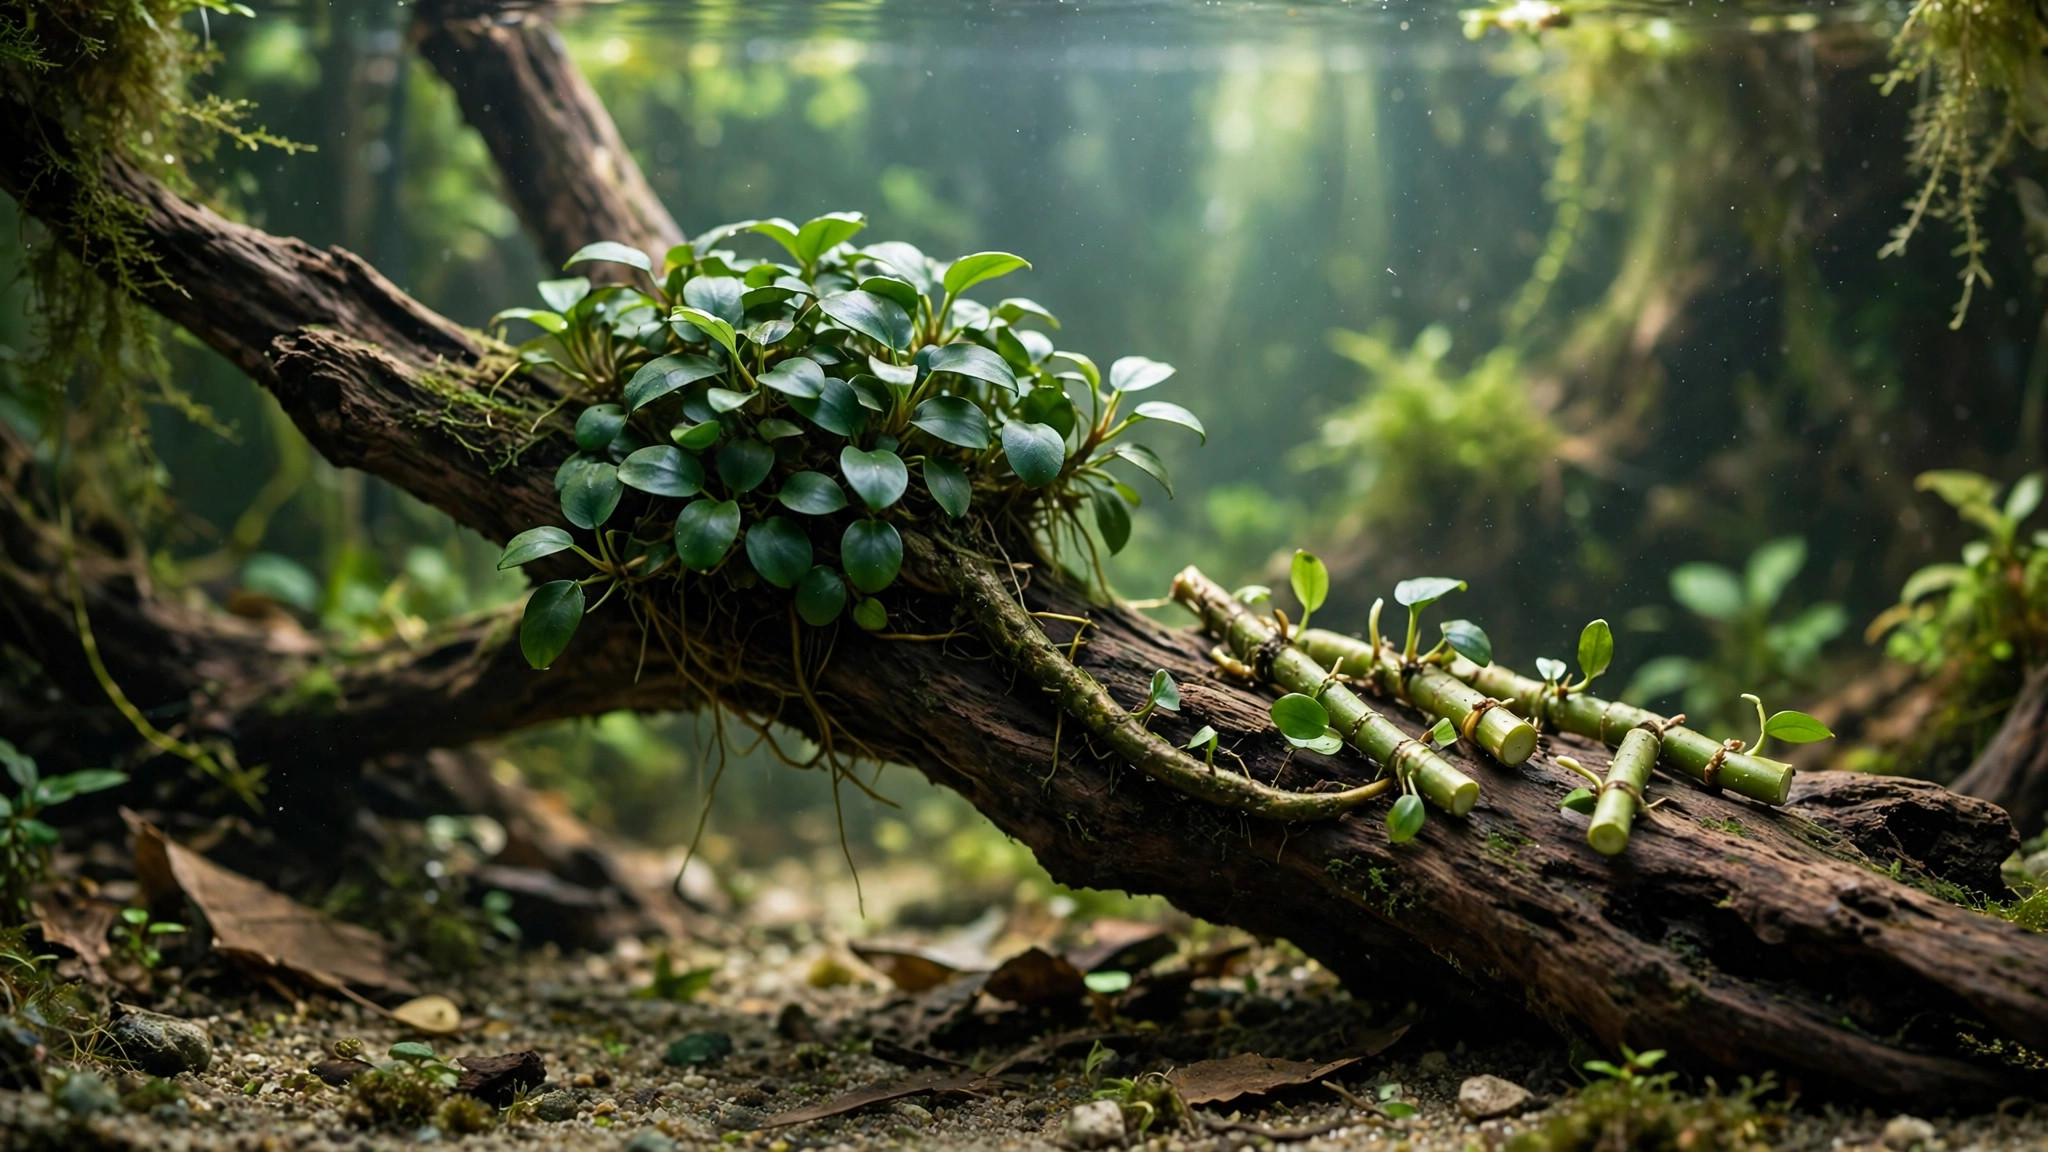
A single Bucephalandra rhizome can cost more than most stem-plant bunches combined, which is why so many keepers never dare to cut one. Yet division is the safest way to multiply your buce: done right, one healthy clump becomes two or three plants. Done wrong — a ragged cut, a sliver with no leaves, a buried rhizome — and you can lose it.
Short answer: Divide a healthy Bucephalandra once its rhizome carries at least 10 leaves. Cut with sterilized scissors so each division keeps 2–3 leaves and several roots, then attach it to rock or wood with glue or thread — never bury the rhizome. Expect some leaves to melt over 2–4 weeks; as long as the rhizome stays firm, new growth follows in 4–8 weeks.
When Is a Bucephalandra Ready to Divide?
Patience is the first tool. A rhizome with fewer than 10 leaves cannot support two independent plants, and a division cut from a young or recently planted specimen often stalls for months. Wait until the mother plant has been settled for a few months and is putting out new leaves regularly. Natural side shoots — small leaf clusters with their own roots — are the easiest divisions of all.
What You Need Before You Cut
Gather everything before the plant leaves the water, because a rhizome dries out fast in open air: sharp scissors or a fresh razor blade, rubbing alcohol to sterilize the blade, a small bowl of tank water, and your attachment method. A dull blade is the most common cause of failed divisions — crushed tissue invites rot, while a single clean slice heals into a neat callus within days. Sterilize the blade between plants.
How to Divide the Rhizome, Step by Step
Lift the plant and rinse off debris. Each division needs at least 2–3 healthy leaves and a few roots — a bare rhizome section can sprout, but it recovers slowly and is far more likely to rot first.
- Choose the cut point. Pick a spot between leaf clusters, leaving leaves and roots on both sides.
- Cut in one motion. Press the sterilized blade through in a single decisive slice. Do not saw back and forth.
- Inspect both faces. Healthy rhizome is firm and pale green inside. Trim soft or foul-smelling tissue back to firm tissue.
- Keep divisions wet. Drop each piece into the bowl of tank water, and attach it within 30 minutes.
A long rhizome can yield two divisions, but never cut it into slivers. One strong division beats three weak ones.
Reattaching Divisions: Glue vs Thread vs Wedging
Attachment is where most divisions are won or lost, because one rule matters most: the rhizome must stay exposed to the water. Buried rhizomes rot. Roots may wander into the substrate on their own — but the rhizome itself sits on top.
Gel superglue is the fastest method. Dab a small amount onto the rock or wood, press the rhizome — not the leaves — onto it, and hold until it sets. A gel formula made for aquascaping, like Seachem Flourish Glue ★4.3, stays where you put it instead of running across leaves like thin liquid glue. Keep glue off the growing tip and use the smallest dab that holds — excess glue can smother the tissue underneath.
Cotton thread or fishing line is the gentler alternative and the better choice for very small divisions, since nothing chemical touches the rhizome. Wrap loosely — tight thread can cut into the rhizome as it grows. Cotton thread rots away on its own in a few weeks, by which time the roots have usually gripped the surface. Wedging a division into a rock crack works too, provided it sits snugly without pressure on the rhizome.
Affiliate disclosure: Amazon links on this page may earn AquaVerdia a small commission at no extra cost to you.
| Method | Best for | Watch out for |
|---|---|---|
| Gel superglue | Fast, secure hold | Glue on the growing tip |
| Cotton thread | Small or delicate divisions | Tying too tight |
| Fishing line | Divisions you may reposition | Must be removed later |
| Wedging | A natural crack to sit in | Can slip out |
After the Cut: Melt and Recovery
Some leaves will probably melt in the two weeks after division: they turn translucent, then brown, then dissolve. It looks alarming, but it is not a verdict on your cutting skills. As long as the rhizome stays firm and green inside, new leaves will follow — typically within 4–8 weeks, slower in low-tech tanks without CO2. For a deeper dive into buce parameters, the 2HR Aquarist growing guide covers temperature, pH, and light.
During recovery, stability matters more than any additive. Keep lighting, temperature, and water changes exactly as they were, and do not move the division to "check on it." Trim away fully dissolved leaves, but leave any leaf that still has green in it — it is still feeding the rhizome. A gentle liquid feed such as Seachem Flourish ★4.7 at your normal dose supports new growth without shocking a recovering plant.
Mistakes That Kill Divisions
Most failures trace back to five errors: cutting a plant that is too small, using a dull blade, burying the rhizome, moving the division during recovery, and mistaking rot for melt. Melt is translucent leaves on a firm rhizome; rot is a soft, mushy rhizome that smells bad, and it must be cut out immediately, back to firm tissue, or it spreads. Divisions that clear the first month almost always make it.
FAQ
Can you propagate Bucephalandra from a single leaf?
No — buce does not reliably grow from a detached leaf. You need a rhizome section with leaves and roots.
How long does a Bucephalandra division take to grow?
Expect the first new leaves in 4–8 weeks, faster with CO2 and moderate light. A new leaf every few weeks in a low-tech tank is normal.
Should you divide Bucephalandra in or out of the water?
Cut out of the water for precision, but keep divisions in a bowl of tank water until attached.
Why did my Bucephalandra division melt after cutting?
Post-cut melt is a stress response, not necessarily a mistake. As long as the rhizome stays firm, leave it alone — new leaves usually appear within 4–8 weeks.