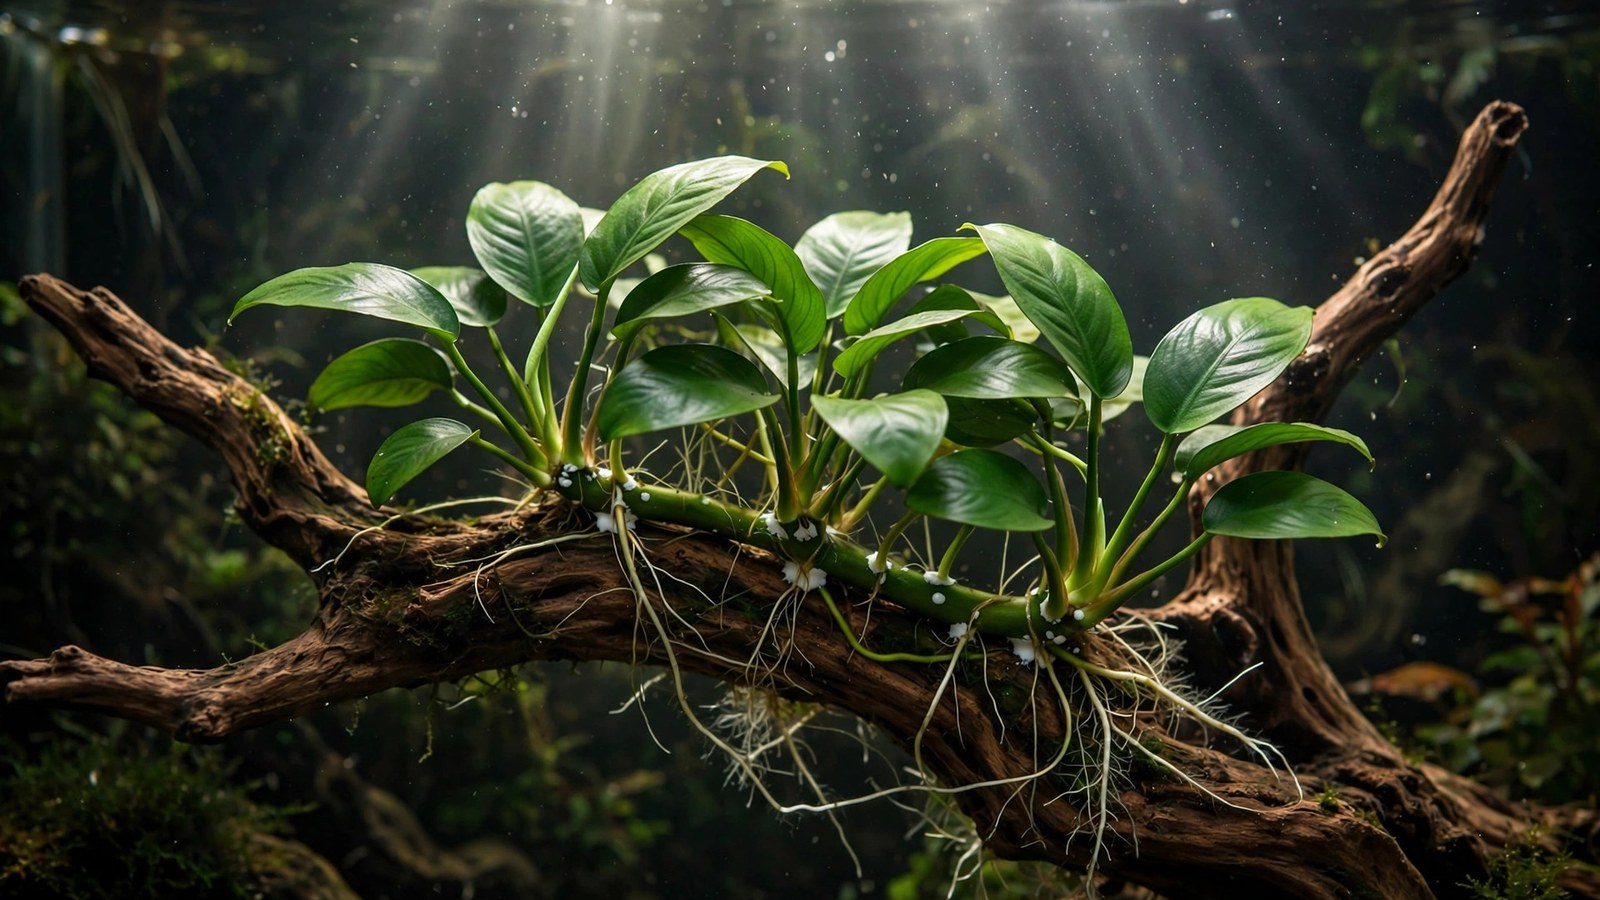
Here is a skill that takes thirty seconds to perform and about four minutes to learn — and it is the single most useful thing you will ever do for an anubias. Most glued-on anubias failures trace back to one of three things: the wrong tube of glue, a dab in the wrong spot, or impatience with the clock. Get those three right and the plant does the rest by itself, growing white root hairs into the wood until you could not pry it off with tweezers.
Why Anubias Must Be Attached — Never Planted
Anubias grows from a thick horizontal stem called a rhizome, and that rhizome is the entire plant's Achilles heel. Push it into substrate and it sits in low-oxygen muck, softens, and rots — usually within one to three weeks, usually looking fine until the day it does not. The plant evolved as an epiphyte clinging to rocks and fallen branches in shaded African streams, so every part of its architecture assumes open water flowing around the rhizome while only the fine feeder roots do the anchoring.
That is exactly why glue works so well here. You are not fighting the plant's biology; you are doing its job for it during the first few weeks, holding the root ball still against rough wood until the plant's own roots drill into the grain and take over. Compared with other surfaces you can attach anubias to, driftwood is the classic choice because its crevices give new roots something to bite into, and the result looks like a piece of a real riverbank rather than a craft project.
The Only Glue That Belongs in Your Tank
Aquarium safety comes down to one word: cyanoacrylate. When pure cyanoacrylate cures — especially when it cures in contact with water — it polymerizes into an inert plastic. That is the entire trick behind "aquarium glue": there is no magic ingredient. Most hobby-branded aquascape glues are literally cyanoacrylate gel in a nicer tube.
Read the label before you buy. You want a short ingredient list that reads ethyl 2-cyanoacrylate and nothing much else. Walk away from anything with fragrance, color, rubber-toughening additives, or anti-mold agents — those are the additives that can harm shrimp and sensitive livestock. Aquarium Co-Op's own anubias care guidance describes this same method: draw a line of gel on the hardscape and press the plant in place for about thirty seconds.
| Glue type | Safe? | Verdict |
|---|---|---|
| Cyanoacrylate gel (plain) | Yes | The correct choice — controllable, cures fast |
| Cyanoacrylate liquid | Yes, but… | Runs everywhere, harder to aim, same chemistry |
| Hot glue | No | Does not hold underwater; fumes release toxins while curing |
| Elmer's / craft glue | No | Dissolves in water — the plant floats free |
| Rubber-toughened super glue | No | Additives can harm invertebrates |
| Silicone sealant | Only aquarium-rated | Works, but needs 24–48 hours of cure — glue is faster |
The practical takeaway: gel over liquid every time. Gel sits where you dab it — on a vertical face of driftwood, along a crack, on the underside of a branch — while liquid races off down the grain before you can position the plant.
Step by Step: Gluing Anubias to Driftwood
Work with the driftwood out of the tank on a damp towel. It is faster, cleaner, and easier to aim — and you can place the finished mount back in the water immediately after the bond sets.
1. Prep the wood. Scrub the attachment spot with a stiff brush under tap water to remove biofilm, algae, and loose bark — glue bonds to grime, not wood, if you skip this. For new driftwood, a 10–15 minute boil (or a long soak) drives out air pockets so the piece sinks and does not float your work away later. Let it cool to room temperature.
2. Prep the plant. Rinse the anubias and identify the rhizome — the thick green horizontal stem — and the fine feeder roots dangling below it. Trim any black, mushy roots with sterilized scissors; healthy roots are white to pale tan. If your plant is one big clump, you can divide the rhizome with a clean blade so each piece has 3–4 leaves, and glue them as a colony.
3. Dab the glue — small. A rice-grain-sized dot of gel is plenty for a single plantlet; a pea-sized dab for a larger rhizome section. Put the dab on the wood, not on the plant: you control the spot better, and you avoid smearing glue across leaf bases.
4. Press the roots in. Set the fine feeder roots into the dab, keeping the rhizome floating 2–3 mm above the surface and fully exposed. Press steadily for 15–30 seconds without wiggling. Wiggling shears the forming bond; stillness builds it.
5. Test, then place. Give the plant a gentle tug — it should feel locked. Then put the wood straight back into the tank. The bond is strong enough for immediate placement even though full curing takes roughly 24 hours.
Can You Glue It Underwater? Yes — With One Adjustment
Cyanoacrylate actually cures faster in water, so underwater gluing is not just possible, it is a legitimate technique — useful when your aquascape is already assembled and you would rather not drain or disassemble it. Aquarium Co-Op and many aquascapers use it routinely.
The adjustment: expect the outer skin of the dab to flash-cure the instant it touches water, forming a white film over still-liquid glue underneath. That film is your friend — it is the initial tack. Press the roots into the dab, then hold a few seconds longer than you would in air, pressing through the film so the uncured glue underneath grabs. Because the bond is weaker at first than a dry-air bond, favor small plantlets underwater and save the heaviest rhizome chunks for the out-of-tank method.
One more underwater rule: turn the filter output away from your work area, or temporarily pause it. Current that nudges the plant during the first minute shears the bond before it sets — and then you are doing it twice.
The White Patch Problem (and Why It's Harmless)
The most common panic message in anubias forums: "there's a white crust around my plant — is it mold?" No. When cyanoacrylate cures in contact with water, it turns white. It is a cured inert polymer, not fungus, not rot, and it will not spread.
If you used a modest dab, the white spot mostly hides under the roots within 4–8 weeks as they grow over it, and the rhizome's own creeping growth eventually swallows the evidence entirely. If you over-applied and have an unsightly blob:
- Leave it if livestock are settled — it is cosmetic only, and prying at it risks tearing roots.
- Trim it with a craft knife on a dry mount before re-placing, shaving the blob flush to the wood.
- Prevention: smaller dabs, gel not liquid, and placing the dab on the wood first rather than squirting it onto the plant.
Aftercare: The First Month After Gluing
The glue is only a temporary clamp; the plant's roots are the real mount. For the first 2–4 weeks, your job is to not reset the clock.
- Don't reposition. Every move tears the new root hairs and restarts the 2–4 week grip timer. Decide the spot before you glue.
- Keep flow gentle at first. A filter output blasting directly across a fresh mount can peel it loose. Angle it away for the first few days.
- Feed lightly. Anubias is a slow feeder — a standard dose of liquid fertilizer on your usual schedule is plenty. Overdosing to "speed up" attachment just feeds algae on those long-lived leaves.
- Watch for new roots, not new leaves. The first sign of success is fine white root hairs reaching from the rhizome into the wood's pores, usually visible by week two. New leaves come later — one every few weeks is normal pace.
When the rhizome eventually creeps past the edge of its mount — and it will, since anubias grows horizontally — you can cut it into sections with a clean blade, leave each piece with roots and a few leaves, and glue the daughters onto new wood. One glued plant becomes a colony.
5 Mistakes That Ruin a Glue Job
- Gluing the rhizome instead of the roots. The thick stem must stay exposed to water. Smearing glue across the rhizome or leaf bases can burn tissue and seals it off from oxygen — the exact suffocation the rhizome rule warns against.
- Grabbing liquid super glue. It runs off the wood, bonds your fingers to the plant, and leaves big white streaks. Gel is the same chemistry with none of the chaos.
- Using hot glue or craft glue. Hot glue does not hold underwater and releases fumes while curing; craft glue simply dissolves. Neither is a substitute for cyanoacrylate.
- Skipping the wood prep. Glue bonds to whatever is on the surface — if that is slime or loose bark, your bond is slime-deep. Thirty seconds with a brush prevents a re-do.
- Moving the plant too soon. The white root hairs that do the real gripping are fragile in week one. Place it, admire it, walk away for a month.
Glue vs. Thread vs. Wedging: Which Should You Use?
Glue is not the only honest way to mount anubias — just the fastest. Here is how the three main methods compare so you can pick for the situation.
| Method | Speed | Strength | Skill needed | Best for |
|---|---|---|---|---|
| Gel super glue | ~1 min | Excellent | Low | Most situations; small to medium plants |
| Cotton thread | 3–5 min | Good | Medium | Delicate or expensive rhizomes you want to reposition later |
| Wedging | 1 min | Varies | Low | Wood with perfect natural cracks; zero-supply rescape |
Cotton thread is the gentlest option — wrap it snugly (not tight) around the roots and the wood, and it rots away in 4–8 weeks right as the roots take over. Skip fishing line unless you plan to cut it off: unlike cotton it never dissolves, and a thin line can cut into a swelling rhizome like cheese wire. Wedging works beautifully when the wood cooperates, but never force a rhizome into a tight crack where it gets bruised.
What I Actually Recommend
Disclosure: the links below are Amazon affiliate links. If you buy through them, I earn a small commission at no extra cost to you — it keeps these guides free and ad-free to read.
For the glue, grab Seachem Flourish Glue ★4.3. It is plain cyanoacrylate gel in aquascaping packaging — exactly the chemistry this whole guide calls for, in a tube with a precision tip that makes rice-grain dabs easy. One tube lasts through dozens of mounts.
For the wood, branchy pieces with natural crevices grip roots far better than smooth logs. A pack of natural spider wood driftwood pieces ★4.3 gives you several shapes to choose from, so you can pick the one whose forks and cracks match your plant's root ball — and bonus pieces for the next anubias.
Plant-by-Plant Attachment Guide
Java fern
Glue or tie the rhizome horizontally along the wood. Java fern wants its rhizome exposed with roots dangling — within weeks the roots grip like fingers. Plantlets forming on leaf tips can be wedged into crevices directly. Full species guide: Java Fern care.
Anubias
Same rhizome rule — never bury it. Anubias is slow, so use glue for instant hold; thread works but you’ll wait months for a grip. Wedge ‘Petite’ varieties into cracks. If older leaves yellow after attaching, see anubias yellowing fixes — it’s usually nutrition, not the attachment.
Bucephalandra
Glue small rhizome sections onto the wood’s shaded sides — Buce prefers lower light and colors up best out of the spotlight. It’s the slowest to grip (2–3 months), so glue beats thread here. Expensive plant; don’t wedge it anywhere a pleco patrols.
Bolbitis
Tie or glue the rhizome in current — Bolbitis grows best where filter flow passes over it. Larger rhizomes need glue; thread on thick Bolbitis rhizomes tends to slip.
Mosses
Thin layers only — thick moss clumps rot in the middle. For tree-canopy effects on branching wood, wrap thin sheets around upper branches with thread in a spiral. Trim monthly to keep the layer tight and prevent detritus buildup underneath.
Attaching to Specific Wood Types
- Spider wood / redmoor: branching structure gives endless wedging forks — the easiest wood for no-glue attachment. Moss spirals on branches look spectacular.
- Mopani: dense and smooth in places; glue bonds well but wedging needs real crevices. Leaches heavy tannins — boil or soak before scaping.
- Manzanita: smooth, beautiful branches; glue is the primary method. Sand the attachment spot lightly for better adhesion.
- Malaysian driftwood: gnarled with natural holes — ideal for wedging rhizomes and pressing moss into pockets.
New driftwood often floats — soak it for 1–2 weeks or screw it to a slate base before attaching plants. Attaching $30 of Bucephalandra to wood that then floats to the surface is a painful lesson.