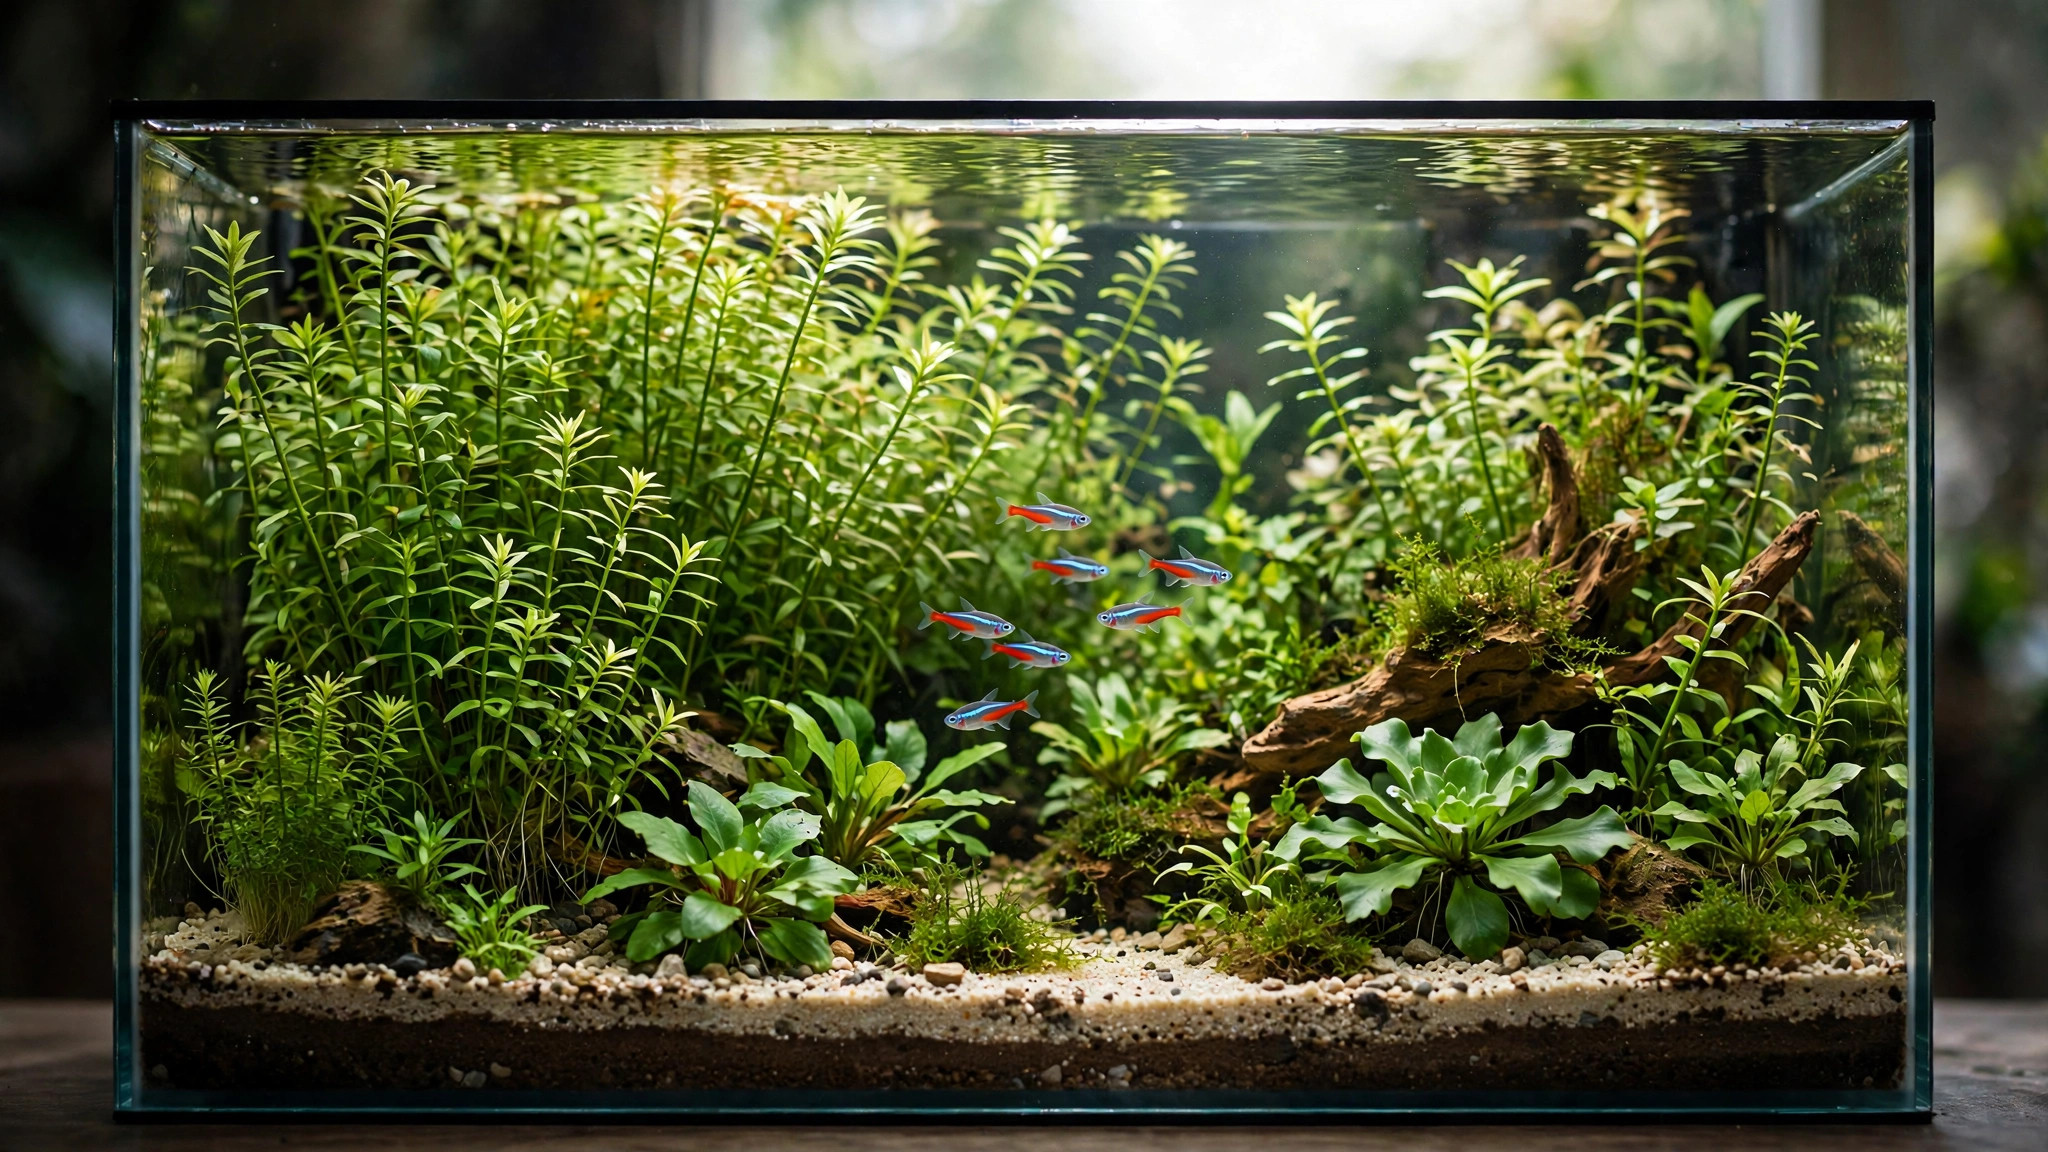
The most common beginner mistake in planted tanks is buying equipment first and biology second — then spending months fighting the exact algae and ammonia problems a bag of cheap garden soil would have solved. The Walstad method, developed by ecologist Diana Walstad, flips that script: a layer of organic soil under a gravel cap feeds your plants for months, the plants scrub waste for your fish, and the whole system runs without injected CO2, filters, or a dosing schedule. This guide walks you through building one correctly, step by step.
What You'll Need
A beginner Walstad setup costs far less than a conventional high-tech tank. The equipment list is short by design — the biology does the work that gadgets do in other setups.
- Aquarium — 38–75 L (10–20 gallons) is the sweet spot. Smaller tanks show imbalances fast (which is how you learn), while larger tanks need more soil and plants.
- Organic potting soil — one bag. It must be unfertilized, free of pesticides and herbicides. The widely used choice is a plain organic mix without slow-release chemical fertilizer pellets. Avoid soils advertising "feeds for 6 months" — those contain sulphate and nitrate additives that break down into toxic hydrogen sulfide and nitrite underwater.
- Cap material — small gravel, 2–3 mm grain, rinsed. Pool filter sand also works, but keep it at 2 cm or less: fine sand packs tight and can seal off the soil, trapping gas.
- Plants — enough to cover at least 70% of the substrate on day one. Your workhorses: fast-growing stems (water sprite, hornwort, Hygrophila polysperma), plus floaters (frogbit, duckweed) that race for surface nutrients.
- Light — a moderate LED that covers the full tank length. Many beginners succeed with an inexpensive full-spectrum light like the NICREW ClassicLED Plus ★4.5, run 6–8 hours daily. A siesta schedule (4 on, 5 off, 4 on) is optional; steady 6–8 hours works.
- Dechlorinator — a bottle of Seachem Prime ★4.8 for every water change; chlorine and chloramine kill the soil bacteria you're relying on.
- Liquid test kit — the API Freshwater Master Test Kit ★4.8 for ammonia, nitrite, nitrate, and pH. Fresh soil leaches ammonia, so you'll test often during the first month.
- Miscellaneous — a plate or plastic bag for filling, a sieve or colander for sifting soil, and aquascaping tweezers if you want clean planting.
Affiliate disclosure: AquaVerdia is reader-supported. When you buy through links on this page, we may earn a commission at no extra cost to you. We only recommend products that genuinely fit the setup described.
Step 1: Choose Your Tank
A 10-gallon (38 L) tank is the classic beginner Walstad. It holds heat and chemistry steadily enough to forgive mistakes, yet it's small enough that a soil layer, a bag of gravel, and a reasonable plant order cover everything in one shopping trip. Taller tanks get less light at the substrate, so prefer long or standard proportions over tall cubes.
Rinse the tank with plain water — no soap, ever. Set it on its final stand now, because a filled Walstad tank is heavy and you should never move a substrate-layered tank full of water.
Step 2: Prepare the Soil
Pour your organic potting soil into a sieve or colander and shake out the big chunks. Most bagged soil contains pieces of bark and wood fiber that decay underwater, dumping extra ammonia and tannins into the tank. Sifting takes ten minutes and prevents the tea-colored water that sends beginners into a panic.
Pick out anything that looks like white perlite granules if you can, but don't obsess — the sift catches the worst of it. Wet the sifted soil lightly in a bucket until it's damp, not soupy. Damp soil spreads evenly and doesn't throw dust clouds when you add the cap.
Step 3: Add the Soil Layer
Spread the damp soil across the dry tank bottom to a depth of 2.5 cm (1 inch), as even as you can. One inch is the well-tested depth: thick enough to store months of nutrients and generate a useful overnight CO2 rise (the decomposing cellulose in the soil raises CO2 to 10 ppm or more), thin enough to avoid large dead zones where hydrogen sulfide builds up.
Slope it slightly — 2 cm at the front glass, up to 3–4 cm at the back — for a natural look and better rooting depth behind the hardscape. For a pleasing front edge, run a 2 cm border of cap material along the tank walls first so the dark soil band isn't visible from the front.
Step 4: Cap the Soil
Gently pour your rinsed gravel over the soil until you have 2.5 cm (1 inch) of cap everywhere. The cap is not decorative — it holds the soil down, stops it from clouding the water, and slows nutrient release to a rate the plants can actually use. Grain size matters more than color: 2–3 mm lets oxygen seep through while keeping soil where it belongs.
If you prefer sand, use coarse-grained sand and cap at 2 cm maximum. Fine sand compacts into a nearly impermeable lid; roots can't reach the soil, and gas pockets form underneath. This is the single most common mechanical mistake in Walstad builds.
Step 5: Plant Heavily From Day One
This is the step that separates thriving Walstad tanks from algae farms. Cover at least 70% of the substrate before you add water. The plants are your biofilter — every fast-growing stem is a living ammonia sponge that keeps algae starved. A sparsely planted tank at startup is the most common recipe for green water.
| Role | Plants that earn their spot | Why they work |
|---|---|---|
| Nutrient hogs | Water sprite, hornwort, Hygrophila polysperma, Ludwigia repens | Fast growth burns through excess ammonia and nitrate |
| Floaters | Frogbit, red root floaters, duckweed | Unlimited CO2 access at the surface; fastest growers in the tank |
| Root feeders | Amazon sword, cryptocoryne, vallisneria | Tap the soil directly; fill midground and background |
| Epiphytes | Java fern, anubias | Attach to hardscape; thrive in the low light of a Walstad |
Plant stems deep enough that the cap holds them — about 3 cm. Use long aquascaping tweezers and push each stem straight down; the cap will close behind them. Expect some melt in the first two weeks, especially from tissue-culture and emersed-grown plants. Melt is normal adaptation, not failure — trim the mush, and the new submerged leaves will come in.
Step 6: Fill Slowly With Dechlorinated Water
Lay a dinner plate or a plastic bag flat on the cap and pour water onto it, not onto the substrate. Fill to about 80%, then plant anything you couldn't reach through deeper water, then top up. Treat all tap water with dechlorinator before it touches the soil — chlorine kills the bacteria that make the whole method work, and a fresh Walstad has more of them than a conventional tank.
The water will clear within 24–72 hours. If it stays cloudy past day three, the culprit is almost always fine dust that escaped the sieve — a few 25% water changes over the next days will fix it. Don't stir the cap looking for the cause.
Step 7: Light and the First Six Weeks
Set your light timer to 6–8 hours per day and resist the urge to "help" with more. Excess light is the number-one algae trigger in new Walstad tanks; the plants need moderate light, not maximum light. If your light has adjustable intensity, start at 50–70% for the first month and raise it as growth visibly demands it.
Here's your honest first-month schedule:
| Week | What's happening | What you do |
|---|---|---|
| 1–2 | Soil releases ammonia; plants adapt, some melt | Test ammonia/nitrite every 2–3 days; 25% water changes when ammonia is high; trim melt |
| 3–4 | Ammonia falls; bacteria and plants take over | Test twice weekly; top off evaporation; remove any algae manually |
| 5–6 | Water stabilizes; plant growth visibly accelerates | Confirm ammonia and nitrite read zero; add your first cleanup crew (snails, a few shrimp) |
Step 8: Add Livestock Slowly
Once ammonia and nitrite have read zero for at least two consecutive weeks, add a cleanup crew first: a few nerite or ramshorn snails and a small shrimp colony. A week or two later, introduce a small school of low-bioload fish — chili rasboras, ember tetras, or endlers are classic Walstad choices for tanks under 75 L. Stock roughly half of what a filtered tank the same size could hold.
Feed sparingly. In a Walstad, fish food is fertilizer — and it's the only fertilizer the system gets once the soil's initial charge fades. Overfeeding is over-fertilizing, and you'll see it as algae within days.
Long-Term Maintenance
An established Walstad needs almost nothing: top off evaporation weekly, prune plants monthly, and do a 25–50% water change every few months or when tests tell you to. Never deep-vacuum the substrate — you'll pull soil into the water column and destroy the cap's structure. Never replace the soil in bulk; after a year or two, if growth stalls, push root tabs deep into the soil under heavy root feeders.
Trimming is your main job. Floaters especially will cover the surface and shade everything below if you let them — remove a handful weekly, and consider it the water change you didn't have to do.
Troubleshooting Common Problems
Green water or hair algae in weeks 1–4. Usually too much light or too few plants. Cut the photoperiod by two hours, add floaters, and remove algae by hand. It almost always resolves as the plants establish.
Rotten-egg smell or black patches under the cap. Anaerobic pockets producing hydrogen sulfide. Poke the cap gently with a chopstick to release gas, reduce feeding, and make sure the cap isn't too deep or too fine. Small amounts of H2S are handled by the system; a persistent smell means the cap needs thinning.
Cloudy water that won't clear. Soil escaping the cap — check that planting tweezers and uprooted plants aren't pulling soil up. Patch thin cap spots with fresh gravel rather than stirring.
Plants stalling after 6–12 months. The soil's stored nutrients are winding down. Add root tabs under heavy feeders and keep fish food — the slow, ongoing fertilizer — at a steady, modest level.
Frequently Asked Questions
Do I really not need a filter?
In a properly built Walstad, the plants and soil bacteria process ammonia directly, which is the job a filter does in a conventional tank. Many keepers still run a small sponge filter or gentle circulation for water movement and surface agitation — harmless, just not required.
Can I use sand instead of gravel as the cap?
Yes, but keep it to 2 cm or less of coarse-grained sand. Fine sand packs too tightly, blocks oxygen flow to the soil, and raises the risk of anaerobic gas pockets. Two-to-three millimeter gravel is the more forgiving choice for beginners.
How long does the soil last?
The heavy feeding phase typically lasts 6–18 months depending on soil richness and plant load. After that, root tabs and fish waste keep growth going indefinitely — many Walstad tanks run for years without a substrate change.
Is the Walstad method good for shrimp?
Excellent. Shrimp graze on the biofilm and aufwuchs that thrive in soil-based tanks, and cherry shrimp colonies multiply fast in stable, low-disturbance Walstads. Add them after the tank is fully cycled and stable.
Can I do a Walstad in a 5-gallon tank?
You can — nano Walstads are popular — but parameter swings hit harder in small volumes, so they're less forgiving for absolute beginners. A 10-gallon tank is easier to get right the first time.
What books document this method?
Diana Walstad's Ecology of the Planted Aquarium is the original source, with the soil chemistry and plant physiology behind every rule in this guide. For a concise online walkthrough of the physical build, Buce Plant's Walstad Method tank guide covers soil selection and cap depth well.