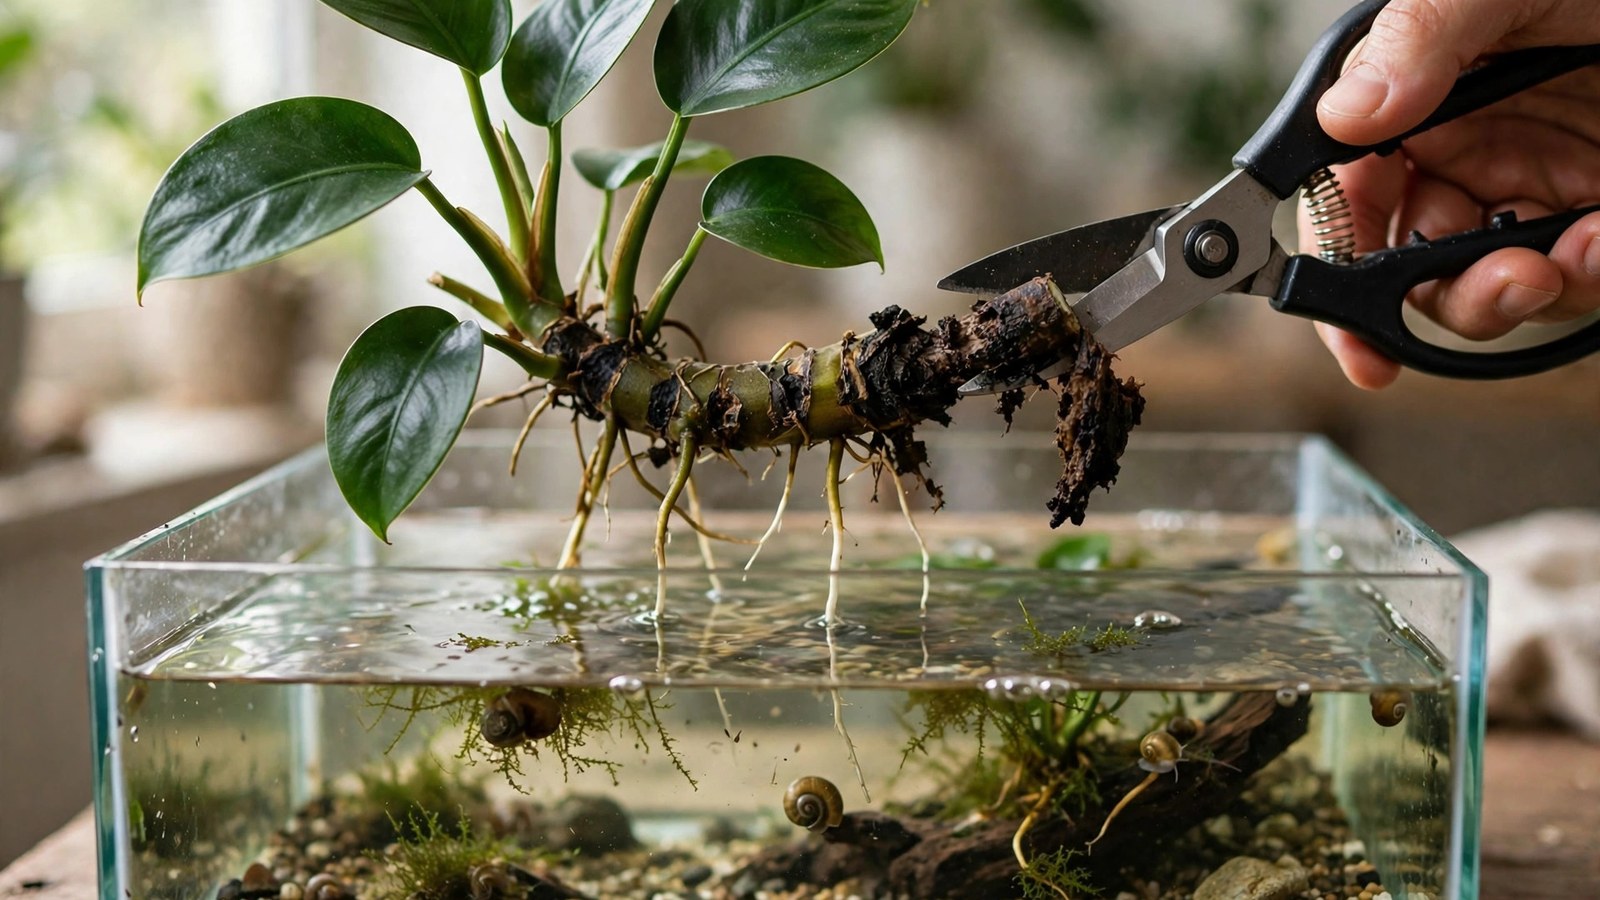
Your anubias leaves are yellowing and falling off. You lift the plant and the thick green rhizome — the horizontal stem everything grows from — is brown, soft, and smells faintly rotten. That's rhizome rot, the number-one killer of anubias, java fern, and bucephalandra, and the rare plant problem where speed genuinely matters: rot spreads along the rhizome daily, and every day you wait costs more plant. This guide is the emergency room protocol — how to diagnose it, perform rhizome surgery, and save what's salvageable.
What Rhizome Rot Is
The rhizome is the thick horizontal stem from which anubias, java fern, and bucephalandra grow leaves (upward) and roots (downward). It's the plant's core — its energy store, its growth engine, its everything. Rhizome rot is bacterial/fungal decomposition of this core tissue, usually entering through a wound or stressed section and spreading through the rhizome's interior.
Why it's lethal: leaves can regrow, roots can regrow, but a fully rotted rhizome is a dead plant. There's no coming back from total rhizome loss. But partial rot is very survivable — cut away the dead tissue, save the firm sections, and each becomes a new plant. Speed and decisiveness are everything.
Diagnosis: Rot vs. Look-Alikes
The rot test (definitive)
- Color: healthy rhizome is firm and green (anubias, buce) or dark green-brown and firm (java fern). Rotting rhizome turns mushy brown, grey, or black.
- Texture: squeeze gently. Healthy = firm like a fresh vegetable. Rot = soft, squishy, yielding — sometimes hollow.
- Smell: healthy rhizome smells like nothing or faintly planty. Rot smells rotten, swampy, foul — unmistakable.
- Leaves: attached leaves yellow and detach with a gentle tug. If leaves are falling off the rhizome on their own, inspect immediately.
What rot is NOT
- Algae on the rhizome — green spot or fuzz algae coats the surface but the rhizome underneath stays firm. Scrape gently: firm and green underneath = algae, not rot. See our green spot guide.
- Old rhizome browning — very old rhizome sections naturally darken and get woody, but stay firm. Firm + dark = age. Soft + dark = rot.
- Java fern plantlets — the little plantlets growing on leaf tips are reproduction, not disease. Leave them.
- Melting leaves with firm rhizome — leaf melt from transplant shock or nutrient issues (see our melting guide) while the rhizome stays firm is not rot. The plant will recover.
Causes: How Rot Starts
- Buried rhizome — the number-one cause. Rhizomes planted in substrate rot from the buried section outward. Anubias, java fern, and buce are epiphytes: rhizome stays above the substrate, always. A buried rhizome is a rotting rhizome — it's a matter of when, not if.
- Physical damage — cracked rhizomes from rough handling, shipping crush, or aggressive glue application. Wounds are infection entry points.
- Prolonged stress — extended low light, chronic nutrient deficiency, or poor water quality weakens tissue and invites opportunistic infection.
- Contaminated new plants — rot spreads plant-to-plant in store tanks and shipping bags. Quarantine and inspect new rhizome plants before adding.
- Stagnant water around the rhizome — rhizomes wedged into dead spots with zero flow and accumulating detritus rot faster.
Emergency Surgery: The Rescue Protocol
Act the day you diagnose. Rot spreads millimeters per day along the rhizome — waiting a week can turn a salvageable section into total loss.
Step 1: Remove the plant
Take the whole plant out of the tank. Work over a clean surface with good light. Have ready: a sharp sterile blade (razor, scalpel, or sharp scissors sterilized with alcohol or flame), a small bowl of tank water, and optionally hydrogen peroxide.
Step 2: Map the rot
Examine the entire rhizome inch by inch. Squeeze gently along its length, marking the boundary between firm/healthy and soft/rotten tissue. The rot often extends beyond the visibly discolored area — interior infection precedes surface symptoms. When in doubt, assume it extends further than it looks.
Step 3: Cut aggressively
- Cut at least 1 cm into firm, healthy tissue beyond the last soft spot. This margin is critical — cutting exactly at the visible boundary leaves infected tissue that re-rots.
- Sterilize the blade between cuts (alcohol wipe or flame) to avoid spreading infection to healthy sections.
- Divide the healthy rhizome into sections, each with at least 3–4 leaves and some roots. Each section becomes an independent plant.
- Discard all rotted material away from the tank — don't let it float around infecting others.
Step 4: Treat the cut surfaces
- Hydrogen peroxide dip: briefly dip cut ends in 3% H2O2 (or dab with a cotton swab) to disinfect. Rinse in tank water after 30 seconds.
- Let cuts air-dry for 15–30 minutes before returning to water — a dried cut surface seals better against reinfection.
- Optional: dust cuts with cinnamon (natural antifungal) — hobbyist trick with anecdotal support, harmless to try.
Step 5: Replant correctly
- Attach rescued sections to hardscape with thread, fishing line, or a tiny dab of super glue gel (cyanoacrylate is aquarium-safe once cured).
- Rhizome fully exposed — above substrate, in gentle flow, not wedged into crevices.
- Place in moderate light, stable conditions — recovery needs calm, not intensity.
- Consider a quarantine container for the rescues — a simple tub with tank water, light, and an air stone lets you monitor for re-rot without risking the main tank.
Step 6: Monitor like a hawk
- Inspect rescued sections daily for two weeks. Any new softness = cut again, further back.
- Remove any leaves that yellow — they're draining the section's limited energy.
- New leaf growth (even tiny) within 2–4 weeks = rescue succeeded.
- If rot recurs in the same section twice, discard it — some infections run too deep to excise.
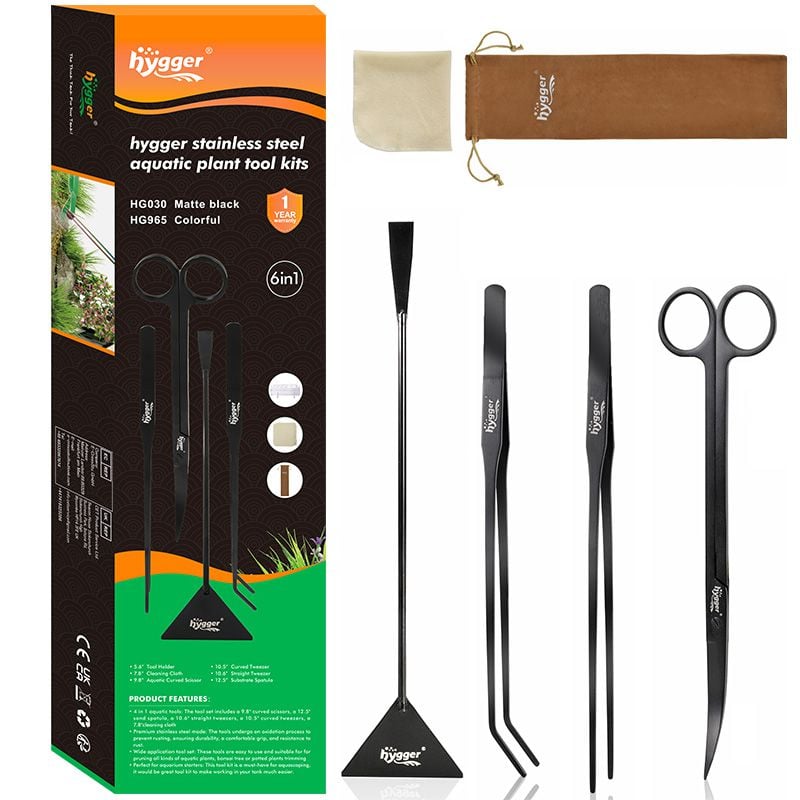
The surgical kit for the rescue protocol; cut back to firm green rhizome: hygger aquascaping tools.
 ★4.6
hygger 6-in-1 Long Aquarium Aquascaping Tools Kit
Check Price on Amazon ★4.6Sterilizes the cut rhizome before it goes back in the tank: 3% hydrogen peroxide.
Prevention: The Never-Again List
- Rhizome above substrate, always. Tie or glue to wood/rock. If you must "plant" it, rest it on the substrate surface with roots (not rhizome) touching down.
- Inspect new plants ruthlessly. Squeeze every rhizome before it enters your tank. Reject soft ones at the store; quarantine and observe mail-order plants for a week.
- Handle gently. Don't snap rhizomes when dividing — cut cleanly with a sterile blade. Clean cuts heal; ragged breaks infect.
- Ensure gentle flow around rhizome plants — not blasting, but no stagnant pockets.
- Quarantine new arrivals. Two weeks in a separate container reveals rot that wasn't visible at purchase. Our anubias melting guide covers related new-plant issues.
- Don't overcrowd. Rhizomes pressed against each other in stagnant clumps rot where they touch. Space them for water circulation.
Species Notes
- Anubias: thickest rhizomes, slowest to rot but also slowest to recover. Large healthy sections can sit leafless for weeks before pushing new growth — don't discard a firm, leafless rhizome prematurely.
- Java fern: thinner rhizomes rot faster but the plant reproduces via leaf plantlets — even a dying mother plant often leaves babies. Check leaves for plantlets before discarding. If the leaves show dark spots, our java fern black spots guide helps you tell harmless spore development from spreading rot.
- Bucephalandra: most rot-prone of the three (thinner rhizomes, often stressed from import). Quarantine new buce religiously; buy from reputable sources. Small rhizome sections (2–3 leaves) can recover if firm.
Frequently Asked Questions
Can rhizome rot spread to other plants?
Yes — the bacteria/fungi involved are opportunistic and waterborne. An actively rotting rhizome in the tank sheds pathogens that colonize wounds on neighboring rhizome plants. Remove rotting plants immediately — don't "wait and see" with rot in a tank full of anubias. Quarantine rescues until you're confident the infection is excised. Healthy, unwounded rhizomes in good conditions resist well, but why test it.
How much healthy rhizome do I need to save the plant?
Surprisingly little — a 2–3 cm firm section with 2–3 leaves and some roots can regenerate a full plant, given time (months for anubias). The minimum viable rescue is smaller than most people think, which is why aggressive cutting is the right call: a tiny healthy piece beats a large half-rotted one every time. When deciding where to cut, always err toward removing more.
Will the cut rhizome grow new leaves from the cut end?
New growth emerges from dormant buds along the rhizome, not from the cut face itself. The cut end seals over (calluses); buds near it activate and push new leaves and roots. This takes 2–6 weeks for anubias, faster for java fern. The cut end may darken slightly as it seals — that's normal healing, not new rot, as long as it stays firm.
Is rhizome rot the same as "anubias melt"?
Related but distinct. "Anubias melt" usually means leaf melt — leaves yellowing and dissolving while the rhizome stays firm (transplant shock, nutrient issues — see our anubias melting guide). Rhizome rot is rhizome tissue death — the core itself decomposing. Leaf melt with firm rhizome = wait and recover. Soft rhizome = surgery now. Squeeze the rhizome; it tells you which you're dealing with.
Can I save a rhizome that's rotted in the middle with healthy ends?
Yes — cut out the rotted middle section entirely (with 1 cm healthy margins on both sides) and you get two healthy plants from the two ends. This is actually a standard propagation technique done deliberately. Just be ruthless about the margins and sterilize between cuts. Middle rot is common where rhizomes were bent or pinched — the damage point rots while both ends stay fine.
Cut Deep, Cut Early
Rhizome rot rewards the bold and punishes the hesitant. The keeper who cuts a full centimeter into healthy tissue on day one saves the plant; the keeper who trims timidly on day seven loses it. Squeeze your rhizomes regularly, never bury them, quarantine new arrivals, and when rot appears — operate. The plant you save will be dividing into new plants within the year, and you'll wonder why you ever hesitated.