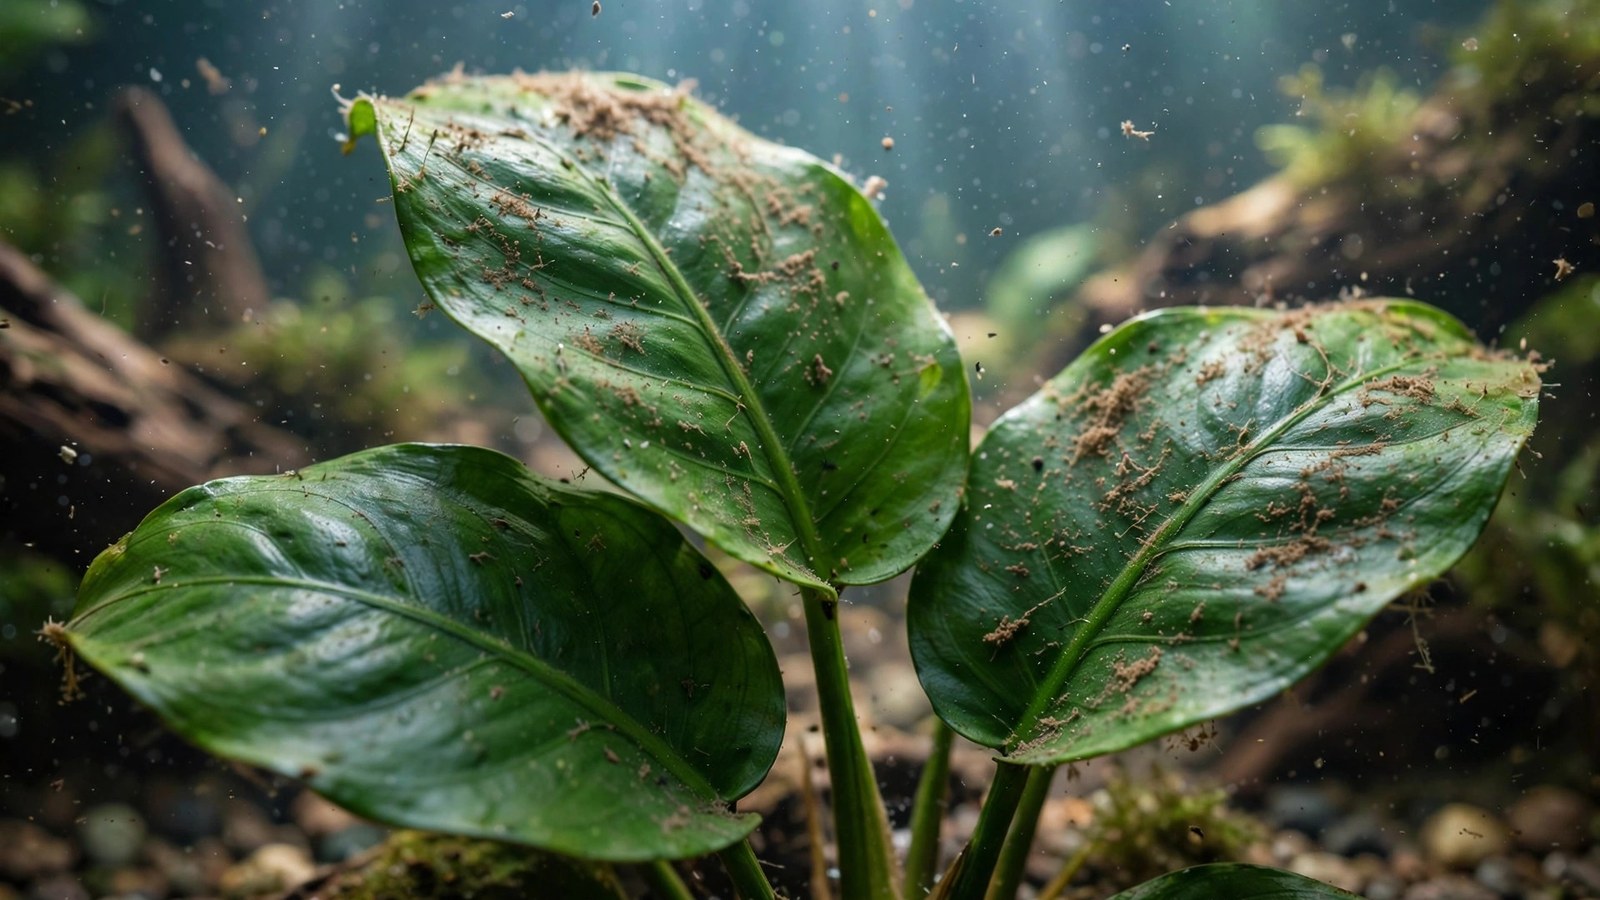
Your anubias rhizome cost real money, it grows about one leaf a month, and now every leaf is wearing a coat of rusty-brown dust that makes the whole plant look half-dead. The instinct is to scrub it hard, like you'd scrub the glass — and that instinct will shred leaves that took months to grow. Anubias leaves clean up beautifully, but only if you match the method to the leaf: they're tough enough to rub between your fingers and too precious to waste on bleach dips. Here's the exact sequence that works.
First: Make Sure It Really Is Diatoms
Before you touch the plant, run the ten-second test: rub one leaf gently between your thumb and forefinger. Diatoms are a loose, powdery dust — they come off with almost no effort and leave a clean green streak behind the smear. Your finger will look faintly brown. If the brown wipes off, you have diatoms and everything in this guide applies.
If the brown does not budge, you're not dealing with diatoms. Two common look-alikes on anubias: green spot algae, which forms hard round dots that feel cemented to the leaf and cannot be wiped off, and leaf necrosis, where the leaf tissue itself turns brown — no rubbing changes that, and the leaf won't recover. A third impostor is black beard algae, which starts as small dark tufts, usually on leaf edges. Cleaning diatoms off a leaf that is actually dying just wastes your time; match the treatment to the diagnosis.
Why Anubias Collects Diatoms (and Fast Plants Don't)
Diatoms are everywhere in every aquarium — they settle on everything. They only become a visible problem where they can accumulate, and that means slow surfaces. A stem plant grows a new leaf every few days and outruns the film. Anubias grows roughly one leaf a month, and each leaf may stay on the plant for a year or more. Every leaf is a long-term collection plate for anything drifting in the water column.
Two tank conditions make this dramatically worse. The first is a new tank: fresh tap water, new sand, and new glass all release dissolved silicates, which diatoms use to build their glass-like shells. That is why diatom blooms are almost a scheduled event in weeks 2–8 of a new setup. The second is low-flow, shaded placement — exactly where anubias wants to live. Anubias thrives in 20–40 PAR and prefers shade, so it usually sits in the dimmest corner of the tank, where water movement is lowest and settling debris accumulates on the leaves. Slow leaf, dim corner, silica-rich water: the perfect diatom trap. You are not doing anything wrong; the plant's own survival strategy invites this.
Method 1: The Two-Finger Rub (Safest, Do This First)
This is the method experienced keepers reach for first, because it carries essentially zero risk to the leaf and removes most of a diatom coating on contact.
- Wash your hands thoroughly — no soap residue, no hand cream, no sanitizer.
- Support the leaf from underneath with one finger.
- With your thumb on top, rub the leaf gently between the two, moving from the base toward the tip.
- Work leaf by leaf, rinsing your fingers in the tank between leaves.
Anubias leaves are leathery enough to take this without bruising. You will see the brown smear lift immediately. On a moderately coated plant, the whole job takes five minutes during a water change. Diatoms suspended back into the water are harmless — your filter picks them up, and they don't re-seed anything.
Method 2: Soft Brush or Filter Floss (In or Out of the Tank)
For leaves you can't comfortably reach between fingers — a rhizome wedged deep in driftwood, a large anubias barteri with dozens of leaves — a soft-bristled toothbrush or a damp wad of filter floss does the same job at arm's length. Use light strokes along the leaf surface, never against the leaf's edge where the tissue is thinner. A brand-new, soft toothbrush reserved for the tank is ideal; one that has ever touched toothpaste is not, because residue is residue.
If the plant is easy to remove (anubias tied to driftwood or wedged in a crack usually lifts straight out), take it out and rinse it under tepid tap water while rubbing the leaves gently. Thirty seconds out of the water won't stress the plant at all — in fact, this is also the moment to inspect the rhizome, which should be firm and green-white, not mushy. Put the plant back immediately after rinsing. For routine maintenance, cleaning the glass at the same time matters: diatoms on the glass and diatoms on the leaves are the same bloom, and a floating magnetic algae cleaner ★4.3 lets you wipe the viewing panels without reaching in, so the whole tank resets together.
Method 3: The Hydrogen Peroxide Dip (for Stubborn Films)
Sometimes wiping leaves a thin brown film behind — the diatoms are dead or drying but bonded to the leaf surface, or the coating is thick enough that mechanical cleaning alone leaves streaks. That is the use case for a hydrogen peroxide dip. Hydrogen peroxide oxidizes the film and it rinses off; anubias, with its thick leaves and tough cuticle, tolerates this well.
- Remove the plant from the tank.
- Mix one part standard 3% hydrogen peroxide with 20 parts tank water in a bucket — a 1:20 dilution.
- Submerge the plant completely for 3–5 minutes. Do not exceed 5 minutes.
- Rinse the plant thoroughly in dechlorinated water, rubbing the leaves once more — the film will slide off now.
- Return the plant to the tank.
You may see slight fizzing where the peroxide contacts the film — that's normal. What is not normal is the leaf turning pale or translucent during the soak; if that happens, pull the plant out immediately, because you have an unusually sensitive specimen. Leaves that were grown emersed (the waxy, stiff leaves anubias ships with from farms) tolerate the dip best; brand-new submerged leaves are slightly more delicate.
An alternative for spot work without removing the plant: draw liquid carbon (glutaraldehyde, e.g. Seachem Flourish Excel ★4.7) into a syringe and spot-dose the affected leaves at the product's standard dosage, with the filter off for 10–15 minutes so it stays in contact. This is a gentler in-tank option, but use it sparingly — repeated overdosing can melt sensitive plants, and you should never spot-dose near vallisneria, which reacts badly to liquid carbon.
Method 4: Let Livestock Do the Work
The laziest effective method is a cleanup crew, and diatoms are one of the few algae types that several common species actively eat. Nerite snails are the standout: they graze diatoms off every surface including leaves, they can't reproduce in freshwater (so no population explosion), and two or three per 20 gallons makes a visible difference within days. Otocinclus catfish are the fish equivalent — gentle, leaf-safe grazers that clear diatom films from broad leaves quickly. Amano shrimp graze the film too, though they're less efficient on thick coatings.
One caution: livestock is maintenance, not a cure. A crew keeps cleaned leaves clean; it won't hold back a full-blown silicate-driven bloom on its own, and adding animals to an unstable new tank creates its own problems. Add the crew after the bloom's cause is under control, not as the first response.
| Method | Effort | Risk to leaves | Best for |
|---|---|---|---|
| Two-finger rub | Minutes | None | Fresh, loose coatings |
| Soft brush / filter floss | Minutes | Near zero | Hard-to-reach or large plants |
| Peroxide dip 1:20, 3–5 min | 15 minutes | Low if timed | Stubborn films that won't wipe off |
| Liquid carbon spot-dose | Minutes | Low at label dose | In-tank touch-ups without removing plant |
| Nerites / otos | Ongoing | None | Keeping cleaned leaves clean |
| Prune the leaf | Seconds | None (leaf was lost) | Leaves damaged beyond recovery |
What NOT to Do to Anubias Leaves
The leaf you scrub hardest is the leaf that took longest to grow. Four things to avoid:
- Bleach dips. The standard 1:19 bleach dip used to sterilize plants before quarantine is overkill for diatoms and will burn anubias leaves — they come back looking fine and melt a week later. Reserve bleach for incoming plants you are sterilizing, not for algae maintenance.
- Abrasive pads and razor blades. Anything that would scratch glass can tear the leaf's cuticle, opening the door to rot. The melamine "magic eraser" type sponges belong nowhere near plants.
- Boiling or hot water. It kills the algae and the leaf tissue in the same stroke.
- Scrubbing dry or with force. Always clean wet leaves with gentle, wet contact. A dry rub creases the leaf; force tears it.
Why the Diatoms Are There: Fix the Cause
Cleaning buys you a fresh start, not a permanent one. Diatoms return to the same leaves if the underlying conditions persist, so work through this checklist:
- Tank age. If the tank is under two months old, the bloom is the classic new-tank diatom phase driven by silicates. Keep up weekly 30–50% water changes — every change physically removes silicates — and the bloom usually burns itself out by week 6–8 as the ecosystem matures. More on the timeline in our guide to brown diatom algae in new tanks.
- Photoperiod stability. Erratic light — 12 hours one day, 4 the next — favors algae of every kind. A consistent 6–8 hour daily photoperiod is the sweet spot for low-light plants like anubias, and a 7-day digital outlet timer ★4.7 makes that automatic so you never have to think about it.
- Fresh silicate sources. New sand, new gravel, and some tap water are silicate-heavy. If blooms keep returning in a mature tank, test your tap water for silicates and consider a phosphate/silicate-absorbing filter media or RO water for changes.
- Flow. Anubias sits in still corners; gentle flow across the leaves (a repositioned filter output or a small circulation pump) keeps detritus from settling and giving diatoms a foothold.
- Nutrient balance. A starved plant is an algae magnet. Anubias feeds from the water column, so a lean, consistent liquid fertilizer routine keeps leaves growing instead of merely surviving.
Affiliate note: the product links above are Amazon affiliate links — if you buy through them, AquaVerdia earns a small commission at no extra cost to you. I only recommend products that fit the method described, and every one is a standard, widely used aquarium product.
When to Prune Instead of Clean
Some brown leaves aren't dirty — they're done. If a leaf stays blotchy, translucent at the edges, or yellowing after a thorough cleaning, the tissue is damaged (from prolonged light blockage, nutrient deficiency, or old age) and no cleaning will green it up. Prune it: cut the petiole close to the rhizome with sharp, clean scissors. Anubias responds to pruning the way a well-managed bush does — removing spent leaves redirects the plant's slow energy budget into the new leaf it is already growing. A plant with five clean, healthy leaves outperforms one with twelve leaves wearing algae like camouflage.
Frequently Asked Questions
Will brown diatoms kill my anubias?
Not directly — diatoms don't eat or poison the plant. But a thick coating blocks light from the leaf, and a leaf that can't photosynthesize weakens over weeks. Cleaning the leaves is protecting the plant, not just cosmetics.
Can I use an algae scraper or magnetic cleaner on anubias leaves?
Don't trap a leaf between the two halves of a magnetic cleaner — you'll crush it. Magnetic cleaners are for the glass. Clean leaves with fingers, cloth, or a soft brush; the glass with the magnet.
How long does a diatom bloom last on anubias?
In a new tank, typically 4–8 weeks from the first appearance, fading as silicates deplete and the tank matures. On a mature tank with a fresh silicate source, it lasts until the source is removed. Individual leaves can be cleaned in minutes either way.
Why do the diatoms keep coming back on the same leaves?
Because the cause persists: usually silicates in the water, an unstable photoperiod, or a new tank that hasn't matured. Anubias leaves hold each coating for months thanks to their slow growth, so fixing the cause matters more for anubias than for any other plant.
Is hydrogen peroxide safe for shrimp and snails if I dip the plant?
The dip happens in a separate bucket, so tank livestock are never exposed. The key step is the thorough rinse in dechlorinated water afterward — rinse until the water runs clear and you can no longer smell anything on the plant.