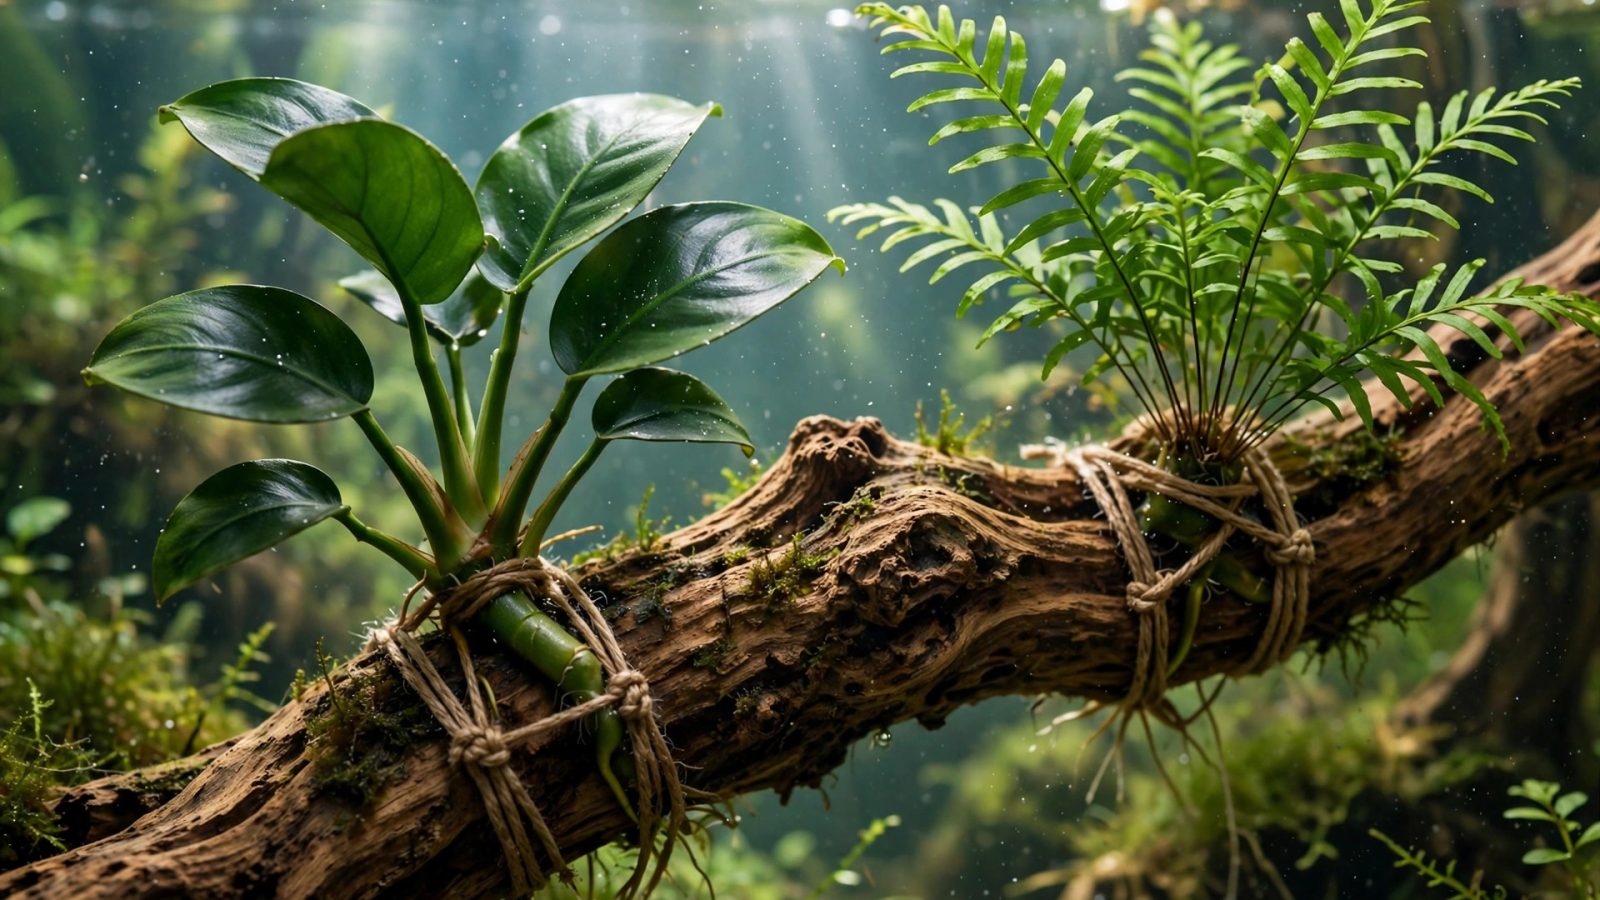
Learning how to attach aquarium plants to driftwood unlocks the epiphyte palette — Java fern, Anubias, Bucephalandra, mosses — the plants that anchor to surfaces instead of rooting in substrate. Done right, the attachment disappears within weeks as roots and rhizomes grip the wood. Done wrong, plants drift off, rot at the tie point, or get strangled. There are three reliable methods: glue, thread, and wedge. Here’s how to use each, step by step.
Which Plants Attach to Driftwood?
Only epiphytes — plants that naturally grow on surfaces:
- Java fern (all cultivars) — see our Java Fern care guide
- Anubias (barteri, nana, ‘Petite’) — never bury the rhizome
- Bucephalandra — slow but stunning on wood
- Bolbitis heudelotii — African water fern, loves wood in current
- Mosses (Java, Christmas, weeping) — attach as thin layers
- Hydrocotyle tripartita — will creep over wood surfaces
Stem plants and rosette plants (swords, crypts, Vallisneria) need substrate — tying them to wood just kills them slowly. Match the method to the plant type.
Method 1 — Cyanoacrylate Glue (Fastest)
Super glue gel (cyanoacrylate) is the professional standard. It’s aquarium-safe once cured, sets in seconds, and disappears under growing roots.
What you need
- Cyanoacrylate gel (not runny liquid) — any brand; “aquarium” labeling is marketing, the chemistry is identical
- Paper towels
- The driftwood piece (can be damp, not dripping)
Steps
- Plan placement first. Decide exactly where each plant sits — glue sets in 10–30 seconds and repositioning tears roots.
- Blot the wood dry at the attachment spot with a paper towel. Glue bonds best to a damp-not-wet surface.
- Apply a pea-sized blob of gel to the wood.
- Press the rhizome or moss firmly onto the glue for 15–30 seconds. For Anubias/Java fern, glue the rhizome — never glue leaves.
- For moss: spread a thin layer, dot with 3–4 tiny glue spots, and press. Thin layers establish faster than thick clumps.
- Hold or prop until set, then place the wood in the tank. The white glue residue fades within days and gets covered by growth within weeks.
Pros: instant, precise, works underwater in a pinch. Cons: unforgiving of misplacement; the white residue shows until plants cover it.
Method 2 — Thread or Fishing Line (Most Forgiving)
What you need
- Cotton thread (dissolves over months) or clear fishing line (remove later)
- Scissors
Steps
- Position the plant’s rhizome against the wood.
- Wrap loosely — 3–4 loops around both wood and rhizome. Snug, not tight: overtight thread cuts into growing rhizomes.
- Knot and trim the ends short.
- For moss: lay a thin sheet over the area and wrap in a crisscross pattern, like tying a roast.
Roots grip the wood within 4–8 weeks. Cotton thread rots away on its own; fishing line should be cut away once the plant is anchored (check at 2 months).
Pros: repositionable, no chemicals, invisible with dark thread. Cons: slower; thread can constrict fast-growing rhizomes if wrapped too tight.
Method 3 — Wedge (Most Natural)
Simply jam the plant into a crack, crevice, or fork in the wood. No glue, no thread — friction and root growth do the work. This is how epiphytes colonize wood in nature.
Best for: Java fern plantlets, Anubias ‘Petite’, Bucephalandra rhizome sections, and moss tucked into holes. Works brilliantly on mopani, spider wood, and dragon-wood pieces with natural crevices. Less reliable on smooth manzanita branches — combine with a dot of glue for insurance.
Pros: zero materials, completely invisible, most natural look. Cons: only works where the wood cooperates; determined plecos can still evict wedged plants.
Method Comparison
- Speed: glue wins — scape today, flood today.
- Forgiveness: thread wins — reposition freely.
- Invisibility: wedge wins — nothing to hide.
- Moss: glue dots or thread wrap; wedging rarely holds moss alone.
- Heavy rhizomes (large Anubias/Java fern): glue, or thread plus patience.
After Attachment: The First Month
- Don’t fertilize the wood. Epiphytes feed from the water column — dose liquid fertilizer normally; the attachment method doesn’t change nutrition.
- Expect some melt. Leaves grown emersed often shed; new submerged growth appears in 2–4 weeks.
- Check thread tension at week 3 — loosen any loops biting into rhizomes.
- Keep flow moderate over newly attached plants until roots grip (2–4 weeks for glue, 6–8 for thread).
- Algae on slow growers: Anubias and Bucephalandra on prominent wood collect algae under high light — shade them with taller plants or floaters, and keep a cleanup crew (Amano shrimp, otocinclus).
For rock attachments, see how to attach aquarium plants to rocks — the methods transfer, with a few rock-specific tricks.
Frequently Asked Questions
Is super glue safe for aquariums?
Yes — pure cyanoacrylate gel is inert once cured and widely used in the hobby. Avoid glues with added fragrances, colors, or “toughened” formulas with unknown additives.
Can you glue plants to driftwood underwater?
Yes, cyanoacrylate cures underwater (it actually cures faster with moisture). It’s messier than working dry, but useful for repairs without draining the tank.
How long until attached plants grip the wood?
Roots visibly grip within 4–8 weeks. Moss takes 6–10 weeks to fully anchor. Leave thread in place until you’re sure.
Plant-by-Plant Attachment Guide
Java fern
Glue or tie the rhizome horizontally along the wood. Java fern wants its rhizome exposed with roots dangling — within weeks the roots grip like fingers. Plantlets forming on leaf tips can be wedged into crevices directly. Full species guide: Java Fern care.
Anubias
Same rhizome rule — never bury it. Anubias is slow, so use glue for instant hold; thread works but you’ll wait months for a grip. Wedge ‘Petite’ varieties into cracks. If older leaves yellow after attaching, see anubias yellowing fixes — it’s usually nutrition, not the attachment.
Bucephalandra
Glue small rhizome sections onto the wood’s shaded sides — Buce prefers lower light and colors up best out of the spotlight. It’s the slowest to grip (2–3 months), so glue beats thread here. Expensive plant; don’t wedge it anywhere a pleco patrols.
Bolbitis
Tie or glue the rhizome in current — Bolbitis grows best where filter flow passes over it. Larger rhizomes need glue; thread on thick Bolbitis rhizomes tends to slip.
Mosses
Thin layers only — thick moss clumps rot in the middle. For tree-canopy effects on branching wood, wrap thin sheets around upper branches with thread in a spiral. Trim monthly to keep the layer tight and prevent detritus buildup underneath.
Troubleshooting Attachments
- Plant keeps floating off: not enough glue contact, or thread too loose. Dry the spot better, use more gel, or switch methods.
- Rhizome rotting at the glue point: too much glue smothering the rhizome — use a small blob at one point, not a full coating.
- Thread cutting into rhizome: wrapped too tight. Remove, rewrap loosely — the plant grows into snug, not strangled.
- Moss turning brown underneath: layer too thick. Peel back, thin it out, reattach the healthy top layer.
- Algae on attached slow-growers: reduce light on that spot (shade with floaters or taller plants), add Amano shrimp, and spot-treat during water changes.
- Pleco evicting plants: some plecos rasp wood relentlessly. Either rehome the pleco or switch to glue-only attachments in silicone-reinforced crevices.
When to Attach: Dry vs. Flooded
Dry (before flooding): easiest — full access, precise placement, glue sets cleanly. The professional approach for new scapes.
Flooded (established tank): cyanoacrylate cures underwater, so repairs and additions are doable without draining. Work quickly, use gel (not liquid), and hold the plant until set — water currents fight you. Thread is actually easier than glue for underwater work since there’s no cure-time wrestling.
Glue Safety Deep-Dive
Cyanoacrylate is aquarium-safe because it polymerizes on contact with moisture into an inert plastic — but a few details matter:
- Use plain gel. Avoid “odorless,” colored, or rubber-toughened formulas — the additives aren’t tested for aquariums. Plain CA gel is the known-safe choice.
- Fresh tubes work best. Opened super glue thickens within weeks; old glue sets slowly and bonds weakly. Buy small tubes and replace often.
- It cures white. The white haze is normal and fades as biofilm and plant growth cover it (days to weeks). Place attachments with this in mind — shaded sides and crevices hide it fastest.
- Fumes during application irritate eyes — work in ventilated space, not with your face inches from the joint.
- Skin bonds: keep acetone-based nail polish remover nearby when working. (Every scaper glues their fingers at least once.)
Attaching to Specific Wood Types
- Spider wood / redmoor: branching structure gives endless wedging forks — the easiest wood for no-glue attachment. Moss spirals on branches look spectacular.
- Mopani: dense and smooth in places; glue bonds well but wedging needs real crevices. Leaches heavy tannins — boil or soak before scaping.
- Manzanita: smooth, beautiful branches; glue is the primary method. Sand the attachment spot lightly for better adhesion.
- Malaysian driftwood: gnarled with natural holes — ideal for wedging rhizomes and pressing moss into pockets.
New driftwood often floats — soak it for 1–2 weeks or screw it to a slate base before attaching plants. Attaching $30 of Bucephalandra to wood that then floats to the surface is a painful lesson.